I figured a poke cake would be one of those recipes that’s all hype, no substance — pretty to look at, but the flavor just kind of sits there on the surface. It took about one bite of this Reese’s Peanut Butter Poke Cake for that assumption to fall apart completely. I mean, completely.
The first time I made it, I was honestly just looking for a way to use up a box of chocolate cake mix and a jar of peanut butter that was hanging out in the back of my pantry. I poked the holes, poured the sweetened condensed milk mixture over the top, and thought, “Okay, this is fine.” Then I added the peanut butter layer, the chopped Reese’s cups, and the chocolate ganache, and suddenly “fine” turned into “I need to sit down.”
Here’s the thing about this cake — it’s not trying to be fancy. It’s not a layered, frosted, bakery-style masterpiece. It’s better than that. It’s the kind of cake that makes people close their eyes when they take a bite, then open them and ask for the recipe before they’ve even swallowed. The texture is what gets you: the cake stays incredibly moist (thanks to all those little holes soaking up goodness), the peanut butter layer is creamy and rich, and the chocolate ganache on top sets just enough to crack when you cut into it. Plus, those mini Reese’s cups scattered on top? Non-negotiable.
This cake has become my go-to for potlucks, birthdays, and honestly, random Tuesdays when I need a little joy. It’s one of those recipes that feels like a hug — and it’s way easier than it has any right to be.
Why You’ll Love This Recipe
Let me tell you why this cake disappears faster than almost anything I bring to a gathering. It’s not just good — it’s the kind of dessert that makes people hover around the kitchen island waiting for another slice.
- Incredibly Easy : You start with a boxed cake mix. No judgment here. This recipe is designed for real life, not for spending three hours in the kitchen. It comes together in about 15 minutes of active prep time.
- Simple Ingredients : You probably already have most of these in your pantry. Chocolate cake mix, eggs, oil, sweetened condensed milk, peanut butter, chocolate chips, and Reese’s cups. That’s it.
- Perfect for Any Occasion : Birthday parties, potlucks, game day, or just because. This cake is a crowd-pleaser that works for any celebration — or no celebration at all.
- Unbelievably Moist : The poke method is genius. Those little holes let the sweetened condensed milk and peanut butter soak deep into the cake, so every single bite is perfectly moist and flavorful.
- Always Gets Rave Reviews : I’ve made this for friends, family, and neighbors, and every single time, someone says it’s the best cake they’ve ever had. Not exaggerating.
What makes this recipe different from other chocolate peanut butter cakes? It’s the combination of textures. You get the soft, tender cake, the creamy peanut butter layer, the rich chocolate ganache, and the crunchy bits of Reese’s cups on top. It’s a symphony of peanut butter and chocolate — and it’s honestly better than any bakery cake I’ve ever bought.
This recipe is comfort food at its finest. It’s the kind of dessert that makes you feel like everything is going to be okay. And honestly, we all need a little more of that.
What Ingredients You Will Need
This recipe uses simple, everyday ingredients to create something truly special. Here’s what you’ll need to gather before you start.
For the Cake:
- 1 box (15.25 oz) chocolate cake mix (I prefer Duncan Hines or Betty Crocker for consistent results)
- 3 large eggs (room temperature is best for even mixing)
- 1/2 cup vegetable oil (or canola oil — any neutral oil works)
- 1 cup water
For the Poke Filling:
- 1 can (14 oz) sweetened condensed milk
- 1/2 cup creamy peanut butter (I like Jif or Skippy for the best texture — natural peanut butter can separate)
- 1 teaspoon vanilla extract
For the Peanut Butter Layer:
- 1/2 cup creamy peanut butter
- 1/4 cup unsalted butter, softened
- 1 cup powdered sugar
- 2-3 tablespoons milk (start with 2, add more if needed)
For the Chocolate Ganache:
- 1 cup semi-sweet chocolate chips (I recommend Ghirardelli for the best flavor)
- 1/2 cup heavy cream
For the Topping:
- 1 cup mini Reese’s cups, chopped (you can also use regular-sized ones, just chop them up)
- Optional: a drizzle of melted peanut butter or chocolate syrup for extra flair
Substitution Notes: If you need a gluten-free option, use a gluten-free chocolate cake mix. For a dairy-free version, use dairy-free chocolate cake mix, coconut condensed milk, and dairy-free chocolate chips. The peanut butter layer can be made with dairy-free butter and plant-based milk. Just keep in mind the texture might be slightly different, but it’ll still be delicious.
Equipment Needed
You don’t need any fancy equipment for this recipe, which is part of why I love it so much. Here’s what you’ll need:
- 9×13-inch baking pan — This is the standard size for poke cakes. A metal or glass pan works great. I prefer glass because you can see the bottom of the cake, but metal heats up faster.
- Mixing bowls — You’ll need a large bowl for the cake batter and a medium bowl for the fillings and ganache.
- Whisk or electric mixer — A whisk works fine for the cake mix, but an electric mixer makes the peanut butter layer much easier to whip up.
- Wooden spoon handle or chopstick — This is for poking the holes in the cake. The goal is holes that are about 1/2 inch wide, so a chopstick or the handle of a wooden spoon works perfectly.
- Saucepan — For heating the heavy cream for the ganache. A small saucepan is perfect.
- Spatula — For spreading the peanut butter layer and the ganache evenly.
Budget-friendly tip: If you don’t have a 9×13 pan, you can use a 9×9 square pan — just adjust the baking time and expect a thicker cake. And if you don’t have a chopstick, the handle of a wooden spoon is my go-to. Works every time.
Preparation Method
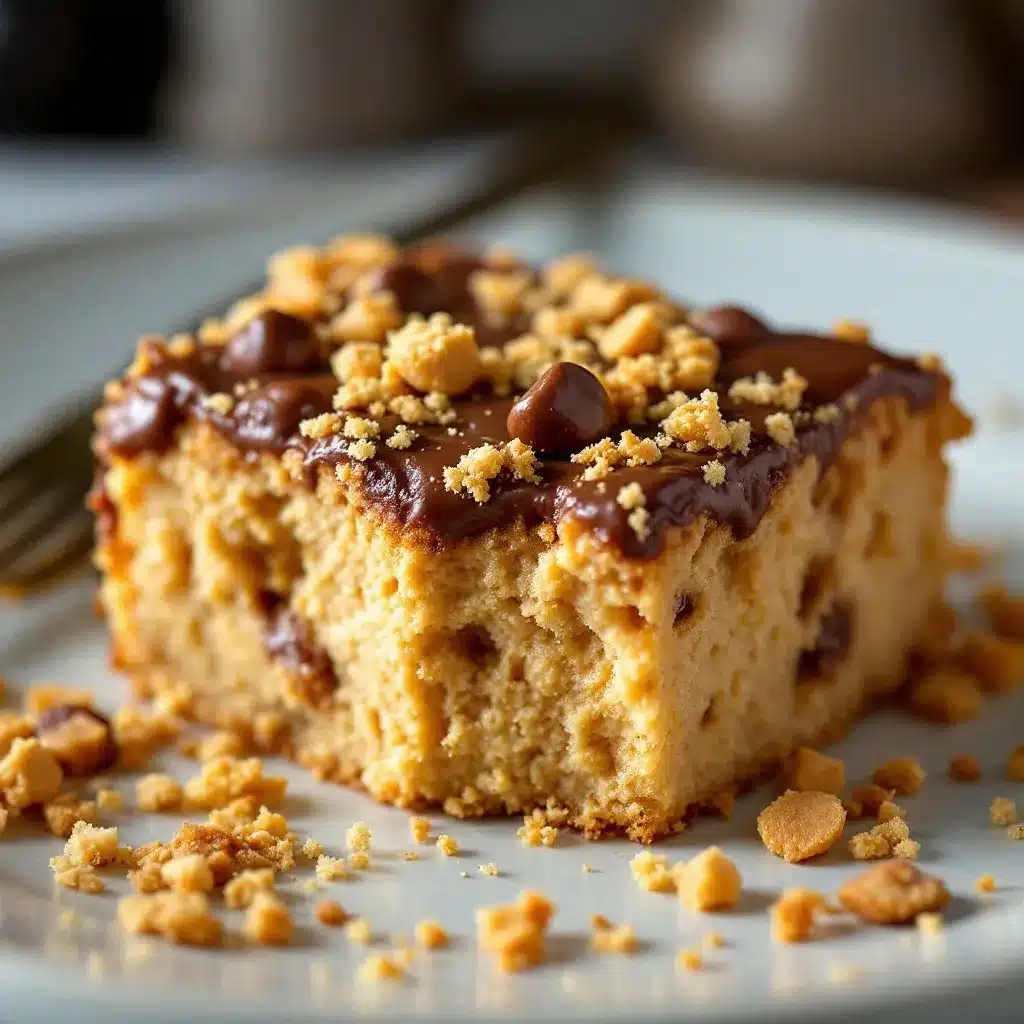
Alright, let’s get to the good part. Here’s how to make the best Reese’s Peanut Butter Poke Cake you’ve ever had.
- Preheat and prep. Preheat your oven to 350°F (175°C). Grease a 9×13-inch baking pan with butter or non-stick spray. You want to make sure every corner is coated so the cake doesn’t stick.
- Make the cake batter. In a large bowl, combine the chocolate cake mix, eggs, vegetable oil, and water. Mix according to the package directions — usually about 2 minutes with an electric mixer or until smooth. Don’t overmix, or the cake can get tough. Just mix until everything is combined and the batter is smooth.
- Bake the cake. Pour the batter into the prepared pan and spread it evenly. Bake for 28-32 minutes, or until a toothpick inserted into the center comes out clean. The cake should be springy to the touch. Let it cool in the pan on a wire rack for about 10 minutes — you want it warm but not hot when you poke the holes.
- Poke those holes. While the cake is still warm, use the handle of a wooden spoon or a chopstick to poke holes all over the cake. Space them about 1 inch apart. Don’t be shy — really get in there. The more holes, the more filling gets absorbed.
- Make the poke filling. In a small bowl, whisk together the sweetened condensed milk, 1/2 cup creamy peanut butter, and vanilla extract until smooth. It should be thick but pourable. If it’s too thick, microwave it for 10-15 seconds to loosen it up.
- Pour the filling. Slowly pour the sweetened condensed milk mixture over the warm cake, making sure it gets into all the holes. Use a spatula to spread it evenly. You’ll see it soak in — that’s exactly what you want. Let the cake cool completely at room temperature, about 1 hour.
- Make the peanut butter layer. In a medium bowl, beat together 1/2 cup peanut butter and 1/4 cup softened butter until smooth. Add the powdered sugar and 2 tablespoons of milk, and beat until creamy. If it’s too thick, add another tablespoon of milk. You want it spreadable but not runny.
- Spread the peanut butter layer. Once the cake is completely cool, spread the peanut butter mixture evenly over the top. Use an offset spatula for the smoothest finish. Pop the cake in the refrigerator for about 30 minutes to let this layer set.
- Make the chocolate ganache. Place the chocolate chips in a heat-safe bowl. Heat the heavy cream in a small saucepan over medium heat until it just starts to simmer — don’t let it boil. Pour the hot cream over the chocolate chips and let it sit for 2-3 minutes. Then stir gently until the chocolate is completely melted and the ganache is smooth and glossy.
- Pour the ganache. Let the ganache cool for about 5 minutes, then pour it over the peanut butter layer. Spread it evenly with a spatula. It should be thin enough to spread easily but thick enough to stay on top.
- Add the Reese’s cups. While the ganache is still wet, sprinkle the chopped mini Reese’s cups evenly over the top. Press them in gently so they stick.
- Chill and serve. Refrigerate the cake for at least 2 hours, or overnight. This allows all the layers to set and the flavors to meld together. Serve cold or at room temperature — both are amazing.
Pro tip: For the cleanest slices, use a sharp knife dipped in hot water and wiped dry between cuts. This gives you those beautiful, Instagram-worthy slices.
Cooking Tips & Techniques
After making this cake more times than I can count, I’ve picked up a few tricks that make a real difference. Here’s what I’ve learned:
Don’t overbake the cake. This is the most common mistake. An overbaked cake is dry, and dry cake doesn’t absorb the filling as well. Check it at 28 minutes. The edges should be pulling away from the pan slightly, and the center should be set but still soft.
Poke the holes while the cake is warm. If you wait until the cake is completely cool, the holes won’t be as effective. The warm cake is more porous and absorbs the filling much better. I usually poke holes about 10 minutes after the cake comes out of the oven.
Use creamy peanut butter, not natural. Natural peanut butter separates and can leave you with a grainy texture. For the smoothest, creamiest results, stick with processed peanut butter like Jif or Skippy. Trust me on this one — I learned the hard way.
Let the ganache cool slightly before pouring. If you pour hot ganache over the peanut butter layer, it can melt and mix in. Let it cool for about 5 minutes until it’s warm but not hot. It should be thick enough to coat the back of a spoon but still pourable.
Chill the cake overnight for the best flavor. I know it’s hard to wait, but this cake truly gets better with time. The flavors meld together, the texture becomes even more fudgy, and the layers set perfectly. If you can, make it the day before you plan to serve it.
Multitasking strategy: While the cake is baking, make the peanut butter layer and chop the Reese’s cups. While the cake is cooling, make the ganache. This way, everything is ready to go when you need it.
Variations & Adaptations
One of the best things about this recipe is how easy it is to customize. Here are some of my favorite variations:
Peanut Butter Cup Explosion: Add a layer of chopped Reese’s cups between the peanut butter layer and the ganache. It’s a little extra, but totally worth it.
Chocolate Lover’s Dream: Use a dark chocolate cake mix and dark chocolate chips for the ganache. The bitterness of the dark chocolate balances the sweetness of the peanut butter beautifully.
Gluten-Free Version: Use a gluten-free chocolate cake mix and make sure your Reese’s cups are certified gluten-free (most are). Everything else in the recipe is naturally gluten-free.
Dairy-Free Version: Use a dairy-free chocolate cake mix, coconut condensed milk, dairy-free chocolate chips, and dairy-free butter. The texture will be slightly different, but it’s still incredibly delicious.
Add a Crunch: Sprinkle crushed peanuts or toffee bits on top along with the Reese’s cups. The crunch adds a fantastic texture contrast.
Make it a Cake Roll: If you’re feeling adventurous, you can turn this into a cake roll. Bake the cake in a jelly roll pan, roll it up with the fillings inside, and slice it into pinwheels. It’s a showstopper.
I once made a version with a layer of creamy vegan chocolate avocado pudding spread between the cake and the peanut butter layer. It was absolutely divine — rich, creamy, and surprisingly healthy-ish.
Serving & Storage Suggestions
This cake is incredibly versatile when it comes to serving. Here’s how I like to do it:
Serving Temperature: I prefer this cake cold, straight from the refrigerator. The layers are firm, the ganache has a slight snap, and the peanut butter layer is perfectly creamy. But it’s also fantastic at room temperature — the flavors are more pronounced, and the cake is extra tender.
Presentation: For a beautiful presentation, cut the cake into clean squares and serve on a pretty plate. Add a dollop of whipped cream or a scoop of vanilla ice cream on the side. A drizzle of chocolate syrup and a sprinkle of chopped peanuts takes it over the top.
Pairings: This cake pairs beautifully with a cold glass of milk, a hot cup of coffee, or a scoop of vanilla bean ice cream. For a truly indulgent experience, serve it with a side of this creamy chocolate avocado pudding for a double chocolate peanut butter dessert.
Storage: Store the cake in an airtight container in the refrigerator for up to 5 days. The flavors actually get better after a day or two. Just make sure to cover it well so it doesn’t absorb any fridge odors.
Freezing: This cake freezes beautifully. Wrap individual slices tightly in plastic wrap, then place them in a freezer-safe bag or container. They’ll keep for up to 3 months. To thaw, just transfer a slice to the refrigerator overnight. It’s perfect for when you need a last-minute dessert.
Reheating: If you prefer your cake warm, microwave individual slices for 10-15 seconds. The peanut butter layer gets slightly melty, and the ganache becomes soft and gooey. It’s a completely different experience from the cold version, but equally delicious.
Nutritional Information & Benefits
Let’s be real — this is an indulgent dessert. But here’s what you should know about what’s in it.
Estimated Nutritional Values (per slice, based on 12 servings):
- Calories: 520
- Fat: 28g
- Carbohydrates: 62g
- Protein: 10g
- Sugar: 45g
- Fiber: 3g
Health Benefits of Key Ingredients:
- Peanut butter is a good source of protein, healthy fats, and fiber. It also contains vitamin E, magnesium, and potassium.
- Dark chocolate (in the ganache) is rich in antioxidants, particularly flavonoids, which can support heart health.
- Eggs provide high-quality protein and essential nutrients like choline and vitamin D.
Dietary Considerations: This recipe contains gluten, dairy, peanuts, and eggs. For a gluten-free version, use a gluten-free cake mix. For a dairy-free version, use dairy-free substitutes as noted above. This recipe is not suitable for those with peanut allergies — but you can substitute almond butter or sunflower seed butter for a nut-free option.
I believe in balance. This cake is a treat, not an everyday food. But when you do indulge, make it count. This is the kind of dessert that’s worth every single calorie.
Conclusion
This Reese’s Peanut Butter Poke Cake is more than just a dessert — it’s an experience. It’s the cake that makes people close their eyes and smile. It’s the cake that disappears before you’ve had a chance to grab a second slice. It’s the cake that makes you look like a baking genius, even though it’s secretly one of the easiest recipes you’ll ever make.
What I love most about this recipe is how forgiving it is. You don’t need to be a pastry chef to nail it. You just need a box of cake mix, a jar of peanut butter, and a little bit of patience while it chills. The result is a show-stopping dessert that tastes like it came from a fancy bakery — but costs a fraction of the price and takes a fraction of the effort.
I’d love to hear how yours turns out! Did you add any fun variations? Did you serve it with ice cream? Did you manage to save any for the next day? Drop a comment below and let me know. And if you’re looking for more easy, crowd-pleasing desserts, check out my full collection of recipes — there’s something for every craving.
Until next time, happy baking — and don’t forget to save yourself a slice before it disappears!
Frequently Asked Questions
Can I use a homemade chocolate cake instead of a box mix?
Absolutely! If you have a favorite homemade chocolate cake recipe, feel free to use it. Just make sure it’s a sturdy enough cake to hold up to all the poking and filling. A box mix is easier and more consistent, but homemade works beautifully too.
Do I have to use sweetened condensed milk?
Yes, for the classic poke cake texture. Sweetened condensed milk is what makes the cake so incredibly moist and fudgy. You can’t substitute evaporated milk or regular milk — they’re too thin and won’t give you the same result.
Can I make this cake ahead of time?
Yes, and I actually recommend it! This cake tastes even better the next day after the flavors have had time to meld. You can make it up to 2 days in advance and keep it covered in the refrigerator.
How do I get clean slices?
Use a sharp knife and dip it in hot water between cuts. Wipe the knife dry before each cut. This gives you those beautiful, clean slices without dragging the ganache through the cake.
Can I freeze this cake?
Yes! Wrap individual slices tightly in plastic wrap and store them in a freezer-safe bag for up to 3 months. Thaw overnight in the refrigerator. It’s perfect for portion control — or for having a slice ready whenever the craving strikes.
Pin This Recipe!
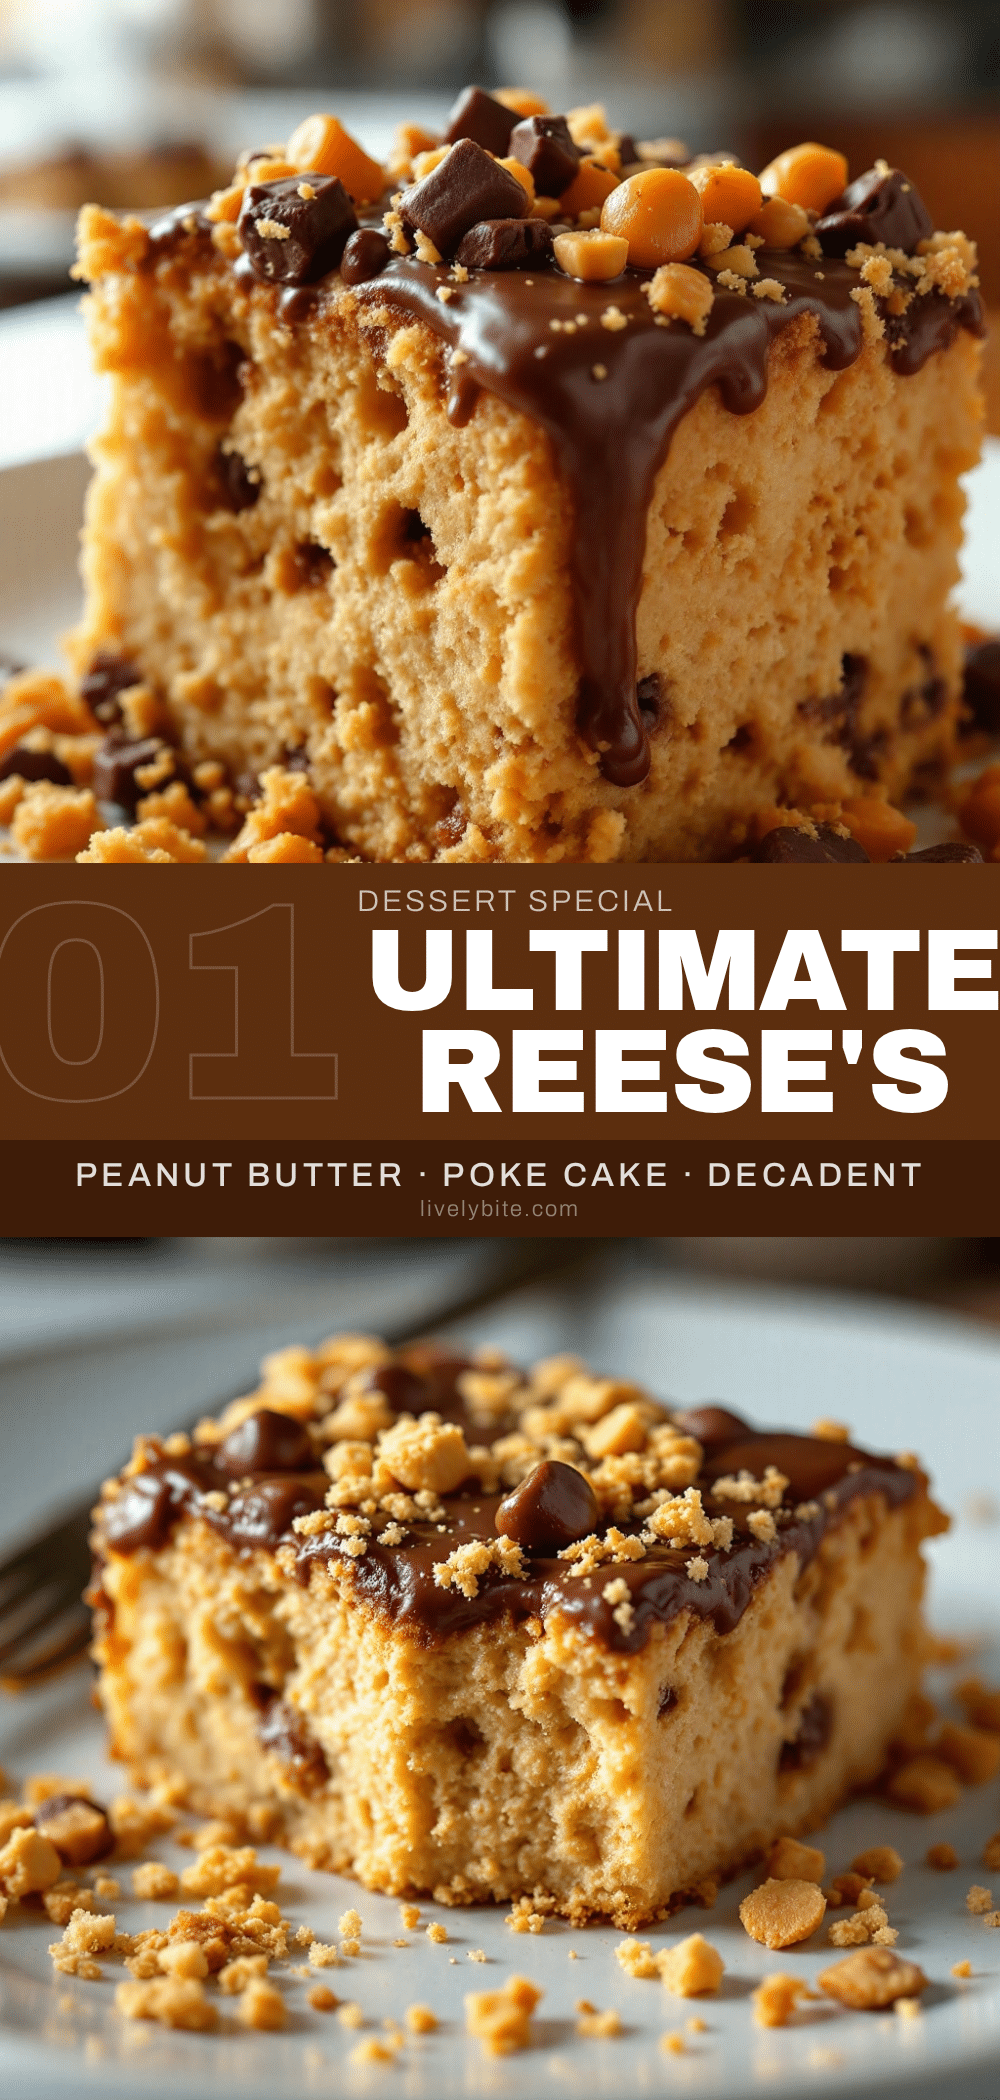
Easy Reeses Peanut Butter Poke Cake Recipe
This incredibly moist and decadent poke cake combines chocolate cake, creamy peanut butter, sweetened condensed milk, and chocolate ganache for a crowd-pleasing dessert that’s surprisingly easy to make.
- Prep Time: 15 minutes
- Cook Time: 30 minutes
- Total Time: 3 hours 45 minutes (includes chilling)
- Yield: 12 servings 1x
- Category: Dessert
- Cuisine: American
Ingredients
- 1 box (15.25 oz) chocolate cake mix
- 3 large eggs, room temperature
- 1/2 cup vegetable oil
- 1 cup water
- 1 can (14 oz) sweetened condensed milk
- 1/2 cup creamy peanut butter (for poke filling)
- 1 teaspoon vanilla extract
- 1/2 cup creamy peanut butter (for peanut butter layer)
- 1/4 cup unsalted butter, softened
- 1 cup powdered sugar
- 2–3 tablespoons milk
- 1 cup semi-sweet chocolate chips
- 1/2 cup heavy cream
- 1 cup mini Reese’s cups, chopped
Instructions
- Preheat oven to 350°F (175°C). Grease a 9×13-inch baking pan.
- In a large bowl, combine chocolate cake mix, eggs, vegetable oil, and water. Mix until smooth, about 2 minutes.
- Pour batter into prepared pan and bake for 28-32 minutes, until a toothpick inserted in center comes out clean. Let cool in pan for 10 minutes.
- While cake is still warm, use the handle of a wooden spoon or a chopstick to poke holes all over the cake, spacing them about 1 inch apart.
- In a small bowl, whisk together sweetened condensed milk, 1/2 cup creamy peanut butter, and vanilla extract until smooth. Pour over warm cake, ensuring it fills the holes. Let cool completely.
- In a medium bowl, beat together 1/2 cup peanut butter and softened butter until smooth. Add powdered sugar and 2 tablespoons milk, beat until creamy. Add more milk if needed.
- Spread peanut butter mixture evenly over cooled cake. Refrigerate for 30 minutes to set.
- Place chocolate chips in a heat-safe bowl. Heat heavy cream in a small saucepan until simmering. Pour over chocolate chips, let sit 2-3 minutes, then stir until smooth.
- Let ganache cool for 5 minutes, then pour over peanut butter layer and spread evenly.
- Sprinkle chopped Reese’s cups over ganache while still wet. Refrigerate for at least 2 hours or overnight.
- Serve cold or at room temperature. For clean slices, use a sharp knife dipped in hot water and wiped dry between cuts.
Notes
For best results, use creamy peanut butter like Jif or Skippy, not natural. Chill overnight for optimal flavor and texture. To freeze, wrap individual slices tightly in plastic wrap and store in a freezer-safe bag for up to 3 months.
Nutrition
- Serving Size: 1 slice
- Calories: 520
- Sugar: 45
- Sodium: 380
- Fat: 28
- Saturated Fat: 10
- Carbohydrates: 62
- Fiber: 3
- Protein: 10
Keywords: Reese's, peanut butter, poke cake, chocolate, easy dessert, potluck, birthday cake