The clock struck 4:30 PM and I realized I had absolutely nothing for the neighborhood kids arriving at 5:00. My pantry was a disaster zone of half-empty spice jars and a lonely onion. Panic set in, honestly. I ran to the fridge and found a bag of celery that was starting to wilt and a block of cream cheese that looked like it had seen better days. It wasn’t glamorous, but it was edible. I dumped the cream cheese into a bowl and started digging through the crisper drawer for anything green. That is when I stumbled upon the idea for the Easy Halloween Graveyard Veggie Tray. I didn’t plan it. I scavenged it. The kids would be here in thirty minutes, and I needed something that looked like effort but required zero actual effort.
I grabbed some pretzel sticks because they looked like tombstones if you squinted. Then I spotted some broccoli florets that were still crisp. I didn’t have time to chop anything properly, so I just broke them apart with my hands. The result was messy, chaotic, and surprisingly cute. I spread the dip, stuck the veggies in, and called it a day. The neighborhood kids didn’t care about the aesthetics; they just wanted the dip. But seeing them laugh at the “graveyard” setup made my stress melt away. It turned a potential disaster into a win.
I kept the recipe simple because life is too short for complicated party prep. This Easy Halloween Graveyard Veggie Tray became a staple. It’s not about perfection. It’s about using what you have to make a moment memorable. The kids loved it, and I loved that I didn’t have to go to the store. It’s resourceful cooking at its finest. And honestly, it tastes better than most fancy appetizers you’ll buy at a party store.
Now, whenever I see a wilting carrot or a lone bell pepper, I don’t throw it away. I think of that afternoon. I think of the joy of making something fun out of nothing. This recipe is for anyone who has ever been caught short on time. It’s for the last-minute planners and the accidental hosts. You know, like me.
Why You’ll Love This Recipe
Let’s be real for a second. Most veggie trays are boring. They’re just raw sticks sitting in a plastic container, looking sad. But this Easy Halloween Graveyard Veggie Tray is different. It’s playful. It’s interactive. And it’s incredibly satisfying to make. I’ve tested dozens of ways to present raw vegetables, and this one wins every time. It’s not just a snack; it’s a little scene. The kids get to build their own graveyards, and the adults get to eat something healthy without feeling like they’re on a diet. It’s a win-win.
- Quick & Easy: This whole thing comes together in under 15 minutes. You don’t need to cook anything. You just spread, stick, and arrange. It’s perfect for busy weeknights or last-minute Halloween parties when you’re running around like a headless chicken.
- Simple Ingredients: You likely already have everything in your kitchen right now. Cream cheese, veggies, maybe some pretzels. No fancy grocery trips needed. It’s pantry-friendly and fridge-clearing at the same time.
- Perfect for Halloween: It’s seasonal fun without the sugar crash. Great for trick-or-treaters, classroom parties, or office Halloween lunches. It fits the theme perfectly without being overly childish.
- Crowd-Pleaser: Always gets rave reviews from kids and adults alike. The dip is creamy and savory, which is something most veggie trays lack. People actually look forward to the dip with this one.
- Unbelievably Delicious: The texture contrast between the crisp veggies and the creamy dip is next-level comfort food. It’s not just about the look; it’s about the taste. The garlic and herb blend in the dip makes every bite addictive.
What makes this recipe different is the assembly. It’s not just dumping veggies in a bowl. It’s about creating a landscape. You’re building a graveyard. It’s creative, but it’s not complicated. Whether you’re a seasoned chef or someone who burns toast, you can do this. It’s foolproof fun. And it’s the kind of recipe that makes you look like a hero to your kids or guests. It’s comfort food reimagined—healthy, fast, but with the same soul-soothing satisfaction. Perfect for impressing guests without stress.
What Ingredients You Will Need
This recipe uses simple, wholesome ingredients to deliver bold flavor and satisfying texture without the fuss. The key is to use fresh, crisp vegetables that can hold up to being stuck into the dip. You want things that won’t get soggy immediately. I like to mix colors and shapes to make the graveyard look interesting. It’s not just about green; it’s about variety. Here is what you’ll need to pull this off.
- For the Graveyard Dirt (The Dip):
- 8 oz block cream cheese, softened (I recommend Kraft for consistency, but any brand works)
- 1/2 cup sour cream or Greek yogurt (adds tang and helps spreadability)
- 1 packet ranch seasoning mix (the dry kind, not the wet dressing)
- 1/4 cup chives, finely chopped (fresh is best, but dried works in a pinch)
- 1 clove garlic, minced (don’t skip this; it adds depth)
- 1/4 cup shredded cheddar cheese (optional, for extra richness)
- For the Tombstones:
- Pretzel sticks or pretzel rods (thick ones hold up better)
- White chocolate chips or almond bark (for writing on the tombstones)
- Black edible markers or gel pens (for writing dates/names)
- For the Headstones & Grass:
- Broccoli florets, raw (small, bite-sized pieces work best)
- Green bell pepper, sliced into thin strips (for the “grass”)
- Celery sticks, cut into 2-inch pieces (for height variation)
- Green grapes or snap peas (for small bushes or extra greenery)
- Optional Add-Ins:
- Olives, sliced (for spooky eyes or grave markers)
- Carrot sticks, peeled (for contrast, though they are orange)
- Romaine lettuce leaves (for a larger base layer)
Make sure your cream cheese is fully softened. If it’s too cold, it’ll be lumpy and hard to spread. Room temperature is your friend here. Also, look for firm, small-curd broccoli florets. They’re easier to handle and look more like little trees or bushes. If you’re serving this to kids who don’t like strong flavors, you can skip the ranch seasoning and just use herbs. But honestly, the ranch makes it irresistible. It’s the secret weapon.
Equipment Needed
You don’t need much for this recipe. A large mixing bowl is essential. I use a wide, shallow bowl because it gives you more surface area to work with. If you don’t have one, a large plate works too, but you might need to be more creative with the layout. A spatula is needed for spreading the dip. A rubber spatula is best because it scrapes the bowl clean. You’ll also need a microwave-safe bowl if you’re melting white chocolate for the tombstones. A microwave is faster than a double boiler for this. Small brushes or toothpicks are helpful for applying the white chocolate if you’re writing on the pretzels. Keep it simple. You don’t need fancy gadgets. Just basic kitchen tools you already own. If you’re making a lot of these, a stand mixer can help soften the cream cheese faster, but hand mixing is fine. Just be patient.
Preparation Method
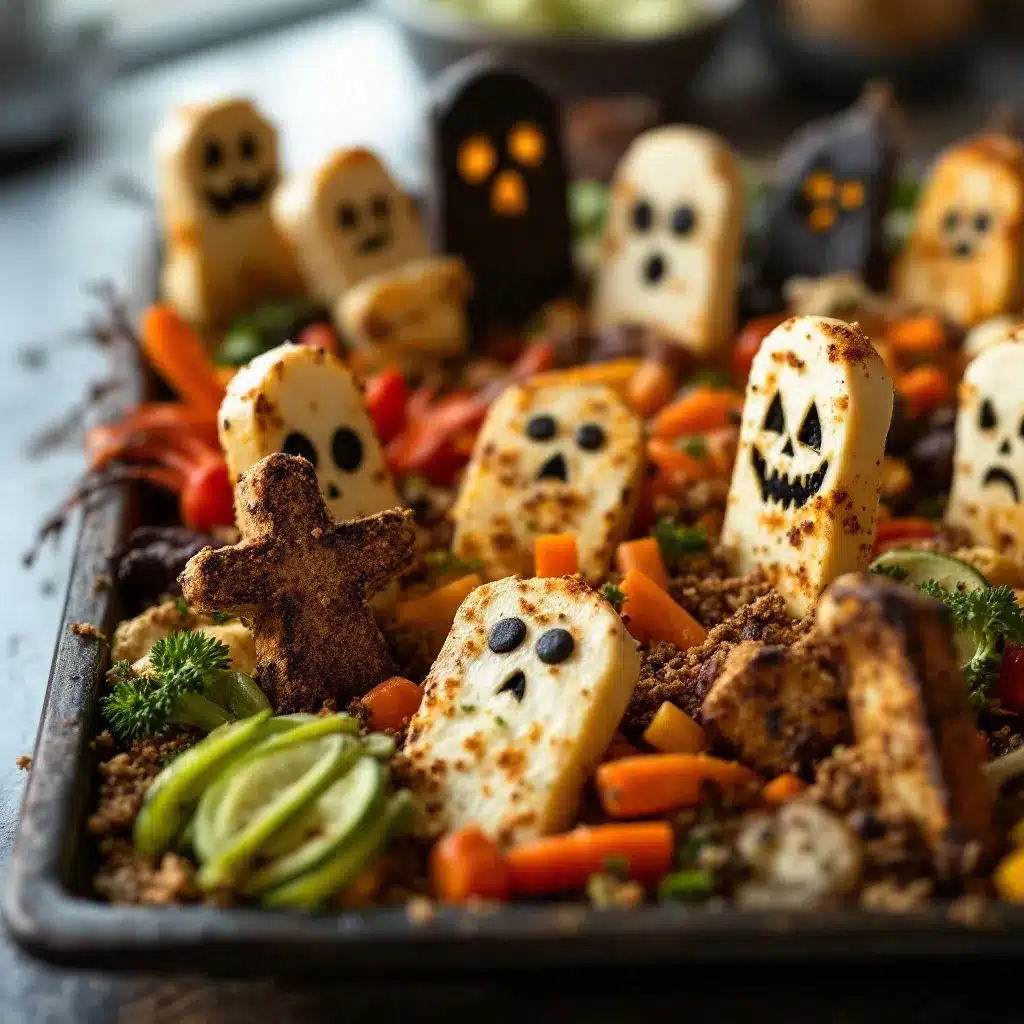
Start by preparing the dip. This is the foundation of your graveyard. If the dip isn’t ready, nothing else matters. So, let’s get this done first.
- Soften the Cream Cheese: Take your block of cream cheese out of the fridge. Let it sit on the counter for about 30 minutes. If you’re in a hurry, microwave it in 10-second bursts. Stir in between. You want it smooth, not hot. (Time estimate: 30 minutes passive or 2 minutes active)
- Mix the Dip Base: In your large mixing bowl, add the softened cream cheese, sour cream, ranch seasoning, minced garlic, and chopped chives. If you’re using cheddar cheese, add it now too. Mix everything together with a spatula or spoon. Keep stirring until it’s completely smooth. No lumps allowed. This might take 2-3 minutes of elbow grease. (Time estimate: 3 minutes)
- Spread the “Dirt”: Pour the dip mixture onto your serving platter. Use the spatula to spread it out evenly. You want a thick layer, about half an inch. Make it look like a mound of earth. Don’t worry about it being perfectly flat. A little roughness adds to the graveyard vibe. (Time estimate: 2 minutes)
- Prepare the Tombstones: While the dip is being spread, take your pretzel sticks. If you want to write on them, melt the white chocolate chips in the microwave in 15-second intervals. Stir until smooth. Dip the top of each pretzel stick into the white chocolate. Let the excess drip off. Place them on a parchment-lined tray to dry. This will take about 10-15 minutes. (Time estimate: 10 minutes active)
- Arrange the Vegetables: Now for the fun part. Take your broccoli florets and stick them into the dip. Scatter them around like little pine trees or bushes. Add the green pepper strips around the edges to look like grass. Stick the celery pieces in for height variation. The key is to cluster them. Don’t spread them out evenly. Graveyards are messy. (Time estimate: 5 minutes)
- Place the Tombstones: Once the white chocolate on the pretzels is set, take your edible marker and write something funny or spooky on them. “RIP 2023” or “Boo” works well. Stick the pretzels into the dip among the vegetables. Angle them slightly for a crooked, creepy look. (Time estimate: 3 minutes)
- Final Touches: Add any extra greenery like grapes or snap peas in the empty spots. Tweak the placement of the tombstones. Step back and look at it. Does it look like a graveyard? If not, add more veggies. (Time estimate: 2 minutes)
The whole process should take about 15-20 minutes if you’re efficient. The hardest part is waiting for the chocolate to dry. But you can skip that if you’re in a huge rush. Just stick the pretzels in plain. It still works.
Cooking Tips & Techniques
I learned the hard way that soggy pretzels are a tragedy. If you make this tray too far in advance, the pretzels will absorb moisture from the dip and get soft. To avoid this, keep the tombstones separate until the last minute. Or, use a thicker dip. The cheddar cheese helps thicken it up. Also, don’t overmix the dip. If you mix it too much, it can become too runny. Just mix until combined. Another tip: use room temperature veggies. Cold veggies from the fridge can condense and make the dip watery. Let them sit out for a bit before assembling. And don’t skimp on the garlic. It’s the flavor booster. If you’re worried about garlic breath, use garlic powder instead of fresh cloves. It’s milder. I also like to add a pinch of black pepper to the dip for a little kick. It balances the creaminess. And finally, use a large platter. You want room to spread out. A small plate will look cramped and chaotic in a bad way.
Variations & Adaptations
This recipe is flexible. You can change it up based on what you have or who you’re serving. Here are a few ideas.
- Gluten-Free Option: Swap the pretzel sticks for rice cakes or gluten-free crackers. You can even use thick slices of cucumber or bell pepper as the “tombstones.” Just stick them directly into the dip. It’s a nice low-carb twist.
- Dairy-Free Version: Use a dairy-free cream cheese alternative. It’s not always as thick, so you might need to add a little xanthan gum or just use less liquid. The dip will be tangier, which is actually pretty good. Serve with carrot sticks and snap peas.
- Spicy Kick: Add a dash of cayenne pepper or hot sauce to the dip. It’s surprising and delicious. Great for adults who like a little heat with their snacks.
- Seasonal Swap: In the fall, add apple slices for crunch. In the spring, use asparagus spears. The idea is to use what’s in season. I once used zucchini ribbons for the “grass” and it looked amazing. It’s all about creativity.
My personal favorite variation is adding a layer of hummus under the cream cheese dip. It adds a different texture and flavor profile. It’s earthy and pairs well with the ranch. Try it next time you’re making this.
Serving & Storage Suggestions
Serve this tray at room temperature. Cold dip can be clumpy and hard to spread. Let it sit out for 15 minutes before serving. Pair it with a glass of white wine or a sparkling water for a party vibe. It’s great for appetizers. For storage, keep any leftovers in an airtight container in the fridge. The dip will last for 3-4 days. The veggies might get a little soft, so it’s best to eat them within 24 hours. If you need to reheat anything, you can’t really reheat raw veggies. But the dip can be microwaved briefly to soften it up if it gets too hard in the fridge. The flavors develop over time, so it might taste even better the next day. Just give it a good stir before serving again.
Nutritional Information & Benefits
This Easy Halloween Graveyard Veggie Tray is a healthier alternative to chips and candy. It’s packed with vitamins from the vegetables. The cream cheese dip provides calcium and protein. However, it is calorie-dense due to the dairy. A serving size of about 1 cup of veggies and 2 tablespoons of dip is roughly 150-200 calories. It’s a moderate treat. If you’re watching your sodium, use low-sodium ranch seasoning. It’s a great way to get kids to eat more veggies. They don’t even realize they’re having a healthy snack. It’s a win for wellness. Just be mindful of portion sizes if you’re serving it as a main snack.
Conclusion
This Easy Halloween Graveyard Veggie Tray is more than just a snack. It’s a fun activity. It’s a way to make Halloween special without spending a fortune. I love it because it’s easy, tasty, and visually appealing. It’s perfect for anyone who wants to add a little spooky flair to their party. Try it out and see how your guests react. I bet they’ll be impressed. And don’t forget to customize it. Make it your own. Add your own tombstone messages. Use your favorite veggies. Share your creations online. I’d love to see what you make. Happy Halloween, and happy eating!
FAQs
Can I make the dip ahead of time?
Yes, you can make the dip up to 2 days in advance. Store it in an airtight container in the fridge. Let it come to room temperature before spreading it on the platter. This actually helps the flavors meld together.
What can I use instead of ranch seasoning?
You can use Italian seasoning, herb blend, or just salt, pepper, and dried herbs like dill and parsley. It won’t taste exactly the same, but it will still be delicious.
How do I keep the veggies crisp?
Store the veggies in a separate container in the fridge until you’re ready to assemble. Pat them dry with a paper towel if they look wet. Moisture is the enemy of crispness.
Can I use other vegetables?
Absolutely. You can use cauliflower, radishes, or even cherry tomatoes. Just choose veggies that are sturdy enough to stick into the dip. Avoid watery veggies like cucumber if you want them to stay firm.
Is there a way to make the tombstones without white chocolate?
Yes, you can use cream cheese frosting on the pretzels. Or just leave them plain. You can also draw on them with a food-safe marker directly on the pretzel.
Pin This Recipe!
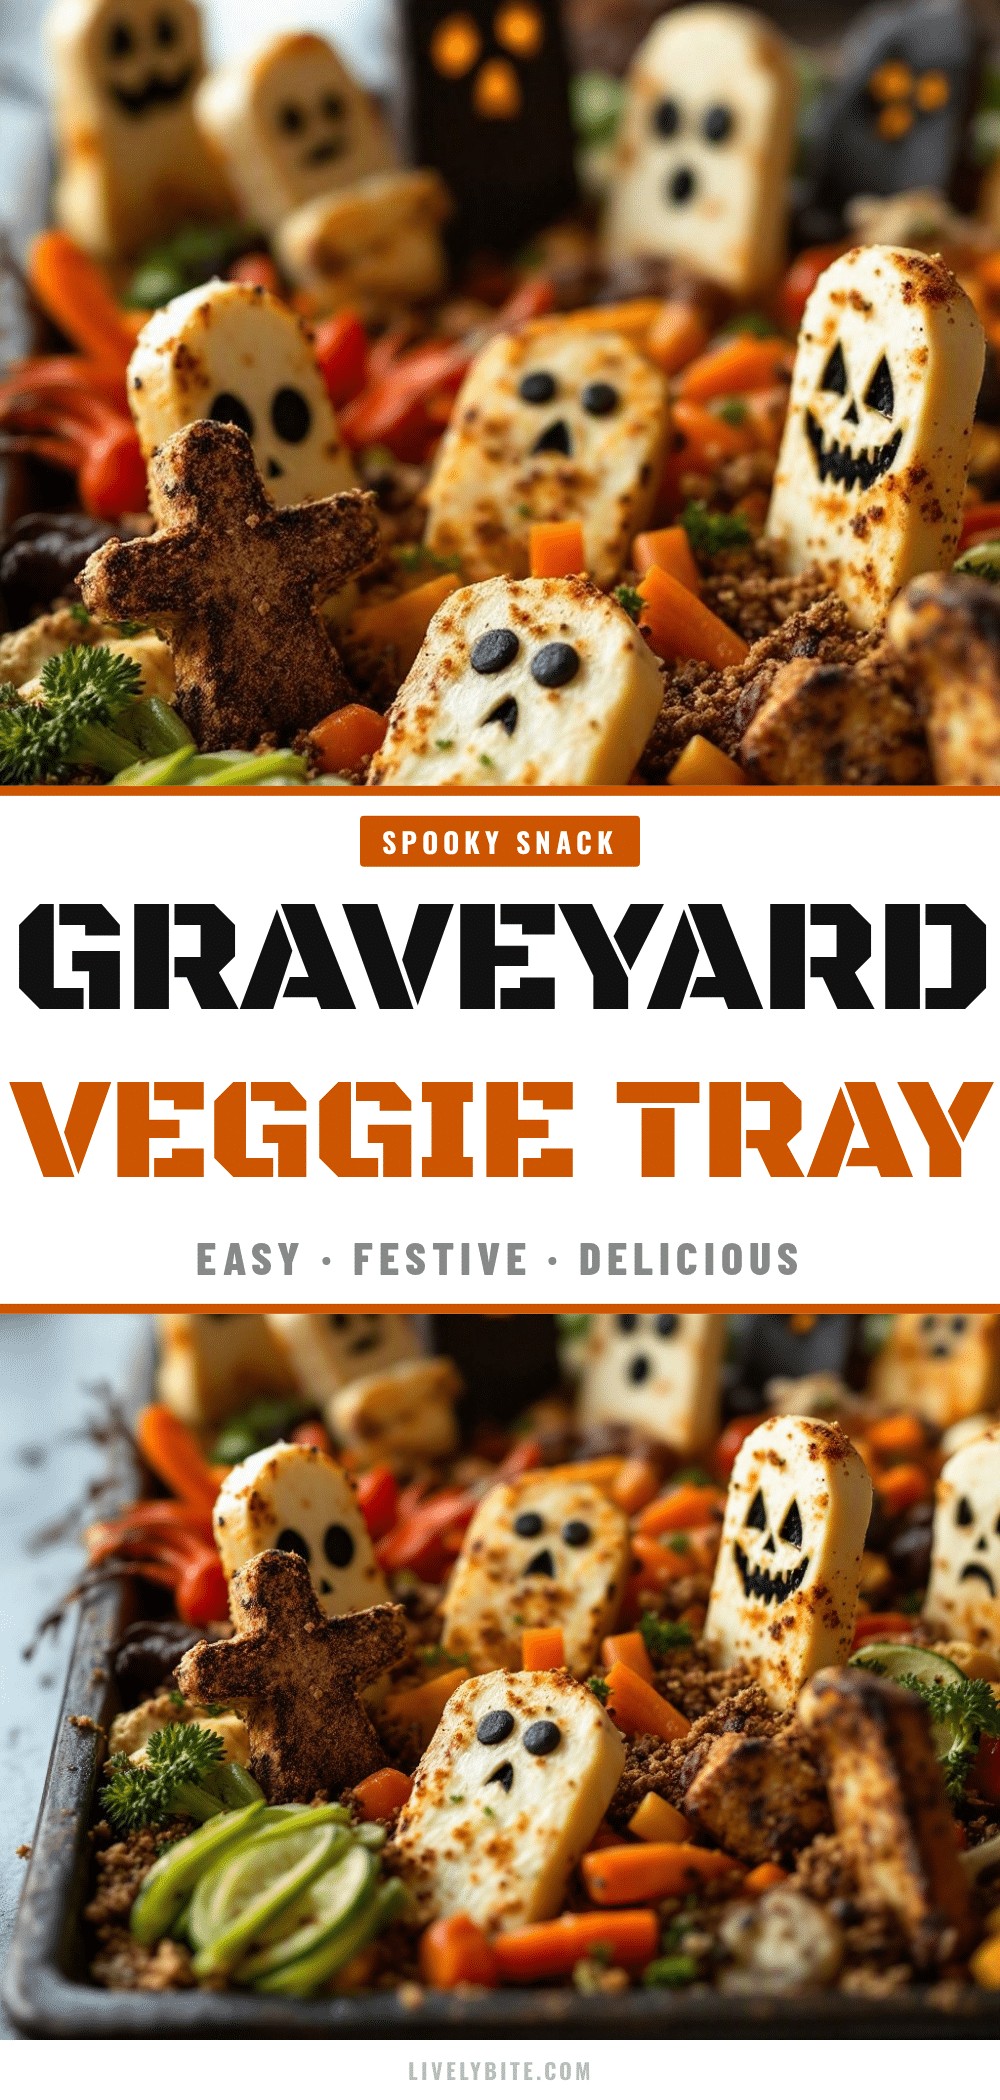
Easy Halloween Graveyard Veggie Tray

A playful, no-cook Halloween appetizer featuring a creamy ranch cream cheese dip spread like dirt, topped with broccoli ‘trees’, celery, and pretzel ‘tombstones’. Perfect for last-minute parties and kid-friendly snacking.
- Prep Time: 15 minutes
- Cook Time: 0 minutes
- Total Time: 15 minutes
- Yield: 8 servings 1x
- Category: Appetizer
- Cuisine: American
Ingredients
- 8 oz block cream cheese, softened
- 1/2 cup sour cream or Greek yogurt
- 1 packet ranch seasoning mix (dry)
- 1/4 cup chives, finely chopped
- 1 clove garlic, minced
- 1/4 cup shredded cheddar cheese (optional)
- Pretzel sticks or pretzel rods
- White chocolate chips or almond bark (for tombstones)
- Black edible markers or gel pens
- Broccoli florets, raw
- Green bell pepper, sliced into thin strips
- Celery sticks, cut into 2-inch pieces
- Green grapes or snap peas (optional)
Instructions
- Soften the cream cheese at room temperature for 30 minutes or microwave in 10-second bursts until smooth.
- In a large mixing bowl, combine softened cream cheese, sour cream, ranch seasoning, minced garlic, chives, and cheddar cheese. Mix until completely smooth.
- Spread the dip mixture onto a large serving platter to create a thick, mound-like layer resembling dirt.
- Melt white chocolate chips in the microwave in 15-second intervals. Dip the top of pretzel sticks into the chocolate and let them dry on parchment paper to create tombstones.
- Stick broccoli florets into the dip to resemble trees or bushes. Arrange green pepper strips around the edges for grass and insert celery pieces for height variation.
- Once the chocolate on the pretzels is set, write spooky messages with edible markers and stick the pretzels into the dip among the vegetables.
- Add final touches with grapes or snap peas and adjust placement for a messy, graveyard look.
Notes
Ensure cream cheese is fully softened to avoid lumps. Keep pretzel tombstones separate until serving to prevent sogginess. Use room temperature veggies to prevent condensation. The dip can be made up to 2 days in advance.
Nutrition
- Serving Size: 1 cup of veggies and
- Calories: 175
- Sugar: 3
- Sodium: 350
- Fat: 12
- Saturated Fat: 7
- Carbohydrates: 10
- Fiber: 2
- Protein: 5
Keywords: Halloween, veggie tray, party snack, easy recipe, kid-friendly, no-cook, appetizer, graveyard theme


