My nephew showed up at my door on a cool October afternoon, and the only thing in my pantry was a bag of marshmallows and a box of cereal that wasn’t quite enough for breakfast. I had a half-eaten bag of candy corn from the previous Halloween sitting on the counter, staring at me. Honestly, I was about to order pizza and call it a day, but he had that hopeful look kids get when they expect you to be the fun aunt who makes something magical out of nothing.
So I stood there, staring at the marshmallows and the candy corn, and something clicked. I mean, Rice Krispie treats are already the ultimate no-fuss dessert, right? Why not throw in some candy corn and make them actually festive? I melted the butter, poured in the marshmallows, and tossed in a handful of those little orange and yellow triangles. The kitchen smelled like a carnival, and my nephew kept peeking over my shoulder asking, “Is it done yet?”
That first batch came out sticky, a little messy, and absolutely perfect. The candy corn softened just enough to blend into the marshmallow mixture, creating these little pockets of sweetness that made every bite different. We sat on the couch, eating them straight from the pan, and I realized this wasn’t just a last-minute save — it was a recipe I’d actually want to make again on purpose. There’s something about that combination of chewy marshmallow, crunchy cereal, and that distinct candy corn flavor that just works.
These Easy Candy Corn Rice Krispie Treats became my go-to fall dessert from that day on. They’re the kind of recipe that feels like a happy accident, even when you plan them. And honestly, that’s the best kind of recipe to share.
Why You’ll Love This Recipe
Let me tell you why these treats have earned a permanent spot in my fall baking rotation. I’ve tested this recipe about six times now — tweaking the candy corn ratio, experimenting with different marshmallow brands, and even trying a version with white chocolate drizzled on top (spoiler: that one’s amazing too). Here’s what makes these Easy Candy Corn Rice Krispie Treats stand out from every other fall dessert you’ll find:
- Quick & Easy: You’re looking at about 15 minutes from start to finish. No oven required, no complicated steps, and zero fancy equipment. This is the kind of recipe you can make while your kid does homework or while you’re catching up on your favorite podcast.
- Simple Ingredients: You probably already have butter and marshmallows in your kitchen right now. The only special ingredient is candy corn, and let’s be real — it’s everywhere from September through November. No need for a special trip to a gourmet grocery store.
- Perfect for Fall Gatherings: These are absolute stars at Halloween parties, Thanksgiving dessert tables, or even just a cozy movie night at home. They’re festive without being fussy, and they travel really well if you need to bring something to a potluck.
- Crowd-Pleaser: I brought a batch to my neighbor’s fall get-together last week, and they disappeared faster than the pumpkin pie. Kids love the candy corn pieces, and adults appreciate that nostalgic Rice Krispie treat texture they grew up with.
- Unbelievably Delicious: There’s something about the way the candy corn melts slightly into the warm marshmallow that creates this incredible sweet, buttery flavor. It’s not overly sugary — it’s balanced in a way that makes you reach for a second piece without thinking twice.
What makes this recipe different from other candy corn desserts is the texture. Most candy corn recipes either leave the candy too hard or melt it into nothing. I figured out the exact moment to add the candy corn so it softens but still holds its shape slightly, giving you those little bursts of flavor in every bite. This isn’t just another version of a classic — it’s the version you’ll actually want to make year after year.
I remember the first time I served these at a family dinner, my mom looked at me and said, “These are dangerous.” And she was right. They’re the kind of treat that makes you close your eyes after the first bite, not because they’re fancy, but because they’re exactly what you didn’t know you were craving. It’s comfort food reimagined — faster, simpler, but with the same soul-soothing satisfaction you expect from a homemade dessert.
What Ingredients You Will Need
This recipe uses simple, pantry-friendly ingredients to create a fall dessert that feels special without requiring a trip to a specialty store. Here’s everything you’ll need and a few notes on how to pick the best options:
- 3 tablespoons unsalted butter (I prefer salted butter in a pinch, but unsalted lets you control the overall saltiness. I use Land O’Lakes because it has a consistent butterfat content that melts evenly.)
- 1 package (10 ounces) marshmallows (Regular size works best here. Mini marshmallows melt faster, but regular ones give you a slightly better texture. Jet-Puffed is my go-to brand because they’re consistently fluffy and melt smoothly without becoming grainy.)
- 6 cups crispy rice cereal (Kellogg’s Rice Krispies are the classic choice, but store brands work fine too. Just make sure it’s the original flavor — avoid the frosted or cocoa versions for this recipe.)
- 1 cup candy corn (This is where the magic happens. I recommend Brach’s candy corn — it’s widely available and has that classic soft texture that works perfectly in this recipe. Avoid the “mummy” or “harvest” mixes that have other candy pieces mixed in, as they can change the texture.)
- 1/4 teaspoon vanilla extract (Optional but highly recommended. It rounds out the sweetness and adds a warm note that complements the candy corn. Pure vanilla extract is best, but imitation works in a pinch.)
- Pinch of salt (Just a tiny pinch — it balances the sweetness and makes the flavors pop. I use fine sea salt because it dissolves easily.)
One thing I learned from my testing is that the quality of your marshmallows really matters. Cheaper brands sometimes don’t melt as smoothly and can leave you with a grainy texture. If you can, spend the extra dollar on a name brand — it makes a noticeable difference in how creamy the final treats turn out.
For the candy corn, freshness is key. Stale candy corn gets hard and doesn’t soften properly in the warm marshmallow mixture. If your candy corn feels rock-hard in the bag, it’s probably too old. Fresh candy corn should have a slight give when you squeeze it gently. I’ve made the mistake of using leftover candy corn from the previous year, and those treats had crunchy bits that just weren’t pleasant.
If you’re looking for a substitution, you can use vegan butter and vegan marshmallows to make this dairy-free. Dandies brand makes excellent vegan marshmallows that melt beautifully. The texture will be slightly different — a bit denser — but still delicious. For a gluten-free version, just double-check that your crispy rice cereal is certified gluten-free, as some brands use malt flavoring that contains gluten.
You can also experiment with different types of candy corn. There are pumpkin-shaped candy corns, chocolate-flavored ones, and even caramel apple versions. I’ve tried the pumpkin ones, and they work great — they have a slightly softer texture that blends even more smoothly into the marshmallow.
Equipment Needed
You don’t need a fully stocked kitchen to make these Easy Candy Corn Rice Krispie Treats. Here’s what you’ll need:
- Large pot or saucepan (A 4-quart pot works perfectly. You need enough room to stir the marshmallows and cereal without spilling over. I use a heavy-bottomed stainless steel pot because it distributes heat evenly and prevents scorching.)
- Rubber spatula or wooden spoon (A silicone spatula is my preferred tool because it doesn’t scratch your pot and makes scraping every last bit of marshmallow easy. A wooden spoon works fine too, but it can be harder to get into the corners.)
- 9×13-inch baking dish (This gives you the perfect thickness — not too thin, not too thick. If you want thicker treats, use an 8×8-inch dish and adjust the cooking time slightly. Just know they’ll be harder to cut neatly.)
- Parchment paper or wax paper (This is non-negotiable unless you enjoy scrubbing sticky marshmallow off your dish for twenty minutes. Leave an overhang on two sides so you can lift the entire block out easily.)
- Butter or cooking spray (For greasing your spatula and hands. The marshmallow mixture is incredibly sticky, so you’ll want everything well-lubricated.)
- Sharp knife (A chef’s knife works best for clean cuts. Run it under hot water between cuts to prevent sticking.)
- Measuring cups and spoons (Standard set — nothing fancy needed.)
If you don’t have a 9×13 dish, you can use a rimmed baking sheet. Just press the mixture into an even layer about 3/4-inch thick. The treats will be slightly thinner, but they’ll still taste amazing. I’ve also used a glass casserole dish in a pinch, and it worked fine — just make sure to grease it well.
A tip I picked up from years of making Rice Krispie treats: keep a small bowl of water nearby. Dip your fingers in the water before pressing the mixture into the dish, and the marshmallow won’t stick to your hands. It’s a game-changer, honestly.
Preparation Method
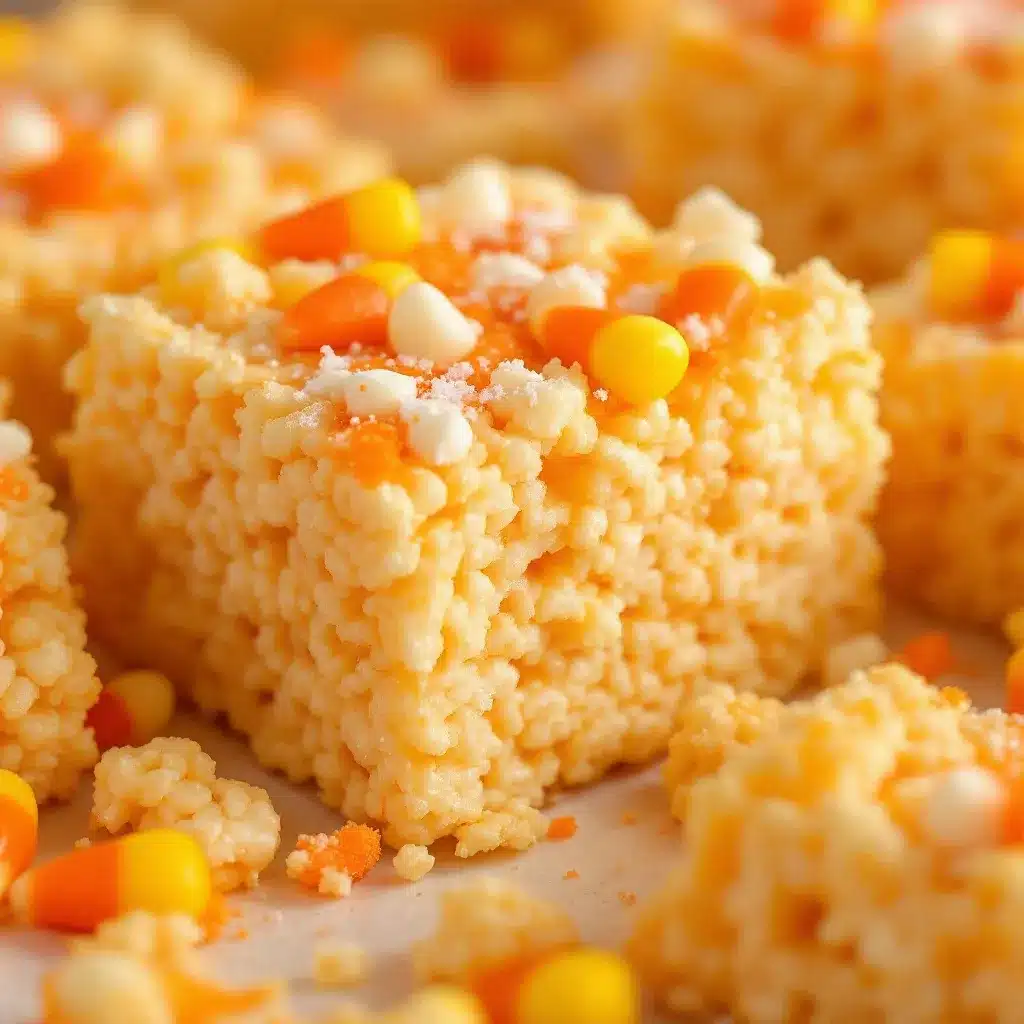
Let me walk you through this step by step, with all the little tricks I’ve picked up along the way. These Easy Candy Corn Rice Krispie Treats come together fast, so have everything measured and ready before you start.
- Prepare your baking dish — Line your 9×13-inch dish with parchment paper, leaving about 2 inches of overhang on the long sides. Lightly grease the parchment with butter or cooking spray. This step might seem fussy, but trust me, you’ll thank yourself later when you lift the entire block of treats out in one piece.
- Melt the butter — Place your large pot over medium-low heat and add the 3 tablespoons of butter. Let it melt slowly, swirling the pan occasionally. You want it fully melted but not bubbling or browning. If the butter starts to sizzle, your heat is too high — turn it down. Burnt butter gives the treats a bitter taste that you can’t cover up.
- Add the marshmallows — Pour the entire 10-ounce bag of marshmallows into the melted butter. Stir constantly with your rubber spatula, scraping the bottom and sides of the pot. The marshmallows will start to puff up and then collapse as they melt. This takes about 3-4 minutes. Keep stirring until you have a smooth, creamy mixture with no lumps.
- Add vanilla and salt — Once the marshmallows are fully melted, remove the pot from the heat. Stir in the vanilla extract and the pinch of salt. The vanilla will sizzle slightly when it hits the hot marshmallow — that’s normal. Mix until everything is well combined.
- Add the candy corn — Here’s the crucial part: add 3/4 cup of your candy corn to the warm marshmallow mixture and stir gently. You want the candy corn to soften but not completely dissolve. It should take about 15-20 seconds of stirring. The candy corn will start to lose its shape slightly and streak orange and yellow into the marshmallow. Reserve the remaining 1/4 cup of candy corn for the top.
- Fold in the cereal — Add the 6 cups of crispy rice cereal to the pot. Fold everything together gently but thoroughly. Use a cutting motion with your spatula to incorporate the cereal without crushing it. You want the cereal coated evenly with the marshmallow mixture. This takes about 1-2 minutes. The mixture will be very sticky and a little hard to stir — that’s exactly right.
- Press into the dish — Scrape the mixture into your prepared baking dish. Lightly grease your hands or a spatula with butter or cooking spray. Press the mixture into an even layer, working from the center outward. Don’t press too hard — you want the treats to be compact but not dense. If you press too firmly, they’ll turn out hard and chewy instead of light and tender.
- Add the topping — While the treats are still warm, press the remaining 1/4 cup of candy corn into the top. Space them evenly so every piece gets a few visible candies. Press them in just enough so they stick — about halfway into the surface.
- Let them set — Allow the treats to cool completely at room temperature. This takes about 30-45 minutes. Don’t rush this by putting them in the fridge — the condensation can make them soggy. You’ll know they’re ready when the top feels firm to the touch and the mixture has set into a solid block.
- Cut and serve — Lift the entire block out of the dish using the parchment overhang. Place it on a cutting board. Use a sharp knife to cut into squares. I usually go for 12 large squares or 24 smaller ones. Run the knife under hot water between cuts for cleaner edges.
A few sensory cues to watch for: when you’re stirring the marshmallows, they should look like thick, glossy lava — smooth and flowing. When you add the cereal, you should hear a slight crackling sound as the warm marshmallow hits the crisp rice. And when you press the mixture into the dish, it should feel warm and pliable, not stiff or dry. If it feels too dry, you might have overcooked the marshmallows. Next time, take them off the heat a little sooner.
Cooking Tips & Techniques
After making these Easy Candy Corn Rice Krispie Treats more times than I care to count, I’ve collected a few tricks that make the process smoother and the results better. Here’s what I wish someone had told me when I first started:
Low and slow is the rule. I know it’s tempting to crank up the heat to melt the marshmallows faster, but don’t do it. High heat makes the sugar in the marshmallows seize up, leaving you with a grainy, stiff mixture that’s impossible to stir. Keep your burner on medium-low and be patient. That extra two minutes is worth it for a silky-smooth result.
Don’t overmix the cereal. I made this mistake the first few times. I thought I needed to stir until every single piece of cereal was perfectly coated, but that just crushed the cereal and made the treats dense and hard. Fold gently, and stop when about 90% of the cereal is coated. The residual heat will finish the job as you press the mixture into the dish.
Use a wet knife for clean cuts. This is the single best tip I can give you. Run your knife under hot water before each cut, and wipe it dry with a paper towel. The heat helps the knife slide through the marshmallow without dragging or sticking. Your cuts will be clean and professional-looking, which makes a huge difference if you’re serving these at a party.
Watch your candy corn timing. If you add the candy corn too early, it will melt completely into the marshmallow, and you’ll lose that distinct flavor and color contrast. If you add it too late, it won’t soften at all, and you’ll have hard pieces that feel out of place. The sweet spot is right after you remove the pot from the heat, when the marshmallow is still very warm but not boiling. Stir just enough to distribute the candy corn, then stop.
Keep a bowl of water nearby. When you’re pressing the mixture into the dish, dip your fingers in water every few seconds. The water creates a barrier between your skin and the sticky marshmallow, so nothing sticks. It’s a simple trick, but it makes the whole process so much less frustrating.
One failure I’ll admit to: I once tried to double the recipe in the same pot. Don’t do that. The mixture was so thick I couldn’t stir it properly, and the marshmallows scorched on the bottom. The treats came out with a burnt flavor that ruined the whole batch. If you need a double batch, make it in two separate rounds. It takes a little longer, but the results are worth it.
Variations & Adaptations
One of the best things about this recipe is how easy it is to customize. Here are a few variations I’ve tried and loved:
Chocolate Drizzle Version: After the treats have set, melt 1/2 cup of white chocolate or milk chocolate chips with a teaspoon of coconut oil. Drizzle the melted chocolate over the top in zigzag patterns. Let it set for about 15 minutes before cutting. The chocolate adds a rich counterpoint to the sweet candy corn, and it looks gorgeous on a dessert table. I made this version for a Halloween party last year, and people kept asking if I bought them from a bakery.
Pumpkin Spice Twist: Add 1 teaspoon of pumpkin pie spice to the marshmallow mixture along with the vanilla. The warm spices — cinnamon, nutmeg, ginger, and cloves — pair beautifully with the candy corn flavor. You can also swap the candy corn for pumpkin-shaped candy corn for extra festive vibes. This version tastes like fall in every single bite.
Nutty Crunch Addition: Fold in 1/2 cup of chopped pecans or walnuts along with the cereal. The nuts add a savory crunch that balances the sweetness and gives the treats a more grown-up feel. I prefer pecans because they’re buttery and mild, but walnuts work great too. Toast the nuts in a dry pan for 3-4 minutes first to bring out their flavor.
Vegan Adaptation: Use vegan butter (I like Earth Balance) and vegan marshmallows (Dandies brand works best). The texture will be slightly denser, but the flavor is still spot-on. Make sure your crispy rice cereal is vegan-friendly — most are, but check the label to be safe. I’ve made this version for a friend with dairy allergies, and she couldn’t tell the difference.
Gluten-Free Option: Most crispy rice cereals are naturally gluten-free, but some brands use malt flavoring that contains gluten. Look for certified gluten-free cereal to be safe. The rest of the ingredients are naturally gluten-free, so this adaptation is as simple as swapping the cereal.
Mini Treats for Lunchboxes: Instead of pressing the mixture into a 9×13 dish, drop spoonfuls onto a parchment-lined baking sheet to create individual bite-sized treats. They cool faster, are perfect for portion control, and look adorable in lunchboxes or party favor bags.
If you enjoy experimenting with simple, customizable desserts, you might also like this creamy vegan chocolate avocado pudding — it’s another no-bake treat that comes together in minutes and is endlessly adaptable.
Serving & Storage Suggestions
These Easy Candy Corn Rice Krispie Treats are best served at room temperature, straight from the pan. The texture is perfectly chewy with just the right amount of crunch from the cereal. If you’re serving them at a party, arrange them on a platter with some extra candy corn scattered around for a festive look.
For a fun presentation, cut the treats into small triangles to mimic the shape of candy corn. It’s a cute visual nod to the flavor and makes them instantly recognizable as a fall treat. I did this for a Halloween party once, and guests couldn’t stop commenting on how clever it looked.
These treats pair beautifully with warm beverages. Serve them alongside a cup of hot apple cider, a pumpkin spice latte, or even a simple cup of coffee. The sweetness of the treats balances the bitterness of coffee perfectly. For a kid-friendly option, a glass of cold milk is the classic choice — and for good reason.
If you’re planning a fall-themed dinner, these treats make a great dessert after a savory meal like easy lemon herb salmon sheet pan dinner. The contrast between the bright, herby salmon and the sweet, sticky treats is surprisingly satisfying.
Storage Instructions: Store the treats in an airtight container at room temperature for up to 5 days. Layer them between sheets of parchment paper to prevent sticking. Do not refrigerate — the cold temperature makes them hard and dry. If your kitchen is very humid, they might get sticky after a few days, so eat them sooner rather than later.
Freezer Instructions: These treats freeze beautifully for up to 3 months. Wrap each piece individually in plastic wrap, then place them in a freezer-safe bag or container. To thaw, let them sit at room temperature for about 30 minutes. The texture will be slightly softer than fresh, but still delicious. I often make a double batch and freeze half for last-minute cravings or unexpected guests.
Reheating Tips: If you want that just-made softness back, microwave a single treat for 5-8 seconds. Don’t overdo it — 10 seconds can make them too soft and melty. For a fun twist, you can also warm them in a 300°F oven for 3-4 minutes. They come out warm and gooey, almost like a fresh-baked cookie.
A note on flavor development: These treats actually taste better the day after you make them. The flavors meld together overnight, and the candy corn flavor becomes more integrated into the marshmallow. So if you’re making them for a party, prepare them a day ahead for the best flavor.
Nutritional Information & Benefits
Let’s be honest — these Easy Candy Corn Rice Krispie Treats are a dessert, not a health food. But here’s the nutritional breakdown for one large treat (based on 12 servings):
| Nutrient | Amount per Serving |
|---|---|
| Calories | 210 |
| Total Fat | 6g |
| Saturated Fat | 3.5g |
| Carbohydrates | 38g |
| Sugar | 22g |
| Protein | 1g |
| Sodium | 150mg |
These values are estimates and will vary based on the specific brands you use and how you cut your treats.
While these treats are definitely a splurge, there are a few small silver linings. The crispy rice cereal provides a small amount of iron and B vitamins since it’s typically fortified. The butter adds a touch of vitamin A. And honestly, sometimes the mental health benefit of enjoying a sweet treat with people you love is just as important as any nutritional value.
If you’re watching your sugar intake, you can reduce the candy corn to 1/2 cup and still get plenty of flavor. The treats won’t be as colorful, but they’ll be a little less sweet. For a lower-calorie version, use a butter spray instead of full butter — though I’ll warn you, the texture won’t be as rich.
These treats are vegetarian, but they’re not vegan (unless you use the substitutions I mentioned earlier). They contain dairy from the butter, and the marshmallows typically contain gelatin, so they’re not suitable for a strict vegetarian or halal diet. Always check your ingredient labels if you’re serving someone with dietary restrictions.
I like to balance these treats with something lighter during the day. If I know I’m making them for dessert, I’ll have a lighter lunch or a big salad for dinner. It’s all about balance, right? For a refreshing counterpoint, try serving them alongside a refreshing cucumber mint green tea cooler — the clean, herbal flavors are a nice contrast to the sweetness.
Conclusion
These Easy Candy Corn Rice Krispie Treats have become my secret weapon for fall gatherings, and I think they’ll become yours too. They’re quick enough for a Tuesday night craving, festive enough for a Halloween party, and simple enough that you can make them with kids without losing your mind. Honestly, what more could you ask for from a dessert?
What I love most about this recipe is how forgiving it is. You can tweak the candy corn amount, swap in different mix-ins, or adjust the thickness — and it always turns out delicious. It’s the kind of recipe that builds your confidence in the kitchen because it’s so hard to mess up. And when you nail it, the reaction from everyone who tries it is pure joy.
I’d love to hear how your batch turns out. Did you add a chocolate drizzle? Try the pumpkin spice version? Or maybe you came up with your own twist? Drop a comment below and let me know — I read every single one, and I love seeing how people make these recipes their own. And if you’re looking for more easy dessert ideas, check out the recipes section for more inspiration.
Until next time, happy baking — and don’t forget to save a piece for yourself before they disappear!
Frequently Asked Questions
Can I use mini marshmallows instead of regular ones?
Yes, you can! Mini marshmallows actually melt faster than regular ones, so you’ll need to watch them more closely to prevent scorching. Use about 6 cups of mini marshmallows to replace the 10-ounce bag of regular marshmallows. The texture will be slightly smoother since mini marshmallows have more surface area and melt more evenly.
Why did my Rice Krispie treats turn out hard?
This usually happens for one of two reasons: you overcooked the marshmallows, or you pressed the mixture too firmly into the dish. Marshmallows should be melted just until smooth — if you keep cooking them, the sugar crystallizes and makes the treats hard. And when pressing the mixture into the dish, use a gentle hand. You want them compact but not dense.
Can I use stale candy corn?
I wouldn’t recommend it. Stale candy corn is hard and dry, and it won’t soften properly in the warm marshmallow mixture. You’ll end up with crunchy bits that don’t blend well with the soft, chewy texture of the treats. Fresh candy corn should have a slight give when you squeeze it. If your candy corn feels rock-hard, it’s time to buy a new bag.
How do I prevent the treats from sticking to the knife when cutting?
Run your knife under hot water before each cut, then wipe it dry with a paper towel. The heat helps the blade slide through the marshmallow without dragging. You can also spray the knife lightly with cooking spray, but the hot water method works better and doesn’t leave any residue on the treats.
Can I make these treats ahead of time?
Absolutely! These treats actually taste better the day after you make them because the flavors have time to meld. Store them in an airtight container at room temperature for up to 5 days. For longer storage, freeze individual pieces wrapped in plastic wrap for up to 3 months. Just let them thaw at room temperature before serving.
Pin This Recipe!
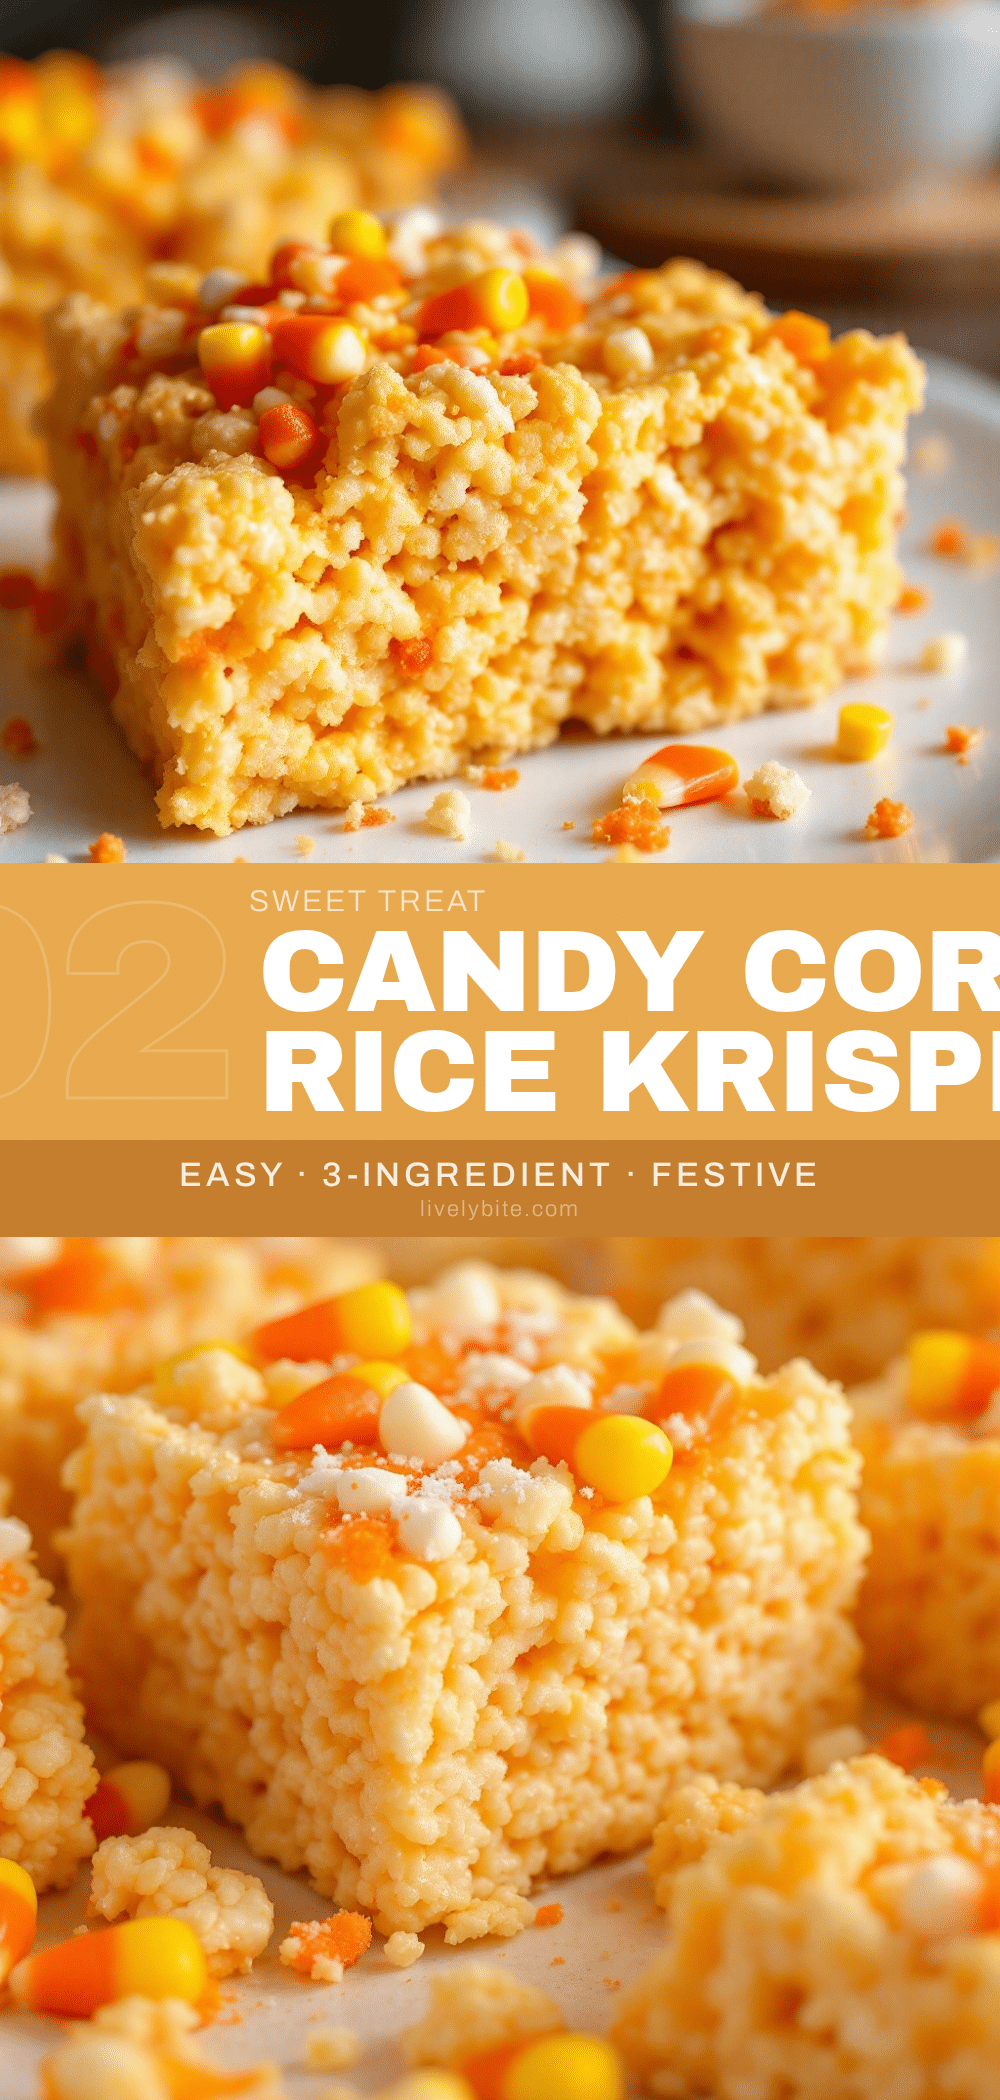
Easy Candy Corn Rice Krispie Treats: Best Fall Dessert Recipe

These Easy Candy Corn Rice Krispie Treats are a quick, no-fuss fall dessert that combines chewy marshmallow, crunchy cereal, and sweet candy corn for a festive treat ready in just 15 minutes.
- Prep Time: 5 minutes
- Cook Time: 10 minutes
- Total Time: 15 minutes
- Yield: 12 servings 1x
- Category: Dessert
- Cuisine: American
Ingredients
- 3 tablespoons unsalted butter
- 1 package (10 ounces) marshmallows
- 6 cups crispy rice cereal
- 1 cup candy corn
- 1/4 teaspoon vanilla extract (optional)
- Pinch of salt
Instructions
- Line a 9×13-inch baking dish with parchment paper, leaving about 2 inches of overhang on the long sides. Lightly grease the parchment with butter or cooking spray.
- Place a large pot over medium-low heat and melt 3 tablespoons of butter slowly, swirling occasionally, until fully melted but not bubbling or browning.
- Pour the entire 10-ounce bag of marshmallows into the melted butter. Stir constantly with a rubber spatula, scraping the bottom and sides, until the marshmallows are fully melted and smooth (about 3-4 minutes).
- Remove the pot from the heat. Stir in the vanilla extract and pinch of salt until well combined.
- Add 3/4 cup of candy corn to the warm marshmallow mixture and stir gently for 15-20 seconds until the candy corn softens but does not completely dissolve. Reserve the remaining 1/4 cup for the top.
- Add 6 cups of crispy rice cereal to the pot. Fold together gently with a cutting motion until the cereal is evenly coated (about 1-2 minutes).
- Scrape the mixture into the prepared baking dish. Lightly grease your hands or a spatula with butter or cooking spray, then press the mixture into an even layer, working from the center outward. Do not press too hard.
- While the treats are still warm, press the remaining 1/4 cup of candy corn into the top, spacing them evenly and pressing them about halfway into the surface.
- Allow the treats to cool completely at room temperature (about 30-45 minutes) until firm to the touch.
- Lift the entire block out of the dish using the parchment overhang. Place on a cutting board and cut into squares using a sharp knife (run the knife under hot water between cuts for cleaner edges).
Notes
For best results, use fresh candy corn that has a slight give when squeezed. Do not refrigerate the treats as they will become hard and dry. They actually taste better the day after making them. For clean cuts, run the knife under hot water between each cut.
Nutrition
- Serving Size: 1 large square
- Calories: 210
- Sugar: 22
- Sodium: 150
- Fat: 6
- Saturated Fat: 3.5
- Carbohydrates: 38
- Protein: 1
Keywords: candy corn, Rice Krispie treats, fall dessert, Halloween treats, no-bake dessert, easy dessert, kid-friendly


