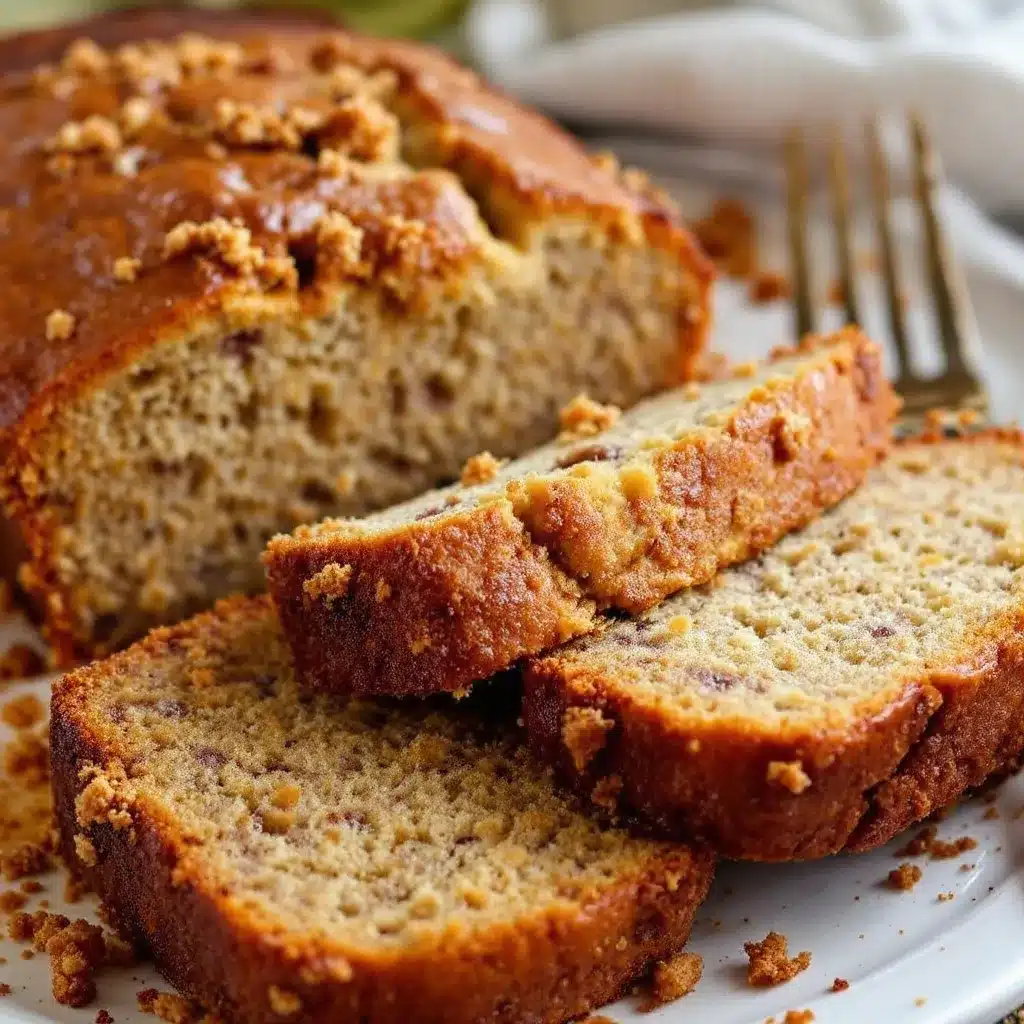
“Is this banana bread or is this cake?” My neighbor leaned over the counter, fork already mid-air, and I knew exactly what she meant. I had just pulled a loaf from the oven—dark golden, cracked right down the middle, the kind of crack that promises something special underneath. She took a bite and just closed her eyes for a second. That’s the thing about this sour cream banana bread. It makes people stop talking.
I’ve made a lot of banana bread over the years. Too much, honestly. The kind that comes out dry and crumbly no matter how ripe the bananas are. The kind that tastes fine but doesn’t make you want a second slice. This one is different, and the secret is sitting right there in the name. Sour cream. It sounds simple because it is. But the difference it makes is anything but.
The first time I tested this recipe, I was just trying to use up the last of a container of sour cream before it went bad. I wasn’t expecting much. But when I cut into that first loaf, the texture was so soft and tender I actually checked to make sure I hadn’t forgotten something. I hadn’t. The sour cream does all the heavy lifting, keeping the crumb moist without making it dense or greasy. It’s the kind of recipe that feels like a discovery, even though it’s just a smart little swap.
I’ve made this for brunches, for sick friends, for Tuesday afternoons when I needed something warm and familiar. It never lasts long. And honestly? I think that’s the highest compliment a banana bread can get.
Why You’ll Love This Recipe
This isn’t just another banana bread recipe. I’ve tested enough dry loaves to know the difference, and this one sits firmly in the “dangerously good” category. Here’s why it works:
- One Bowl, Zero Fuss: No stand mixer needed. No creaming butter and sugar for ten minutes. Just one bowl, a whisk, and a spatula. You can have the batter ready before the oven even finishes preheating.
- Unbelievably Moist Crumb: The sour cream adds fat and acidity, which tenderizes the gluten and keeps every single bite soft. It’s not wet or gummy—just perfectly, evenly moist from edge to center.
- Perfectly Balanced Sweetness: This recipe uses just enough sugar to complement the natural sweetness of overripe bananas without overwhelming them. It tastes like banana bread, not banana-flavored cake.
- Pantry-Friendly Ingredients: You probably already have everything you need. Butter, sugar, eggs, flour, bananas, and sour cream. That’s it. No weird extracts or specialty flours required.
- Foolproof for Beginners: I’ve taught this recipe to people who’ve never baked anything in their lives. It always works. The batter is forgiving, the bake time is reliable, and the results are consistently gorgeous.
- Freezes Like a Dream: Make two loaves. Freeze one. You’ll thank yourself later when you have a slice ready to toast on a busy morning.
This is the recipe I send to friends when they text me saying they have brown bananas and no idea what to do. It’s the one that gets requested for every potluck and holiday brunch. And it’s the one I make when I need something that feels like a hug in loaf form.
What Ingredients You Will Need
Every ingredient here plays a specific role, and none of them are complicated. You probably have most of these in your kitchen right now. Let’s break down what you need and why each one matters.
For the Banana Bread Batter
- 1 ½ cups (190g) all-purpose flour – Spoon and level it. Scooping directly from the bag packs in too much flour and makes the bread dense. If you want to swap, whole wheat pastry flour works well, but stick with all-purpose for the classic texture.
- 1 teaspoon baking soda – This is your leavener. Make sure it’s fresh. If it doesn’t fizz when you drop a pinch into vinegar, toss it and buy a new box.
- ½ teaspoon salt – Fine sea salt or table salt. It balances the sweetness and brings out the banana flavor.
- ½ cup (113g) unsalted butter, melted and slightly cooled – Melted butter gives you that tender, rich crumb without needing to cream anything. I use salted butter in a pinch and just reduce the added salt to ¼ teaspoon.
- ¾ cup (150g) granulated sugar – Regular white sugar. It dissolves easily and keeps the texture light. You can swap up to half with brown sugar for a deeper flavor, but don’t go full brown sugar or the bread gets too dense.
- 2 large eggs, room temperature – Room temperature eggs blend into the melted butter smoothly instead of seizing up. If you forgot to take them out, place them in a bowl of warm water for five minutes.
- 1 teaspoon vanilla extract – Pure vanilla extract adds warmth and depth. Imitation works fine too, just use the same amount.
- 1 cup (about 2-3 medium) very ripe bananas, mashed – The riper the better. You want them speckled with brown spots, or even fully black. That’s where the sweetness and banana flavor are strongest. Mash them with a fork until mostly smooth with a few small lumps.
- ½ cup (120g) full-fat sour cream, room temperature – This is the star of the show. Full-fat sour cream gives the best moisture and tenderness. Low-fat or Greek yogurt can work in a pinch, but the texture won’t be quite as soft. Let it come to room temperature so it blends evenly.
Optional Add-Ins
- ½ cup chopped walnuts or pecans – Toast them first for extra flavor. Fold them in gently at the end.
- ½ cup chocolate chips – Semi-sweet or dark. They add little pockets of melty goodness throughout the loaf.
- 1 tablespoon turbinado sugar – Sprinkle on top before baking for a crunchy, sparkly crust.
I usually stick with the base recipe and add a handful of walnuts because I love the texture contrast. But honestly, this bread is so good plain that you don’t need anything extra.
Equipment Needed
You don’t need a fancy bakery setup for this recipe. Just a few basic tools that you probably already own.
- 9×5-inch loaf pan – Standard size. If you use an 8×4 pan, the bread will take longer to bake and might dome too much. If you use a 10-inch pan, it will bake faster and be shallower. Stick with 9×5 for the best results.
- Large mixing bowl – Any bowl big enough to whisk everything without splashing.
- Whisk and rubber spatula – The whisk for combining dry ingredients and the spatula for folding everything together gently.
- Parchment paper – Line the pan with a sling of parchment paper. It makes lifting the loaf out so much easier, and cleanup is a breeze. If you don’t have parchment, grease the pan thoroughly with butter or nonstick spray.
- Cooling rack – Letting the bread cool in the pan for 10 minutes, then transferring it to a rack, prevents the bottom from getting soggy.
- Measuring cups and spoons – For accuracy. I prefer using a kitchen scale for flour, but measuring cups work fine if you spoon and level.
I’ve made this recipe in a glass loaf pan, a metal one, and even a ceramic dish. Metal pans give the best browning. Glass and ceramic take a bit longer to bake, so just keep an eye on it and test with a toothpick.
Preparation Method
Let’s get baking. This is a straightforward process, but I’ll walk you through every step so you know exactly what to look for.
- Preheat your oven to 350°F (175°C). Position the rack in the center of the oven. While it’s heating, line your loaf pan with a strip of parchment paper, leaving some overhang on the long sides. This creates handles for lifting the bread out later. Lightly grease the exposed ends with butter or nonstick spray.
- Mash your bananas. In a small bowl, mash the bananas with a fork until they’re mostly smooth with a few small lumps. You want about 1 cup of mashed banana. Set them aside. If your bananas aren’t super ripe, you can microwave them for 30 seconds to soften and sweeten them up a bit.
- Whisk the dry ingredients. In your large mixing bowl, whisk together the flour, baking soda, and salt. Make sure the baking soda is evenly distributed. Set this bowl aside for now.
- Mix the wet ingredients. In a separate medium bowl (or the same bowl if you’re doing this in stages), whisk together the melted butter and sugar until well combined. It will look a bit grainy, and that’s fine. Add the eggs one at a time, whisking well after each addition. Stir in the vanilla extract, mashed bananas, and sour cream. The mixture will look a little lumpy and separated—that’s completely normal.
- Combine wet and dry. Pour the wet ingredients into the bowl with the dry ingredients. Use your rubber spatula to fold everything together gently. Stir just until you no longer see streaks of flour. A few small lumps are okay. Overmixing will develop gluten and make the bread tough, so stop as soon as it comes together.
- Fold in any add-ins. If you’re using nuts, chocolate chips, or both, gently fold them in at this point. Scrape the bottom of the bowl to make sure everything is evenly distributed.
- Pour the batter into the prepared pan. Use your spatula to spread it evenly. Give the pan a gentle tap on the counter to release any air bubbles. If you want a crunchy top, sprinkle the turbinado sugar over the batter now.
- Bake for 50-60 minutes. Start checking at the 50-minute mark. The bread is done when a toothpick inserted into the center comes out clean or with just a few moist crumbs attached. The top should be deep golden brown and cracked beautifully. If the top is browning too quickly around the 40-minute mark, tent the pan loosely with aluminum foil.
- Cool in the pan for 10 minutes. Place the pan on a cooling rack. After 10 minutes, use the parchment sling to lift the bread out of the pan and transfer it directly to the rack. Let it cool completely before slicing. I know it’s tempting, but slicing while it’s warm will give you crumbly, gummy slices. Patience pays off here.
One thing I learned the hard way: don’t open the oven door for the first 40 minutes. The bread needs that steady heat to rise properly. Peeking causes temperature fluctuations that can lead to a sunken center.
Cooking Tips & Techniques
I’ve made this banana bread more times than I can count, and I’ve definitely made my share of mistakes along the way. Here are the tips I wish someone had told me from the start.
Use overripe bananas. This is non-negotiable. Green or yellow bananas don’t have enough sugar or flavor. You want them spotty, soft, and smelling sweet. If your bananas aren’t there yet, place them on a baking sheet in a 300°F oven for 15-20 minutes until the skins turn black. Let them cool, then mash. It works like magic.
Don’t overmix the batter. I cannot stress this enough. Stir until the flour disappears, then stop. Overmixing activates gluten, which gives you a tough, rubbery loaf instead of a tender, moist one. A few streaks of flour are fine. They’ll disappear as you fold.
Room temperature ingredients matter. Cold eggs and cold sour cream will seize up the melted butter, leaving you with a lumpy batter that doesn’t bake evenly. Take everything out of the fridge 30 minutes before you start. If you forget, place the eggs in a bowl of warm water for 5 minutes and microwave the sour cream in 10-second bursts until it’s no longer cold to the touch.
Check for doneness properly. A toothpick test is reliable, but make sure you insert it into the center crack. That’s the thickest part and the last to bake. If the toothpick comes out wet with batter, bake for 5 more minutes and test again. If it comes out with a few moist crumbs, it’s perfect.
Let it cool completely. I know it feels impossible to wait, but slicing warm banana bread is a recipe for crumbly disappointment. The structure needs time to set. I usually make this bread in the evening so it’s ready to slice by morning. If you absolutely must have a warm slice, microwave it for 10 seconds after it’s fully cooled.
Variations & Adaptations
This base recipe is fantastic on its own, but it’s also a great canvas for customization. Here are some of my favorite variations.
Chocolate Chip Sour Cream Banana Bread: Fold in ½ cup of semi-sweet chocolate chips along with the flour mixture. The chocolate melts into little pockets of richness that pair beautifully with the tangy sour cream. I’ve also used dark chocolate chunks when I wanted something a little less sweet.
Gluten-Free Version: Swap the all-purpose flour with a 1:1 gluten-free baking flour blend that contains xanthan gum. I’ve tested this with Bob’s Red Mill 1:1 Baking Flour and it works perfectly. The texture is slightly more delicate, but still incredibly moist. Just be gentle when folding.
Vegan Adaptation: Use melted coconut oil or vegan butter instead of dairy butter. Replace the eggs with two flax eggs (2 tablespoons ground flaxseed mixed with 6 tablespoons water, let sit for 5 minutes). Use a plant-based sour cream or a thick coconut yogurt. The texture will be a bit denser, but still deliciously moist.
Spiced Banana Bread: Add 1 teaspoon of cinnamon, ½ teaspoon of nutmeg, and ¼ teaspoon of ground ginger to the dry ingredients. It gives the bread a warm, cozy flavor that’s perfect for fall. I sometimes add a pinch of cardamom too, because it’s my secret weapon in sweet baking.
Blueberry Sour Cream Banana Bread: Gently fold in 1 cup of fresh or frozen blueberries (don’t thaw them) at the end. Toss them in a tablespoon of flour first to prevent them from sinking to the bottom. The burst of tart fruit against the sweet banana bread is incredible.
I personally love the chocolate chip version for weekend baking, but the spiced version is my go-to during the holidays. Either way, you really can’t go wrong.
Serving & Storage Suggestions
This banana bread is versatile enough for breakfast, snack time, or dessert. Here’s how to serve it and keep it fresh.
Serving: Let the bread cool completely, then slice it into 1-inch thick pieces. Serve at room temperature for the softest texture. If you want a little indulgence, toast a slice and spread it with salted butter or a drizzle of honey. It’s also fantastic with a dollop of Greek yogurt and fresh berries on the side for a more balanced breakfast.
Storage at Room Temperature: Wrap the loaf (or individual slices) tightly in plastic wrap or aluminum foil. Store it in an airtight container at room temperature for up to 4 days. The sour cream keeps it moist for longer than regular banana bread, so it stays soft and delicious for days.
Refrigeration: If you live in a warm or humid climate, you can store the wrapped bread in the refrigerator for up to a week. Just let it come to room temperature before serving, or toast it straight from the fridge. The texture will be slightly firmer, but still good.
Freezing: This bread freezes beautifully. Wrap the fully cooled loaf tightly in plastic wrap, then in a layer of aluminum foil. Freeze for up to 3 months. To thaw, leave it on the counter overnight, still wrapped. You can also freeze individual slices—just wrap each one in plastic wrap and store them in a freezer bag. Grab a slice whenever you need a quick treat.
Reheating: For that just-baked experience, microwave a slice for 10-15 seconds. For a slightly crisper exterior, toast it in a toaster or under the broiler for a minute. The warmth brings out the banana flavor and makes the texture extra soft.
Nutritional Information & Benefits
While this banana bread is definitely a treat, it does have some redeeming qualities beyond its incredible taste.
Estimated per slice (1/12 of loaf, without add-ins):
- Calories: 245
- Fat: 12g
- Carbohydrates: 32g
- Fiber: 1g
- Sugar: 17g
- Protein: 4g
Key Ingredient Benefits:
- Bananas are a great source of potassium, vitamin B6, and vitamin C. They also provide natural sweetness, which allows us to use less refined sugar.
- Sour cream adds calcium and a small amount of protein. The fermentation process also makes it easier to digest for some people compared to other dairy products.
- Eggs provide high-quality protein and essential nutrients like choline, which supports brain health.
Dietary Considerations: This recipe is vegetarian. For a gluten-free option, use a 1:1 gluten-free flour blend. For a dairy-free option, use plant-based butter and sour cream alternatives. It contains gluten, dairy, and eggs, so it’s not suitable for those with related allergies without modifications.
I like to think of this banana bread as a wholesome indulgence. It’s not health food, but it’s made with real ingredients that nourish you while also making you happy. That’s a balance I can get behind.
Frequently Asked Questions
Can I use Greek yogurt instead of sour cream?
Yes, you can. Greek yogurt will work as a substitute in a pinch. However, full-fat sour cream gives a slightly richer, more tender crumb because of its higher fat content. If you use Greek yogurt, choose full-fat and let it come to room temperature. The texture will be a little less soft, but still delicious.
Why did my banana bread sink in the middle?
A sunken center usually means the bread was underbaked or the oven door was opened too early. Make sure your oven is fully preheated and don’t open the door for the first 40 minutes of baking. Also, check that your baking soda is fresh. Expired leavener won’t give enough rise, and the center can collapse as it cools.
Can I make this recipe into muffins?
Absolutely. Grease a 12-cup muffin tin or line it with paper liners. Divide the batter evenly among the cups (about ¾ full). Bake at 350°F for 18-22 minutes, or until a toothpick inserted into the center of a muffin comes out clean. The baking time is much shorter, so start checking at 18 minutes.
How do I know when my bananas are ripe enough?
Look for bananas that are heavily speckled with brown spots or even mostly brown. They should be soft to the touch and smell sweet. If you press gently, your finger should leave an indent. Green or yellow bananas don’t have enough sugar or flavor to make good banana bread.
Can I add nuts or chocolate chips without changing the recipe?
Yes, absolutely. Fold in up to ½ cup of chopped nuts or chocolate chips after combining the wet and dry ingredients. If you’re using nuts, toast them first in a dry pan for 2-3 minutes to bring out their flavor. No other adjustments are needed.
Conclusion
This sour cream banana bread is the kind of recipe that earns a permanent spot in your rotation. It’s simple enough for a Tuesday afternoon, special enough for a holiday brunch, and reliable enough to become your go-to whenever you have brown bananas staring at you from the counter. The sour cream does something magical here—it keeps every single bite soft, tender, and perfectly moist without any fuss or complicated techniques.
I love that this recipe feels both familiar and surprising. It’s banana bread, yes, but it’s the best version of banana bread I’ve ever made. And after testing more loaves than I care to admit, I can honestly say this one is worth every single try.
I’d love to hear how yours turns out. Did you add chocolate chips? Walnuts? Did you make it for a special occasion or just because? Drop a comment below and let me know. And if you’re looking for more simple, satisfying recipes, be sure to browse the full recipe collection for more ideas. Happy baking!
Pin This Recipe!
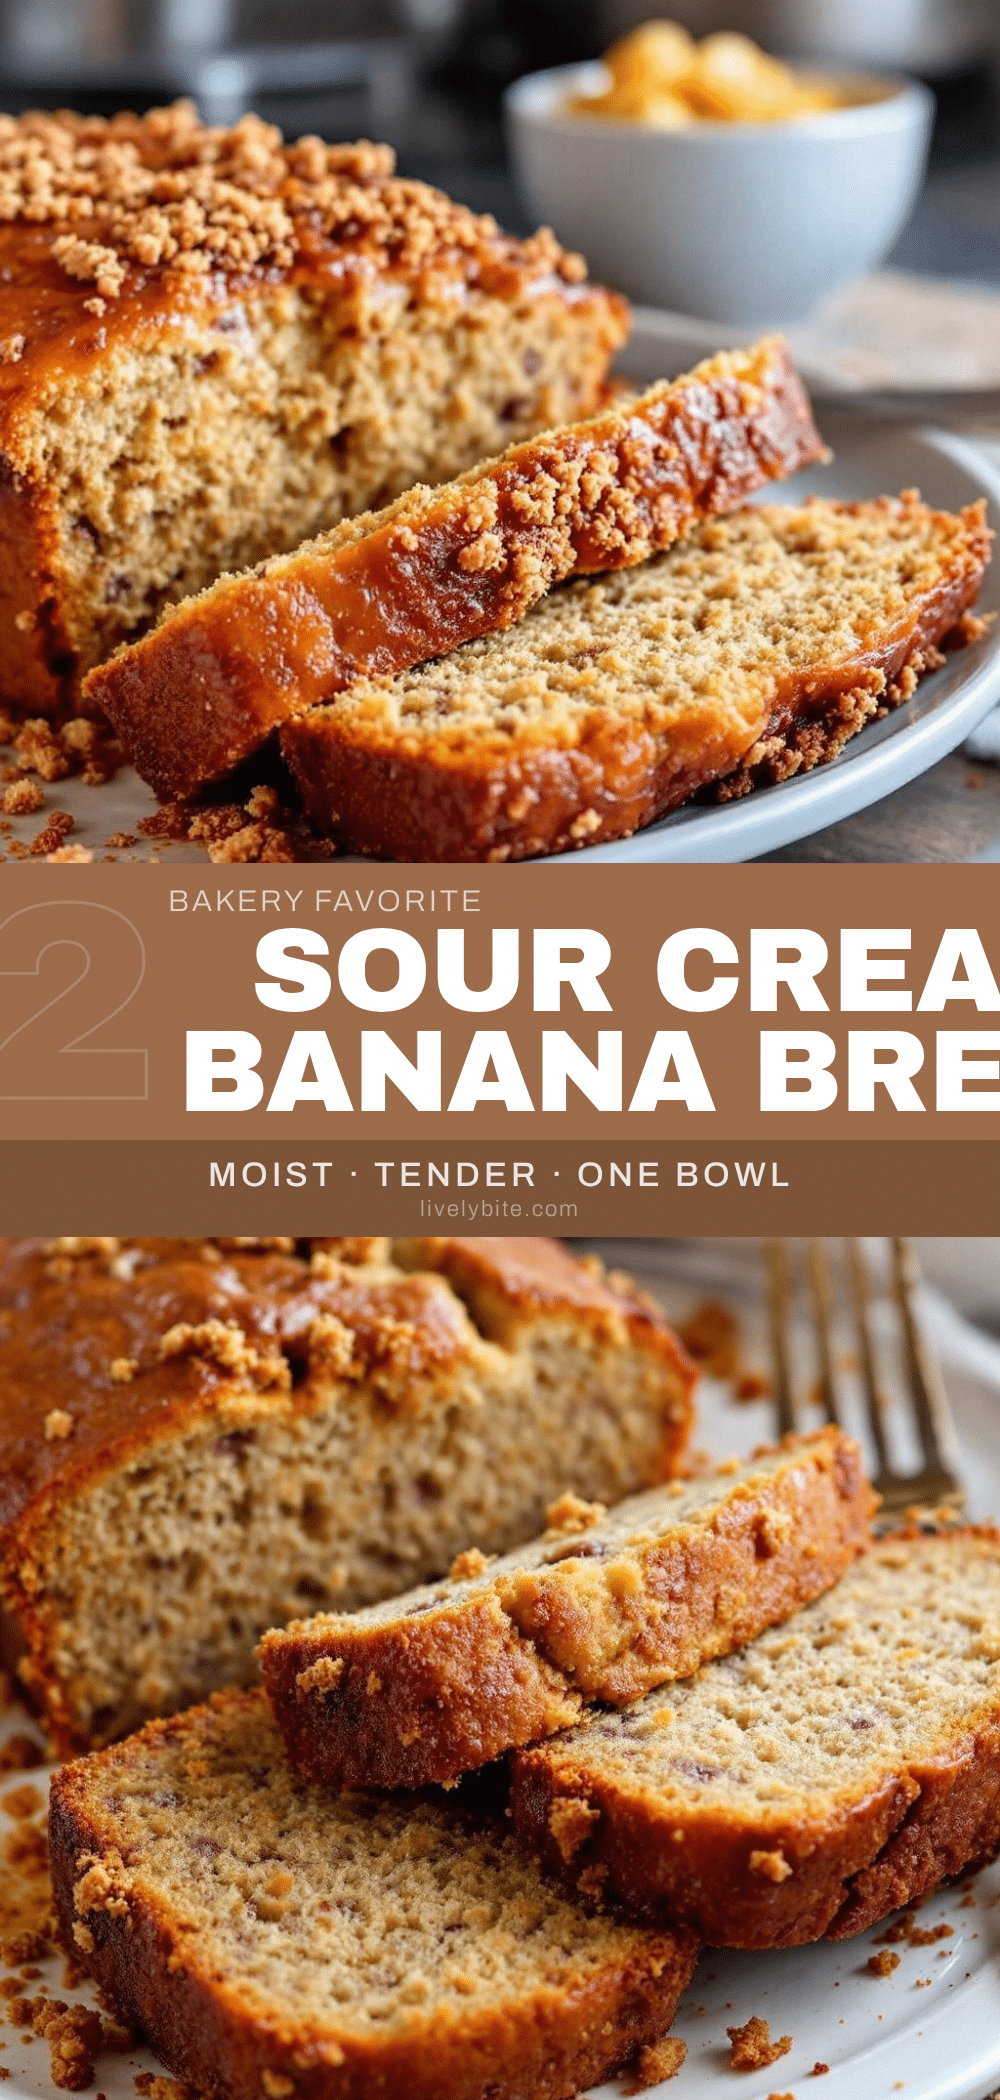
The Moistest Sour Cream Banana Bread (Easy 1-Bowl Recipe)
This sour cream banana bread is incredibly moist, tender, and easy to make in one bowl. The sour cream keeps every bite soft and flavorful, making it the best banana bread you’ll ever try.
- Prep Time: 15 minutes
- Cook Time: 55 minutes
- Total Time: 1 hour 10 minutes
- Yield: 12 servings 1x
- Category: Dessert
- Cuisine: American
Ingredients
- 1 ½ cups (190g) all-purpose flour
- 1 teaspoon baking soda
- ½ teaspoon salt
- ½ cup (113g) unsalted butter, melted and slightly cooled
- ¾ cup (150g) granulated sugar
- 2 large eggs, room temperature
- 1 teaspoon vanilla extract
- 1 cup (about 2–3 medium) very ripe bananas, mashed
- ½ cup (120g) full-fat sour cream, room temperature
- ½ cup chopped walnuts or pecans (optional)
- ½ cup chocolate chips (optional)
- 1 tablespoon turbinado sugar (optional, for topping)
Instructions
- Preheat your oven to 350°F (175°C). Position the rack in the center of the oven. Line a 9×5-inch loaf pan with parchment paper, leaving overhang on the long sides. Lightly grease the exposed ends with butter or nonstick spray.
- In a small bowl, mash the bananas with a fork until mostly smooth with a few small lumps. Set aside.
- In a large mixing bowl, whisk together the flour, baking soda, and salt.
- In a separate medium bowl, whisk together the melted butter and sugar until well combined. Add the eggs one at a time, whisking well after each addition. Stir in the vanilla extract, mashed bananas, and sour cream. The mixture may look slightly lumpy.
- Pour the wet ingredients into the bowl with the dry ingredients. Use a rubber spatula to fold together gently until just combined. Do not overmix; a few small lumps are okay.
- If using, gently fold in nuts or chocolate chips.
- Pour the batter into the prepared loaf pan and spread evenly. Tap the pan gently on the counter to release air bubbles. Sprinkle turbinado sugar on top if desired.
- Bake for 50-60 minutes, or until a toothpick inserted into the center comes out clean or with a few moist crumbs. If the top browns too quickly, tent with aluminum foil after 40 minutes.
- Cool in the pan for 10 minutes, then use the parchment sling to lift the bread out and transfer to a cooling rack. Cool completely before slicing.
Notes
Use overripe bananas for best flavor. Do not overmix the batter. Room temperature ingredients are important for even mixing. Let the bread cool completely before slicing to avoid a crumbly texture. For a gluten-free version, use a 1:1 gluten-free flour blend. For a vegan adaptation, use coconut oil, flax eggs, and plant-based sour cream.
Nutrition
- Serving Size: 1 slice (1/12 of loa
- Calories: 245
- Sugar: 17
- Sodium: 220
- Fat: 12
- Saturated Fat: 7
- Carbohydrates: 32
- Fiber: 1
- Protein: 4
Keywords: banana bread, sour cream banana bread, moist banana bread, easy banana bread, one bowl banana bread


