I pulled the last cookie from the baking sheet, still warm and slightly gooey, and my husband grabbed it before I could even set it on the cooling rack. He didn’t say a word, just took a bite and gave me that look. You know the one. It’s the look that says, “These are dangerous.” And honestly, he was right. I had been testing cookie recipes for weeks, trying to find that perfect balance between crispy edges and a soft, chewy center, but for just two of us. A full batch of cookies is a dangerous thing to have sitting around. So I set out to crack the code on a small batch that didn’t sacrifice any of the flavor or texture.
It started on a rainy Tuesday afternoon when a cookie craving hit hard, but I didn’t want to commit to 24 cookies. I wanted six. Just six perfect, golden-brown, chocolate-studded cookies. I pulled out my smallest mixing bowl, halved my standard recipe, and held my breath. The first attempt was okay, but a little flat. The second was too cakey. But the third time, I hit it. The butter was perfectly browned, the sugars were balanced just right, and the chocolate chips melted into little pools of happiness. I knew I had something special when I found myself making them again the very next day.
These perfect small batch chocolate chip cookies (6 cookies) are now my go-to. They’re the answer to a quiet weeknight craving, a quick dessert for two, or a small gift for a neighbor. No leftovers to tempt you, no giant tub of dough taking up fridge space. Just six cookies, exactly when you need them. And honestly? That’s all you really want.
Why You’ll Love This Recipe
Let me tell you why this is the only small batch chocolate chip cookie recipe you’ll ever need. I’ve tested this more times than I care to admit, tweaking the butter temperature, the resting time, and the ratio of brown to white sugar. What I landed on is a cookie that delivers every single time, with zero waste and maximum satisfaction.
- Perfect Portion Control: You get exactly six generous cookies. No more, no less. It’s the ideal amount for a household of one or two people, or for when you want a treat without a week’s worth of leftovers.
- No Special Equipment: You don’t need a stand mixer or a kitchen scale. A bowl, a whisk, and a spoon are all you need. I’ve made these in a tiny apartment kitchen and in a full-sized one, and they work perfectly every time.
- Ready in Under 30 Minutes: From the moment you pull out the butter to the moment you’re biting into a warm cookie, it’s about 25 minutes. That’s faster than driving to the bakery.
- That Bakery-Style Texture: These cookies have those perfectly crispy, golden edges and a soft, chewy center that stays tender for days. The secret is in the browned butter and the short resting time.
- Endlessly Customizable: Swap the chocolate chips for chunks, add nuts, or throw in some flaky sea salt. This base recipe is a blank canvas for your cravings.
The first time I made these for a friend who stopped by, she ate three on the spot and asked for the recipe before she left. That’s when I knew this wasn’t just a good recipe—it was a keeper. It’s the kind of cookie that makes you close your eyes after the first bite, because it tastes exactly like what you were hoping for.
What Ingredients You Will Need
This recipe uses simple, pantry-friendly ingredients to create something truly special. Each one plays a crucial role in building that perfect texture and rich flavor. Here’s what you’ll need and why they matter.
- Unsalted Butter (4 tablespoons / 57g): I always use unsalted butter so I can control the salt level. You’ll be browning this butter, which adds a nutty, deep flavor that makes these cookies taste like they came from a fancy bakery. Cut it into small pieces so it browns evenly.
- Light Brown Sugar (3 tablespoons / 40g): This is where the chewiness comes from. Brown sugar has molasses, which adds moisture and that soft, tender texture. Pack it firmly into your measuring spoon for accuracy.
- Granulated Sugar (2 tablespoons / 25g): White sugar helps the cookies spread and gives those crispy edges. The combination of both sugars is the secret to that perfect contrast between crisp and chewy.
- Large Egg Yolk (1 yolk): Just the yolk, not the whole egg. The yolk adds richness and fat without the extra moisture from the egg white, which can make cookies cakey. Save the white for an omelet or scramble.
- Vanilla Extract (½ teaspoon): Pure vanilla extract is non-negotiable here. It enhances the chocolate and adds warmth. I prefer Nielsen-Massey, but any good quality brand works.
- All-Purpose Flour (⅓ cup + 1 tablespoon / 55g): Standard all-purpose flour gives the best structure. Spoon it into your measuring cup and level it off with a knife—don’t scoop directly, or you’ll pack in too much flour and end up with dry cookies.
- Baking Soda (¼ teaspoon): This helps the cookies spread and become golden. Make sure it’s fresh—old baking soda won’t give you the same lift.
- Salt (¼ teaspoon): A generous pinch of salt balances the sweetness. I use fine sea salt for the dough and save flaky salt for sprinkling on top right when they come out of the oven.
- Semi-Sweet Chocolate Chips (⅓ cup / 60g): I love Ghirardelli or Guittard chips for their rich flavor and good melting quality. You can also chop a chocolate bar into chunks for a more rustic look. If you prefer darker chocolate, use bittersweet chips instead.
A quick note on substitutions: If you only have salted butter, reduce the added salt to a tiny pinch. For a dairy-free version, use vegan butter—just make sure it’s a block-style butter, not a spread, for best results. And if you’re out of brown sugar, you can mix 3 tablespoons of white sugar with 1 teaspoon of molasses as a quick swap.
Equipment Needed
This is one of those recipes where you don’t need a fancy kitchen setup. Here’s what I use, and what you can use instead if you don’t have it.
- Small Mixing Bowl: A medium-sized bowl works fine. I use a glass bowl because it’s easy to see when the butter is fully incorporated.
- Whisk and Rubber Spatula: A whisk for the sugars and butter, and a spatula for folding in the chips. A wooden spoon works too, but a spatula gets every bit of dough.
- Small Saucepan: For browning the butter. A light-colored pan is best so you can see the butter turn golden. If you only have a dark pan, just be extra careful not to burn it.
- Baking Sheet: A standard half-sheet pan is perfect. Line it with parchment paper or a silicone baking mat for easy cleanup and even baking.
- Cookie Scoop (1.5 tablespoon size): This gives you evenly sized cookies that bake at the same rate. If you don’t have one, use two spoons to portion the dough.
- Cooling Rack: Let the cookies cool on the pan for 5 minutes, then transfer to a rack. This stops the carryover cooking and keeps the bottoms from getting too dark.
I’ve made these cookies with a cheap baking sheet from a dollar store and they still turned out great. The only thing I’d splurge on is a good light-colored baking sheet—dark ones can cause the bottoms to burn before the centers are done.
Preparation Method
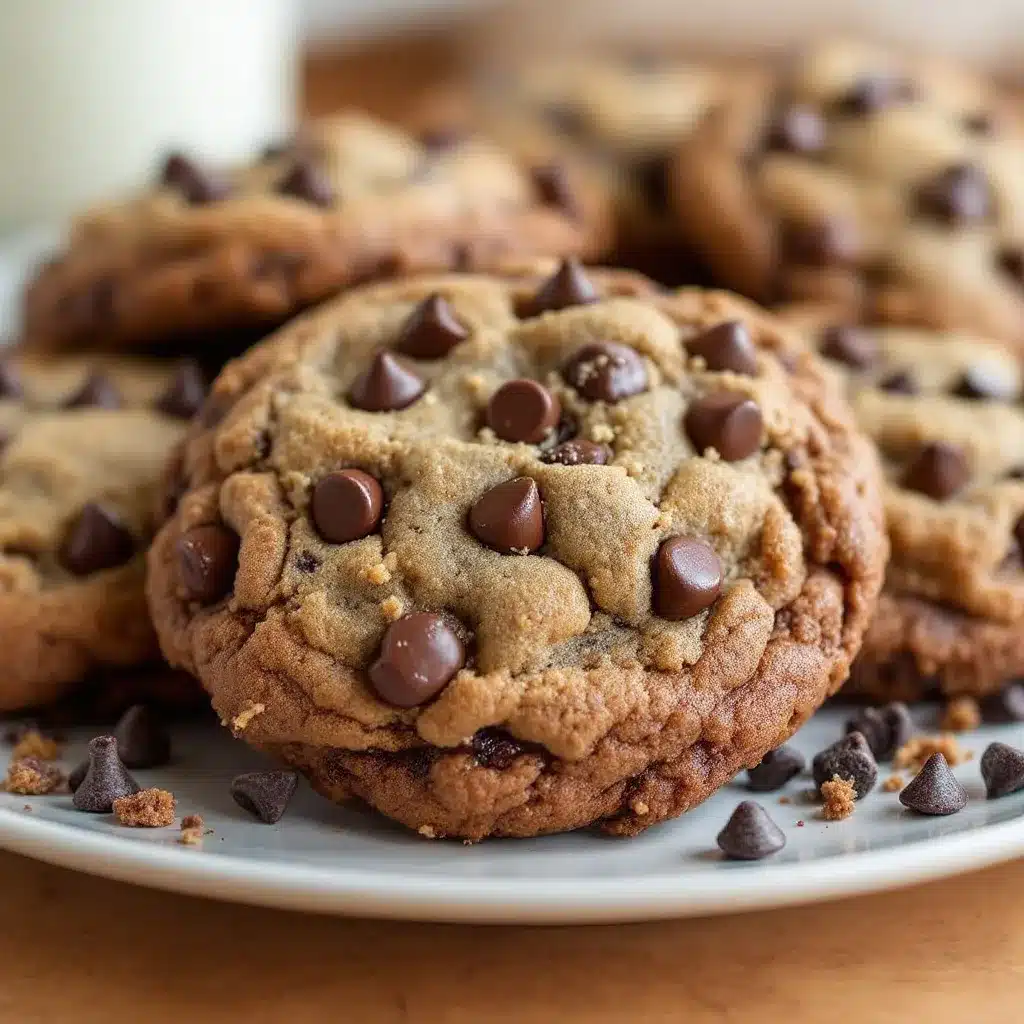
Follow these steps carefully, and you’ll have six perfect cookies every single time. I’ve included all the little details that make a difference, based on my many test batches.
- Brown the butter: Place the 4 tablespoons of butter in a small saucepan over medium heat. Let it melt completely, then swirl the pan occasionally. The butter will start to foam and then turn golden. You’ll see little brown specks form at the bottom—that’s the milk solids toasting. This takes about 4-5 minutes. The moment it smells nutty and looks amber, pull it off the heat. Pour it into your mixing bowl immediately to stop it from burning. Let it cool for 5 minutes. (If you let it cool too long, it will solidify, so work while it’s still warm but not hot.)
- Mix the sugars: Add the brown sugar and granulated sugar to the warm browned butter. Whisk vigorously until the mixture looks like wet sand and is well combined. It should be smooth and glossy. This step is important—you want the sugar to dissolve slightly into the butter for a better texture.
- Add the yolk and vanilla: Drop in the egg yolk and the vanilla extract. Whisk until everything is fully incorporated and the mixture looks thick and pale, about 30 seconds. It should feel like a thick caramel when you lift the whisk.
- Add the dry ingredients: Sprinkle the flour, baking soda, and salt over the wet mixture. Use a rubber spatula to fold everything together gently. Stir just until no streaks of flour remain. Overmixing at this stage will make your cookies tough, so stop as soon as it comes together.
- Fold in the chocolate chips: Add the chocolate chips and fold them in with a few gentle strokes. Make sure they’re evenly distributed. The dough will be soft and slightly sticky—that’s exactly what you want.
- Chill the dough (optional but recommended): For the best texture, cover the bowl and pop it in the fridge for 15-20 minutes. This firms up the butter and prevents the cookies from spreading too much. If you’re in a hurry, you can skip this, but the cookies will be a bit flatter. I usually chill it while my oven preheats.
- Preheat the oven: Set your oven to 350°F (175°C). Line your baking sheet with parchment paper. While it’s heating, use a cookie scoop to portion the dough into 6 equal balls, each about 1.5 tablespoons. Place them 2 inches apart on the sheet—they will spread.
- Bake: Bake for 10-12 minutes. At 10 minutes, the edges should be golden and the centers should still look slightly soft and puffy. That’s your cue to pull them out. They will continue to set on the hot pan. For a chewier cookie, bake 10 minutes. For a crispier one, go to 12 minutes.
- Cool and enjoy: Let the cookies rest on the baking sheet for 5 minutes. This allows them to firm up without overbaking. Then transfer them to a cooling rack. If you want that fancy bakery look, gently press a few extra chocolate chips into the tops of the warm cookies. Sprinkle with a pinch of flaky sea salt if you’re feeling fancy.
A quick note from my own kitchen: I once forgot to chill the dough and baked them immediately. They spread into one giant cookie pancake. Still delicious, but not pretty. So if presentation matters, don’t skip that chill step.
Cooking Tips & Techniques
Over the course of testing this recipe, I made every mistake in the book. Here’s what I learned so you don’t have to.
Don’t skip browning the butter. I know it’s an extra step, but it’s the single thing that gives these cookies their deep, rich flavor. The first time I tried making these without browning, they were just okay. The browned butter version? Unforgettable. Just watch it closely—it goes from browned to burnt in seconds.
Measure your flour correctly. This is the most common mistake I see. Scooping directly into the flour bag packs it down, and you end up with up to 20% more flour than you need. That means dry, cakey cookies. Instead, fluff the flour with a spoon, then spoon it into your measuring cup and level it off with a knife. Trust me on this.
Use room temperature ingredients. If your egg yolk is straight from the fridge, it will seize up the warm butter and make the dough lumpy. Let the egg sit out for 15 minutes before you start, or place it in a bowl of warm water for 5 minutes.
Watch the bake time carefully. Ovens vary wildly. My oven runs hot, so I check at 9 minutes. A convection oven will bake faster, too. The cookies are done when the edges are set and golden, but the centers still look soft and slightly underdone. They will continue to bake on the hot pan.
Let them cool properly. I know it’s tempting to grab a cookie right away, but they need those 5 minutes on the pan to set. If you move them too soon, they’ll fall apart. I learned this the hard way when I tried to transfer one after 2 minutes and ended up with a chocolate chip crumble.
Variations & Adaptations
This base recipe is incredibly flexible. Here are some of my favorite ways to change it up, depending on my mood or what I have in the pantry.
- Double Chocolate Chunk: Swap 1 tablespoon of flour for 1 tablespoon of unsweetened cocoa powder. Use white chocolate chips or milk chocolate chunks instead of semi-sweet. The result is a rich, fudgy cookie that tastes like a brownie.
- Nutty Brown Butter: Add 2 tablespoons of toasted, chopped pecans or walnuts along with the chocolate chips. Toast them in a dry pan for 2-3 minutes before chopping to bring out their flavor. This adds a lovely crunch and pairs beautifully with the browned butter.
- Sea Salt & Dark Chocolate: Use dark chocolate chunks (60-70% cacao) and sprinkle the cookies with flaky sea salt right when they come out of the oven. The salt cuts the sweetness and makes the chocolate taste even deeper. This is my personal favorite.
- Gluten-Free Option: Substitute the all-purpose flour with a 1:1 gluten-free baking flour blend that contains xanthan gum. I’ve tested this with King Arthur’s Measure for Measure blend and it works perfectly. The texture is slightly more delicate, but still delicious.
- Vegan Version: Use vegan butter (like Miyoko’s or Earth Balance) and a flax egg (1 tablespoon ground flaxseed mixed with 2.5 tablespoons water, let sit for 5 minutes). The texture will be a bit softer, but the flavor is still fantastic.
I once made a batch with chopped dried cherries and white chocolate chips on a whim, and it was incredible. Don’t be afraid to experiment—the base dough is forgiving enough to handle most additions.
Serving & Storage Suggestions
These cookies are best enjoyed warm, with a cold glass of milk or a hot cup of coffee. The contrast of the warm, melty chocolate with a cold drink is unbeatable. For a dessert spread, serve them alongside a scoop of vanilla bean ice cream or a drizzle of caramel sauce.
Storing leftovers: If you have any left (unlikely, but possible), store them in an airtight container at room temperature. They’ll stay soft and chewy for up to 3 days. To bring back that just-baked texture, pop a cookie in the microwave for 10 seconds. It’s like magic.
Freezing the dough: This is my favorite trick. Scoop the dough into balls, place them on a parchment-lined baking sheet, and freeze until solid. Then transfer the frozen dough balls to a zip-top bag. You can bake them directly from frozen—just add 2-3 minutes to the bake time. This way, you can have fresh cookies anytime you want, without making a mess.
Freezing baked cookies: You can also freeze the baked cookies. Let them cool completely, then layer them in an airtight container with parchment paper between layers. Thaw at room temperature for 15 minutes, then warm in the oven at 300°F for 5 minutes.
I’ve noticed that these cookies actually taste even better the next day. The flavors meld together, and the texture softens slightly. If you can resist eating them all on day one, you’re in for a treat on day two.
Nutritional Information & Benefits
While these are definitely a treat, there are a few things to feel good about. The browned butter adds a depth of flavor that lets you use less sugar overall, and the egg yolk provides protein and healthy fats. Dark chocolate is rich in antioxidants, and if you use a high-quality brand, you’re getting more cocoa and less filler.
Here’s the approximate nutritional breakdown per cookie (based on the recipe as written):
| Nutrient | Amount per Cookie |
|---|---|
| Calories | 210 |
| Total Fat | 12g |
| Saturated Fat | 7g |
| Carbohydrates | 26g |
| Sugar | 16g |
| Protein | 3g |
| Sodium | 115mg |
If you’re watching your sugar intake, you can reduce the granulated sugar to 1 tablespoon and increase the brown sugar slightly. For a lower-fat option, you can replace half the butter with unsweetened applesauce, though the texture will be more cake-like. These cookies are also easily made gluten-free or vegan as noted above.
I personally love that this recipe lets me enjoy a homemade cookie without the guilt of a full batch staring at me from the counter. It’s a mindful way to indulge.
Conclusion
These perfect small batch chocolate chip cookies (6 cookies) are more than just a recipe—they’re a solution to a very specific problem. You want a warm, homemade cookie, but you don’t want a week’s worth of leftovers. You want that bakery-style texture, but you don’t want to spend an hour in the kitchen. This recipe delivers on all fronts.
I love that I can whip these up on a whim, with ingredients I always have on hand. They’ve become my go-to for last-minute guests, quiet nights in, and even as a small homemade gift. The browned butter, the chewy center, the crispy edges—it’s everything a chocolate chip cookie should be, scaled down perfectly.
Now I want to hear from you. Have you tried this recipe? Did you add your own twist? Drop a comment below and let me know how they turned out. And if you’re looking for more small-batch baking inspiration, you might also love my creamy vegan chocolate avocado pudding for another quick dessert fix, or try these easy Mediterranean stuffed mini peppers for a savory snack. Happy baking, friends!
Frequently Asked Questions
Can I double this recipe?
Absolutely! Just double all the ingredients. The bake time may increase slightly, so keep an eye on them. You’ll get 12 perfect cookies.
Why did my cookies spread too much?
This usually happens if the butter was too warm or the dough wasn’t chilled. Make sure to let the browned butter cool for 5 minutes before mixing, and don’t skip the 15-minute chill step in the fridge.
Can I use margarine instead of butter?
I wouldn’t recommend it. Margarine has a higher water content, which will make the cookies spread and become flat. Butter gives the best flavor and texture.
How do I know when the cookies are done?
The edges should be golden brown and set, while the centers still look soft and slightly puffy. They will continue to bake on the hot pan, so pull them out at that point.
Can I use a different type of chocolate?
Yes! Milk chocolate, dark chocolate, white chocolate, or even peanut butter chips all work great. Just keep the total amount to about ⅓ cup so the dough stays balanced.
Pin This Recipe!
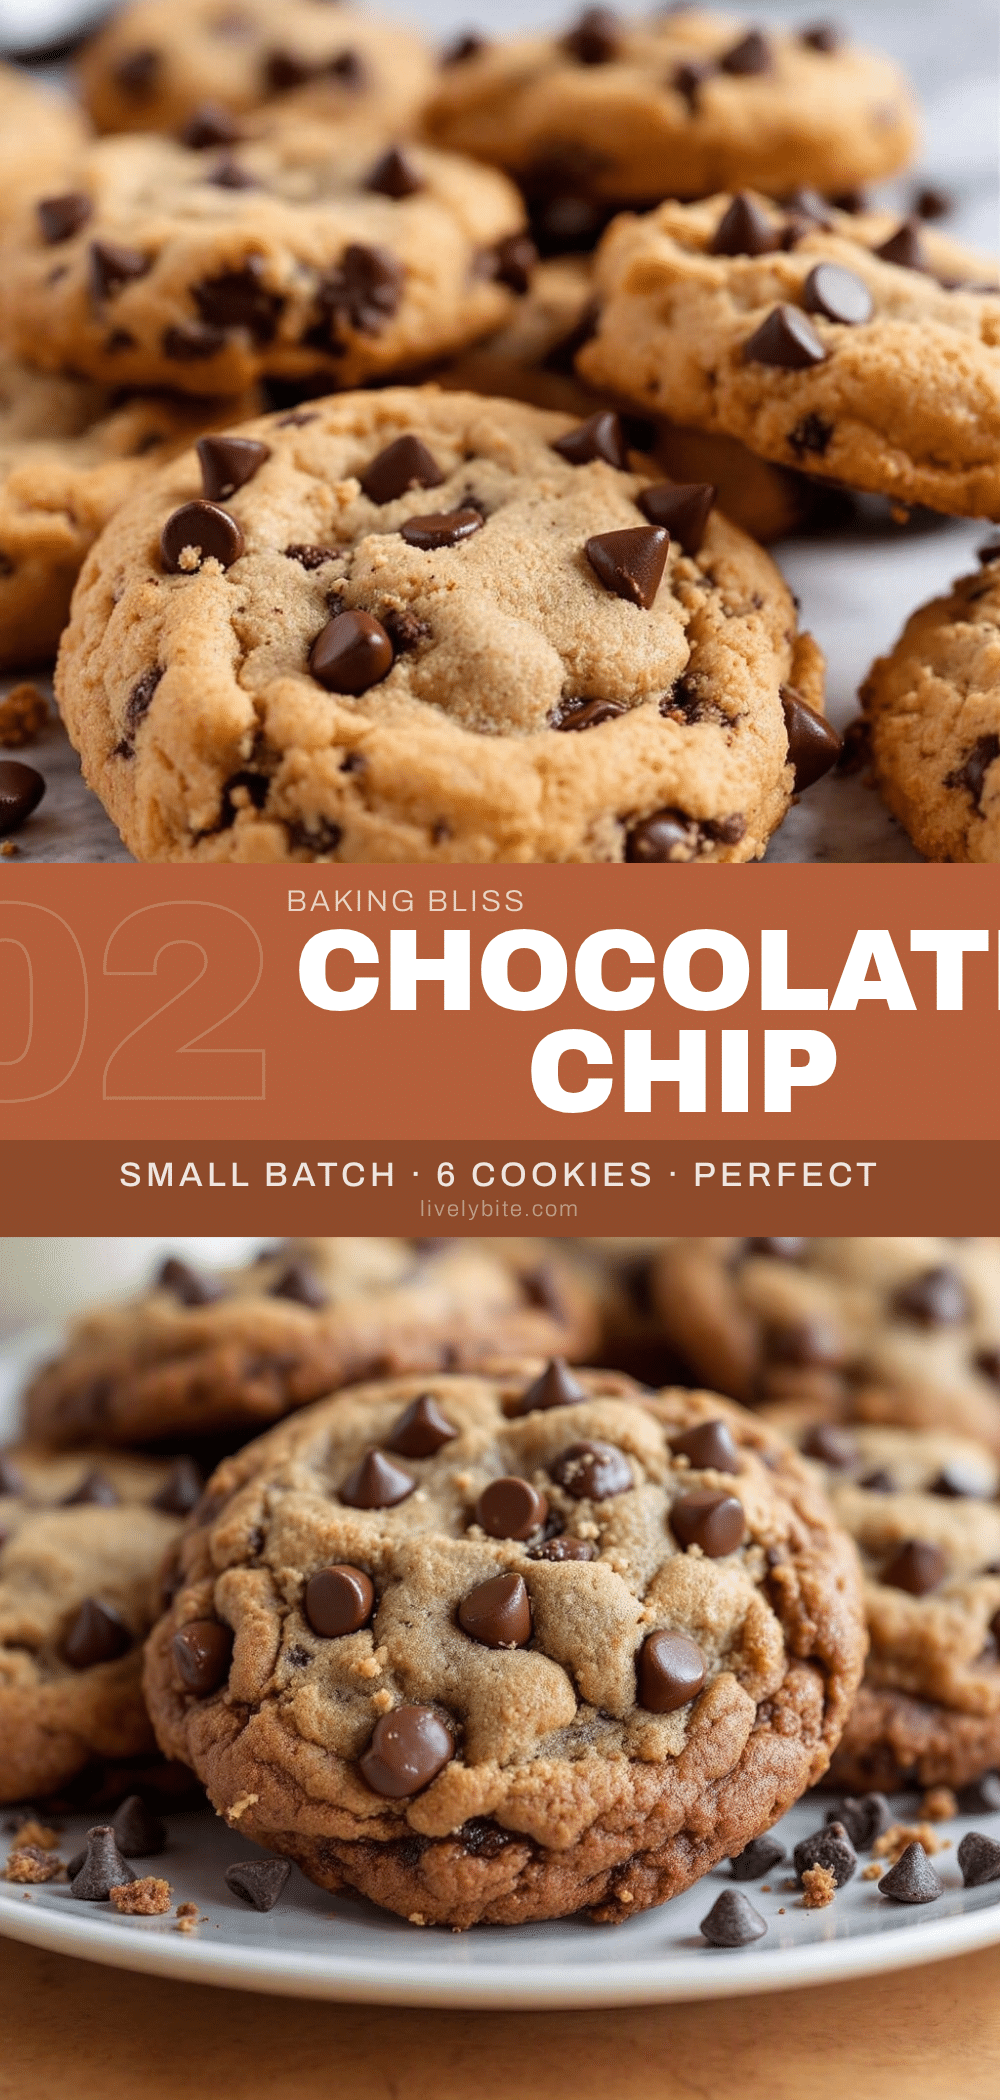
The Best Small Batch Chocolate Chip Cookies (6 Cookies)

These perfect small batch chocolate chip cookies deliver crispy edges, a soft chewy center, and rich browned butter flavor—all in just six cookies. Ready in under 30 minutes with no special equipment, they’re the ideal treat for one or two.
- Prep Time: 15 minutes
- Cook Time: 10-12 minutes
- Total Time: 25-27 minutes
- Yield: 6 cookies 1x
- Category: Dessert
- Cuisine: American
Ingredients
- 4 tablespoons (57g) unsalted butter
- 3 tablespoons (40g) light brown sugar, packed
- 2 tablespoons (25g) granulated sugar
- 1 large egg yolk
- ½ teaspoon vanilla extract
- ⅓ cup + 1 tablespoon (55g) all-purpose flour
- ¼ teaspoon baking soda
- ¼ teaspoon fine sea salt
- ⅓ cup (60g) semi-sweet chocolate chips
Instructions
- Brown the butter: Place the 4 tablespoons of butter in a small saucepan over medium heat. Let it melt completely, then swirl the pan occasionally. The butter will start to foam and then turn golden. You’ll see little brown specks form at the bottom—that’s the milk solids toasting. This takes about 4-5 minutes. The moment it smells nutty and looks amber, pull it off the heat. Pour it into your mixing bowl immediately to stop it from burning. Let it cool for 5 minutes.
- Mix the sugars: Add the brown sugar and granulated sugar to the warm browned butter. Whisk vigorously until the mixture looks like wet sand and is well combined. It should be smooth and glossy.
- Add the yolk and vanilla: Drop in the egg yolk and the vanilla extract. Whisk until everything is fully incorporated and the mixture looks thick and pale, about 30 seconds.
- Add the dry ingredients: Sprinkle the flour, baking soda, and salt over the wet mixture. Use a rubber spatula to fold everything together gently. Stir just until no streaks of flour remain.
- Fold in the chocolate chips: Add the chocolate chips and fold them in with a few gentle strokes. Make sure they’re evenly distributed. The dough will be soft and slightly sticky.
- Chill the dough (optional but recommended): For the best texture, cover the bowl and pop it in the fridge for 15-20 minutes. This firms up the butter and prevents the cookies from spreading too much.
- Preheat the oven: Set your oven to 350°F (175°C). Line your baking sheet with parchment paper. While it’s heating, use a cookie scoop to portion the dough into 6 equal balls, each about 1.5 tablespoons. Place them 2 inches apart on the sheet.
- Bake: Bake for 10-12 minutes. At 10 minutes, the edges should be golden and the centers should still look slightly soft and puffy. That’s your cue to pull them out.
- Cool and enjoy: Let the cookies rest on the baking sheet for 5 minutes. Then transfer them to a cooling rack. If desired, gently press a few extra chocolate chips into the tops of the warm cookies and sprinkle with flaky sea salt.
Notes
For best results, chill the dough for 15-20 minutes before baking to prevent excessive spreading. Brown the butter until it smells nutty and has amber color, but watch closely to avoid burning. Measure flour correctly by spooning it into the cup and leveling off. Cookies are done when edges are golden and centers are still soft; they will continue to set on the hot pan. Store in an airtight container at room temperature for up to 3 days. To refresh, microwave for 10 seconds.
Nutrition
- Serving Size: 1 cookie
- Calories: 210
- Sugar: 16
- Sodium: 115
- Fat: 12
- Saturated Fat: 7
- Carbohydrates: 26
- Fiber: 1
- Protein: 3
Keywords: small batch chocolate chip cookies, 6 cookies, browned butter cookies, easy cookie recipe, quick dessert


