I ruined three bags of pretzels trying to make witch fingers before I finally got them right. It wasn’t just about the shape, either. I kept burning the almonds into the dough and creating these bitter, charcoal-like fingernails that looked less like spooky Halloween treats and more like evidence of a kitchen fire. Let’s face it, when you are aiming for “spooky,” it is easy to cross the line into “inedible” if you don’t pay attention to the dough hydration. I honestly thought I would just stick to buying store-bought cookies for the party, but my kids begged for something homemade that actually tasted good. They wanted the fun of making a monster snack without the disappointment of a tough, cracker-like bite. So, I spent a rainy Saturday afternoon testing different yeast amounts and rolling techniques. The result was this soft, chewy, slightly salty pretzel that holds its shape perfectly. It’s not just a gimmick; it’s actually a really solid pretzel recipe. Now, when I see a platter of these twisted fingers, I don’t just see a Halloween prop. I see the hours of trial and error that finally paid off. And honestly, that’s the kind of recipe you want to keep in your back pocket for when the house is full of hungry guests.
Why You’ll Love This Recipe
This spooky witch finger pretzel Halloween charcuterie board isn’t just a gimmick; it’s the kind of snack that turns heads and disappears fast. Here is why this recipe has become a staple in my Halloween hosting rotation:
- Quick & Easy: While the dough needs a little rise time, the active prep is straightforward. You can have these on the table in under an hour if you are efficient, making it perfect for busy weeknight parties or last-minute holiday gatherings.
- Simple Ingredients: You likely already have everything in your kitchen. Yeast, flour, sugar, butter, and those crucial almond slivers for the nails. No fancy grocery trips needed for this one.
- Perfect for Halloween: These are the centerpiece of any spooky charcuterie board. They add a savory, salty contrast to the sweet treats, balancing out the sugar overload of typical Halloween candy.
- Crowd-Pleaser: Kids love the novelty of a “finger” pretzel, and adults appreciate the actual quality of the bread. It’s comfort food with a scary twist.
- Unbelievably Delicious: The texture is key. These aren’t hard as rocks like some cookie versions. They are soft, chewy, and have that classic pretzel snap on the outside with a tender crumb inside.
What makes this recipe different from the rest is the balance of salt and the specific rolling technique. Many recipes forget that pretzels need to be boiled briefly to get that authentic brown crust and chewy interior. By doing this, you ensure the almond “nails” don’t just fall off during baking. It’s a small step that makes a huge difference in the final presentation. This isn’t just another Halloween craft; it’s a culinary experience that feels like magic but is built on solid baking science. It’s the kind of dish that makes you feel like a pro baker, even if you are just starting out.
What Ingredients You Will Need
This recipe uses simple, wholesome ingredients to deliver bold flavor and satisfying texture without the fuss. The beauty of a charcuterie board is that the components work together, but the pretzel fingers need to be sturdy enough to handle the dipping and handling. Here is what you need to gather:
- For the Pretzel Dough:
- Warm water (about 110°F/43°C) – This temperature is crucial for activating the yeast without killing it.
- Active dry yeast (1 packet or 2 ¼ teaspoons) – I recommend RapidRise for convenience, but standard yeast works fine with a longer rise.
- Granulated sugar (1 tablespoon) – Feeds the yeast and adds a hint of sweetness to balance the salt.
- All-purpose flour (3 to 3 ½ cups) – You need enough to create a soft, tacky dough. Bread flour can be used for a chewier texture, but AP is standard.
- Unsalted butter, melted (2 tablespoons) – Adds richness and helps tenderize the crumb.
- Salt (1 ½ teaspoons) – Essential for flavor; pretzels are meant to be salty.
- For the Boiling Bath:
- Water (enough to fill your pot)
- Baking soda (¼ cup) – This is the secret to the deep brown color and authentic pretzel flavor. Do not skip this.
- For the Witch Fingers & Assembly:
- Large egg (1) – Beaten with a little water for the egg wash. This helps the sesame seeds stick and gives a glossy finish.
- Sesame seeds (for the “knuckles”) – Use white sesame seeds for a realistic look.
- Almond slivers (for the “fingernails”) – Toasted almonds work best because they hold their shape and don’t burn as quickly.
- Sea salt flakes (optional) – Sprinkle on top after baking for that gourmet touch.
For the charcuterie board itself, you will need a variety of cheeses (like cheddar or brie), crackers, fruits (apples or grapes), and maybe some dark chocolate or candy corn to fill the gaps. Look for firm, small-curd cottage cheese if you are adding a dip, though this recipe focuses on the pretzels. In summer, you might swap the heavy cheeses for lighter options, but for Halloween, rich flavors are key.
Equipment Needed
You don’t need a lot of fancy gear to make these witch fingers, but having the right tools makes the process much smoother. A large mixing bowl is essential for combining the dough. If you have a stand mixer with a dough hook, use it to save your arms. Otherwise, a sturdy wooden spoon or your hands will work. A large pot for boiling the pretzels is non-negotiable for that authentic texture. I use a standard stockpot that holds about 4-5 quarts. Make sure it is deep enough so the water doesn’t boil over when you add the baking soda. A baking sheet lined with parchment paper is the best way to bake them, preventing sticking and making cleanup easy. Silicone mats work too, but parchment gives you that nice non-stick surface. Finally, you will need a sharp knife or kitchen shears to trim the almond nails if they are too long. A pastry brush is handy for applying the egg wash evenly. These are all basics, but having them ready before you start keeps the stress low.
Preparation Method
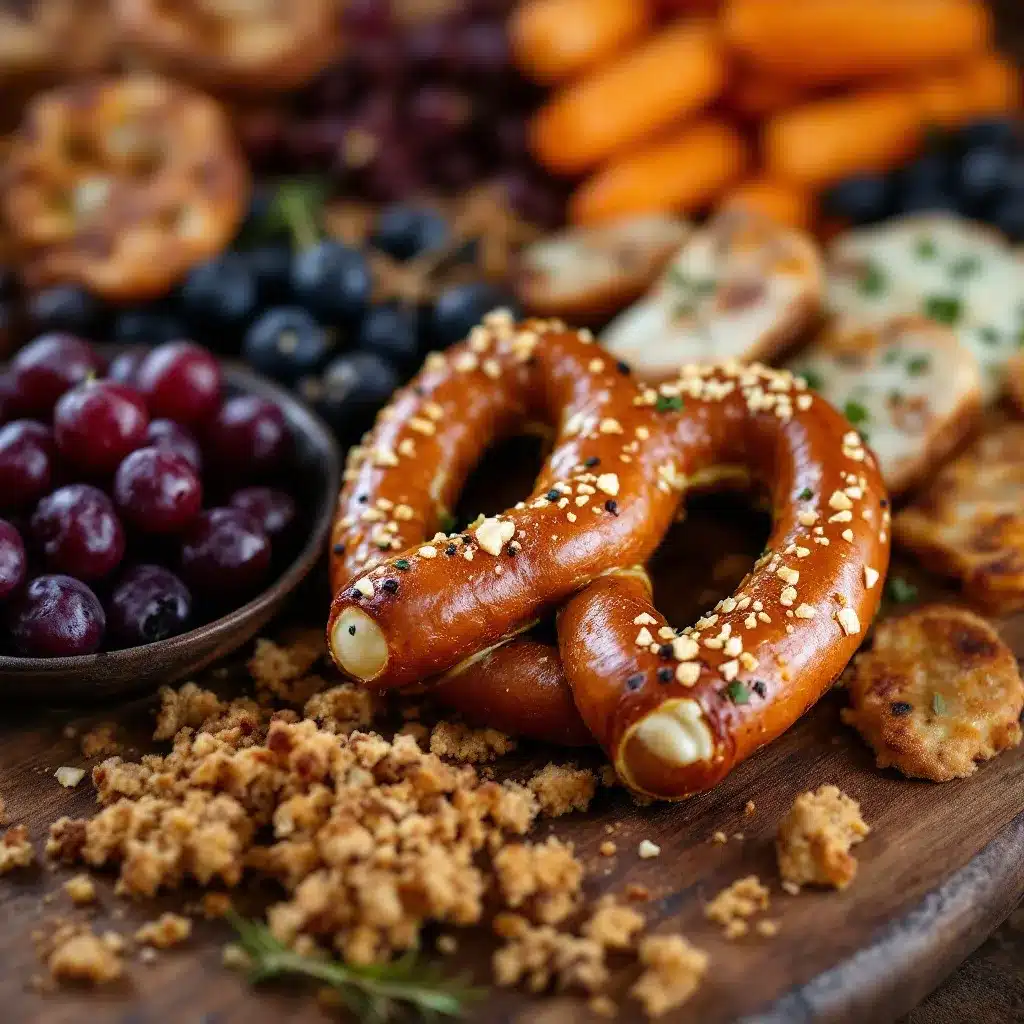
Let’s walk through making these spooky witch fingers step by step. It might seem like a lot, but once you get into the rhythm, it’s quite meditative.
- Activate the Yeast: In a small bowl, combine the warm water and sugar. Sprinkle the yeast on top and let it sit for 5-10 minutes. You should see it become foamy. If it doesn’t foam, your yeast is dead, and you need to start over. This takes about 10 minutes.
- Mix the Dough: In a large bowl, combine 3 cups of flour and salt. Add the melted butter and the yeast mixture. Mix until a shaggy dough forms. Turn it out onto a floured surface and knead for about 5-7 minutes, adding more flour if it is too sticky. The dough should be soft but not tacky. This step takes about 7 minutes.
- First Rise: Place the dough in a lightly oiled bowl, cover with plastic wrap, and let it rise in a warm spot for 1 hour, or until doubled in size. This is passive time, so use it to prep your board.
- Shape the Fingers: Punch down the dough and divide it into small pieces. Roll each piece into a long, tapered log. One end should be thick (the palm) and the other thin (the tip). Tuck in the sides to create a finger shape. Place them on the parchment-lined baking sheet. This takes about 15 minutes for the whole batch.
- Second Rise: Cover the shaped pretzels loosely with a towel and let them rise for another 30 minutes. They should look puffy. Preheat your oven to 400°F (200°C) during this time.
- Boil the Pretzels: Bring a large pot of water to a boil. Carefully stir in the baking soda. Drop the pretzels in, one or two at a time, for about 30 seconds per side. Remove with a slotted spoon and place back on the baking sheet. This step takes about 10 minutes.
- Add Details: Press a sesame seed onto the “knuckle” area of each finger. Press an almond sliver into the tip for the nail. You can use a toothpick to help position them. Brush the tops with egg wash.
- Bake: Bake for 12-15 minutes until deep golden brown. Let them cool on the sheet for 5 minutes before moving them to your charcuterie board. Total active time is about 45 minutes.
How do I keep the almonds from falling off?
The key is to press them in firmly right after boiling, while the surface is still slightly sticky. The egg wash helps glue them in place during baking. If you are worried, you can use a tiny drop of honey as adhesive, but the egg wash usually works perfectly.
Can I make the dough ahead of time?
Yes! After the first rise, you can punch it down, wrap it tightly in plastic, and refrigerate it for up to 24 hours. Bring it to room temperature before shaping. This is great for party prep.
Cooking Tips & Techniques
Getting the boil right is the most important technical step. The baking soda creates an alkaline environment that promotes browning and gives pretzels their distinct flavor. Don’t rush this step. If you skip the boil, you are just making fancy breadsticks. Also, be careful with the almond slivers. They burn easily because of their high oil content. If your oven runs hot, keep a close eye on them. I learned this the hard way when I ended up with blackened fingertips. Toasting the almonds beforehand can help, but it’s not strictly necessary. Another tip is to keep the dough moist. Pretzel dough should be softer than bread dough. If it feels dry, add a splash of water. This ensures the final product is chewy, not hard. Multitasking is key here. While the dough rises, you can prep all your charcuterie items. This way, when the dough is ready, you can shape and boil quickly.
Variations & Adaptations
While the classic witch finger is great, you can tweak this recipe to fit different needs. For a vegan version, use plant-based milk instead of water for the yeast mix, and use a flax egg or aquafaba for the wash. For a gluten-free option, use a 1:1 gluten-free flour blend, though the texture will be slightly different. You can also add herbs to the dough for a savory twist, like rosemary or garlic powder. For a sweeter version, add cinnamon to the sugar in the yeast mix. I once tried adding orange zest to the dough for a citrusy note, which paired surprisingly well with the salty almonds. You can also change the “nails” to chocolate chips for a sweeter treat, though they won’t look as spooky. These adaptations allow you to cater to different dietary restrictions without losing the fun theme.
Serving & Storage Suggestions
Serve these witch fingers warm or at room temperature. They look best arranged on a large wooden board or a black slate tray to enhance the spooky vibe. Pair them with a spicy mustard dip, a creamy cheese dip, or even a sweet caramel sauce for dipping. For storage, keep them in an airtight container at room temperature for up to 2 days. They can be frozen for up to 3 months. To reheat, warm them in the oven at 350°F for 5-10 minutes to restore the chewiness. Avoid the microwave, as it makes them tough. The flavors meld well overnight, making them great for make-ahead parties.
Nutritional Information & Benefits
These pretzel fingers are relatively balanced compared to other Halloween treats. They provide carbohydrates for energy and a bit of protein from the almonds. Each finger has approximately 150-200 calories, depending on size. They are a better option than candy because they offer some satiety. However, they do contain gluten and nuts, so be mindful of allergens. For a lower-carb option, you could use almond flour, though the texture will change. Personally, I view these as a fun, occasional treat rather than a daily staple. They bring joy to the table, which is a benefit in itself.
Conclusion
Making spooky witch finger pretzels is a fun way to bring creativity to your Halloween hosting. It’s a recipe that rewards patience and attention to detail. I hope you try this and enjoy the process as much as I did. Feel free to experiment with different dips and board arrangements to make it your own. If you make these, I’d love to see how they turn out. Leave a comment below with your tips or photos. Happy Halloween, and enjoy your spooky feast!
FAQs
Why are my pretzels flat and not puffy?
This usually happens if the yeast was dead or the dough didn’t rise long enough. Ensure your water is warm but not hot, and give the dough ample time to double in size.
Can I use pretzel salt instead of sea salt?
Yes, pretzel salt is coarser and looks more authentic. Sprinkle it on right after the egg wash so it sticks.
How do I store the charcuterie board components?
Keep cheeses and fruits separate until serving to prevent sogginess. Store crackers in an airtight container to maintain crunch.
What dips go well with pretzel fingers?
Spy sauce, spicy mustard, cheddar cheese dip, and caramel sauce are all excellent choices.
Can I make the dough in a bread machine?
Yes, use the dough setting on your bread machine. Then remove, shape, and proceed with the boiling and baking steps.
Pin This Recipe!
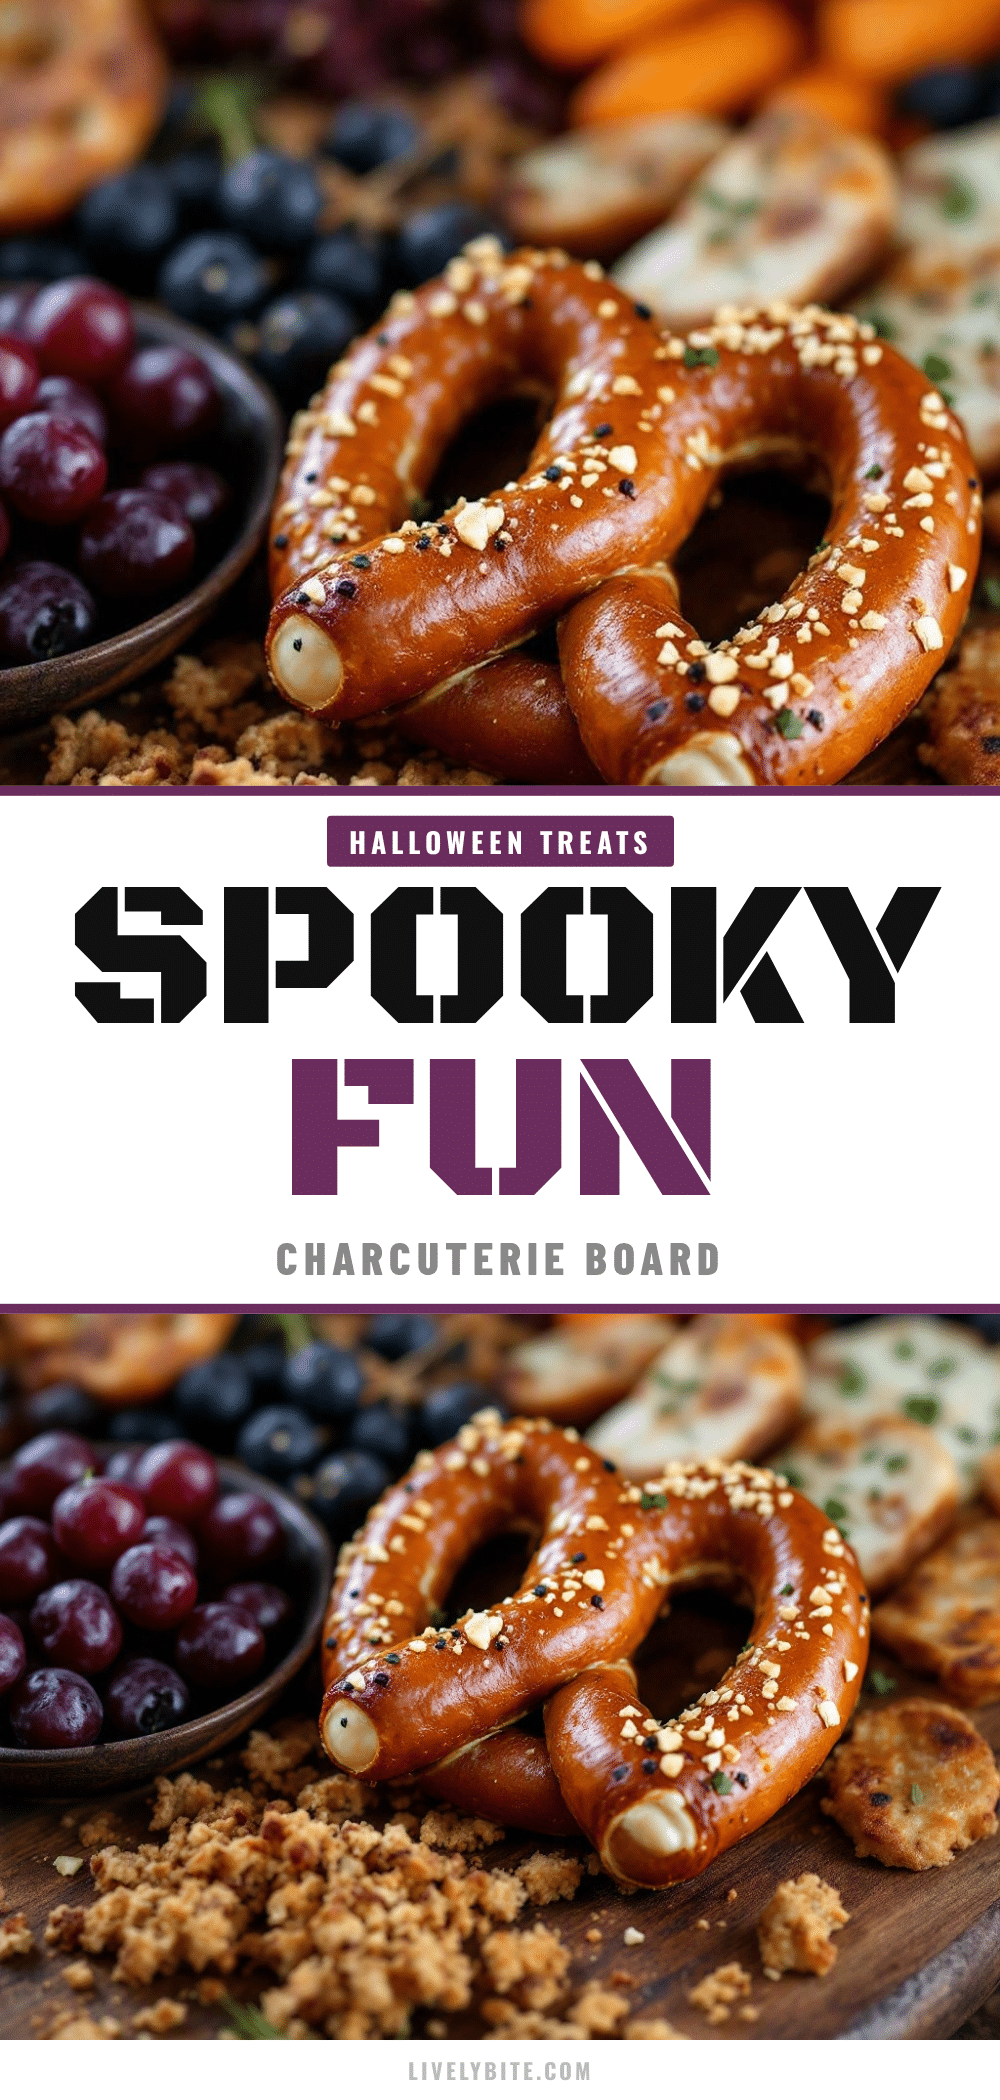
Spooky Witch Finger Pretzel Halloween Charcuterie Board

Soft, chewy pretzel fingers shaped like spooky witch fingers with almond nails and sesame seed knuckles, perfect for Halloween charcuterie boards.
- Prep Time: 45 minutes
- Cook Time: 15 minutes
- Total Time: 1 hour 45 minutes
- Yield: Approximately 12-15 fingers 1x
- Category: Appetizer
- Cuisine: American
Ingredients
- 1 packet (2 ¼ teaspoons) active dry yeast
- 1 tablespoon granulated sugar
- 1 cup warm water (110°F/43°C)
- 3 to 3 ½ cups all-purpose flour
- 1 ½ teaspoons salt
- 2 tablespoons unsalted butter, melted
- 4–5 quarts water (for boiling)
- ¼ cup baking soda
- 1 large egg, beaten with water (for egg wash)
- Sesame seeds (for knuckles)
- Almond slivers (for fingernails)
- Sea salt flakes (optional)
Instructions
- In a small bowl, combine warm water and sugar. Sprinkle yeast on top and let sit for 5-10 minutes until foamy.
- In a large bowl, combine 3 cups of flour and salt. Add melted butter and yeast mixture. Mix until a shaggy dough forms.
- Turn dough onto a floured surface and knead for 5-7 minutes, adding more flour if too sticky, until soft but not tacky.
- Place dough in a lightly oiled bowl, cover with plastic wrap, and let rise in a warm spot for 1 hour or until doubled in size.
- Punch down dough and divide into small pieces. Roll each piece into a long, tapered log (thick at palm, thin at tip). Tuck in sides to create a finger shape.
- Place shaped pretzels on a parchment-lined baking sheet. Cover loosely with a towel and let rise for another 30 minutes. Preheat oven to 400°F (200°C).
- Bring a large pot of water to a boil. Stir in baking soda. Drop pretzels in, one or two at a time, for about 30 seconds per side. Remove with a slotted spoon and place back on the baking sheet.
- Press a sesame seed onto the ‘knuckle’ area and an almond sliver into the tip for the nail. Brush tops with egg wash.
- Bake for 12-15 minutes until deep golden brown. Let cool on the sheet for 5 minutes before serving.
Notes
Ensure water is warm but not hot to activate yeast without killing it. The baking soda boil is crucial for authentic pretzel flavor and color. Press almonds in firmly right after boiling while the surface is sticky to prevent them from falling off. Dough can be refrigerated for up to 24 hours after the first rise.
Nutrition
- Serving Size: 1 pretzel finger
- Calories: 175
- Sugar: 3
- Sodium: 350
- Fat: 4
- Saturated Fat: 1.5
- Carbohydrates: 30
- Fiber: 1.5
- Protein: 5
Keywords: Halloween, pretzels, witch fingers, charcuterie board, easy snacks, homemade treats, spooky food


