My kitchen counter has flour dusted across it, and I’m staring at a baking sheet full of pale, knobby fingers. It’s 10 PM on a Tuesday, and I’m elbow-deep in butter and almond extract, shaping what looks like a tiny, arthritic hand. The thing is—they’re not supposed to look pretty. They’re supposed to look creepy. And honestly, that’s the most freeing kind of baking there is. No piping bags, no perfect circles. Just a little bit of dough, a sliced almond, and the quiet satisfaction of making something that makes people do a double-take before they bite into it.
I stumbled onto this recipe the way most good Halloween ideas happen—by accident. I was trying to make shortbread for a cookie swap, and a friend joked that the logs of dough looked like witch fingers. That was it. A lightbulb went off, and I started shaping them, adding almond “nails,” and pressing lines into the knuckles. The first batch came out looking more like misshapen sausages, but after a few tries, I got it right. Now, these spooky witch finger cookies with almond nails are my go-to for Halloween parties, trunk-or-treat events, and any time I want to bring a little ghoulish fun to the table. They’re buttery, slightly sweet, and just creepy enough to be memorable.
Why You’ll Love This Recipe
These cookies aren’t just about the shock value—though, let’s be real, that’s a big part of it. They’re genuinely delicious, and they come together with ingredients you probably already have in your pantry. Here’s why they’ve become my most-requested Halloween recipe:
- Quick & Easy: From start to finish, you’re looking at about 40 minutes. The dough comes together in one bowl, and there’s no chilling time required. You can have a batch ready for a party in under an hour.
- Simple Ingredients: Butter, sugar, flour, an egg, and some almond extract. That’s it. No specialty items, no trips to a fancy baking supply store. The almonds for the nails are the only thing you might not have on hand, and they’re easy to find.
- Perfect for Halloween: These are the star of any spooky spread. Kids love them (once they get over the initial “eww” factor), and adults appreciate the clever presentation. They’re great for classroom parties, office potlucks, or a fun family baking night.
- Crowd-Pleaser: I’ve brought these to multiple Halloween gatherings, and they always get a reaction. People take pictures before they eat them. That’s the sign of a winning recipe.
- Unbelievably Delicious: The almond extract gives them a subtle, almost marzipan-like flavor that pairs perfectly with the buttery shortbread base. They’re not too sweet, which means you can eat three or four without feeling guilty.
What makes these different from other Halloween cookies I’ve tried is the texture. They’re not cakey or soft—they have that perfect shortbread crumble that melts in your mouth. And the almond “nail” isn’t just for show; it adds a lovely crunch and a pop of nutty flavor. This isn’t just another spooky cookie—it’s the one you’ll come back to year after year.
What Ingredients You Will Need
This recipe uses simple, wholesome ingredients to create a cookie that’s both visually striking and delicious. Most of these are pantry staples, which makes these perfect for a last-minute Halloween treat.
- 1 cup (226g) unsalted butter, softened: Butter is the foundation here. It gives the cookies their rich flavor and tender crumb. I like to use a good-quality European-style butter for extra richness, but any unsalted butter works fine. Make sure it’s truly softened—left out on the counter for about an hour—or your dough will be difficult to work with.
- 1 cup (200g) granulated sugar: This provides sweetness and helps with the cookies’ structure. I’ve tried this with coconut sugar, and while it works, the cookies come out darker and don’t have that classic pale, creepy look.
- 1 large egg: The egg binds everything together. For best results, use a room-temperature egg. If you forgot to take it out of the fridge, place it in a bowl of warm water for 5 minutes.
- 1 teaspoon almond extract: This is the secret ingredient. It gives the cookies that distinct, almost floral flavor that makes them taste like something from a witch’s kitchen. Don’t skip it, and don’t substitute vanilla—the almond flavor is key.
- 2 ½ cups (312g) all-purpose flour: Standard all-purpose flour works perfectly here. I’ve tested this with gluten-free 1-to-1 baking flour, and it works well, though the texture is slightly more delicate.
- 1 teaspoon baking powder: This gives the cookies a little lift. Make sure your baking powder isn’t expired—it loses its potency over time.
- ½ teaspoon salt: Salt balances the sweetness and enhances the almond flavor. I use fine sea salt for baking.
- Whole almonds (about 48, for the “nails”): You’ll need one almond for each finger. Look for almonds that are fairly uniform in size and shape. I prefer raw almonds because they toast slightly in the oven, but blanched almonds work too.
- Red food coloring (optional, for “blood” effect): A little red gel food coloring mixed with a drop of water can be painted around the “cuticle” area for an extra gory touch. This is totally optional, but it’s a fun detail.
One thing I’ve learned from making these over the years is that the almond extract brand matters. I personally prefer McCormick or Simply Organic—they have a pure, strong flavor that isn’t artificial-tasting. If you can find almond extract made with bitter almonds, even better, though it’s harder to come by.
Equipment Needed
You don’t need any fancy equipment for these cookies, which is part of their charm. Here’s what you’ll need:
- Large mixing bowl: Any bowl will do, but a wide, shallow one makes it easier to cream the butter and sugar.
- Electric hand mixer or stand mixer: While you could do this by hand with a wooden spoon, a mixer makes the creaming process much faster and gives you a lighter texture.
- Baking sheets: I recommend using light-colored, rimmed baking sheets. Dark sheets can cause the bottoms of the cookies to brown too quickly.
- Parchment paper or silicone baking mats: These prevent sticking and make cleanup a breeze. I prefer silicone mats because they’re reusable and give a more even bake.
- Sharp knife or bench scraper: You’ll use this to make the knuckle marks on the cookies. A dull knife will just drag through the dough.
- Small offset spatula or butter knife: This helps with transferring the shaped cookies to the baking sheet without distorting their shape.
- Pastry brush (optional): If you’re adding the red food coloring “blood” effect, a small brush helps you apply it precisely.
If you don’t have a mixer, don’t worry. I’ve made these by hand before—it just takes a little more elbow grease. Make sure your butter is very soft, and use a fork to mash it into the sugar before switching to a wooden spoon. It’ll come together, I promise.
Preparation Method

Let’s get to the fun part—making these creepy little fingers. Take your time with the shaping; it’s what makes them look so realistic.
- Preheat your oven to 350°F (175°C). Line two baking sheets with parchment paper or silicone mats. This is important—the cookies will spread slightly, and you don’t want them sticking.
- Cream the butter and sugar together. In your large mixing bowl, beat the softened butter and granulated sugar together until light and fluffy, about 2-3 minutes. You’re looking for a pale, creamy mixture that looks almost like frosting. Scrape down the sides of the bowl once or twice.
- Add the egg and almond extract. Crack the egg into the bowl and add the almond extract. Beat until fully combined, about 30 seconds. The mixture might look slightly curdled at this point—that’s normal, don’t panic.
- Whisk the dry ingredients together. In a separate small bowl, whisk together the flour, baking powder, and salt. This ensures the baking powder is evenly distributed throughout the dough.
- Add the dry ingredients to the wet. Gradually add the flour mixture to the butter mixture, mixing on low speed or stirring with a wooden spoon. Mix just until a soft dough forms. Be careful not to overmix, or the cookies will be tough. The dough should be soft but not sticky—if it feels too sticky, add a tablespoon more flour.
- Portion the dough. Scoop out about 1 tablespoon of dough for each finger. Roll it into a log shape about 3 inches long and ½ inch thick. Don’t make them perfectly uniform—real fingers aren’t all the same size. Slight imperfections add to the creepy effect.
- Shape the fingers. Place each log on the prepared baking sheet. Using your fingers, gently taper one end to create a fingertip shape. The other end should be slightly wider, like where a finger would connect to the hand. Press down gently to flatten slightly—fingers aren’t perfectly round.
- Add the knuckle marks. Using a sharp knife or bench scraper, gently press lines into the dough at the knuckle points. You want about 2-3 lines per finger, depending on the length. Don’t cut all the way through—just deep enough to leave an indent. I like to angle the knife slightly to make the marks look more natural.
- Add the almond “nails”. Press one whole almond firmly into the tapered end of each finger. Make sure it’s embedded enough that it won’t fall off during baking, but not so deep that it disappears into the dough. The pointed end of the almond should face outward, like a fingernail.
- Bake for 12-15 minutes. The cookies are done when they’re just barely golden on the bottom and the edges are set. They should still be pale on top—you don’t want them to brown, or they’ll lose their creepy, flesh-toned appearance. The almonds will toast slightly, which is perfect.
- Cool on the baking sheet for 5 minutes. This allows the cookies to firm up before you move them. Then transfer them to a wire rack to cool completely.
- Optional “blood” effect. If you want to add the red food coloring, mix a few drops of red gel food coloring with a drop of water. Using a small brush, paint a thin line around the base of the almond “nail” to look like bloody cuticles. Let it dry for a few minutes before serving.
One thing I’ve learned the hard way: don’t overbake these. The first time I made them, I left them in for 17 minutes, and they came out golden and crispy. They still tasted good, but they looked more like toasted fingers than creepy witch fingers. You want them pale and slightly soft when they come out of the oven—they’ll firm up as they cool.
Cooking Tips & Techniques
After making these cookies more times than I can count (including one memorable batch where I forgot the sugar entirely), I’ve picked up a few tricks that make the process smoother and the results creepier.
Don’t skip the almond extract. I know some people are tempted to use vanilla instead, especially if they’re making these for kids who might be sensitive to the flavor. But the almond extract is what gives these cookies their signature taste. It’s what makes them smell like a witch’s kitchen. If you’re worried about the flavor being too strong, use ¾ teaspoon instead of a full teaspoon.
Keep your hands cool. Warm hands will soften the butter in the dough, making it sticky and difficult to shape. If the dough starts to feel greasy or sticky, pop it in the fridge for 10-15 minutes. I’ve also found that running my hands under cold water before shaping helps.
Vary the finger shapes. Not every finger should look the same. Make some longer, some shorter. Curve a few slightly, as if they’re bent. Add an extra knuckle mark on some. The more varied they are, the more realistic—and creepy—they’ll look on the platter.
Watch the almonds. During baking, the almonds can sometimes shift or pop off. If you notice one starting to slide, gently press it back into place with a spatula while the cookies are still warm. I lost three “nails” my first time because I didn’t check on them halfway through.
Make them ahead. The dough can be made up to 3 days in advance and stored in the refrigerator. You can also shape the cookies and freeze them on the baking sheet, then transfer them to a freezer bag. Bake them straight from the freezer, adding 2-3 minutes to the baking time.
I once tried to rush these by skipping the knuckle marks, thinking no one would notice. Big mistake. The knuckle marks are what make them look like fingers instead of just weird logs with almonds on the end. Take the extra 30 seconds to press those lines in—it makes all the difference.
Variations & Adaptations
Over the years, I’ve experimented with different versions of these cookies. Here are a few that have worked well:
- Chocolate Witch Fingers: Replace ¼ cup of the flour with ¼ cup of unsweetened cocoa powder. The chocolate version looks like dark, gnarled fingers—perfect for a more sinister vibe. The almond extract still works beautifully with chocolate.
- Gluten-Free Version: Substitute the all-purpose flour with a 1-to-1 gluten-free baking flour blend. I’ve used Bob’s Red Mill and King Arthur brands with good results. The texture is slightly more crumbly, so handle them gently.
- Vegan Adaptation: Use vegan butter (I recommend Earth Balance or Miyoko’s) and a flax egg (1 tablespoon ground flaxseed mixed with 3 tablespoons water, let sit for 5 minutes). The flavor is slightly different, but they still look and feel like witch fingers.
- Spooky Green Fingers: Add a few drops of green food coloring to the dough for a more “witchy” look. The green tint makes them look like they belong in a cauldron. I did this for a Harry Potter-themed party, and they were a hit.
- Different “Nails”: Instead of almonds, try using blanched almonds for a paler nail, or even candy corn for a fun, colorful twist. I’ve also used slivered almonds stacked together for a claw-like effect.
One variation I tried that I don’t recommend: adding cinnamon. I thought it would be a nice warm flavor for fall, but it made the cookies look like they were covered in dirt. Stick with the almond extract—it’s the right choice.
Serving & Storage Suggestions
These cookies are best served at room temperature, arranged on a platter in a way that maximizes the creepy factor. I like to pile them up haphazardly, as if a witch just dropped them there. A dark plate or a black serving tray makes the pale fingers stand out even more.
For a truly spooky presentation, place them on a bed of dark chocolate “dirt” (crushed chocolate cookies or Oreo crumbs). You can also arrange them around a bowl of “witch’s brew” punch or a refreshing cucumber mint green tea cooler for a non-alcoholic Halloween drink option.
Storage: These cookies keep well in an airtight container at room temperature for up to 5 days. The texture stays perfect—still buttery and slightly crumbly. If you live in a humid environment, add a piece of bread to the container to absorb excess moisture.
Freezing: Baked cookies freeze beautifully for up to 3 months. Layer them between sheets of parchment paper in a freezer-safe container. To serve, thaw at room temperature for about 20 minutes. The almond “nails” might become slightly less crunchy after freezing, but they’re still delicious.
Reheating: I don’t recommend reheating these cookies—they’re meant to be enjoyed at room temperature. If you want them warm, pop them in a 300°F (150°C) oven for 3-4 minutes, but watch them carefully so they don’t brown.
One thing I love about these cookies is that the flavors actually improve after a day. The almond extract mellows out and blends with the buttery shortbread, creating a more complex flavor. I’ve made them two days before a party and they were still perfect.
Nutritional Information & Benefits
Let’s be honest—these are cookies, so they’re not health food. But they’re made with real ingredients, and there are a few redeeming qualities worth mentioning.
| Nutritional Value | Per Cookie (approx.) |
|---|---|
| Calories | 95 |
| Total Fat | 5g |
| Saturated Fat | 3g |
| Carbohydrates | 11g |
| Sugar | 5g |
| Protein | 1g |
| Fiber | 0.5g |
The almonds on top provide a small amount of healthy fats, vitamin E, and magnesium. Almonds are known for their heart-healthy benefits and can help with blood sugar regulation. Of course, in a cookie this size, the nutritional impact is minimal—but every little bit counts, right?
Dietary Considerations: These cookies contain gluten, dairy, eggs, and tree nuts (almonds). For a nut-free version, you can use a sliced dried apricot or a candy corn for the “nail” instead of an almond. The flavor will be different, but the visual effect is similar.
I personally love that these cookies are portion-controlled. Because they’re shaped like fingers, you naturally eat just one or two at a time. They’re satisfying without being overly indulgent, which makes them perfect for a Halloween party where you want to sample a little bit of everything.
Conclusion
These spooky witch finger cookies with almond nails have become a Halloween tradition in my house, and I have a feeling they’ll become one in yours too. They’re fun to make, even more fun to serve, and genuinely delicious in a way that most novelty cookies aren’t. The combination of buttery shortbread and almond extract is simple but perfect, and the creepy presentation makes them unforgettable.
I love that this recipe is forgiving. Your fingers don’t have to look perfect—in fact, the weirder they look, the better. That takes all the pressure off and lets you just enjoy the process. Whether you’re making these for a Halloween party, a school event, or just a fun afternoon with your kids, they’re guaranteed to get a reaction.
If you try these, I’d love to hear how they turn out. Leave a comment below and let me know if your guests screamed (in a good way) before they took a bite. And if you come up with your own creepy variation, share that too—I’m always looking for new ideas. Happy Halloween, and happy baking!
Frequently Asked Questions
Can I make these cookies without almond extract?
Yes, but the flavor will be different. You can substitute vanilla extract, but the cookies will lose that distinct marzipan-like taste that makes them so unique. If you’re avoiding almond extract, try using ½ teaspoon of vanilla and ½ teaspoon of amaretto liqueur (if serving to adults) for a similar flavor profile.
How do I keep the almond “nails” from falling off during baking?
Press the almonds firmly into the dough before baking, making sure they’re embedded about halfway. If they still pop off, you can gently press them back into place with a spatula while the cookies are still warm from the oven. The cookies will firm up as they cool, holding the almonds in place.
Can I freeze the dough for these cookies?
Absolutely. Shape the cookies on a baking sheet and freeze them until solid, then transfer them to a freezer bag. You can bake them straight from the freezer—just add 2-3 minutes to the baking time. This is perfect for making them ahead of a Halloween party.
What if my dough is too sticky to shape?
This usually happens if the butter was too soft or if your kitchen is warm. Pop the dough in the refrigerator for 15-20 minutes to firm it up. You can also lightly dust your hands with flour while shaping the cookies. Just be careful not to add too much flour, or the cookies will be dry.
How far in advance can I make these cookies?
These cookies keep well for up to 5 days in an airtight container at room temperature. You can also freeze the baked cookies for up to 3 months. The flavor actually improves after a day or two as the almond extract mellows and blends with the butter.
Pin This Recipe!
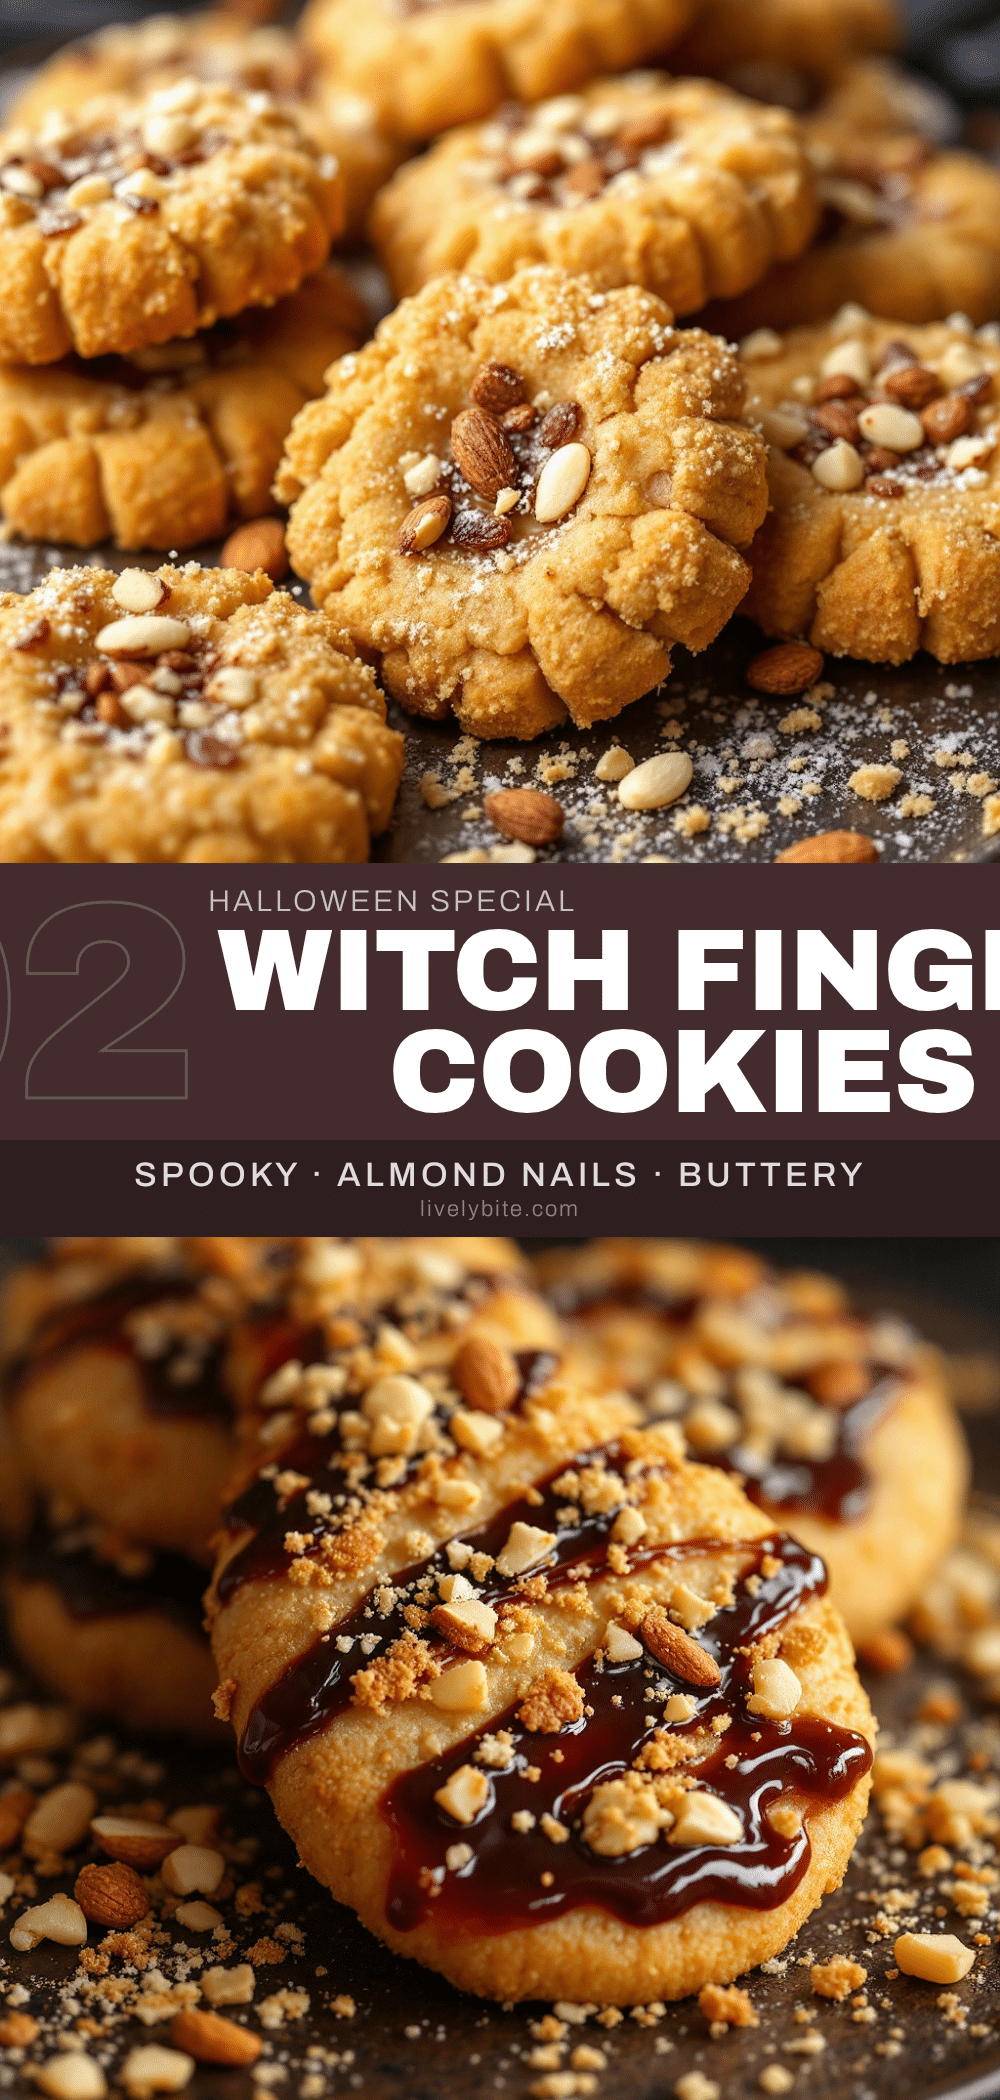
Spooky Witch Finger Cookies with Almond Nails: Easy Halloween Treat

These buttery, slightly sweet shortbread cookies are shaped like creepy witch fingers with almond nails. They’re quick to make, require no chilling, and are the perfect spooky treat for Halloween parties.
- Prep Time: 20 minutes
- Cook Time: 15 minutes
- Total Time: 35 minutes
- Yield: 48 cookies 1x
- Category: Dessert
- Cuisine: American
Ingredients
- 1 cup (226g) unsalted butter, softened
- 1 cup (200g) granulated sugar
- 1 large egg
- 1 teaspoon almond extract
- 2 ½ cups (312g) all-purpose flour
- 1 teaspoon baking powder
- ½ teaspoon salt
- Whole almonds (about 48, for the “nails”)
- Red food coloring (optional, for “blood” effect)
Instructions
- Preheat your oven to 350°F (175°C). Line two baking sheets with parchment paper or silicone mats.
- Cream the butter and sugar together until light and fluffy, about 2-3 minutes.
- Add the egg and almond extract; beat until fully combined, about 30 seconds.
- In a separate bowl, whisk together the flour, baking powder, and salt.
- Gradually add the dry ingredients to the wet, mixing just until a soft dough forms. Do not overmix.
- Scoop about 1 tablespoon of dough per finger. Roll into a log about 3 inches long and ½ inch thick.
- Place each log on the prepared baking sheet. Taper one end to create a fingertip shape; flatten slightly.
- Using a sharp knife, press 2-3 lines into the dough at the knuckle points to create knuckle marks.
- Press one whole almond firmly into the tapered end of each finger for the nail.
- Bake for 12-15 minutes, until just barely golden on the bottom and edges are set. Cookies should remain pale on top.
- Cool on the baking sheet for 5 minutes, then transfer to a wire rack to cool completely.
- Optional: Mix red food coloring with a drop of water and paint a thin line around the base of the almond for a “blood” effect.
Notes
Don’t overbake—cookies should be pale and slightly soft when removed from the oven. Keep hands cool to prevent dough from becoming sticky. Vary finger shapes for a more realistic look. The dough can be made up to 3 days ahead and refrigerated, or shaped and frozen for up to 3 months.
Nutrition
- Serving Size: 1 cookie
- Calories: 95
- Sugar: 5
- Sodium: 45
- Fat: 5
- Saturated Fat: 3
- Carbohydrates: 11
- Fiber: 0.5
- Protein: 1
Keywords: witch finger cookies, Halloween cookies, shortbread cookies, almond cookies, spooky treats, easy Halloween recipe


