I crushed three fingers on my left hand the first time I tried to handle dry ice for this punch. It wasn’t even a sharp cut, just a nasty, deep freeze burn that turned white and then angry red, leaving me holding my hand under cold water for ten minutes while the party started without me. You know how they tell you to never touch dry ice with bare hands? I ignored that because I thought, “It’s just frozen carbon dioxide, how bad can it be?” I was wrong. I learned that lesson the hard way, right in the middle of my kitchen, while trying to make what was supposed to be a magical Halloween centerpiece turn into a minor medical incident.
That was five years ago, and honestly, I haven’t touched dry ice without thick oven mitts or long tongs since. But I kept making the punch because the effect is unmatched. There is nothing else quite like watching a bowl of liquid start to bubble and spill over the edges with thick, low-lying fog that rolls across the table like a haunted graveyard mist. It stops conversations. It makes kids gasp. It makes adults pull out their phones to take videos. It creates an atmosphere that food alone just cannot achieve.
People think making a spooky drink is complicated, or that you need fancy bar tools and expensive syrups. Let’s face it, Halloween parties are chaotic. You want something that looks incredible but doesn’t require you to stand behind a bar for three hours. This witches’ brew punch is exactly that. It uses simple, cheap ingredients that you can find at any grocery store, but the presentation turns it into the star of the night. The key isn’t the recipe itself; it’s the safety and the technique for handling the ice.
I still remember the first time I served this correctly, safely, and watched my guests lose their minds over the swirling fog. It wasn’t about the taste, though the grape and apple juice combo is pretty good. It was about the experience. I realized then that I wasn’t just serving a drink; I was serving a memory. That realization stuck with me. Now, every Halloween, I make this punch, and every year, I remind everyone to wear gloves. It’s a tradition born from a mistake, and it’s become the most requested item on my holiday menu.
Why You’ll Love This Recipe
This isn’t just another fruit punch recipe you’ll find buried in a magazine from 1995. This is a tested, re-tested, and safety-reviewed method for creating a beverage that is as much a spectacle as it is a drink. Having spent years developing recipes that need to be foolproof for busy home cooks, I know that presentation often matters more than perfection, especially for holiday entertaining. This punch hits that sweet spot where effort looks minimal, but the impact is massive.
- Visual Spectacle: The dry ice creates a continuous, eerie fog that looks like it’s straight out of a horror movie. It’s the kind of detail that makes your party stand out on social media and gets people talking before they even take a sip.
- Simple Ingredients: You don’t need a specialty liquor store run. The base is made from common grape and apple juices, citrus, and a splash of soda. It’s sweet, tart, and refreshing without being overly complicated.
- Perfect for Crowds: This recipe scales up easily. Whether you are hosting ten people or fifty, the batch method works consistently. It’s a grab-and-go drink that keeps flowing throughout the night.
- Kid-Friendly and Fun: The spooky factor appeals to children, while the flavor profile is mild enough that even picky eaters will enjoy it. It’s a great way to get kids excited about the holiday.
- Customizable Heat: You can serve it non-alcoholic for the kids or add a shot of vodka or rum for the adults. It’s versatile enough to work for a family gathering or a wild party.
What makes this version different from the rest is the focus on safety and clarity. Many online recipes tell you to drop dry ice directly into the drink without warnings, which is dangerous. This guide ensures you get the spooky effect without the hospital visit. It’s comfort in a glass, but with a side of adrenaline. It’s the kind of drink that makes you feel like a wizard (or a witch) in your own kitchen.
What Ingredients You Will Need
This witches’ brew relies on a balance of sweet, tart, and fizzy elements to create a flavor profile that is familiar yet festive. The base is primarily fruit juice, which provides body and sweetness, while the citrus adds brightness to cut through the sugar. The dry ice is the special ingredient that provides the visual drama, but it doesn’t add flavor—just atmosphere. You’ll want to use clear or light-colored juices so the fog is visible and the color of the punch remains appealing.
For the Punch Base
- Grape Juice: 2 quarts. I recommend a Concord grape juice for that deep, dark purple color that looks like actual witch’s brew. Brands like Welch’s work well, but look for ones with a rich, dark hue.
- Apple Juice: 1 quart. This adds a crisp, refreshing note. Clear apple juice keeps the drink looking translucent, which helps the fog swirl better.
- Orange Juice: 1 cup. Use pulp-free orange juice to avoid cloudiness. It adds a necessary citrusy tang that balances the sweetness of the grape.
- Lemon Juice: 1/4 cup. Freshly squeezed is best here. It brightens the entire mixture and prevents the juice from tasting flat.
- Simple Syrup: 1/2 cup. Only add this if your juices aren’t sweet enough. Taste the mixture before adding sugar; most grape juices are already quite sweet.
For the Fizz and Finish
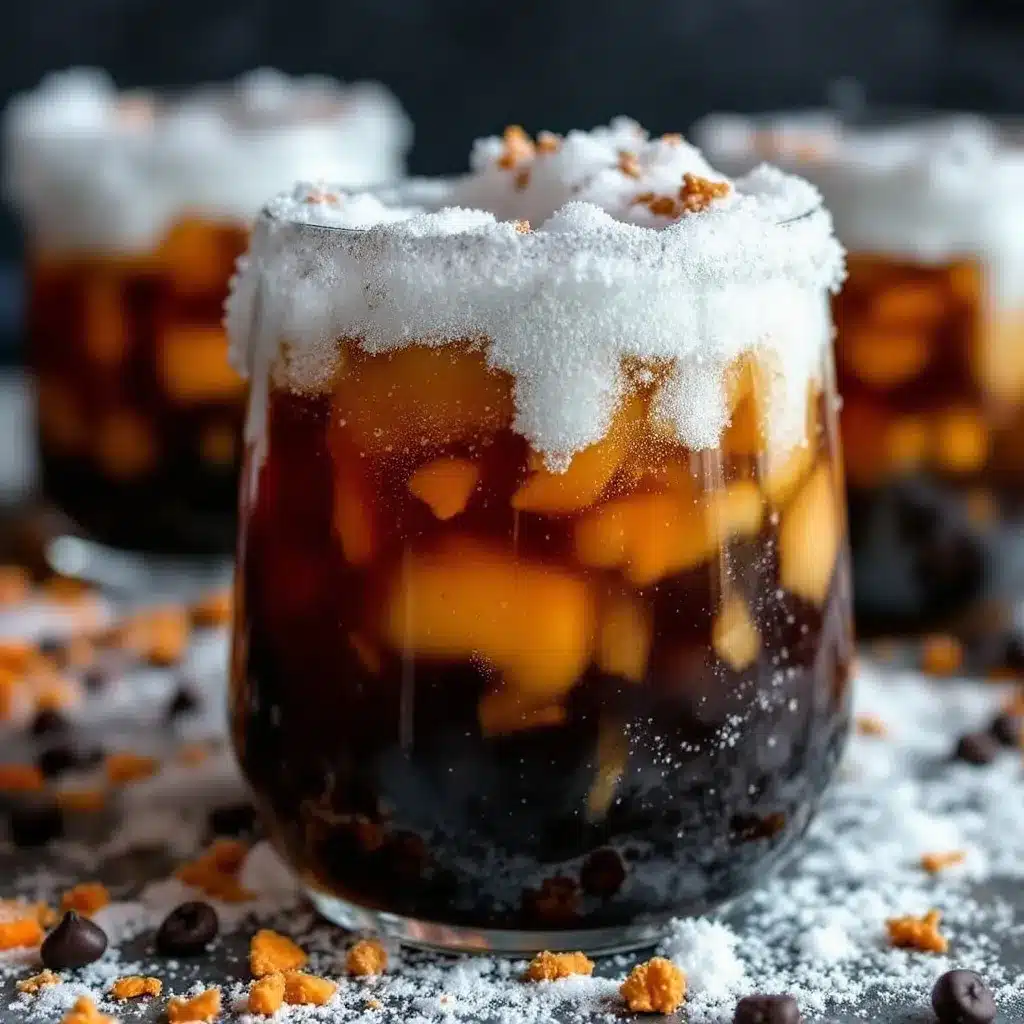
- 7-Up or Lemon-Lime Soda: 2 liters. Add this right before serving to keep the carbonation alive. It adds bubbles and a light citrus flavor.
- Gummy Worms: 1-2 bags. For garnish. These float to the top and add a playful, creepy touch. Avoid gummy bears as they tend to sink and disappear.
- Ice Cubts: 1 large bowl. Regular ice keeps the punch cold. Note: Do not use ice that contains dry ice.
For the Spooky Effect
- Dry Ice: 1-2 pounds. This is the star of the show. Ensure you buy food-grade dry ice from a reputable supplier. It looks like white, cloudy ice but is much colder.
If you want to make this alcoholic, you can add 2 cups of vodka or dark rum to the base. The strong flavors of the grape and apple juice mask the alcohol well, making it easy to drink. For a non-alcoholic version, just stick to the juices and soda. You can also swap the grape juice for cranberry juice for a redder, blood-like appearance, though it will be tarter.
Equipment Needed
You don’t need much to make this punch, but having the right tools is crucial for safety and ease. The most important piece of equipment is a large punch bowl. I prefer a glass or plastic bowl with a wide opening. Metal bowls can get dangerously cold on the outside if dry ice is used improperly, and ceramic bowls can crack if the temperature changes too quickly.
You will also need long-handled tongs. Regular kitchen tongs work fine, but if you have a pair with a claw design, they are better for picking up the dry ice chunks. Never use your hands. I also recommend wearing thick winter gloves or oven mitts when handling the dry ice. If you don’t have these, you can use a slotted spoon, but be very careful.
A large measuring cup or pitcher is useful for mixing the juice base before adding it to the bowl. A ladle is essential for serving, as it allows you to scoop the punch without disturbing the dry ice too much. Finally, have a large container of water nearby for emergencies, like if you accidentally splash dry ice on your skin.
Preparation Method
Step 1: Prepare the Juice Base. In a large pitcher or measuring cup, combine the grape juice, apple juice, orange juice, and lemon juice. Stir well to mix. Taste the mixture. If it is too sweet for your liking, you can add a little more lemon juice. If it is too tart, add a splash of simple syrup. This step should take about 5 minutes. Set the mixture aside in the refrigerator if you are not serving immediately.
Step 2: Chill the Bowl. Place your punch bowl in the freezer for at least 30 minutes before serving. This helps keep the punch cold for longer. If you don’t have time, fill the bowl with ice water and let it sit while you mix the juices. Discard the water just before you start assembling.
Step 3: Prepare the Dry Ice. This is the most critical step. Put on your thick gloves or oven mitts. Take the block of dry ice and wrap it in a towel. Use a hammer or a heavy object to break the block into smaller chunks. You want pieces that are about the size of golf balls or oranges. Do not crush it into powder, as it will sublimate too quickly. Handle the pieces with tongs only.
Step 4: Assemble the Punch. Place the regular ice cubes into the chilled punch bowl. Pour the juice base over the ice. Make sure the ice is fully submerged. This step takes about 2 minutes. The bowl should be about three-quarters full to allow for the expansion of the fog.
Step 5: Add the Dry Ice. Carefully place the dry ice chunks into the center of the bowl using tongs. Start with 1 pound of dry ice. You should see immediate bubbling and fog formation. If you want more fog, add another pound, but do not exceed 2 pounds for a standard 2-gallon bowl. The dry ice will sink and then float as it sublimates. This process takes about 30-45 minutes depending on room temperature.
Step 6: Garnish and Serve. Sprinkle the gummy worms over the top. They will float in the fog. Serve the punch with ladles. Warn guests to avoid drinking the dry ice chunks directly. Enjoy the show.
Cooking Tips & Techniques
The biggest mistake people make is putting too much dry ice in at once. It creates a massive cloud that dissipates quickly and can be overwhelming. Start with a smaller amount and add more as needed. The fog is most effective when the liquid is warm, but since this is a cold drink, the fog will be lower and slower, which is actually more elegant. It rolls across the table rather than exploding upward.
Another tip is to use a shallow bowl. A wide, shallow bowl allows the fog to spread out more, creating a larger “haunted” area. A deep, narrow bowl traps the fog inside, which is less impressive. I’ve learned this the hard way by using a deep ceramic bowl and wondering why the effect was so subtle.
Never put dry ice in a sealed container. The pressure from the expanding gas can cause an explosion. Always keep the bowl open or loosely covered. Also, never ingest dry ice. It can cause severe internal burns. Make sure your guests know this. I usually put a small sign next to the punch bowl that says “Do Not Eat the Ice.” It sounds silly, but it’s necessary.
If you are serving this outdoors, the wind can blow the fog away quickly. In that case, you’ll need more dry ice. Indoors, the fog stays longer. Adjust your dry ice quantity based on the environment. Also, keep the punch bowl away from the edge of the table so guests don’t bump into it and spill the dry ice.
Variations & Adaptations
You can easily adapt this recipe to fit different tastes or dietary needs. For a non-alcoholic version, stick to the juices and soda. For an alcoholic twist, add 2 cups of vodka for a neutral flavor, or 2 cups of dark rum for a spicier, richer taste. The rum pairs particularly well with the apple juice.
If you want a different color, swap the grape juice for cranberry juice. This will give the punch a bright red, blood-like appearance. It will be tarter, so you may need to add more simple syrup or soda. For a green “slime” effect, use lime juice and green apple juice, and add green gummy worms.
You can also change the garnish. Instead of gummy worms, try floating plastic spiders or eyeball candies. For a more sophisticated look, add slices of orange or lemon around the edge of the bowl. If you have guests with gluten allergies, ensure your gummy candies are certified gluten-free, as some brands contain wheat starch.
For a healthier option, use unsweetened apple and grape juice and add your own sweetener to taste. This reduces the sugar content significantly. The dry ice effect works the same way regardless of the sweetness level.
Serving & Storage Suggestions
Serve this punch immediately after adding the dry ice. The fog effect is best when the dry ice is fresh. If you need to prepare it ahead, mix the juice base and refrigerate it. Add the ice and dry ice just before guests arrive. The dry ice will last about 30-45 minutes in a standard bowl. If you are hosting a long party, plan to add more dry ice in batches.
Do not store the punch with dry ice in the refrigerator. The dry ice will sublimate and lose pressure, and the cold temperature might cause the bowl to crack if it’s not designed for freezing. Store the leftover juice base in the refrigerator for up to 3 days. You can add fresh soda and ice before serving again, but you won’t get the fog effect without dry ice.
Pair this punch with savory snacks like chips and dip, or spooky-themed cookies. It’s a great complement to salty foods because of its sweetness. Serve it in clear plastic cups so guests can see the fog swirling inside. It adds to the fun.
Nutritional Information & Benefits
Each serving of this punch contains approximately 150 calories, mostly from the natural sugars in the fruit juices. It is a good source of Vitamin C from the orange and lemon juice. However, it is high in sugar, so it should be enjoyed in moderation. If you use unsweetened juices and limit the soda, you can reduce the calorie count significantly. This drink is naturally gluten-free and dairy-free, making it suitable for most dietary restrictions. Just check your candy labels for allergens.
Conclusion
Making a Spooky Dry Ice Halloween Witches’ Brew Punch is less about the recipe and more about the experience. It’s about creating a moment of wonder and a little bit of fear for your guests. I’ve learned that safety is the most important ingredient, followed by the courage to handle the cold. Once you get the hang of it, this punch becomes a centerpiece that defines your Halloween party. It’s easy to make, visually stunning, and surprisingly delicious. I hope you try it and find your own way to make it spooky. Don’t forget to wear your gloves!
Frequently Asked Questions
Is it safe to drink the punch with dry ice in it?
Yes, it is safe to drink the liquid, but you must never eat the dry ice chunks. The dry ice sublimates into carbon dioxide gas, which is harmless in this context. However, swallowing a piece of dry ice can cause severe internal burns. Always warn your guests to be careful.
How much dry ice do I need for a 2-gallon bowl?
Start with 1 pound of dry ice. This will create a moderate fog for about 30 minutes. If you want a heavier fog, you can add up to 2 pounds, but be careful not to overfill the bowl. The exact amount depends on the room temperature and the size of the chunks.
Can I use regular ice instead of dry ice?
You can use regular ice to keep the punch cold, but it will not create the fog effect. The fog is caused by the extreme cold of the dry ice condensing water vapor in the air. Regular ice is too warm to create this effect.
How do I dispose of leftover dry ice?
Let the dry ice sublimate in a well-ventilated area. Do not throw it in the trash or a sealed container. It will turn into gas and disappear. You can also wrap it in a towel and let it melt in your sink, but make sure the drain is clear.
Can I make this punch ahead of time?
You can mix the juice base ahead of time and refrigerate it. However, you must add the dry ice and ice just before serving. The dry ice will disappear if added too early, and the punch will lose its fizz if you add the soda too soon.
Pin This Recipe!
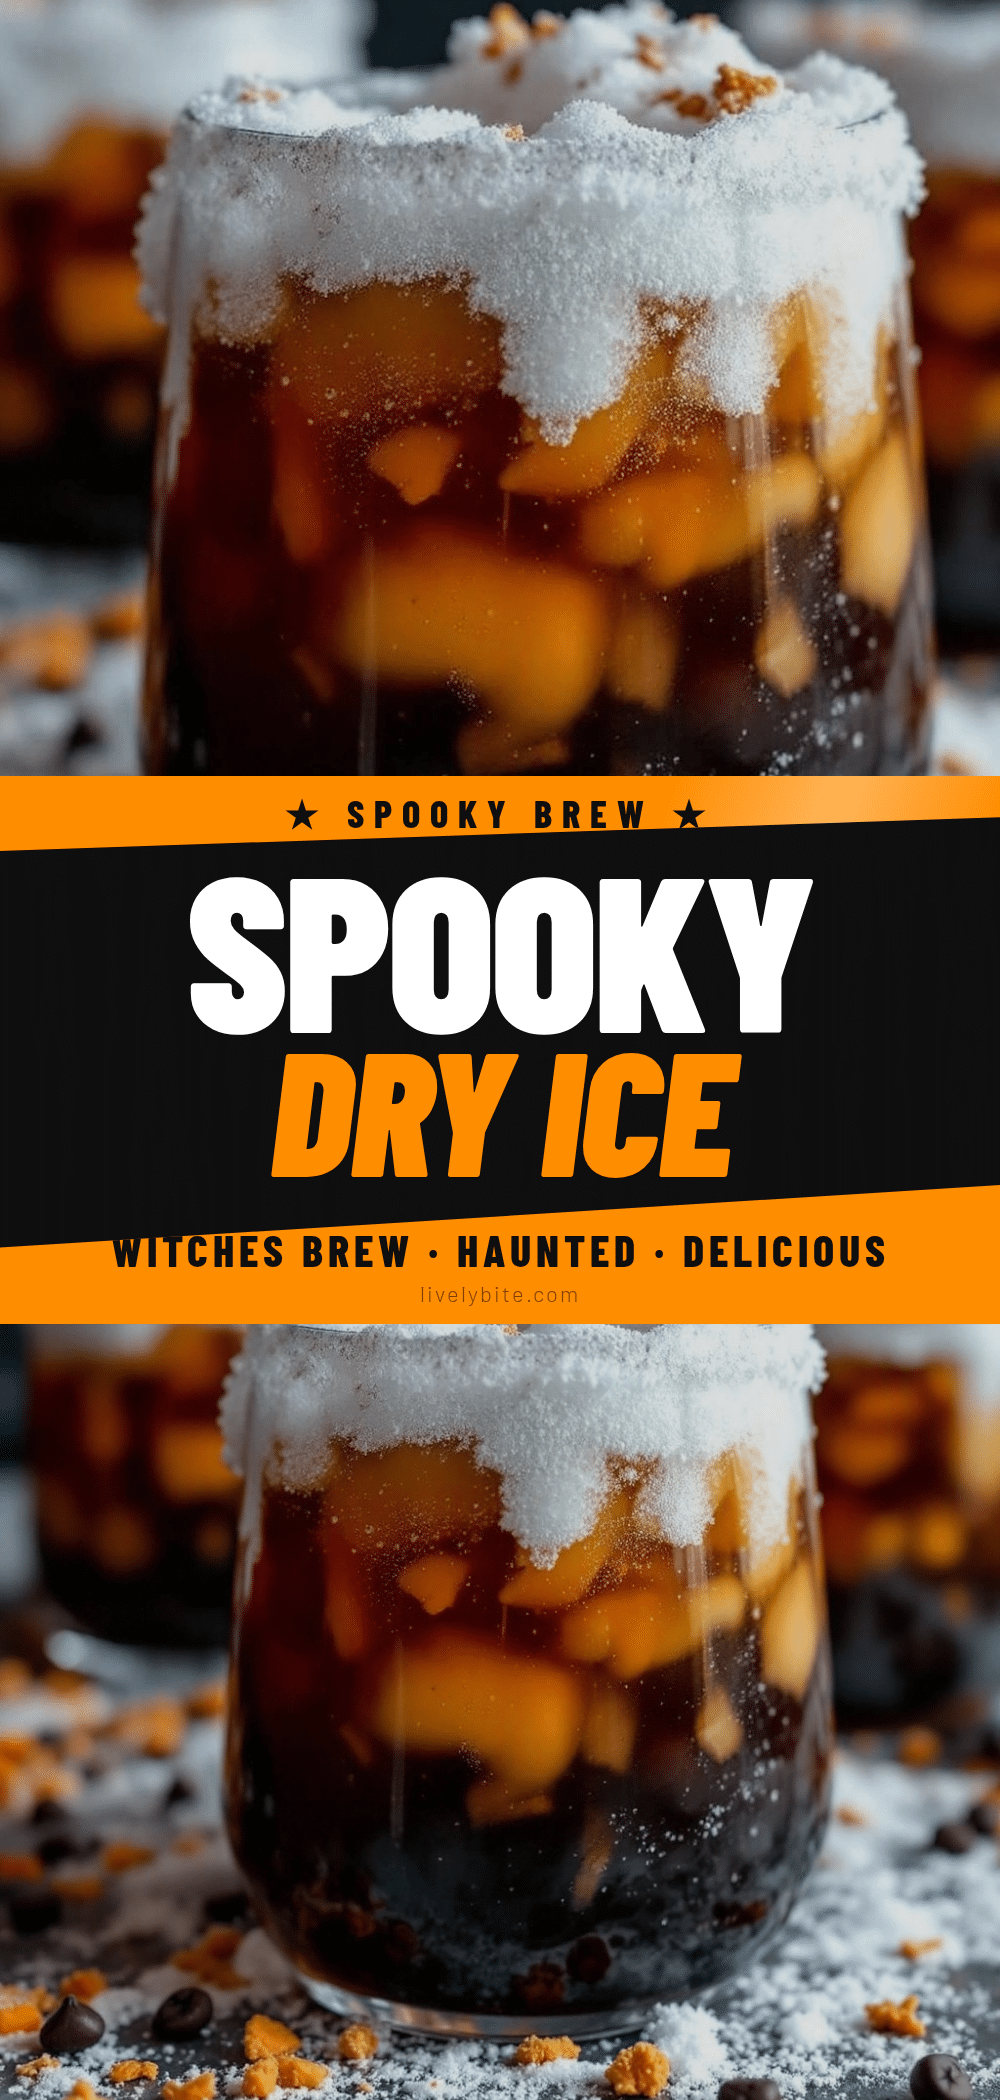
Spooky Dry Ice Halloween Witches Brew Punch

A visually stunning Halloween punch that creates an eerie fog effect using dry ice. This easy-to-make drink combines grape and apple juices with citrus and soda for a festive, kid-friendly beverage perfect for parties.
- Prep Time: 15 minutes
- Cook Time: 0 minutes
- Total Time: 45 minutes
- Yield: 8 servings 1x
- Category: Beverage
- Cuisine: American
Ingredients
- 2 quarts Grape Juice (Concord recommended for dark color)
- 1 quart Apple Juice (clear)
- 1 cup Orange Juice (pulp-free)
- 1/4 cup Lemon Juice (freshly squeezed)
- 1/2 cup Simple Syrup (optional, to taste)
- 2 liters 7-Up or Lemon-Lime Soda
- 1–2 bags Gummy Worms
- 1 large bowl Ice Cubes (regular)
- 1–2 pounds Dry Ice (food-grade)
Instructions
- In a large pitcher, combine grape juice, apple juice, orange juice, and lemon juice. Stir well and taste; adjust sweetness with simple syrup or tartness with lemon juice if needed.
- Place the punch bowl in the freezer for at least 30 minutes to chill, or fill with ice water and discard just before serving.
- Put on thick gloves or oven mitts. Wrap the dry ice block in a towel and break it into golf ball-sized chunks using a hammer. Handle only with tongs.
- Place regular ice cubes into the chilled punch bowl. Pour the juice base over the ice until the bowl is about three-quarters full.
- Using tongs, carefully place 1 pound of dry ice chunks into the center of the bowl. Add more if desired, but do not exceed 2 pounds for a standard 2-gallon bowl.
- Sprinkle gummy worms over the top as garnish.
- Serve immediately with ladles, warning guests not to eat the dry ice chunks.
Notes
Never touch dry ice with bare hands as it causes severe frostbite. Never ingest dry ice chunks. Do not store dry ice in a sealed container. The fog effect lasts 30-45 minutes. For alcoholic version, add 2 cups vodka or dark rum to the base.
Nutrition
- Serving Size: 1 cup
- Calories: 150
- Sugar: 35
- Sodium: 10
- Carbohydrates: 35
- Protein: 1
Keywords: Halloween punch, dry ice recipe, witches brew, spooky drink, holiday party, non-alcoholic punch, easy Halloween recipe


