Third time in as many weeks, and I finally stopped scraping frosting off the spatula to lick it clean. That was the moment I knew the strawberry buttercream had won. Not the cake, not the chocolate layer, not even the vanilla—though don’t get me wrong, they’re all pulling their weight. But that buttercream? It’s the kind of frosting that makes you slow down. The kind that tastes like summer in a bowl, but without the seedy jam texture that ruins so many fruit frostings. I had been chasing that specific creaminess for weeks, tweaking ratios, swapping freeze-dried berries for fresh, and honestly, driving my family a little crazy with all the test cakes piling up on the counter. But this one—this Neapolitan layer cake with strawberry buttercream—finally made it all worth it. It’s the kind of cake that makes you close your eyes after the first bite, and I’m not even being dramatic about it.
Why You’ll Love This Recipe
This isn’t just another pretty layer cake. It’s the one you bring to a birthday party when you want everyone to stop and ask, “Who made this?” It’s the cake that looks like it took all day but actually comes together with a few smart shortcuts and a whole lot of flavor.
- Three iconic flavors, one stunning cake. Chocolate, vanilla, and strawberry come together in every slice, and it’s way easier than making three separate batters.
- Real strawberry flavor, no artificial junk. The buttercream uses freeze-dried strawberries for pure, concentrated fruit taste without watering down the frosting. It’s a game-changer.
- Perfect for celebrations. Whether it’s a birthday, anniversary, or just a Tuesday that needs a little extra joy, this cake delivers. It’s a crowd-pleaser that looks like you spent hours at a pastry school.
- Simple ingredients, bakery-level results. You don’t need fancy equipment or hard-to-find items. Most of this stuff is probably in your pantry right now.
- Make-ahead friendly. The cake layers freeze beautifully, and the buttercream keeps well in the fridge. You can spread the work out over a couple of days without stress.
I’ve tested this recipe more times than I care to admit, tweaking the baking times, adjusting the buttercream consistency, and even trying different strawberry brands. What I’m sharing today is the version that finally made me stop testing. It’s reliable, it’s forgiving, and it tastes like the kind of cake you remember from childhood—only better.
What Ingredients You Will Need
This recipe uses simple, everyday ingredients to build something that looks and tastes like it came from a fancy bakery. The magic is in how they work together, not in how complicated they are.
- All-purpose flour (3 cups / 360g) – Provides structure without making the cake dense. Spoon and level it for best results.
- Granulated sugar (2 ½ cups / 500g) – Sweetens the cake and helps create a tender crumb. Don’t reduce it or the texture will suffer.
- Unsalted butter (1 cup / 226g, softened) – Use the real stuff. I prefer Kerrygold for its rich flavor, but any good-quality unsalted butter works.
- Eggs (4 large, room temperature) – Room temperature eggs emulsify better, giving you a lighter, fluffier cake. Set them out 30 minutes before baking.
- Buttermilk (1 ½ cups / 360ml) – Adds moisture and a subtle tang that balances the sweetness. No buttermilk? Add 1 ½ tablespoons of lemon juice to regular milk and let it sit for 5 minutes.
- Cocoa powder (⅓ cup / 30g) – For the chocolate layer. Use unsweetened natural cocoa powder, not Dutch-processed, for the right lift.
- Vanilla extract (2 teaspoons) – Pure vanilla makes a difference here. Skip the imitation stuff.
- Baking powder (2 teaspoons) and baking soda (½ teaspoon) – The leavening team. Make sure they’re fresh.
- Salt (1 teaspoon) – Enhances every flavor and keeps the sweetness in check.
- Freeze-dried strawberries (1.5 ounces / 42g) – The secret to that intense strawberry flavor in the buttercream. Grind them into a fine powder using a food processor or blender. Don’t use regular dried strawberries; they’re too chewy.
- Powdered sugar (4 cups / 480g) – For the buttercream. Sift it if you want a silky-smooth frosting, but I’ve skipped it in a pinch and it was fine.
- Heavy cream (2-3 tablespoons) – Adjusts the buttercream consistency. Add slowly until it’s spreadable.
- Strawberry jam (optional, ¼ cup) – For an extra layer of fruitiness between the cake layers. Seedless jam works best.
Equipment Needed
You don’t need a professional kitchen to pull this off, but a few key tools make the process smoother. Here’s what you’ll need:
- Three 8-inch round cake pans – Straight-sided pans give you even layers. If you only have two, bake the chocolate layer separately and adjust the time.
- Electric stand mixer or hand mixer – Creaming butter and sugar by hand is possible, but your arm will hate you. A mixer makes it easy.
- Parchment paper – Cut circles to line the pan bottoms. This guarantees your cakes release without sticking.
- Cooling rack – Wire racks let air circulate around the cakes so they cool evenly. No soggy bottoms here.
- Offset spatula – For spreading the buttercream smoothly. A butter knife works in a pinch, but the spatula is worth the few dollars it costs.
- Cake stand or turntable – Not required, but a turntable makes frosting so much easier. I got mine for under $20 and it’s paid for itself in frustration saved.
- Food processor or blender – For grinding the freeze-dried strawberries into powder. A mortar and pestle works too, but it takes a little elbow grease.
Preparation Method
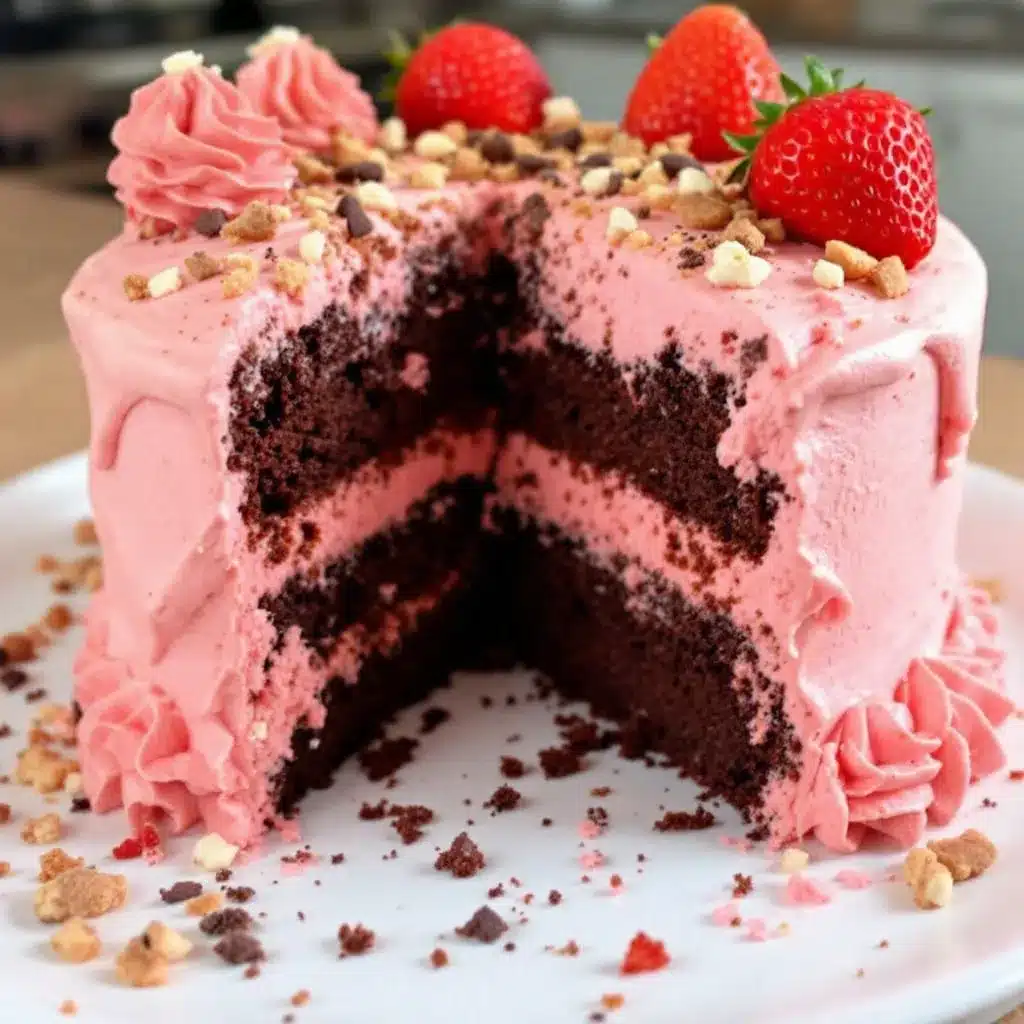
Take your time with this one. The cake itself is straightforward, but the assembly requires a little patience. Trust me, it’s worth it.
- Preheat and prep. Preheat your oven to 350°F (175°C). Grease three 8-inch round cake pans, line the bottoms with parchment paper, and lightly flour the sides. This step is non-negotiable if you want clean layers.
- Make the vanilla layer batter. In a medium bowl, whisk together 1 cup flour, ¾ cup sugar, ½ cup buttermilk, ⅓ cup softened butter, 1 egg, 1 teaspoon vanilla, ½ teaspoon baking powder, and a pinch of salt. Beat on medium speed for 2 minutes until smooth and fluffy. Pour into one prepared pan and set aside.
- Make the chocolate layer batter. In the same bowl (no need to wash it), combine 1 cup flour, ¾ cup sugar, ⅓ cup cocoa powder, ½ cup buttermilk, ⅓ cup softened butter, 1 egg, 1 teaspoon vanilla, ½ teaspoon baking powder, ¼ teaspoon baking soda, and a pinch of salt. Beat for 2 minutes. The batter will be thicker than the vanilla. Pour into a second pan.
- Make the strawberry layer batter. In the same bowl, combine 1 cup flour, ¾ cup sugar, ½ cup buttermilk, ⅓ cup softened butter, 1 egg, 1 teaspoon vanilla, ½ teaspoon baking powder, and a pinch of salt. Beat for 2 minutes. Gently fold in ¼ cup of the ground freeze-dried strawberry powder. The batter will turn a pale pink. Pour into the third pan.
- Bake the layers. Place all three pans in the oven, spacing them out evenly. Bake for 22-28 minutes, rotating the pans halfway through. The cakes are done when a toothpick inserted in the center comes out clean or with a few moist crumbs. The chocolate layer might take a minute or two longer—check it separately.
- Cool completely. Let the cakes cool in the pans for 10 minutes, then turn them out onto a wire rack. Remove the parchment paper and let them cool completely. This is crucial. Warm cake will melt your buttercream into a sad puddle.
- Make the strawberry buttercream. While the cakes cool, grind the remaining freeze-dried strawberries into a fine powder using a food processor. In a large bowl, beat 1 cup softened butter until creamy, about 2 minutes. Gradually add 4 cups powdered sugar, beating on low speed until combined. Add the strawberry powder, 2 teaspoons vanilla, and 2 tablespoons heavy cream. Beat on medium-high for 3-4 minutes until light and fluffy. If it’s too thick, add another tablespoon of cream. If it’s too thin, add a little more powdered sugar.
- Level the cakes (if needed). If your cakes domed in the center, use a serrated knife to slice off the tops so they’re flat. Save the scraps for snacking—chef’s privilege.
- Assemble the cake. Place the chocolate layer on your cake stand or serving plate. Spread a generous layer of buttercream on top. Place the vanilla layer on top, then more buttercream. Finally, add the strawberry layer. If you’re using the optional jam, spread a thin layer on top of the buttercream before adding the next cake layer—it adds a lovely burst of fruit.
- Frost the outside. Apply a thin crumb coat (a base layer of frosting that traps any loose crumbs) and refrigerate for 20 minutes. Then apply the final layer of buttercream, smoothing it with your offset spatula. Decorate as you like—I’m partial to a few extra strawberry slices and a sprinkle of the leftover strawberry powder on top.
Cooking Tips & Techniques
I learned most of these the hard way, so you don’t have to. Here’s what I wish someone had told me before I started making layer cakes:
- Room temperature ingredients matter. Cold butter doesn’t cream properly, and cold eggs can make your batter curdle. Set everything out an hour before you start. I’ve forgotten this step more times than I’d like to admit, and the cake always turns out denser.
- Don’t overmix the batter. Once you add the flour, mix just until combined. Overmixing develops gluten and makes the cake tough. A few lumps are totally fine.
- Weigh your flour if you can. Cup measurements can vary wildly. A kitchen scale is cheap and guarantees consistent results. 120g per cup of all-purpose flour is my standard.
- Chill the cake before frosting. A cold cake is much easier to work with. Pop the layers in the fridge for 30 minutes before assembling. It makes the crumb coat stick better and reduces crumbs in your final layer.
- Use a serrated knife for leveling. A straight knife can tear the cake. A serrated knife saws through cleanly. Hold it parallel to the counter and use a gentle back-and-forth motion.
- Fix a runny buttercream. If your buttercream looks soupy, it’s probably too warm. Pop it in the fridge for 10-15 minutes, then re-whip. If it’s still runny, add a little more powdered sugar.
Variations & Adaptations
This cake is flexible, and I’ve tried a few twists over the weeks. Here are some of my favorites:
- Gluten-free version. Swap the all-purpose flour for a good 1:1 gluten-free baking blend. I’ve used King Arthur’s with great results. Add an extra tablespoon of buttermilk to compensate for the drier flour blend.
- Dairy-free adaptation. Use vegan butter and a dairy-free milk alternative (oat milk works best) with a teaspoon of lemon juice to mimic buttermilk. The texture will be slightly denser, but the flavor is still fantastic.
- Different fruit flavors. Swap the freeze-dried strawberries for raspberries, blueberries, or even mango. The process is exactly the same—just grind the freeze-dried fruit into a powder and fold it into the buttercream.
- Chocolate buttercream twist. If you’re a chocolate purist, replace the strawberry buttercream with a simple chocolate buttercream. The Neapolitan vibe shifts, but it’s still a showstopper.
- Mini cake version. Use 6-inch pans and bake for 18-22 minutes. Perfect for smaller gatherings or when you don’t want a mountain of leftover cake tempting you from the fridge.
Serving & Storage Suggestions
Serve this cake at room temperature for the best texture and flavor. Cold buttercream loses its creaminess, and the cake layers firm up. Let it sit out for about 30 minutes before slicing.
For presentation, I like to add a few fresh strawberry slices on top and a light dusting of the leftover strawberry powder. A dollop of whipped cream on the side never hurts, and if you’re feeling extra, a drizzle of chocolate sauce makes it look like a dessert from a five-star restaurant.
Storage: Keep the cake in an airtight container in the refrigerator for up to 4 days. The flavors actually meld together and get better after a day or two. Just bring slices to room temperature before serving.
Freezing: You can freeze the unfrosted cake layers for up to 3 months. Wrap each layer tightly in plastic wrap, then foil. Thaw overnight in the fridge before frosting. The buttercream also freezes well for up to 2 months—just thaw it in the fridge and re-whip before using.
If you’re looking for a lighter dessert to balance out this indulgent cake, try this refreshing cucumber mint green tea cooler on the side. It’s the perfect palate cleanser between slices.
Nutritional Information & Benefits
Let’s be real—this is a celebration cake, not a health food. But that doesn’t mean it’s without some redeeming qualities. Strawberries are packed with vitamin C and antioxidants, and the buttermilk adds a little calcium. The butter provides vitamin A, and hey, a slice of cake is good for the soul, right?
Here’s an approximate nutritional breakdown per slice (based on 12 servings):
- Calories: 480
- Fat: 24g
- Carbohydrates: 64g
- Protein: 5g
- Sugar: 48g
- Fiber: 1g
If you’re watching your sugar intake, you could reduce the sugar in the buttercream by a quarter cup, but the cake layers need the full amount for proper texture. For a healthier treat that still satisfies a sweet tooth, check out this creamy vegan chocolate avocado pudding—it’s rich, chocolatey, and comes together in five minutes.
Frequently Asked Questions
Can I use fresh strawberries instead of freeze-dried in the buttercream?
I wouldn’t recommend it. Fresh strawberries add too much moisture, which can make the buttercream grainy or cause it to separate. Freeze-dried strawberries give you that intense flavor without the liquid. If you really want to use fresh, cook them down into a thick puree first and reduce the cream in the recipe.
How do I get clean slices without the cake falling apart?
Use a long, sharp serrated knife and run it under hot water before each cut. Wipe the blade clean between slices. Chilling the cake for 30 minutes before cutting also helps the layers hold together.
Can I make this cake ahead of time?
Absolutely. Bake the cake layers up to two days in advance and store them wrapped tightly at room temperature. The buttercream can be made a day ahead and kept in the fridge. Assemble and frost the cake the day you plan to serve it for the freshest result.
Why did my cake layers dome in the center?
That’s normal, especially with butter-based cakes. To prevent excessive doming, you can lower the oven temperature by 25°F and bake a little longer. Or, just level the tops with a serrated knife after they cool. No one will ever know.
Can I use this recipe to make cupcakes?
Yes! Divide the batter evenly among 24 cupcake liners and bake at 350°F (175°C) for 18-22 minutes. You’ll get a mix of chocolate, vanilla, and strawberry cupcakes. Top with the strawberry buttercream and you’ve got a party-ready treat.
Conclusion
This Neapolitan layer cake with strawberry buttercream is the kind of recipe that makes you feel like a rockstar in the kitchen. It looks complicated, but once you break it down, it’s just three simple cakes stacked together with a frosting that tastes like pure joy. I’ve made it more times than I can count, and every single time, someone asks for the recipe. That’s the highest compliment a baker can get.
I’d love to see your version. Tag me when you make it, leave a comment below, or share your twist on the flavors. And if you’re in the mood for more crowd-pleasing desserts, don’t miss this easy slow cooker honey garlic chicken meal prep bowls for a savory balance to all that sweetness. Happy baking, friend—you’ve got this.
Pin This Recipe!
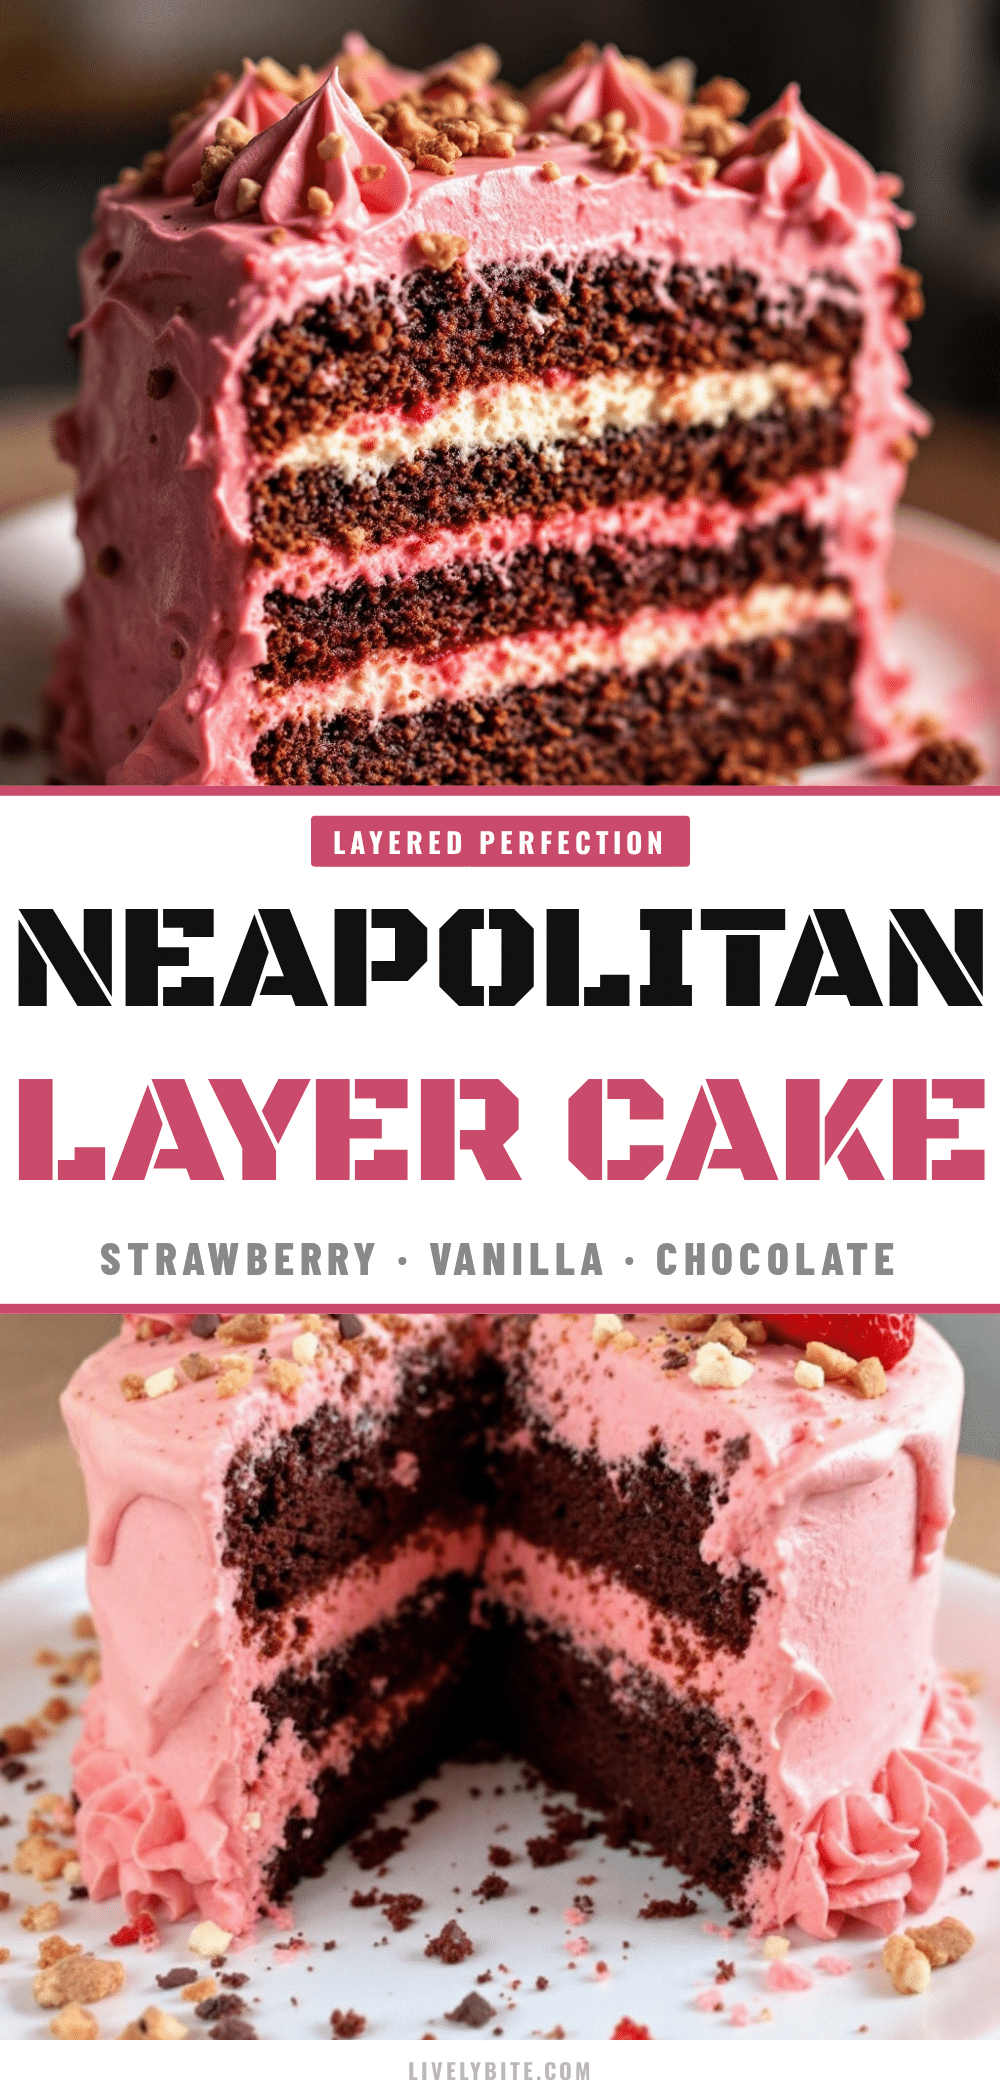
Showstopping Neapolitan Layer Cake with Easy Strawberry Buttercream
A stunning three-layer cake combining chocolate, vanilla, and strawberry flavors with a creamy strawberry buttercream. Perfect for celebrations, this cake delivers bakery-level results with simple ingredients and make-ahead convenience.
- Prep Time: 30 minutes
- Cook Time: 25 minutes
- Total Time: 55 minutes
- Yield: 12 servings 1x
- Category: Dessert
- Cuisine: American
Ingredients
- 3 cups (360g) all-purpose flour
- 2 ½ cups (500g) granulated sugar
- 1 cup (226g) unsalted butter, softened
- 4 large eggs, room temperature
- 1 ½ cups (360ml) buttermilk
- ⅓ cup (30g) unsweetened natural cocoa powder
- 2 teaspoons vanilla extract
- 2 teaspoons baking powder
- ½ teaspoon baking soda
- 1 teaspoon salt
- 1.5 ounces (42g) freeze-dried strawberries
- 4 cups (480g) powdered sugar
- 2–3 tablespoons heavy cream
- ¼ cup strawberry jam (optional)
Instructions
- Preheat oven to 350°F (175°C). Grease three 8-inch round cake pans, line bottoms with parchment paper, and lightly flour sides.
- Make vanilla layer: In a medium bowl, whisk together 1 cup flour, ¾ cup sugar, ½ cup buttermilk, ⅓ cup softened butter, 1 egg, 1 teaspoon vanilla, ½ teaspoon baking powder, and a pinch of salt. Beat on medium speed for 2 minutes until smooth. Pour into one prepared pan.
- Make chocolate layer: In the same bowl, combine 1 cup flour, ¾ cup sugar, ⅓ cup cocoa powder, ½ cup buttermilk, ⅓ cup softened butter, 1 egg, 1 teaspoon vanilla, ½ teaspoon baking powder, ¼ teaspoon baking soda, and a pinch of salt. Beat for 2 minutes. Pour into a second pan.
- Make strawberry layer: In the same bowl, combine 1 cup flour, ¾ cup sugar, ½ cup buttermilk, ⅓ cup softened butter, 1 egg, 1 teaspoon vanilla, ½ teaspoon baking powder, and a pinch of salt. Beat for 2 minutes. Gently fold in ¼ cup ground freeze-dried strawberry powder. Pour into third pan.
- Bake all three pans at 350°F (175°C) for 22-28 minutes, rotating halfway through. Cakes are done when a toothpick inserted in center comes out clean or with a few moist crumbs. Chocolate layer may need 1-2 minutes more.
- Cool cakes in pans for 10 minutes, then turn out onto wire rack. Remove parchment and cool completely.
- Make strawberry buttercream: Grind remaining freeze-dried strawberries into fine powder. In a large bowl, beat 1 cup softened butter until creamy (2 minutes). Gradually add 4 cups powdered sugar, beating on low. Add strawberry powder, 2 teaspoons vanilla, and 2 tablespoons heavy cream. Beat on medium-high for 3-4 minutes until light and fluffy. Adjust consistency with more cream or powdered sugar as needed.
- Level cake tops with a serrated knife if domed.
- Assemble: Place chocolate layer on cake stand. Spread generous buttercream on top. Add vanilla layer, more buttercream. Add strawberry layer. Optionally spread thin layer of jam between buttercream and next cake layer.
- Apply thin crumb coat of buttercream over entire cake. Refrigerate 20 minutes. Apply final layer of buttercream, smoothing with offset spatula. Decorate as desired.
Notes
Room temperature ingredients are crucial for proper creaming and emulsification. Don’t overmix batter once flour is added. Chill cake layers before frosting for easier handling. For clean slices, use a hot serrated knife and wipe between cuts. Buttercream can be made a day ahead and refrigerated; re-whip before using.
Nutrition
- Serving Size: 1 slice
- Calories: 480
- Sugar: 48
- Sodium: 320
- Fat: 24
- Saturated Fat: 14
- Carbohydrates: 64
- Fiber: 1
- Protein: 5
Keywords: Neapolitan cake, layer cake, strawberry buttercream, chocolate cake, vanilla cake, birthday cake, celebration cake, strawberry cake


