I figured a good pumpkin scone would be a simple thing to find. It took about three disappointing bakeries and one overly-spiced, dry disk that crumbled in my hand for that assumption to fall apart completely.
I was standing in my kitchen, staring at a half-empty can of pumpkin puree left over from another recipe, feeling that familiar mix of frustration and determination. I wanted a scone that was tender, not tough. I wanted the pumpkin flavor to be warm and present, not an afterthought drowned in cinnamon. And I wanted a glaze that was more than just sweet—something with a little depth, a little character.
This recipe is what came out of that stubborn moment. It’s not fussy, and it doesn’t require a trip to a specialty store. It’s the kind of thing you can pull together on a Sunday morning when the air gets that crisp, fall feeling, or on a random Tuesday because, honestly, you deserve a good scone. And that maple glaze? It’s the thing that makes you close your eyes after the first bite. This is the scone I was looking for all along.
Why You’ll Love This Recipe
After testing this recipe more times than I care to admit (my coworkers have been very patient), I can confidently say this is the version you’ll come back to. It hits that sweet spot between a bakery treat and something you can actually make at home without a pastry degree.
- Quick & Easy : From mixing bowl to cooling rack in about 35 minutes. No chilling the dough, no complicated folds.
- Simple Ingredients : You likely have flour, butter, sugar, and spices in your pantry. The pumpkin and maple syrup are the only “special” items, and they’re easy to find this time of year.
- Perfect for Fall Mornings : Great for a cozy breakfast, a brunch with friends, or a little afternoon pick-me-up with a cup of coffee or tea.
- Crowd-Pleaser : They’re not too sweet, they’re not too heavy, and that glaze gets everyone talking. I’ve watched people who “don’t like scones” eat two.
- Unbelievably Delicious : The texture is the real win here—a crisp, golden outside giving way to a soft, almost creamy inside. The combination of pumpkin and maple is pure comfort.
What makes this recipe different from the rest is the technique. Instead of just cutting cold butter into the flour, I use a trick I picked up from a pastry chef friend: freezing the butter and grating it into the flour. It creates the flakiest, most tender layers without overworking the dough. It’s a small change that makes a huge difference.
This recipe isn’t just good—it’s the kind that makes you feel like you’ve got your act together, even if it’s just for a moment. It’s comfort food reimagined: a little bit special, a lot of soul-soothing satisfaction, and perfectly stress-free.
What Ingredients You Will Need
This recipe uses simple, wholesome ingredients to deliver that perfect bakery-style scone texture and warm, spiced flavor. Most of these are pantry staples, which is part of the beauty of this recipe.
- All-purpose flour : The base of our scones. I use unbleached all-purpose for the best structure. (Don’t use bread flour; it will make the scones tough.)
- Granulated sugar : Just a bit for sweetness. It also helps with browning.
- Baking powder : The leavening agent that gives the scones their lift. Make sure it’s fresh!
- Pumpkin pie spice : A convenient blend of cinnamon, nutmeg, ginger, and cloves. If you don’t have it, you can make your own: 2 teaspoons cinnamon, 1/2 teaspoon nutmeg, 1/2 teaspoon ginger, 1/4 teaspoon cloves.
- Salt : A pinch enhances all the flavors.
- Unsalted butter : This is the key to flaky layers. I use salted butter in a pinch, but I adjust the added salt. I recommend using a good quality butter like Kerrygold for the best flavor (adds richness).
- Heavy cream : Adds richness and tenderness to the dough. You can substitute with half-and-half, but the scones won’t be as soft.
- Pumpkin puree : Use 100% pure pumpkin, not pumpkin pie filling. Libby’s is my go-to brand for consistent results.
- Vanilla extract : A splash rounds out the warm spices.
- Powdered sugar : For the glaze. It creates that smooth, dreamy texture.
- Maple syrup : Use real maple syrup, not pancake syrup. Grade A or B both work well. The flavor is irreplaceable.
- Milk : A tablespoon or two to thin the glaze to the perfect drizzle consistency.
Equipment Needed
You don’t need a lot of fancy gear to make these scones, which is one of the reasons I love this recipe. Here’s what you’ll need:
- Pastry cutter or two forks : To cut the butter into the flour. I used a pastry cutter for years, but honestly, two forks work just as well.
- Box grater : This is my secret weapon. Freezing the butter and grating it into the flour is a game-changer for flaky scones. A standard box grater works perfectly.
- Large mixing bowl : For combining dry ingredients.
- Small mixing bowl : For whisking the wet ingredients.
- Baking sheet : Line it with parchment paper for easy cleanup.
- Bench scraper or sharp knife : For cutting the dough into wedges. A bench scraper is great, but a sharp knife works fine.
- Wire rack : Essential for cooling the scones properly so they don’t get soggy.
If you don’t have a pastry cutter, don’t worry. The grating method eliminates the need for one entirely. I’ve also used a food processor in a pinch (just pulse until the butter is pea-sized), but I find the hand method gives me more control.
Preparation Method
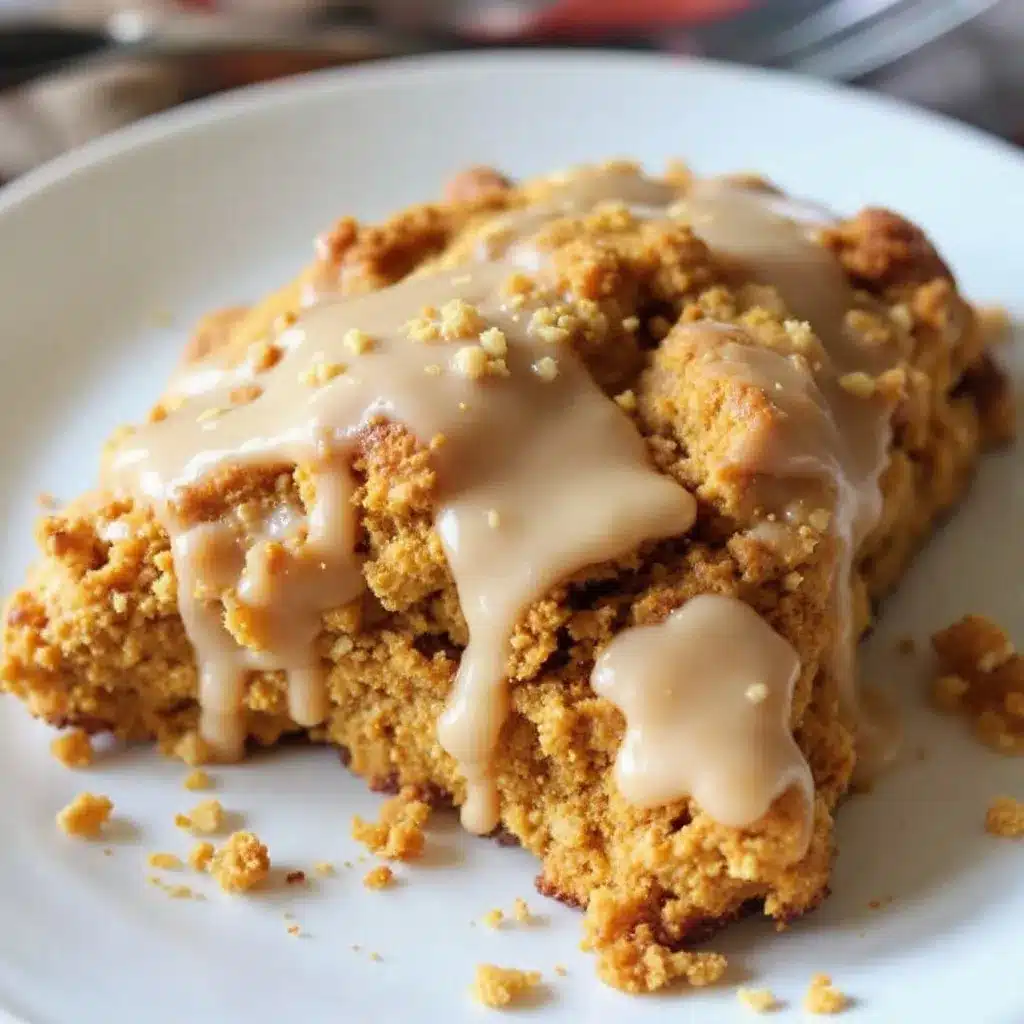
Follow these steps, and you’ll have a batch of beautiful, flaky scones in no time. Trust the process, especially when the dough feels shaggy at first—that’s exactly what you want.
- Preheat and prep. Preheat your oven to 400°F (200°C). Line a baking sheet with parchment paper. Pop a stick of butter in the freezer for about 10-15 minutes while you gather your ingredients.
- Mix the dry ingredients. In a large bowl, whisk together 2 cups (250g) all-purpose flour, 1/3 cup (65g) granulated sugar, 1 tablespoon baking powder, 1 1/2 teaspoons pumpkin pie spice, and 1/2 teaspoon salt.
- Grate the butter. Take the cold butter out of the freezer. Using the large holes of a box grater, grate the entire stick (1/2 cup or 113g) of butter directly into the flour mixture. Toss the grated butter with the flour using your fingers or a fork to coat each piece. You want it to look like coarse meal with some pea-sized butter bits still visible.
- Combine the wet ingredients. In a small bowl or liquid measuring cup, whisk together 1/2 cup (120ml) heavy cream, 1/4 cup (60ml) pumpkin puree, 1 teaspoon vanilla extract, and 1 tablespoon maple syrup. (Yes, we’re using maple in the dough too—just a little for depth.)
- Bring the dough together. Make a well in the center of the dry ingredients. Pour the wet mixture into the well. Stir with a fork or spatula just until the dough comes together. It will look shaggy and a little dry in spots. This is normal! Do not overmix.
- Shape the dough. Turn the dough out onto a lightly floured surface. Gently bring it together with your hands, patting it into a 3/4-inch thick circle. Don’t knead it; just press it together. The dough should be about 7-8 inches in diameter. Use a bench scraper or a sharp knife to cut the circle into 8 wedges, like a pizza.
- Bake the scones. Place the wedges on the prepared baking sheet, spacing them about 2 inches apart. Bake for 14-16 minutes, or until the bottoms are golden brown and the tops are just starting to turn a light golden color. The kitchen will smell incredible at this point.
- Cool completely. Transfer the scones to a wire rack to cool completely before glazing. This is crucial—if the scones are still warm, the glaze will melt into a puddle.
While the scones are cooling, make the glaze. In a small bowl, whisk together 1 cup (120g) powdered sugar, 2 tablespoons maple syrup, and 1-2 tablespoons milk until smooth. The glaze should be thick but pourable. If it’s too thick, add another drop of milk. If it’s too thin, add a little more powdered sugar.
Glaze and serve. Once the scones are completely cool, drizzle the maple glaze over the top. I like to use a spoon and let it drip down the sides a bit. Let the glaze set for about 10 minutes before serving.
Cooking Tips & Techniques
I’ve made this recipe so many times that I’ve learned a few things the hard way. Here are my best tips to make sure your scones turn out perfect every time.
- Cold butter is non-negotiable. The first time I made scones, I used butter straight from the fridge, but I didn’t freeze it or grate it. The scones were dense and flat. Freezing the butter and grating it creates those beautiful, flaky layers. The small pieces of butter melt in the oven, creating steam pockets that lift the dough.
- Don’t overmix the dough. This is the most common mistake. Overmixing develops gluten, which makes scones tough. You want to mix until it just comes together. It’s okay if there are a few dry spots. I’ve had batches that looked hopelessly shaggy that turned out perfect.
- Use a light hand when shaping. Pat the dough together gently. You’re not kneading bread here. The less you handle it, the more tender the scones will be.
- Bake on a preheated sheet. I like to put my baking sheet in the oven while it preheats. When I place the scones on the hot sheet, it gives them an immediate burst of heat that helps create a crisp bottom.
- Glaze at the right time. I once glazed a batch while they were still warm because I was impatient. The glaze ran off and soaked into the scones, making them soggy. Wait until they are completely cool. Trust me on this one.
Variations & Adaptations
One of the best things about this recipe is how easy it is to adapt. Here are some variations I’ve tried and loved:
- Gluten-Free Option : Substitute the all-purpose flour with a 1:1 gluten-free baking flour blend. I’ve had great results with Bob’s Red Mill 1-to-1 Baking Flour. The texture is slightly more delicate, but the flavor is spot on.
- Add-Ins : Fold in 1/2 cup of dried cranberries, chopped pecans, or chocolate chips (white chocolate is amazing with pumpkin). Add them right after you’ve mixed the wet and dry ingredients, before the dough comes together.
- Dairy-Free Version : Use a high-quality vegan butter (like Miyoko’s) and substitute the heavy cream with full-fat coconut cream. The flavor will be a little different, but the texture is still wonderfully tender.
- Spice It Up : If you love a more intense spice profile, add 1/4 teaspoon of ground cardamom or a pinch of black pepper to the dry ingredients. It adds a surprising warmth that complements the pumpkin beautifully.
- Savory Twist : I once made a savory version by omitting the sugar and pumpkin pie spice, and adding 1/2 cup of grated cheddar cheese, 1 tablespoon of chopped fresh sage, and a pinch of black pepper. It was incredible with a bowl of slow cooker honey garlic chicken.
Serving & Storage Suggestions
These scones are best enjoyed the day they’re made, but they store surprisingly well. Here’s how to handle them.
Serving : Serve the scones at room temperature with the glaze set. They’re wonderful on their own, but they’re also fantastic with a pat of butter or a dollop of clotted cream. For a cozy fall brunch, pair them with a hot cup of coffee, chai tea, or a refreshing cucumber mint green tea cooler (even in fall, a bright drink is a nice balance).
Storage : Store unglazed scones in an airtight container at room temperature for up to 2 days. If you’ve already glazed them, store them in a single layer in an airtight container to prevent the glaze from sticking. They’ll keep for about 2 days, but the texture will soften slightly.
Freezing : These scones freeze beautifully. Freeze unglazed, baked scones on a baking sheet until solid, then transfer to a freezer-safe bag. They’ll keep for up to 3 months. To reheat, thaw at room temperature, then warm in a 300°F (150°C) oven for 5 minutes. Glaze after reheating. I’ve also frozen the unbaked scone wedges on a sheet pan, then baked them straight from frozen, adding 2-3 minutes to the baking time. It’s a great trick for having fresh scones on demand.
Flavor Development : The flavors actually meld and deepen overnight. I often find that day-old scones (if they last that long) have a more pronounced pumpkin spice flavor.
Nutritional Information & Benefits
While these scones are a treat, they do offer some surprising benefits thanks to the star ingredient. Here’s a quick breakdown.
| Nutrient | Per Scone (approx.) |
|---|---|
| Calories | 320 |
| Fat | 16g |
| Carbohydrates | 42g |
| Protein | 4g |
| Fiber | 2g |
| Sugar | 22g |
Health Benefits : Pumpkin is packed with vitamin A (great for eye health and immunity) and fiber. It also adds moisture to the scones, allowing us to use less butter than a traditional scone recipe. Real maple syrup contains antioxidants and minerals like zinc and manganese. While this is still a dessert-like breakfast item, it’s a more wholesome option than many store-bought pastries.
Dietary Considerations : This recipe can be adapted to be gluten-free and dairy-free (see variations above). It is vegetarian-friendly. Please note that it contains dairy and gluten in its standard form.
Conclusion
These pumpkin scones with maple glaze are the kind of recipe that makes you feel like you’ve got a little bit of magic in your kitchen. They’re forgiving enough for a beginner baker, but the results are impressive enough to serve at a fancy brunch. The texture is spot-on: flaky, tender, and not at all dry. And that glaze? It’s the perfect finishing touch—not too sweet, with that unmistakable maple warmth.
I hope you give these a try and make them your own. Maybe you’ll add a handful of pecans, or swap the maple glaze for a simple vanilla one. That’s the beauty of a good base recipe—it’s a starting point for your own creativity.
I’d love to hear how yours turn out! Drop a comment below and let me know if you tried any variations. And if you’re looking for more cozy fall recipes, be sure to browse the full recipe collection. Happy baking!
Frequently Asked Questions
Can I use canned pumpkin pie filling instead of pumpkin puree?
No, I don’t recommend it. Pumpkin pie filling is pre-sweetened and spiced, which will throw off the sugar and spice balance of this recipe. Stick with 100% pure pumpkin puree for the best results.
Why did my scones turn out dry?
This usually happens for one of two reasons: too much flour or overbaking. When measuring your flour, spoon it into the measuring cup and level it off—don’t scoop directly from the bag. Also, check your oven temperature with an oven thermometer. Scones can go from perfectly baked to dry in just a minute or two.
Can I make the dough ahead of time?
Absolutely! You can prepare the dough, shape it into wedges, and store them on a parchment-lined baking sheet in the refrigerator for up to 24 hours. You can even freeze the unbaked wedges for up to 3 months. Bake from frozen, adding a few extra minutes to the baking time.
My glaze turned out too thick/thin. How do I fix it?
Glaze consistency is easy to adjust. If it’s too thick, add milk one teaspoon at a time until it reaches a pourable consistency. If it’s too thin, add powdered sugar one tablespoon at a time until it thickens up. The perfect glaze should slowly drip off a spoon.
Can I use a different type of flour?
You can use a 1:1 gluten-free baking flour blend for a gluten-free version. Whole wheat flour will work, but it will make the scones denser and heartier. I recommend using half whole wheat and half all-purpose flour if you want a nuttier flavor without sacrificing too much tenderness.
Pin This Recipe!
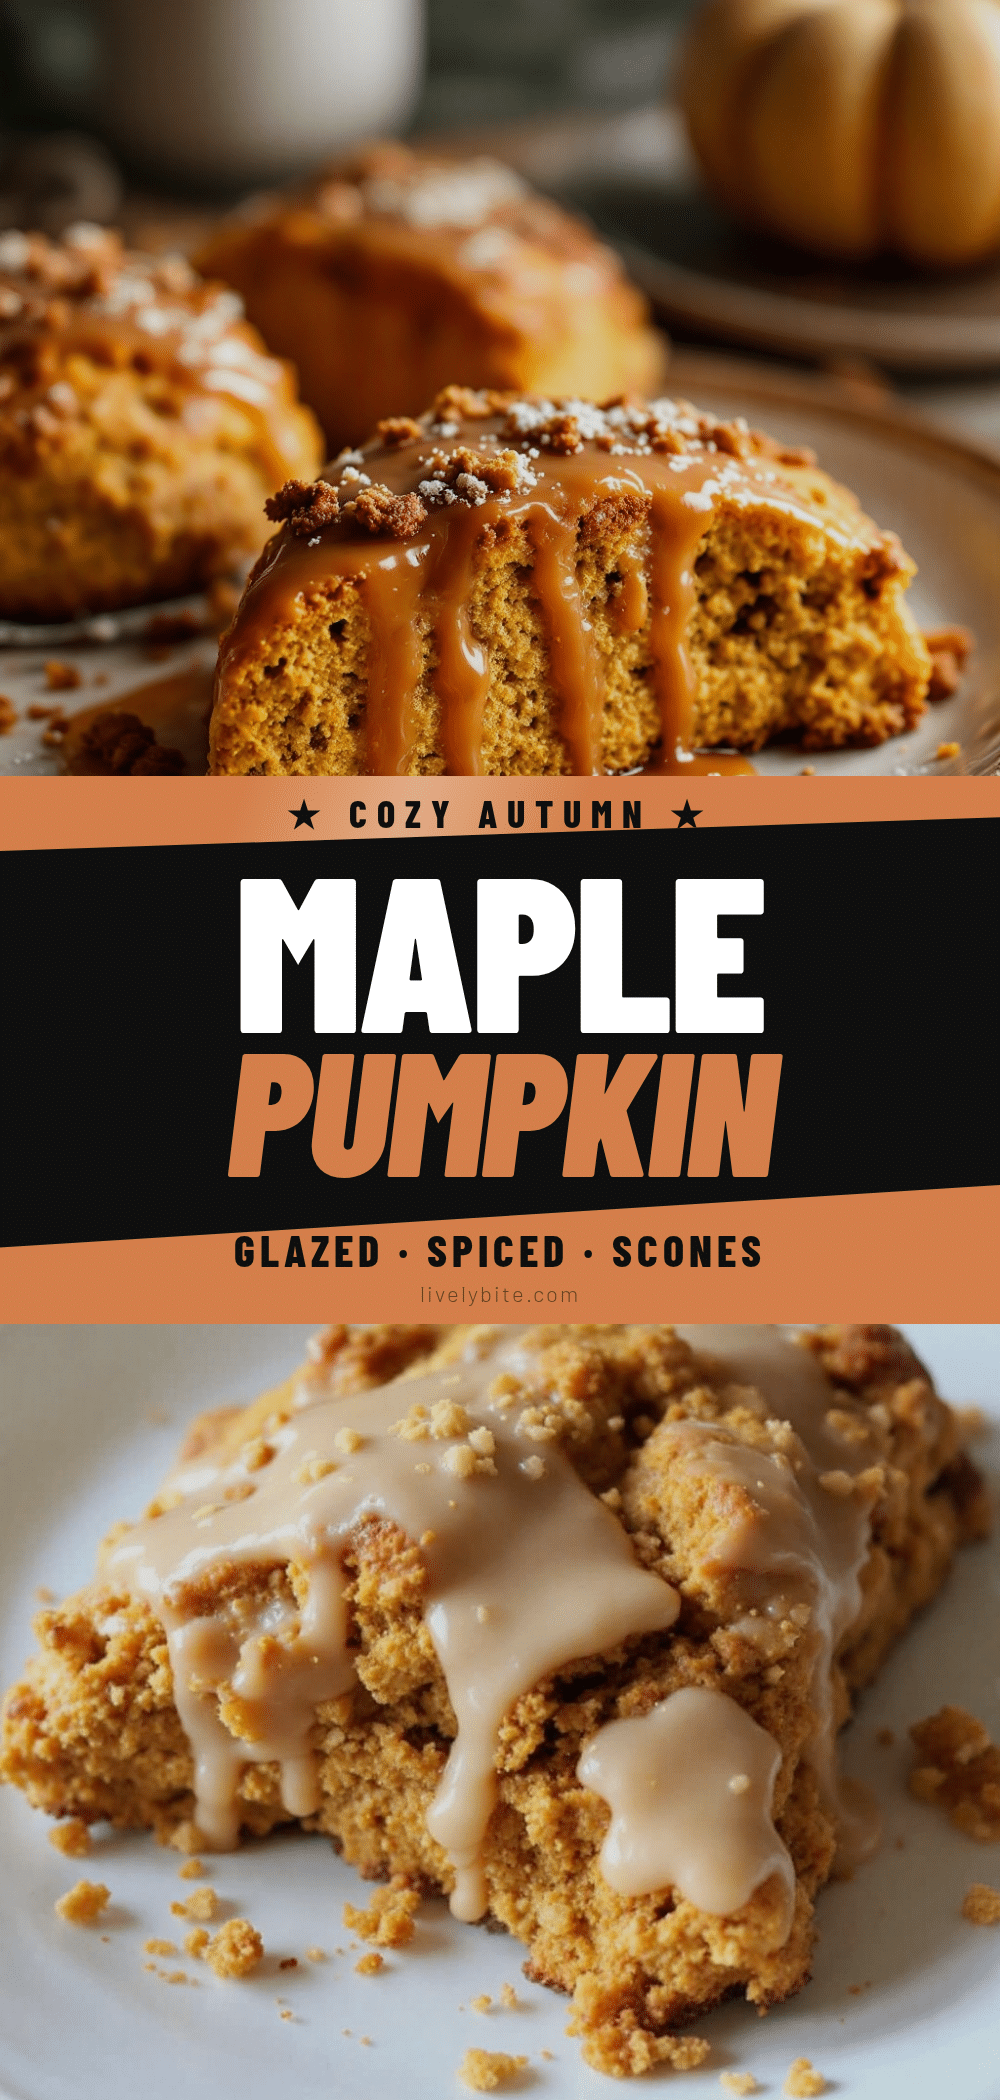
Pumpkin Scones with Maple Glaze: Easy Homemade Recipe
These pumpkin scones are tender, flaky, and perfectly spiced, topped with a rich maple glaze. They come together in about 35 minutes with simple ingredients, making them an ideal fall treat for breakfast, brunch, or an afternoon pick-me-up.
- Prep Time: 15 minutes
- Cook Time: 16 minutes
- Total Time: 35 minutes
- Yield: 8 servings 1x
- Category: Breakfast, Brunch, Dessert
- Cuisine: American
Ingredients
- 2 cups (250g) all-purpose flour
- 1/3 cup (65g) granulated sugar
- 1 tablespoon baking powder
- 1 1/2 teaspoons pumpkin pie spice
- 1/2 teaspoon salt
- 1/2 cup (113g) unsalted butter, frozen
- 1/2 cup (120ml) heavy cream
- 1/4 cup (60ml) pumpkin puree
- 1 teaspoon vanilla extract
- 1 tablespoon maple syrup
- 1 cup (120g) powdered sugar
- 2 tablespoons maple syrup
- 1–2 tablespoons milk
Instructions
- Preheat your oven to 400°F (200°C). Line a baking sheet with parchment paper. Place the stick of butter in the freezer for 10-15 minutes.
- In a large bowl, whisk together 2 cups (250g) all-purpose flour, 1/3 cup (65g) granulated sugar, 1 tablespoon baking powder, 1 1/2 teaspoons pumpkin pie spice, and 1/2 teaspoon salt.
- Grate the frozen butter using the large holes of a box grater directly into the flour mixture. Toss with your fingers or a fork to coat each piece until the mixture looks like coarse meal with some pea-sized butter bits.
- In a small bowl, whisk together 1/2 cup (120ml) heavy cream, 1/4 cup (60ml) pumpkin puree, 1 teaspoon vanilla extract, and 1 tablespoon maple syrup.
- Make a well in the center of the dry ingredients. Pour the wet mixture into the well and stir with a fork or spatula just until the dough comes together. It will look shaggy—do not overmix.
- Turn the dough out onto a lightly floured surface. Gently pat it into a 3/4-inch thick circle (about 7-8 inches in diameter). Cut into 8 wedges like a pizza.
- Place the wedges on the prepared baking sheet, spacing them about 2 inches apart. Bake for 14-16 minutes, until the bottoms are golden brown and the tops are lightly golden.
- Transfer the scones to a wire rack to cool completely.
- While the scones cool, make the glaze: In a small bowl, whisk together 1 cup (120g) powdered sugar, 2 tablespoons maple syrup, and 1-2 tablespoons milk until smooth and pourable.
- Once the scones are completely cool, drizzle the glaze over the top. Let the glaze set for about 10 minutes before serving.
Notes
Freeze the butter and grate it for the flakiest layers. Do not overmix the dough—it should be shaggy. Cool scones completely before glazing to prevent the glaze from melting. For best results, use 100% pure pumpkin puree (not pumpkin pie filling) and real maple syrup.
Nutrition
- Serving Size: 1 scone
- Calories: 320
- Sugar: 22
- Sodium: 280
- Fat: 16
- Saturated Fat: 10
- Carbohydrates: 42
- Fiber: 2
- Protein: 4
Keywords: pumpkin scones, maple glaze, fall baking, easy scone recipe, homemade scones, pumpkin spice


