I want a Halloween cookie that actually looks like Halloween—not just a sugar cookie with orange sprinkles thrown on top. That is the thought that hit me at 10 PM on a random Tuesday in October, standing in my kitchen with flour on my jeans and a bag of powdered sugar staring at me from the pantry. I had already tried three different royal icing recipes that week, and each one either tasted like glue or spread into a sad, blurry mess. So I sat down on my kitchen floor (honestly, I was tired) and thought: what if I stop trying to be a pastry artist and just make something that looks cool and tastes like butter?
That is how these Perfect Halloween Sugar Cookies with Spiderweb Icing were born—not from some elaborate Pinterest board or a family recipe passed down for generations, but from a very real moment of wanting something spooky, delicious, and completely doable without a piping degree. The spiderweb icing trick? It is embarrassingly simple, and I accidentally discovered it while trying to fix a cracked icing surface. Sometimes the best kitchen accidents are the ones that look the most intentional.
These cookies are the kind you make for a party and pretend you spent hours on. They are crisp on the edges, soft in the center, and the icing sets just firm enough to stack without smudging. No complicated tools, no specialty ingredients—just butter, sugar, and a little patience. If you have ever stared at a beautifully decorated cookie online and thought, “I could never,” trust me, you can. Let me show you how.
Why You Will Love This Recipe
I have tested this recipe six times in the last month—yes, six—because I wanted to make sure the cookies held their shape, the icing worked every single time, and the spiderweb design did not require a steady hand you only get after years of practice. Here is what I found:
- Quick and Easy: From start to finish, these cookies take about 90 minutes including chilling time. The actual hands-on work is maybe 30 minutes.
- Simple Ingredients: Butter, sugar, flour, eggs, vanilla—you probably have everything already. No weird stabilizers or hard-to-find extracts.
- Perfect for Halloween Parties: These are the cookies that disappear first. Kids love them, adults love them, and everyone asks how you did the icing.
- Crowd-Pleaser: I brought a batch to my neighbor’s Halloween gathering and three people asked for the recipe before the night ended.
- Unbelievably Delicious: The cookie itself is not just a vehicle for icing—it is buttery, tender, and just sweet enough to stand on its own.
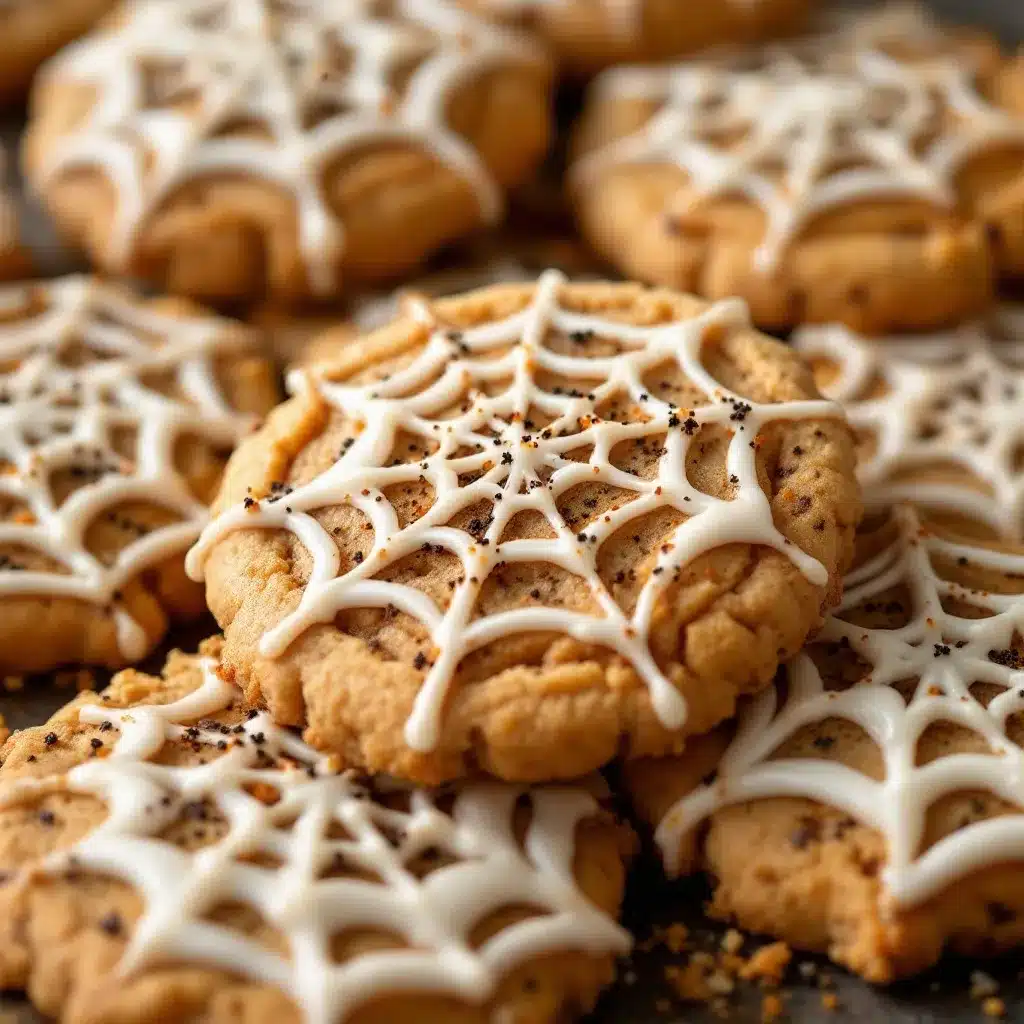
What makes this different from other decorated sugar cookies? The icing technique. Instead of piping intricate webs that take forever and look messy when you rush, you pipe concentric circles and drag a toothpick through them. That is it. One toothpick, five seconds per cookie, and suddenly you have a spiderweb that looks like it belongs on a bakery shelf. It is the kind of trick that makes you feel like a kitchen wizard without actually being one.
These cookies are comfort food with a spooky twist—familiar enough to satisfy a sugar craving, but festive enough to make Halloween feel special. Whether you are hosting a party, sending treats to school, or just want to sit on your couch eating something that looks like a spider made it, these cookies deliver.
What Ingredients You Will Need
This recipe uses simple, wholesome ingredients to deliver bold buttery flavor and a soft-yet-crisp texture. Most of these are pantry staples, which means you can make these on a whim without a special grocery trip.
For the Cookies
- Unsalted butter, softened – 1 cup (226g). I prefer using Kerrygold for its richer flavor, but any good-quality unsalted butter works. Make sure it is truly softened—not melted, not cold—or your dough will spread.
- Granulated sugar – 1 cup (200g). Regular white sugar gives these cookies their classic sweetness and helps them hold their shape during baking.
- Large egg – 1, at room temperature. Cold eggs can make the butter seize up, so let it sit out for 30 minutes first.
- Vanilla extract – 2 teaspoons. Use pure vanilla extract if you have it—the flavor difference is noticeable in a simple cookie like this.
- All-purpose flour – 2 and 1/2 cups (312g). Spoon and level your flour; scooping directly from the bag packs it too tight and gives you dry cookies.
- Baking powder – 1 teaspoon. This gives the cookies just a little lift without making them puffy.
- Salt – 1/2 teaspoon. Do not skip this—it balances the sweetness and brings out the butter flavor.
For the Spiderweb Icing
- Powdered sugar – 2 cups (240g). Sift it if it is lumpy. Nobody wants lumpy icing on a perfectly good cookie.
- Milk – 2 to 3 tablespoons. Whole milk works best, but any milk you have on hand will do. Add it slowly—you want a thick but pipeable consistency.
- Vanilla extract – 1/2 teaspoon. Adds a subtle warmth to the icing.
- Gel food coloring – Black and orange. I like Americolor brand because the colors stay vibrant without thinning the icing too much. Liquid food coloring works but requires more powder sugar to compensate.
- Black sanding sugar (optional) – For sprinkling over the wet icing. Adds a nice crunch and visual texture.
Ingredient selection tip: For the best spiderweb effect, your icing needs to be the right consistency—thick enough to hold a line but thin enough to spread when you drag the toothpick. If it is too thick, the web will look chunky. Too thin, and it will all blur together. Test a small circle on the back of a spoon before you start decorating.
Substitution guidance: Need these dairy-free? Use vegan butter and oat milk—I have tested both and the texture holds up surprisingly well. The cookies will be slightly less tender but still delicious. For a gluten-free version, substitute a 1:1 gluten-free baking flour blend; avoid almond flour as it changes the spread too much.
Equipment Needed
You do not need a lot of fancy tools for these cookies, which is honestly my favorite thing about them. Here is what you will need:
- Stand mixer or hand mixer – A stand mixer makes creaming the butter and sugar effortless, but a hand mixer works just fine. I have made these with both and the results are identical.
- Rolling pin – Preferably with thickness guides (those little rings that slide on the ends). If you do not have one, use two wooden spoons or chopsticks as guides on either side of the dough.
- Halloween cookie cutters – Round works best for spiderwebs, but you can use any shape. I like a 3-inch round cutter for the classic web look.
- Baking sheets – Two standard half-sheet pans. Line them with parchment paper or silicone baking mats.
- Piping bags or zip-top bags – For the icing. I use disposable piping bags with a small round tip (#2 or #3), but a zip-top bag with a tiny corner snipped off works perfectly too.
- Toothpicks – The real hero of this recipe. You will use one per cookie for the spiderweb effect.
- Cooling rack – Cookies need to cool completely before icing, or the icing will slide right off.
I bought a set of cheap piping tips from Amazon for eight dollars and they have lasted me three years. You really do not need expensive equipment—just clean hands and a little patience.
Preparation Method
Step 1: Cream the Butter and Sugar
In a large mixing bowl, beat the softened butter and granulated sugar together on medium speed until light and fluffy—about 3 minutes. You want the mixture to look pale and almost doubled in volume. Scrape down the sides of the bowl halfway through. This step is important because the air you incorporate here is what gives the cookies their tender texture.
Step 2: Add the Egg and Vanilla
Add the room-temperature egg and vanilla extract. Beat on low until just combined—do not overmix here or the butter can separate. The mixture might look slightly curdled at this point; that is okay, especially if your egg was a little cold. It will come together once you add the flour.
Step 3: Mix the Dry Ingredients
In a separate bowl, whisk together the all-purpose flour, baking powder, and salt. Gradually add the dry mixture to the wet mixture, mixing on low speed. Stop as soon as the flour disappears—overmixing develops gluten and makes the cookies tough. The dough should be soft but not sticky. If it feels too sticky to handle, refrigerate it for 15 minutes before rolling.
Step 4: Chill the Dough
Divide the dough into two discs, wrap each in plastic wrap, and refrigerate for at least 30 minutes. This is non-negotiable. Chilled dough holds its shape during baking and prevents the cookies from spreading into flat blobs. I have skipped this step before (I was impatient) and ended up with cookies that looked more like abstract art than spiders.
Step 5: Roll and Cut
Preheat your oven to 350°F (177°C). On a lightly floured surface, roll one disc of dough to about 1/4-inch thickness. Use your Halloween cookie cutters to cut out shapes. Place them on prepared baking sheets, spacing them about 2 inches apart. Gather the scraps, re-roll, and cut again—you can usually get 24 to 30 cookies from this recipe depending on your cutter size.
Step 6: Bake
Bake for 8 to 10 minutes, or until the edges are just barely golden. The centers should look set but not browned. Let the cookies cool on the baking sheet for 5 minutes, then transfer them to a wire rack to cool completely. Do not even think about icing them while they are warm—the icing will melt into a sad puddle.
Step 7: Make the Icing
In a medium bowl, whisk together the powdered sugar, 2 tablespoons of milk, and vanilla extract. You want a thick, smooth paste. If it is too thick to pipe, add another 1/2 teaspoon of milk at a time. Divide the icing into two bowls—leave one white or tint it orange, and tint the other black using gel food coloring. Transfer each color to a separate piping bag or zip-top bag.
Step 8: Create the Spiderweb
Pipe a small circle of black icing in the center of each cookie. Then pipe concentric circles around it, spacing them about 1/4 inch apart. Working quickly while the icing is still wet, take a toothpick and drag it from the center outward through all the circles. Wipe the toothpick clean, then drag from the edge back toward the center in a different spot. Repeat this 4 to 6 times around the cookie, and watch the spiderweb appear like magic. It takes about 5 seconds per cookie.
Step 9: Let the Icing Set
Let the cookies sit at room temperature for about 1 hour until the icing is firm to the touch. If you are using black sanding sugar, sprinkle it on immediately after dragging the toothpick so it sticks to the wet icing.
Cooking Tips and Techniques
I have made these cookies enough times to know exactly where things can go wrong. Here is what I learned the hard way:
Do not skip the chill. I know it is tempting to rush, but warm dough spreads. If your kitchen is warm, pop the cut-out cookies in the freezer for 10 minutes before baking. This is a trick I picked up from a pastry chef friend, and it makes a huge difference in keeping those sharp edges intact.
Flour your rolling pin, not just your surface. I cannot tell you how many times I have had dough stick to the pin and rip apart. Lightly dust the pin with flour, and roll from the center outward in one direction. Flip the dough occasionally to prevent sticking.
Test your icing consistency first. Before you decorate a whole batch, pipe a small circle on the back of a spoon and drag a toothpick through it. If the web holds its shape without bleeding together, you are golden. If it all blurs into one color, your icing is too thin—add more powdered sugar.
Work in small batches. Only ice 3 or 4 cookies at a time. The icing starts to set after about 30 seconds, and you need it wet for the toothpick technique to work. If you try to do too many at once, the first ones will be too dry to drag through.
Use a gentle hand with the toothpick. You do not need to press hard—just lightly drag through the icing. Pressing too deep will scrape the cookie surface and ruin the effect.
Variations and Adaptations
One of the best things about this recipe is how easy it is to twist it into something completely different. Here are a few variations I have tried and loved:
Vegan Halloween Cookies: Substitute the butter with vegan butter (I like Miyoko’s for baking), use a flax egg (1 tablespoon ground flaxseed + 3 tablespoons water), and swap the milk for oat milk. The texture is slightly more cake-like but still delicious. I made these for a friend with dairy allergies and she ate six before I could stop her.
Chocolate Spiderweb Cookies: Replace 1/4 cup of the flour with unsweetened cocoa powder. The dark chocolate cookies look incredible with white or orange spiderwebs—very dramatic, very Halloween. Just note that chocolate dough is a bit more fragile, so handle it gently.
Spiced Pumpkin Version: Add 1 teaspoon pumpkin pie spice and 1/4 cup pumpkin puree to the dough (reduce the butter by 2 tablespoons to compensate). These are softer and more cake-like, perfect for fall gatherings. The spiderweb icing looks gorgeous against the warm orange color.
Gluten-Free Adaptation: Use a 1:1 gluten-free baking flour blend that contains xanthan gum. I have tested this with King Arthur Measure for Measure and the cookies came out tender and well-shaped—no one at the party could tell the difference.
Different Web Colors: Instead of black and orange, try purple and green, or white and black for a classic look. You can even make the web with red icing for a more “creepy” vibe. My kids begged for neon green webs and honestly, they looked amazing.
Serving and Storage Suggestions
These cookies are best served at room temperature, ideally within 24 hours of decorating. The icing firms up nicely, so you can stack them in a container without worrying about smudging—just place a sheet of parchment paper between layers.
For serving: Arrange them on a platter with some fake spiderwebs and plastic spiders for a fun tablescape. They pair beautifully with a warm mug of apple cider or a hot chocolate. If you are hosting a Halloween party, set them out alongside a batch of Refreshing Cucumber Mint Green Tea Cooler for a non-alcoholic option that balances the sweetness.
Storage: Keep the cookies in an airtight container at room temperature for up to 5 days. Do not refrigerate them—the cold can make the icing sweat and become tacky. If you need to store them longer, freeze the undecorated cookies (baked and cooled) for up to 3 months. Thaw at room temperature, then ice and serve.
Reheating note: These cookies do not need reheating, but if you want that just-baked warmth, pop them in a 300°F (150°C) oven for 3 minutes. Let them cool slightly before serving—the icing will soften but should hold its shape.
Flavor development: Honestly, these cookies taste even better the next day. The flavors meld together and the texture softens just slightly. I have been known to hide a few in the back of the pantry for “quality control purposes.”
Nutritional Information and Benefits
Let us be real—these are sugar cookies with icing, so they are a treat, not a health food. But here is the estimated nutritional breakdown per cookie (based on a 3-inch round cookie with icing):
| Nutrient | Amount per Cookie |
|---|---|
| Calories | 145 |
| Total Fat | 7g |
| Saturated Fat | 4g |
| Carbohydrates | 20g |
| Sugar | 12g |
| Protein | 2g |
| Sodium | 55mg |
Dietary considerations: This recipe contains dairy, eggs, and gluten. For allergen-friendly versions, see the variations section above. The cookies are naturally nut-free if you use standard all-purpose flour, but always check your ingredient labels.
Health perspective: While these are absolutely a treat, I like to remind myself (and anyone who asks) that homemade treats are almost always better than store-bought. You control the ingredients, you know exactly what is in them, and there is something deeply satisfying about making something from scratch. Plus, the act of baking itself can be a form of stress relief—I have definitely kneaded some frustration into a batch of cookie dough before.
If you are looking for a healthier Halloween option, try pairing these with a veggie tray or serving them alongside fruit. Balance is everything, and one cookie is perfectly fine as part of a balanced diet.
Conclusion
These Perfect Halloween Sugar Cookies with Spiderweb Icing are the kind of recipe that makes you feel like you pulled off something impressive, even though the technique is almost laughably simple. The cookies are buttery and tender, the icing is sweet and glossy, and the spiderweb design never fails to get a reaction. I have made them for Halloween parties, classroom treats, and quiet nights at home with a scary movie, and they always deliver.
I love that this recipe does not require any special skills or expensive tools. It is just good, honest baking with a little creative twist. Whether you are a seasoned baker or someone who only turns on the oven once a year for Halloween, these cookies are for you. Customize the colors, play with the shapes, and make them your own—that is the fun part.
If you try these cookies, I would love to hear about it. Leave a comment below and tell me how your spiderwebs turned out, or tag me in your photos on social media. Did you add a twist I have not thought of? Share it! And if you are craving more easy, crowd-pleasing recipes, check out our full recipe collection for more inspiration. Happy Halloween, and happy baking!
Frequently Asked Questions
Can I make the dough ahead of time?
Absolutely. You can prepare the dough up to 3 days in advance and keep it wrapped tightly in the refrigerator. Let it sit at room temperature for about 10 minutes before rolling so it is pliable enough to work with. You can also freeze the dough discs for up to 3 months—just thaw overnight in the fridge before rolling.
Why did my cookies spread too much?
The most common reason is dough that was not chilled long enough. If your butter was too soft or your kitchen is warm, the cookies will spread during baking. Next time, chill the cut-out cookies on the baking sheet for 15 minutes before putting them in the oven. Also, make sure your butter was softened, not melted—melted butter guarantees spread.
Can I use liquid food coloring instead of gel?
You can, but you will need to adjust the icing consistency. Liquid food coloring adds extra moisture, which can thin out your icing. To compensate, add a little more powdered sugar until you reach the right thickness. Gel food coloring is preferred because it gives vibrant color without changing the consistency.
How do I get clean spiderweb lines?
The key is working quickly while the icing is still wet. Pipe your circles smoothly and confidently—do not overthink them. When you drag the toothpick, use a light hand and wipe it clean between each drag. If the icing starts to set before you finish, stop and move to a fresh cookie. You can always practice on a piece of parchment paper first.
Can I freeze decorated cookies?
I do not recommend freezing cookies after they have been iced. The icing can become tacky or develop condensation when thawing, which ruins the spiderweb design. Instead, freeze the undecorated baked cookies in an airtight container for up to 3 months. When you are ready to serve, thaw them at room temperature, then make the icing and decorate fresh. The process only takes about 15 minutes once the cookies are ready.
Pin This Recipe!
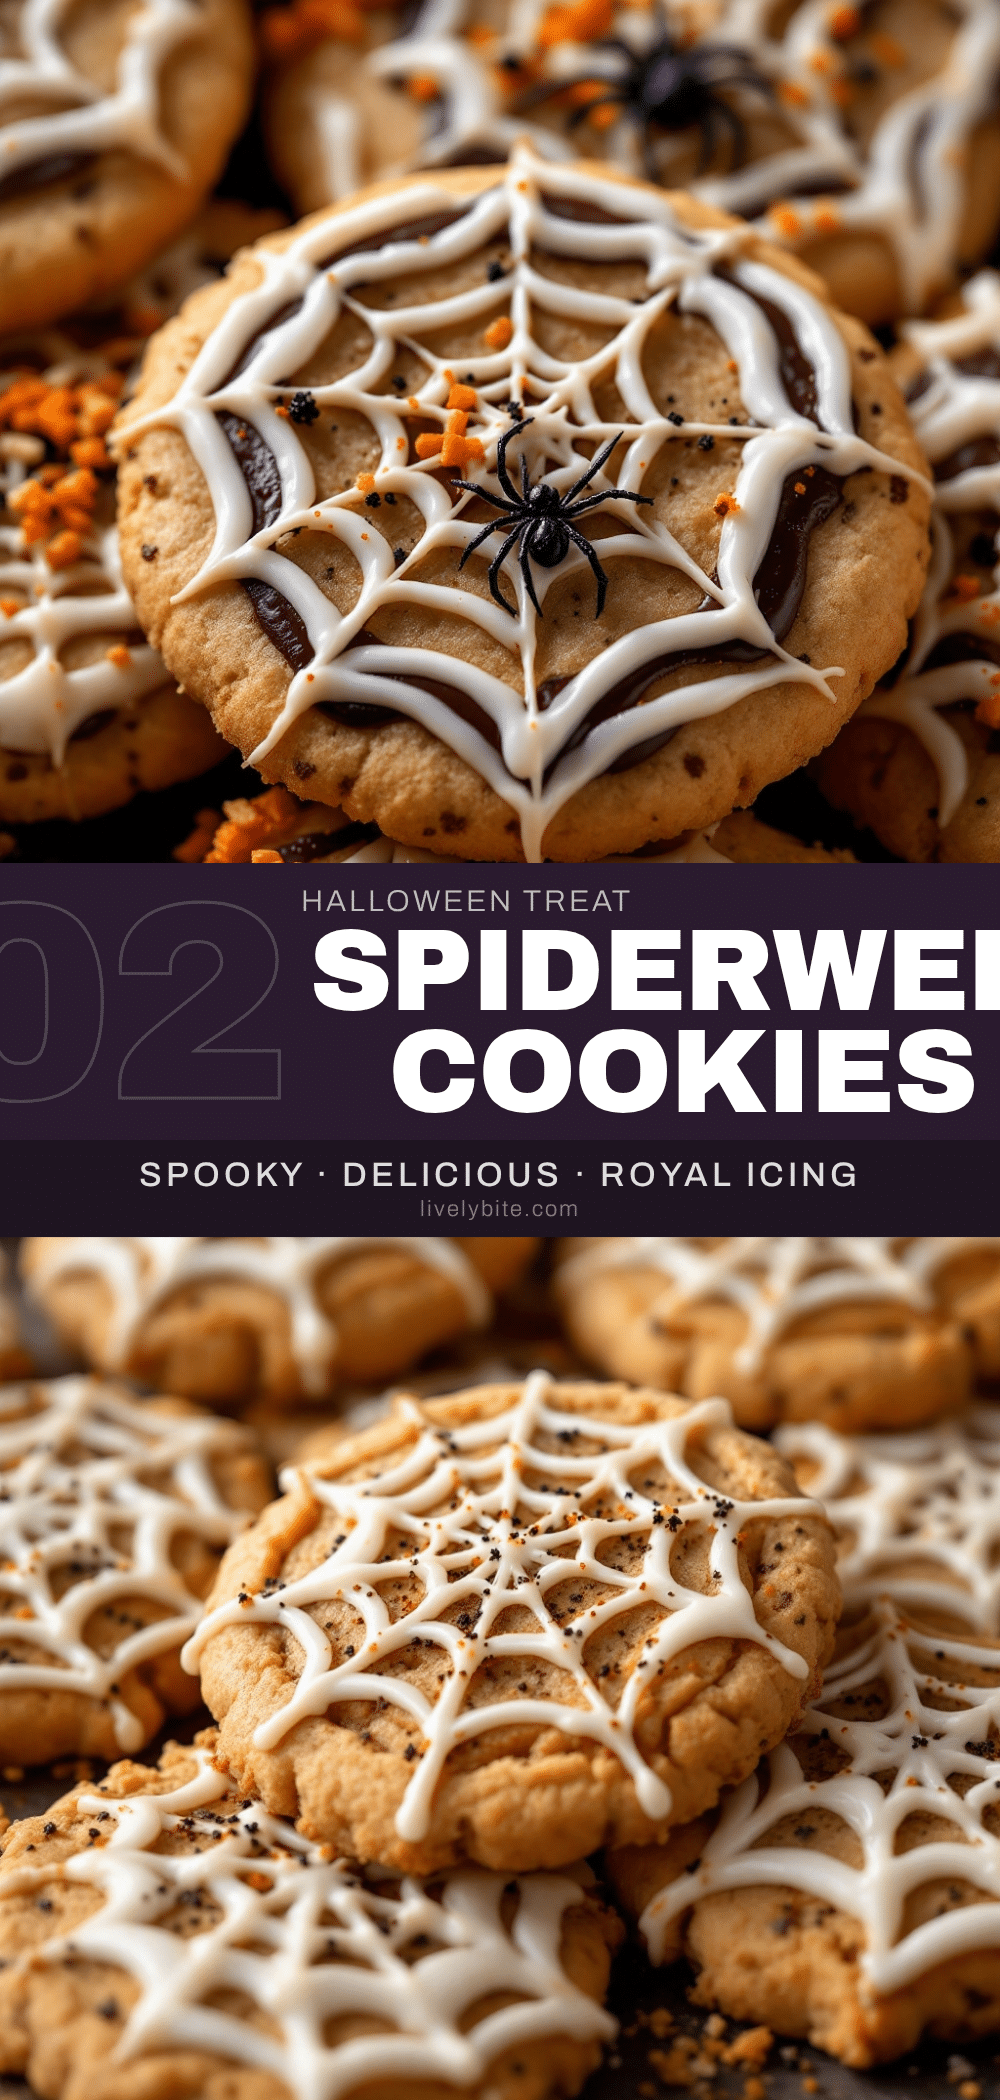
Perfect Halloween Sugar Cookies with Easy Spiderweb Icing

These buttery, tender sugar cookies feature a simple spiderweb icing technique that looks impressive but requires no special skills. Perfect for Halloween parties, they are crisp on the edges, soft in the center, and the icing sets firm enough to stack without smudging.
- Prep Time: 30 minutes
- Cook Time: 10 minutes
- Total Time: 1 hour 40 minutes (including chilling and setting time)
- Yield: 24 to 30 cookies 1x
- Category: Dessert
- Cuisine: American
Ingredients
- 1 cup (226g) unsalted butter, softened
- 1 cup (200g) granulated sugar
- 1 large egg, at room temperature
- 2 teaspoons vanilla extract
- 2 and 1/2 cups (312g) all-purpose flour
- 1 teaspoon baking powder
- 1/2 teaspoon salt
- 2 cups (240g) powdered sugar
- 2 to 3 tablespoons milk
- 1/2 teaspoon vanilla extract
- Gel food coloring (black and orange)
- Black sanding sugar (optional)
Instructions
- Cream the butter and sugar: In a large mixing bowl, beat the softened butter and granulated sugar together on medium speed until light and fluffy, about 3 minutes. Scrape down the sides of the bowl halfway through.
- Add the egg and vanilla: Add the room-temperature egg and vanilla extract. Beat on low until just combined.
- Mix the dry ingredients: In a separate bowl, whisk together the all-purpose flour, baking powder, and salt. Gradually add the dry mixture to the wet mixture, mixing on low speed until just combined. The dough should be soft but not sticky.
- Chill the dough: Divide the dough into two discs, wrap each in plastic wrap, and refrigerate for at least 30 minutes.
- Roll and cut: Preheat oven to 350°F (177°C). On a lightly floured surface, roll one disc of dough to about 1/4-inch thickness. Use Halloween cookie cutters to cut out shapes. Place on prepared baking sheets, spacing them about 2 inches apart. Gather scraps, re-roll, and cut again.
- Bake: Bake for 8 to 10 minutes, until edges are just barely golden. Let cool on baking sheet for 5 minutes, then transfer to a wire rack to cool completely.
- Make the icing: In a medium bowl, whisk together the powdered sugar, 2 tablespoons of milk, and vanilla extract until thick and smooth. Divide into two bowls—tint one orange and the other black using gel food coloring. Transfer each to a piping bag or zip-top bag.
- Create the spiderweb: Pipe a small circle of black icing in the center of each cookie. Pipe concentric circles around it, spacing them about 1/4 inch apart. While icing is still wet, drag a toothpick from the center outward through all the circles. Wipe clean, then drag from the edge back toward the center in a different spot. Repeat 4 to 6 times around the cookie.
- Let the icing set: Let cookies sit at room temperature for about 1 hour until icing is firm. If using black sanding sugar, sprinkle on immediately after dragging the toothpick.
Notes
Do not skip chilling the dough—it prevents spreading. For best spiderweb effect, work in small batches of 3-4 cookies at a time as the icing sets quickly. Test icing consistency on a spoon before decorating. Cookies can be stored in an airtight container at room temperature for up to 5 days. Freeze undecorated baked cookies for up to 3 months.
Nutrition
- Serving Size: 1 cookie (3-inch rou
- Calories: 145
- Sugar: 12
- Sodium: 55
- Fat: 7
- Saturated Fat: 4
- Carbohydrates: 20
- Protein: 2
Keywords: Halloween cookies, sugar cookies, spiderweb icing, easy Halloween dessert, decorated cookies, butter cookies, spooky treats


