The first frost hit our garden hard last September. I remember standing there, staring at the last bushel of Roma tomatoes, knowing they wouldn’t survive another night. My kitchen counters were already buried under a mountain of them from the week before — some turning soft, others starting to split. I had about two hours before the kids got home from school, and I needed a plan. That’s when I grabbed every clove of garlic I could find, raided my herb garden for the last of the basil and oregano, and decided to make a garlic herb canned tomato sauce that would carry us through the dark months ahead. Honestly? It was pure kitchen chaos, but that first jar we opened in January tasted like summer saved in glass.
This isn’t just another tomato sauce recipe. It’s the one I turn to when I want to taste August in the middle of February. The garlic gets slow-roasted first — that’s the secret — so it melts into the sauce like butter, not bitterness. And the herbs? They’re not just tossed in at the end. They steep and infuse, turning every jar into something that smells like a Sunday dinner that’s been simmering for hours, even when it hasn’t. If you’ve ever opened a store-bought jar of sauce and felt that little pang of disappointment, I get it. This homemade garlic herb canned tomato sauce for winter is the fix for that.
Why You’ll Love This Recipe
I’ve been canning for over a decade, and I’ve ruined plenty of batches along the way. Burnt bottoms. Seals that didn’t pop. One memorable year when I forgot the acid and had to toss everything. So when I say this recipe is bulletproof, I mean it. I tested it four times before I felt confident sharing it with you. Here’s why it works:
- Made for Busy People: The active prep time is about 30 minutes. The oven does most of the work while you clean up or help with homework.
- Simple Pantry Ingredients: Tomatoes, garlic, herbs, salt, and a splash of lemon juice. That’s it. No weird preservatives or sugar.
- Perfect for Winter Meal Prep: Open a jar in January and you’ve got the base for pasta, soups, stews, or a quick shakshuka.
- Family-Approved: My kids, who claim to “hate tomatoes,” eat this on spaghetti without a single complaint.
- That Deep, Slow-Cooked Flavor: The roasting technique gives you that all-day simmered taste in a fraction of the time.
What makes this different from every other canned tomato sauce recipe? It’s the garlic-herb infusion method. Most recipes just dump everything in a pot and boil. This one roasts the garlic first, then lets the herbs steep off the heat so their oils don’t get bitter. It’s a small shift that makes a massive difference. And honestly? It’s the kind of sauce that makes you close your eyes after the first bite. It’s comfort, preserved.
What Ingredients You Will Need
This recipe uses simple, whole ingredients that work together to create something greater than the sum of their parts. No fancy trips to specialty stores — just good, honest produce.
For the Sauce Base
- Roma tomatoes, 10 pounds (about 4.5 kg) — These are my go-to for canning because they’re meaty and have fewer seeds. If you can’t find Romas, use San Marzano or any paste tomato variety.
- Garlic, 2 full heads (not cloves, heads) — Yes, this much. Trust me. Roasting mellows it into something creamy and sweet.
- Fresh basil, 1 cup packed (about 30 grams) — I prefer Genovese basil for its peppery-sweet flavor.
- Fresh oregano, ¼ cup (about 10 grams) — Or 2 tablespoons dried if fresh isn’t available.
- Fresh thyme, 6 sprigs — Adds that subtle earthiness that makes the sauce taste complex.
- Extra virgin olive oil, ¼ cup (60 ml) — Use a good quality one; it’s a major flavor player here.
- Kosher salt, 2 teaspoons (or to taste) — I use Diamond Crystal. If using table salt, cut the amount in half.
- Black pepper, 1 teaspoon, freshly ground
- Lemon juice, 2 tablespoons (30 ml) bottled — This is non-negotiable for safe canning. Bottled has a consistent acidity level.
For Canning (if preserving)
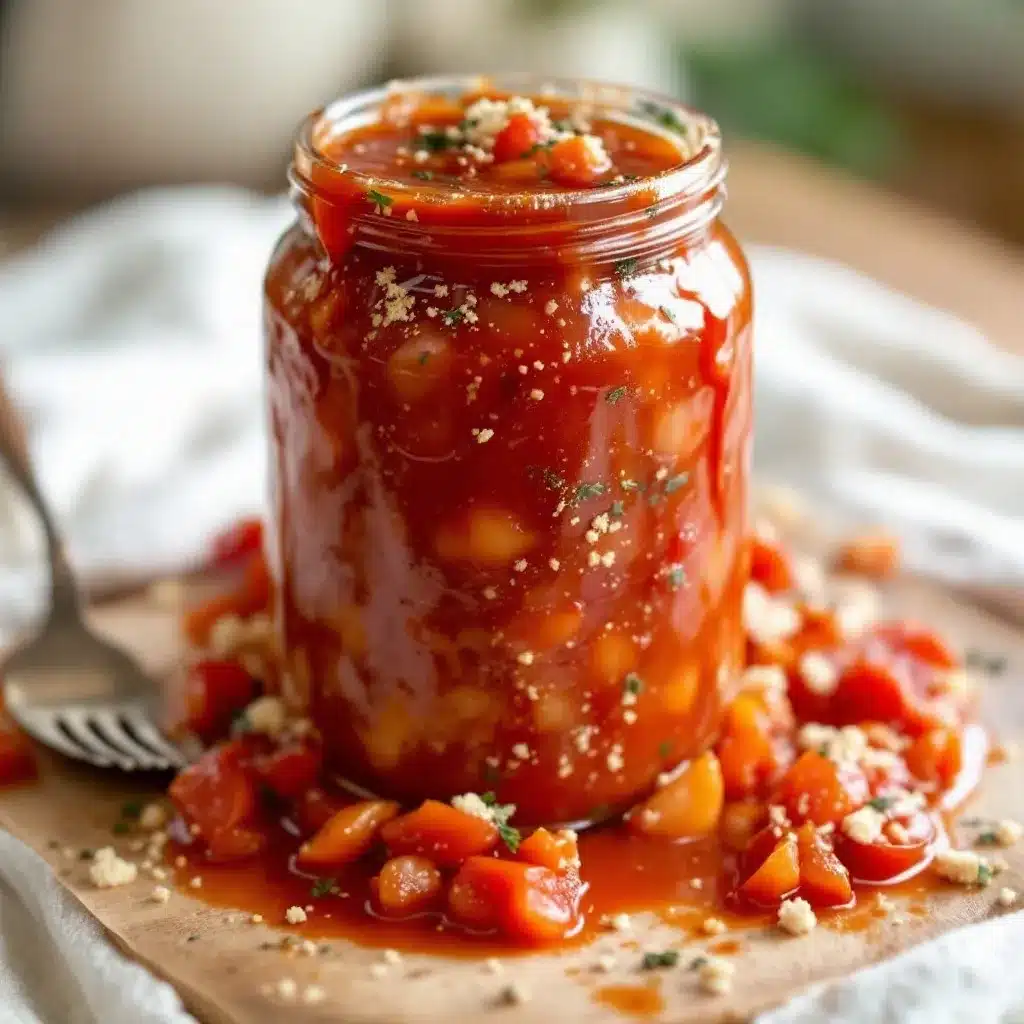
- Canning jars, 6-8 pint-sized (500 ml) with new lids and bands
- Water bath canner or a large, deep pot with a rack
I recommend using Muir Glen organic tomatoes if you’re buying from the store, but honestly, homegrown or farmers’ market tomatoes are unbeatable for this. Look for tomatoes that are fully ripe but still firm — no soft spots. If you’re using dried herbs instead of fresh, reduce the amount by half. Dried herbs are more concentrated, and you don’t want them to overpower the garlic.
Equipment Needed
- Large baking sheet with a rim — For roasting the garlic and tomatoes
- Heavy-bottomed stockpot, 8-quart (8 liters) or larger — A Dutch oven works beautifully here
- Immersion blender or countertop blender — I prefer the immersion blender because it’s less cleanup, but a regular blender gives a smoother result
- Food mill (optional but helpful) — If you want to remove seeds and skins without peeling
- Canning tools: jar lifter, wide-mouth funnel, magnetic lid lifter
- Clean kitchen towels — For resting the jars after processing
If you don’t have a water bath canner, a large stockpot with a rack in the bottom works just fine. I used one for years before I invested in a proper canner. Just make sure the pot is deep enough to cover the jars by at least an inch of water. And please, don’t skip the rack — jars that sit directly on the bottom can crack from the heat.
Preparation Method
Set aside about 2 hours total for this, though most of it is hands-off oven time. The actual active work is about 30 minutes.
Step 1: Roast the Garlic
Preheat your oven to 400°F (200°C). Cut the tops off both heads of garlic — just enough to expose the cloves. Drizzle with a teaspoon of olive oil, wrap each head tightly in aluminum foil, and roast for 40-45 minutes. They’re done when the cloves are soft and golden. Let them cool until you can handle them, then squeeze the roasted garlic out of the skins into a small bowl. Set aside.
Step 2: Prep the Tomatoes
While the garlic roasts, wash your tomatoes and cut out the cores. You don’t need to peel them yet — the food mill will take care of that later. Cut larger tomatoes in half so they cook evenly. Spread the tomatoes on your baking sheet, drizzle with 2 tablespoons of olive oil, and sprinkle with a pinch of salt.
Step 3: Roast the Tomatoes
Once the garlic is out, reduce the oven temperature to 375°F (190°C). Roast the tomatoes for 45 minutes to 1 hour, until they’re soft and starting to caramelize around the edges. The smell in your kitchen at this point is pure magic. Remove and let them cool slightly.
Step 4: Blend the Base
Working in batches, transfer the roasted tomatoes and any juices from the pan into your stockpot. Add the roasted garlic. Use an immersion blender to puree everything until smooth. If you want a seed-free sauce, run the mixture through a food mill first, then return it to the pot.
Step 5: Simmer and Infuse
Bring the sauce to a gentle simmer over medium heat. Tie your fresh herbs (basil, oregano, thyme) together with kitchen twine and drop them in — this makes them easy to fish out later. Simmer for 20 minutes, stirring occasionally. The sauce should reduce slightly and thicken. Taste and adjust salt and pepper. Remove the herb bundle.
Step 6: Acidify for Safety
Stir in the bottled lemon juice. This is critical for safe water bath canning. Tomatoes are borderline in acidity, and the lemon juice ensures the pH is low enough to prevent botulism. Don’t use fresh lemon juice here — bottled has a guaranteed acidity level.
Step 7: Fill the Jars
Ladle the hot sauce into sterilized pint jars, leaving ½ inch (1 cm) headspace. Run a clean chopstick or bubble remover tool around the inside of each jar to release trapped air. Wipe the rims with a clean, damp towel. Center the lids and screw on the bands until fingertip-tight.
Step 8: Process in Water Bath
Place the jars in your canner, ensuring they’re covered by at least 1 inch (2.5 cm) of water. Bring to a full rolling boil and process for 35 minutes (adjust for altitude if needed). Turn off the heat, remove the lid, and let the jars sit in the water for 5 minutes. Then use your jar lifter to transfer them to a towel-lined counter. Don’t tighten the bands. Let them cool undisturbed for 12-24 hours. You’ll hear the satisfying “pop” of the seals as they cool.
Step 9: Check the Seals
Press the center of each lid. If it doesn’t flex and stays down, you’re good. Label your jars with the date and store in a cool, dark place. They’ll keep for up to 18 months.
Cooking Tips & Techniques
I learned most of these the hard way. Like the year I didn’t roast the garlic long enough and ended up with sauce that had a weird, sharp bite. Or the time I skipped the food mill because I was in a hurry and spent the whole winter picking tomato seeds out of my teeth. Don’t be me.
- Don’t rush the roasting: The caramelization is where the flavor lives. If your tomatoes aren’t showing some brown spots, give them another 10 minutes.
- Use a wide pot for simmering: A narrow pot traps steam and makes the sauce watery. Wide surface area = faster reduction = deeper flavor.
- Taste as you go: Acidity levels vary by tomato. If the sauce tastes flat, add another splash of lemon juice or a pinch of salt.
- Label everything: I once grabbed a jar of what I thought was marinara and ended up with sweet tomato jam on my pasta. Not great. Write the date and contents on every lid.
- Multitask smartly: While the tomatoes roast, wash and sterilize your jars. While the sauce simmers, set up your canner. This recipe flows beautifully if you plan ahead.
Variations & Adaptations
This recipe is a starting point, not a rulebook. Here are some ways I’ve adapted it over the years:
- Spicy Arrabbiata Version: Add 2-3 dried red chili peppers to the simmering sauce. Remove before canning. The heat builds slowly and warms you from the inside on cold nights.
- Smoky Roasted Pepper Sauce: Roast 2 red bell peppers alongside the tomatoes. Blend them in with the sauce. It adds a sweetness and smokiness that’s incredible on pizza.
- Herb-Free Base: If someone in your house doesn’t like oregano or basil, make the base without herbs and add fresh ones when you open a jar. This is great for picky eaters.
- Low-Sodium Option: Skip the salt entirely during canning. Add salt when you cook with the sauce. This lets you control sodium levels per dish.
- Vegan and Gluten-Free: This recipe is naturally both. Just double-check your lemon juice brand if you’re avoiding certain additives.
I once made a batch with smoked paprika and a splash of balsamic vinegar, and it was incredible on eggs the next morning. Don’t be afraid to experiment with one jar before you commit a whole batch.
Serving & Storage Suggestions
This homemade garlic herb canned tomato sauce for winter is incredibly versatile. Here’s how I use it throughout the cold months:
- Serving Temperature: Reheat gently on the stovetop over medium-low heat. Never boil it after opening — it can make the garlic turn slightly bitter.
- Perfect Pairings: Toss with al dente pasta, spread on homemade pizza dough, or use as a base for a quick slow cooker honey garlic chicken by swapping the sauce into that recipe. It’s also amazing on Mediterranean stuffed mini peppers — just spoon a little over the top before baking.
- Storage: Unopened jars keep in a cool, dark pantry for 12-18 months. Once opened, refrigerate and use within 7-10 days.
- Freezing Option: If you don’t want to can, pour the cooled sauce into freezer-safe bags or containers. It freezes beautifully for up to 6 months. Just leave headspace for expansion.
- Flavor Development: Like most tomato sauces, this one actually gets better after a month or two in the jar. The flavors meld and deepen. Try to resist opening one for at least 4 weeks — I know it’s hard.
Nutritional Information & Benefits
Per ½ cup (120 ml) serving (approximate):
- Calories: 65
- Fat: 3.5g (mostly from olive oil)
- Carbohydrates: 8g
- Fiber: 2g
- Sugar: 5g (natural)
- Protein: 2g
- Sodium: 280mg (varies with added salt)
- Vitamin C: 15% DV
- Vitamin A: 10% DV
- Iron: 4% DV
Tomatoes are rich in lycopene, a powerful antioxidant that’s actually more bioavailable when cooked. The olive oil helps your body absorb it better — that’s why this combination is so smart. Garlic supports immune function, which is exactly what you need during winter months. This sauce is naturally low in calories and fat, making it a great base for healthy meals. If you’re watching your sodium, use the no-salt version I mentioned earlier.
Frequently Asked Questions
Can I use canned tomatoes instead of fresh?
Absolutely. Use 3 large cans (28 oz each) of whole peeled San Marzano tomatoes. Drain them slightly, then skip the roasting step. Proceed with simmering and infusing the herbs. The flavor won’t be quite as deep, but it’s still delicious.
Do I really need to use bottled lemon juice?
Yes, for safety. Bottled lemon juice has a standardized pH level. Fresh lemon juice varies by lemon. For water bath canning, consistency matters. If you’re freezing the sauce instead, fresh lemon juice is fine.
My jars didn’t seal. What do I do?
Don’t panic. Store unsealed jars in the refrigerator and use within a week. Or you can reprocess them within 24 hours: remove the lids, wipe the rims, use new lids, and process for the full time again. The sauce might be slightly softer, but it’s still safe.
Can I double this recipe?
Yes, but don’t overcrowd your oven. Use two baking sheets and rotate them halfway through roasting. For the simmering step, use your largest pot — an 8-quart is fine for a single batch, but for a double batch, you’ll need at least a 12-quart pot.
Why did my sauce turn out watery?
Two common reasons: you didn’t roast the tomatoes long enough, or you didn’t simmer the sauce long enough to reduce it. Next time, let the tomatoes get properly caramelized, and simmer the blended sauce until it coats the back of a spoon. Patience is key here.
Conclusion
This homemade garlic herb canned tomato sauce for winter is more than a recipe — it’s a way to hold onto summer when the world outside is gray and cold. Every jar you open is a little gift from your past self to your future self. It’s the taste of August tomatoes, slow-roasted garlic, and fresh herbs, all waiting for you in the pantry.
I hope you make a big batch and share it with someone you love. And when you do, come back and tell me how it turned out. Did you add your own twist? Did it save a weeknight dinner? I’d love to hear about it in the comments below. And if you’re looking for more ways to use up seasonal produce, check out our full collection of recipes for more inspiration. Happy canning, friends!
Pin This Recipe!
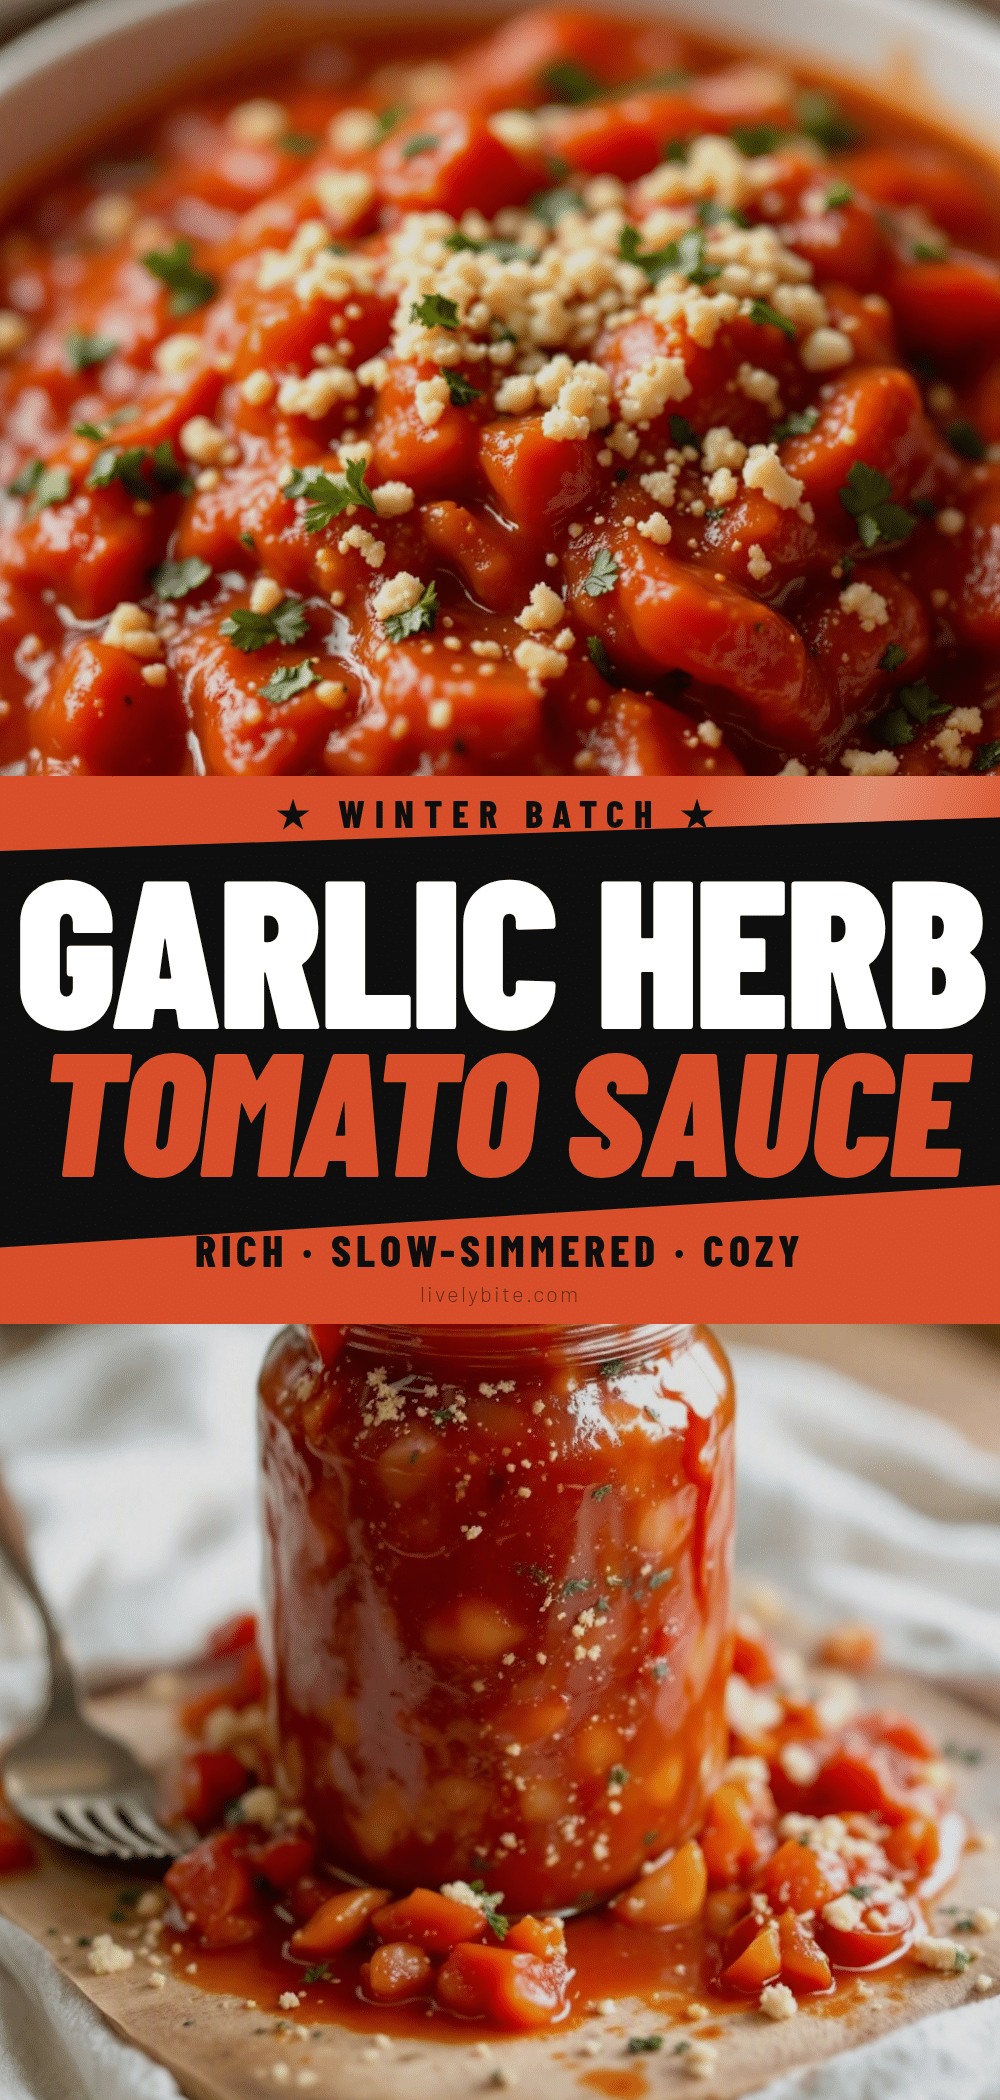
Homemade Garlic Herb Canned Tomato Sauce for Winter
This homemade garlic herb canned tomato sauce captures the taste of summer in a jar, with slow-roasted garlic and fresh herbs infusing every spoonful. Perfect for winter meal prep, it’s a bulletproof recipe that delivers deep, slow-cooked flavor with minimal active time.
- Prep Time: 30 minutes
- Cook Time: 1 hour 45 minutes
- Total Time: 2 hours 15 minutes
- Yield: 6-8 pint jars (about 6-8 servings) 1x
- Category: Sauce
- Cuisine: Italian-American
Ingredients
- 10 pounds Roma tomatoes (about 4.5 kg)
- 2 full heads garlic
- 1 cup packed fresh basil (about 30 grams)
- 1/4 cup fresh oregano (about 10 grams) or 2 tablespoons dried
- 6 sprigs fresh thyme
- 1/4 cup extra virgin olive oil (60 ml)
- 2 teaspoons kosher salt (or to taste)
- 1 teaspoon freshly ground black pepper
- 2 tablespoons bottled lemon juice (30 ml)
- 6–8 pint-sized canning jars (500 ml) with new lids and bands
- Water bath canner or large deep pot with rack
Instructions
- Preheat oven to 400°F (200°C). Cut tops off garlic heads, drizzle with 1 teaspoon olive oil, wrap in foil, and roast for 40-45 minutes until soft and golden. Let cool, then squeeze out cloves.
- While garlic roasts, wash and core tomatoes. Cut larger ones in half. Spread on a baking sheet, drizzle with 2 tablespoons olive oil, and sprinkle with a pinch of salt.
- Reduce oven to 375°F (190°C). Roast tomatoes for 45 minutes to 1 hour until soft and caramelized. Let cool slightly.
- Transfer roasted tomatoes and juices to a stockpot. Add roasted garlic. Puree with an immersion blender until smooth. For seed-free sauce, run through a food mill first.
- Bring sauce to a gentle simmer over medium heat. Tie fresh herbs together with kitchen twine and add to pot. Simmer for 20 minutes, stirring occasionally. Remove herb bundle. Season with salt and pepper to taste.
- Stir in bottled lemon juice for safe canning.
- Ladle hot sauce into sterilized pint jars, leaving 1/2 inch headspace. Remove air bubbles. Wipe rims, center lids, and screw on bands fingertip-tight.
- Place jars in canner, cover with at least 1 inch water. Bring to a full rolling boil and process for 35 minutes (adjust for altitude). Turn off heat, let jars sit in water for 5 minutes, then transfer to a towel-lined counter. Cool undisturbed for 12-24 hours.
- Check seals by pressing center of lids. If they don’t flex, label jars with date and store in a cool, dark place for up to 18 months.
Notes
Roast garlic until very soft to avoid bitterness. Use bottled lemon juice for safe canning. For best flavor, let sauce sit for at least 4 weeks before opening. If freezing, skip canning steps and pour cooled sauce into freezer-safe containers, leaving headspace.
Nutrition
- Serving Size: 1/2 cup (120 ml)
- Calories: 65
- Sugar: 5
- Sodium: 280
- Fat: 3.5
- Saturated Fat: 0.5
- Carbohydrates: 8
- Fiber: 2
- Protein: 2
Keywords: homemade tomato sauce, canned tomato sauce, garlic herb sauce, winter meal prep, canning recipe, roasted tomato sauce


