The way the orange marshmallow mixture holds its shape when you press it into the pumpkin mold—that’s the whole point, really. I remember standing in my kitchen last October, staring at a batch of regular Rice Krispie treats that had set too firmly in the pan, and thinking there had to be a more fun way to make these. My four-year-old nephew was coming over for a Halloween playdate, and I wanted something we could actually make together, not just something I’d prep while he napped.
So I grabbed a can of orange gel food coloring (the kind that doesn’t water down the marshmallow), some mini chocolate chips for the faces, and a few pretzel sticks for stems. Twenty minutes later, we had a counter full of grinning Jack-O-Lanterns that looked like they’d walked straight out of a pumpkin patch—if pumpkin patches sold things made of puffed rice and butter. Honestly, it was one of those accidental wins that makes you wonder why you ever bothered with the complicated stuff.
These Halloween Rice Krispie Jack-O-Lanterns aren’t just cute. They’re the kind of treat that makes kids light up and adults sneak one when nobody’s looking. And the best part? No oven required, no candy thermometers, no stress. Just sticky fingers and a whole lot of grinning.
Why You’ll Love This Recipe
I’ve tested this recipe about seven times now (someone had to eat all the test batches), and here’s what makes it stand out from every other Halloween treat you’ll see this season.
- No-Bake and Kid-Friendly : This comes together in under 20 minutes, start to finish. No oven, no hot sugar to worry about—just melted marshmallows and butter that an adult can handle while little hands help with the stirring and shaping.
- Simple Pantry Ingredients : You probably already have Rice Krispies, butter, and marshmallows in your kitchen. The orange food coloring and chocolate chips are easy to find at any grocery store, no specialty baking aisle required.
- Perfect for Halloween Parties : Whether it’s a school classroom celebration, a neighborhood potluck, or just a fun afternoon activity, these little pumpkins are always the first thing to disappear from the dessert table.
- Crowd-Pleaser for All Ages : I’ve watched toddlers grab them and grandparents grin at them. There’s something universally happy about a Rice Krispie treat shaped like a pumpkin.
- Unbelievably Cute and Customizable : Each Jack-O-Lantern gets its own personality—some are happy, some are silly, some are slightly lopsided (and those are the best ones).
What makes this recipe different from the basic Rice Krispie treat you’ve made a hundred times? It’s the texture. Because you’re shaping them individually instead of pressing them into a pan, the marshmallow-to-cereal ratio stays perfectly gooey. They don’t get rock-hard overnight, either—I’ll share my trick for keeping them soft in the storage section later.
This is one of those recipes that feels like pure childhood magic. It’s messy, it’s joyful, and it’s exactly the kind of thing you’ll want to make year after year.
What Ingredients You Will Need
This recipe uses simple, everyday ingredients to create something that looks way more impressive than it actually is. Here’s everything you’ll need, plus a few notes from my personal testing.
- 6 cups Rice Krispies cereal : The original brand works best for texture, but any generic puffed rice cereal will do. Just make sure it’s fresh—stale cereal makes for sad, chewy treats.
- 4 tablespoons unsalted butter : Salted butter works in a pinch, but unsalted lets you control the salt level. I use Land O’Lakes because it has a consistent butterfat content that melts smoothly.
- 10 ounces mini marshmallows : Mini marshmallows melt faster and more evenly than the big ones. Jet-Puffed is my go-to brand. If you only have full-size marshmallows, just cut them into smaller pieces before melting.
- 1/2 teaspoon vanilla extract : Pure vanilla adds warmth and depth, but imitation vanilla is totally fine here. Don’t skip it—it rounds out the sweetness.
- Orange gel food coloring : This is non-negotiable. Liquid food coloring adds too much water and makes the marshmallow mixture seize up. Gel coloring (like Wilton or AmeriColor) gives you that bright, true pumpkin orange without changing the texture. You’ll need about 1/2 to 1 teaspoon depending on how vibrant you want them.
- 1/4 cup mini chocolate chips : For the Jack-O-Lantern faces. You can also use candy eyes, but chocolate chips give that classic pumpkin look and taste better.
- 12-15 pretzel sticks : These become the stems. Break them in half or use the full stick depending on how tall you want the stem to be. I prefer Snyder’s because they’re sturdy and don’t break easily.
- Non-stick cooking spray : For greasing your hands and the spatula. Trust me, you don’t want to skip this unless you enjoy peeling marshmallow off your fingers for twenty minutes.
For a dairy-free version, swap the butter for vegan butter (I like Miyoko’s) and use vegan marshmallows. Dandies brand makes mini marshmallows that melt beautifully.
Equipment Needed
You don’t need any fancy tools for this recipe, which is part of the beauty. Here’s what I use every time I make these.
- Large microwave-safe bowl : Glass or ceramic works best. Plastic bowls can warp from the heat of the melted marshmallow.
- Rubber spatula : Silicone is ideal because nothing sticks to it. A wooden spoon works too, but you’ll have to scrape more.
- Piping or pastry brush : For greasing the spatula and your hands. You can also just spray your hands directly with cooking spray.
- Baking sheet lined with parchment paper : This is where the shaped pumpkins will sit while they set. Parchment is essential—wax paper will stick.
- Small cookie scoop or tablespoon : For portioning the mixture evenly. Not strictly necessary, but it helps if you want uniform-sized pumpkins.
- Plastic wrap : For wrapping individual treats if you’re giving them as gifts or storing them for later.
If you don’t have a microwave, you can melt the butter and marshmallows in a large saucepan over low heat. Just stir constantly and don’t walk away—marshmallows burn fast.
Preparation Method
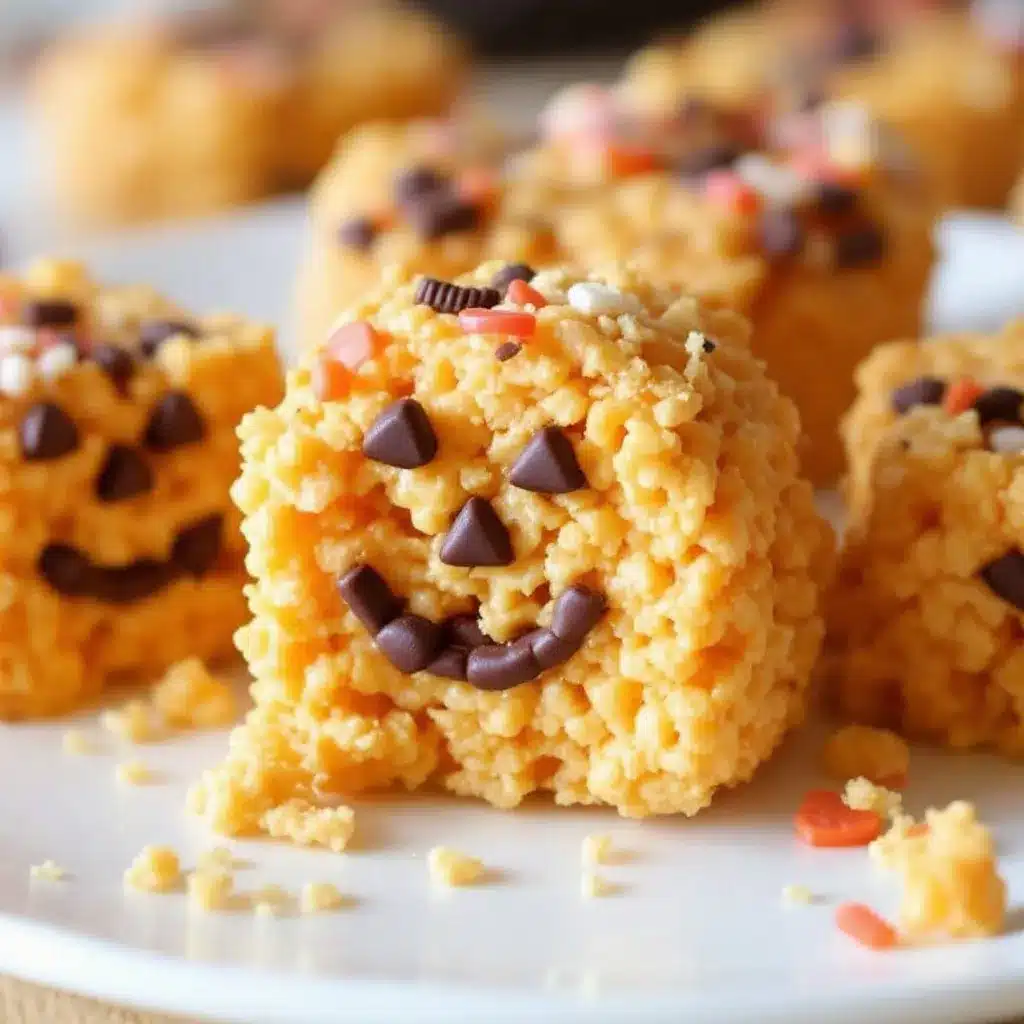
Let’s get into the actual making process. I’ve broken this down into steps that are easy to follow, even if you’ve got little helpers hovering nearby.
- Prep your workspace : Line a large baking sheet with parchment paper. Set it aside. Lightly spray your rubber spatula with non-stick cooking spray. This will save you so much frustration later.
- Melt the butter and marshmallows : Place the 4 tablespoons of butter and 10 ounces of mini marshmallows in your large microwave-safe bowl. Microwave in 30-second intervals, stirring between each, until the mixture is completely smooth and fully melted. This usually takes about 90 seconds total. Be careful not to overheat—if the marshmallows bubble, they’ll get tough.
- Add the vanilla and food coloring : Stir in the 1/2 teaspoon of vanilla extract. Then add the orange gel food coloring, starting with about 1/2 teaspoon. Stir vigorously until the color is evenly distributed. If you want a deeper orange, add more gel a little at a time. The color will look slightly brighter than what you want because it will lighten when you add the cereal.
- Mix in the cereal : Pour the 6 cups of Rice Krispies into the colored marshmallow mixture. Fold gently with your greased spatula until all the cereal is evenly coated. Work quickly here—the mixture starts setting as it cools. You should see a uniform orange color with no white marshmallow streaks.
- Let it cool slightly : Spread the mixture onto the parchment-lined baking sheet in an even layer. Let it sit for 2-3 minutes until it’s cool enough to handle but still warm and pliable. If it gets too firm, you can microwave it for 10 seconds to soften it up.
- Shape the pumpkins : Lightly spray your hands with non-stick cooking spray. Grab a portion of the mixture (about 2 tablespoons or the size of a golf ball) and roll it into a ball. Then gently flatten it into a pumpkin shape—slightly taller than wide, with a little ridge around the middle if you can manage it. Place it on the parchment paper. Repeat with the remaining mixture. You should get 12-15 pumpkins depending on size.
- Add the faces : While the pumpkins are still slightly warm and soft, press mini chocolate chips into each one to create a Jack-O-Lantern face. Classic triangles for eyes and a jagged smile work best. Press them in firmly so they stay put once the treat sets. This is the step where kids really shine—let them design their own faces.
- Insert the stems : Break your pretzel sticks in half (or leave them whole for tall stems). Gently press one into the top center of each pumpkin. Push it in about halfway so it stays secure.
- Let them set : Allow the pumpkins to cool completely at room temperature, about 15-20 minutes. The marshmallow will firm up and hold its shape perfectly.
If you find the mixture too sticky to handle, spray your hands again with cooking spray. If it’s too dry and crumbly, you may have overheated the marshmallows—next time, microwave in shorter bursts.
Cooking Tips & Techniques
After making these about a dozen times (not exaggerating), I’ve picked up a few tricks that make the process smoother and the results better.
Don’t skip the gel food coloring. I learned this the hard way when I used liquid food coloring for my first batch. The marshmallow mixture turned into a sticky, unworkable mess that never set properly. Gel coloring gives you vibrant color without adding extra moisture. If you can’t find orange gel, mix red and yellow gel together—about 3 parts yellow to 1 part red.
Work in batches if you’re making a double recipe. The mixture cools and sets fast, so trying to shape 30 pumpkins at once will leave you with a pile of hard, unshapeable cereal. Make one batch, shape it, then start the second batch.
Keep a bowl of warm water nearby. If the mixture starts sticking to your hands despite the cooking spray, dip your fingers in warm water and shake off the excess. The water creates a barrier that stops the marshmallow from clinging.
Use a toothpick for detail work. For smaller faces or more precise features, dip a toothpick in water and use it to nudge chocolate chips into place. This is especially helpful for getting those tiny triangle eyes perfectly positioned.
Don’t overmix the cereal. Fold just until the cereal is coated. Overmixing crushes the puffs and makes the treats dense and hard instead of light and airy. You want to see the individual puffs, not a solid orange block.
Variations & Adaptations
One of the best things about this recipe is how easy it is to change up. Here are some variations I’ve tried and loved.
- Gluten-Free Version : Rice Krispies are naturally gluten-free (the original brand is, anyway), so this recipe is already gluten-free friendly. Just double-check your pretzel sticks—some brands use wheat flour. Or skip the pretzels and use a small piece of green licorice for the stem.
- Vegan Option : Use vegan butter and vegan marshmallows. Dandies brand works perfectly. The texture is slightly different—a bit chewier—but the taste is still fantastic.
- Spooky Spider Variation : Instead of making pumpkins, shape the mixture into balls and press eight mini pretzel sticks into each side for spider legs. Use candy eyes and a red M&M for the body. My nephew went crazy for these.
- Chocolate Drizzle : Melt 1/4 cup of chocolate chips with 1 teaspoon of coconut oil and drizzle it over the finished pumpkins. It adds a professional touch and makes them look even more impressive on a dessert table.
- Pumpkin Spice Twist : Add 1 teaspoon of pumpkin pie spice to the marshmallow mixture along with the vanilla. It gives the treats a subtle fall flavor that pairs beautifully with the orange color.
I once made a batch with crushed graham crackers mixed into the cereal for extra crunch. It was good, but it made the texture less uniform—stick with the original if you want that classic Rice Krispie feel.
Serving & Storage Suggestions
These little pumpkins are best served at room temperature, straight from the counter. The marshmallow is soft and chewy, the chocolate chips are slightly firm, and the pretzel stem adds a nice salty crunch. I like to arrange them on a large platter lined with orange or black napkins for that Halloween vibe.
They pair beautifully with a warm drink. Try them alongside a refreshing cucumber mint green tea cooler for a surprisingly good flavor combo—the cool mint balances the sweet marshmallow perfectly. Or serve them with hot apple cider for a cozy fall treat.
Storage : Keep the pumpkins in an airtight container at room temperature for up to 5 days. Layer them between sheets of parchment paper so the faces don’t stick together. Do not refrigerate them—the marshmallow will get hard and lose that soft, chewy texture.
Freezing : You can freeze these for up to 3 months. Place them in a single layer on a baking sheet and freeze until solid, then transfer to a freezer-safe bag. Thaw at room temperature for about 30 minutes before serving. The texture will be slightly firmer but still delicious.
Reheating : If your treats have gone a little stale (it happens), microwave them for 5-10 seconds to soften them up. Just don’t overdo it, or the chocolate chips will melt into a puddle.
Pro tip: The flavors actually get better after a day. The marshmallow absorbs a tiny bit of moisture from the cereal, making the texture even more uniform. So if you’re making these for a party, they’re perfect made a day ahead.
Nutritional Information & Benefits
Let’s be real—these are a treat, not a health food. But here’s the nutritional breakdown for one pumpkin (based on a batch of 12).
| Nutrient | Amount Per Serving |
|---|---|
| Calories | 185 |
| Total Fat | 6g |
| Saturated Fat | 3.5g |
| Carbohydrates | 32g |
| Sugar | 18g |
| Protein | 2g |
| Sodium | 180mg |
On the plus side, Rice Krispies are fortified with iron and B vitamins, so there’s a tiny nutritional silver lining. The butter adds a bit of vitamin A, and the chocolate chips bring some antioxidants (okay, a very small amount, but I’m counting it).
This recipe is naturally nut-free if you use certified nut-free pretzels, making it a safe option for school parties. It’s also egg-free and can be made dairy-free with simple swaps.
My personal take? These are a once-in-a-while treat that brings way more joy than their calorie count suggests. And honestly, the memories you make shaping them with kids are worth every single bite.
Conclusion
These Halloween Rice Krispie Jack-O-Lanterns are everything I want in a holiday treat—fun to make, adorable to look at, and genuinely delicious to eat. They don’t require any fancy baking skills, they come together in under 30 minutes, and they’re the kind of thing that makes people smile the second they see them.
I love that you can customize each one. Some of mine have goofy grins, some have scary scowls, and a few have ended up looking more like confused potatoes than pumpkins—but those are always my favorites. The imperfections are what make them special.
If you make these, I’d love to hear how they turn out. Did your kids design their own faces? Did you try the spider variation? Drop a comment below and share your creation. And if you’re looking for more easy, no-bake treats, check out our full collection of recipes—there’s something for every occasion.
Happy Halloween, and happy snacking!
Frequently Asked Questions
Can I use natural food coloring instead of gel?
You can, but the color won’t be as vibrant, and you’ll need more of it. Natural gel colors from brands like Color Kitchen work well, but they’re pricier. If you use liquid natural coloring, add it sparingly and expect a more muted, pastel orange.
Why did my mixture turn out too hard?
This usually happens when the marshmallows are overheated. Microwave in shorter bursts (20 seconds instead of 30) and stir well between each. Also, make sure you’re using fresh marshmallows—old ones don’t melt as smoothly and can create a tougher texture.
Can I make these without a microwave?
Absolutely. Melt the butter and marshmallows in a large saucepan over low heat, stirring constantly. It takes about 5-7 minutes. Just keep the heat low and don’t walk away—marshmallows burn fast on the stovetop.
How far in advance can I make these?
You can make them up to 3 days ahead and store them in an airtight container at room temperature. They’ll still be soft and chewy. For longer storage, freeze them for up to 3 months.
My chocolate chips keep falling off. What am I doing wrong?
Press them in while the marshmallow is still warm and pliable. If the mixture has cooled too much, the chips won’t stick. You can also use candy melts or frosting as “glue” to attach the chips after the treats have set.
Pin This Recipe!
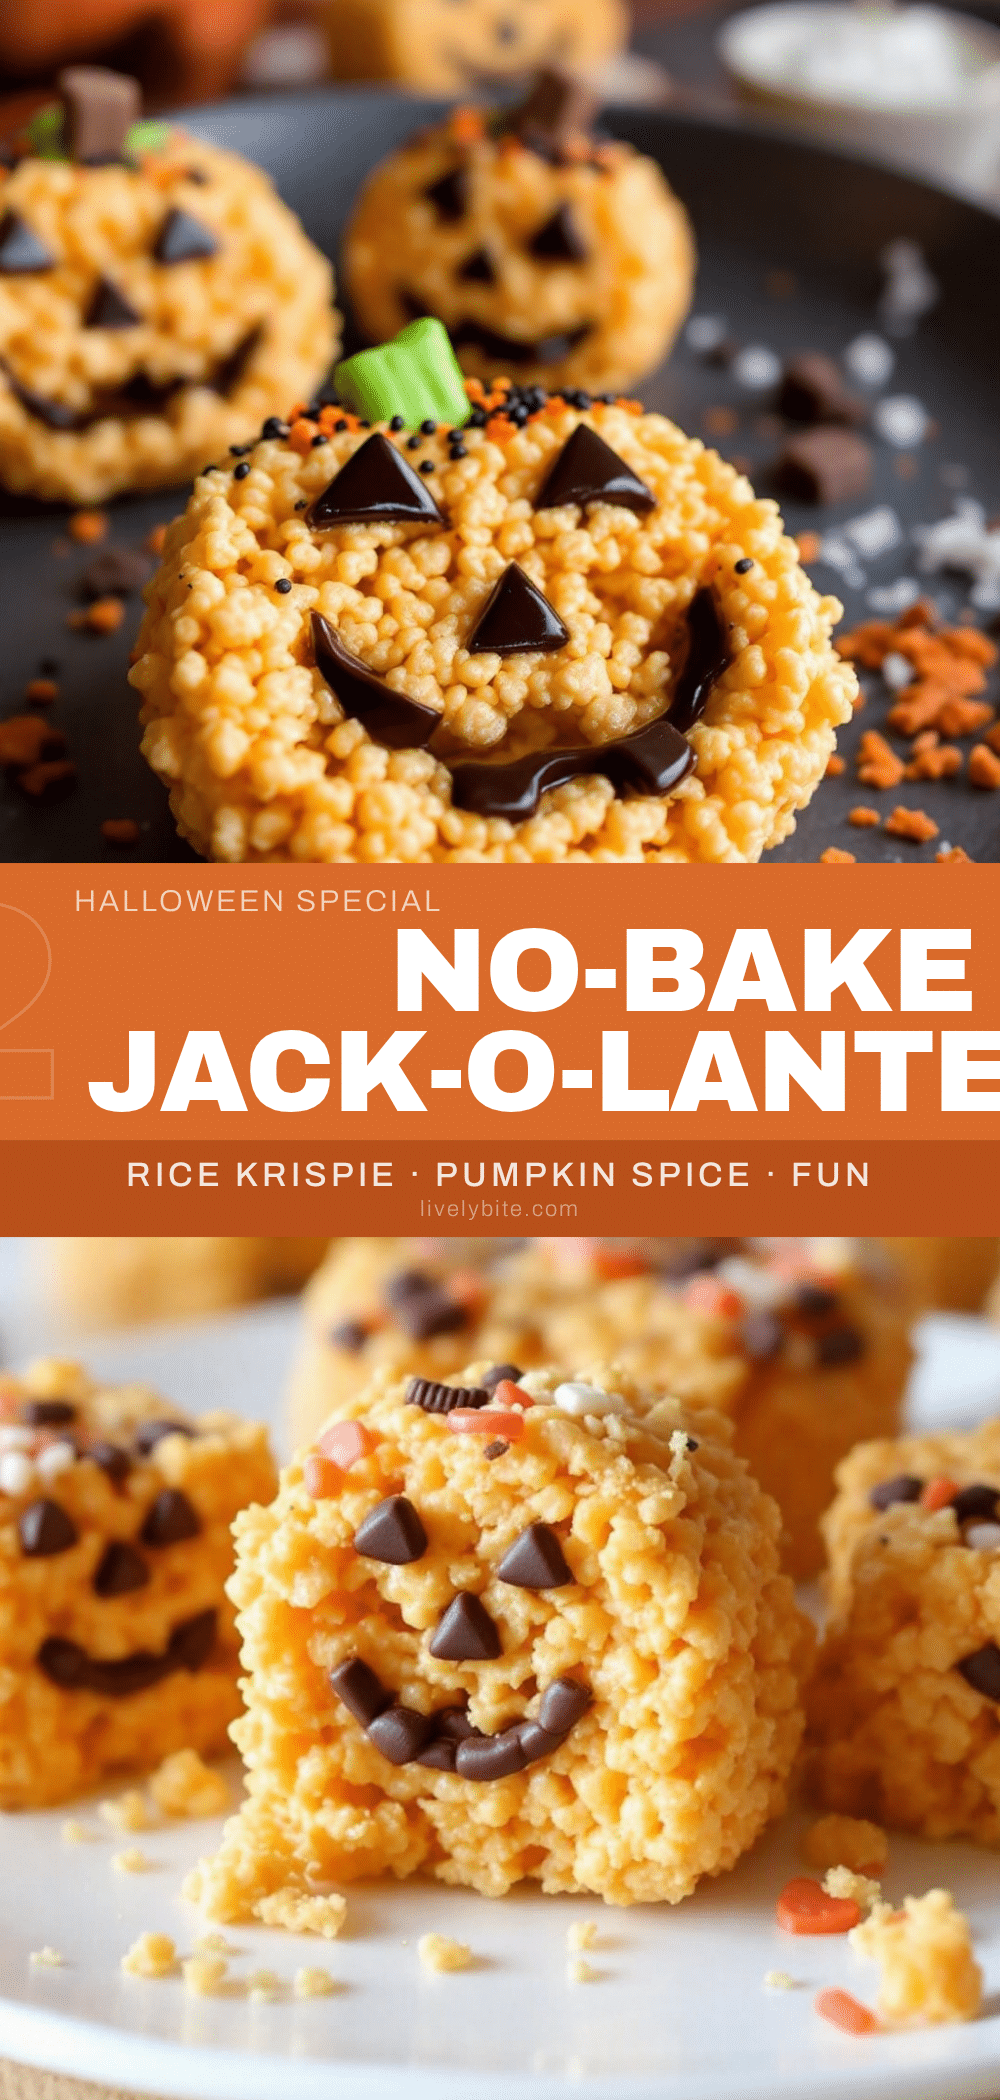
Halloween Rice Krispie Jack-O-Lanterns: Easy No-Bake Treat
These no-bake Halloween Rice Krispie Jack-O-Lanterns are fun to make with kids, adorable to look at, and delicious to eat. Made with orange marshmallow mixture, chocolate chip faces, and pretzel stems, they come together in under 30 minutes.
- Prep Time: 15 minutes
- Cook Time: 5 minutes
- Total Time: 20 minutes
- Yield: 12-15 servings 1x
- Category: Dessert
- Cuisine: American
Ingredients
- 6 cups Rice Krispies cereal
- 4 tablespoons unsalted butter
- 10 ounces mini marshmallows
- 1/2 teaspoon vanilla extract
- 1/2 to 1 teaspoon orange gel food coloring
- 1/4 cup mini chocolate chips
- 12–15 pretzel sticks
- Non-stick cooking spray
Instructions
- Prep your workspace: Line a large baking sheet with parchment paper. Lightly spray your rubber spatula with non-stick cooking spray.
- Melt the butter and marshmallows: Place the 4 tablespoons of butter and 10 ounces of mini marshmallows in a large microwave-safe bowl. Microwave in 30-second intervals, stirring between each, until completely smooth and fully melted (about 90 seconds total).
- Add the vanilla and food coloring: Stir in the 1/2 teaspoon of vanilla extract. Add the orange gel food coloring, starting with about 1/2 teaspoon. Stir vigorously until evenly distributed. Add more gel for deeper color.
- Mix in the cereal: Pour the 6 cups of Rice Krispies into the colored marshmallow mixture. Fold gently with the greased spatula until all cereal is evenly coated.
- Let it cool slightly: Spread the mixture onto the parchment-lined baking sheet in an even layer. Let sit for 2-3 minutes until cool enough to handle but still warm and pliable.
- Shape the pumpkins: Lightly spray hands with non-stick cooking spray. Grab about 2 tablespoons of mixture, roll into a ball, then gently flatten into a pumpkin shape. Place on parchment paper. Repeat with remaining mixture (makes 12-15 pumpkins).
- Add the faces: While pumpkins are still warm and soft, press mini chocolate chips into each to create a Jack-O-Lantern face (triangles for eyes, jagged smile). Press firmly.
- Insert the stems: Break pretzel sticks in half (or leave whole). Gently press one into the top center of each pumpkin, pushing about halfway in.
- Let them set: Allow pumpkins to cool completely at room temperature, about 15-20 minutes, until firm.
Notes
Use gel food coloring, not liquid, to avoid making the marshmallow mixture sticky. Work quickly as the mixture sets fast. If too sticky, spray hands with more cooking spray or dip fingers in warm water. Store in an airtight container at room temperature for up to 5 days. Do not refrigerate. Can be frozen for up to 3 months.
Nutrition
- Serving Size: 1 pumpkin
- Calories: 185
- Sugar: 18
- Sodium: 180
- Fat: 6
- Saturated Fat: 3.5
- Carbohydrates: 32
- Protein: 2
Keywords: Halloween Rice Krispie treats, no-bake Halloween dessert, Rice Krispie pumpkins, Jack-O-Lantern treats, kid-friendly Halloween recipe, easy Halloween treat


