The bowl was scraped clean. Seriously, scraped. I had to use a rubber spatula to get the last bit of that white frosting off the sides, and even then, my seven-year-old cousin was staring at me like I was hiding the good stuff. She didn’t even care that they looked like little floating spirits. She just cared that they were soft, sweet, and ridiculously easy to eat without getting frosting all over her face.
It’s funny how Halloween baking usually feels like a battle. You fight with stiff royal icing, you argue over fondant that won’t stick, and you end up with treats that look impressive but taste like cardboard. Not this time. These Fluffy Ghost Cupcakes with Vanilla Buttercream Swirl changed the game. I made them on a Tuesday night because I was stressed about the upcoming party, and I realized I didn’t have time for anything complicated.
The first bite confirmed it. They were airy, light, and tasted like actual vanilla, not that chemical stuff you get in cheap mixes. My husband took one look at the spooky shapes and raised an eyebrow, but he finished two before I could blink. That’s the moment I knew this was a keeper.
I’m not a pastry chef, you know. I’m just someone who wants to make people happy without spending hours in the kitchen. These cupcakes deliver on that promise. They’re cute, sure, but the flavor is what keeps people coming back. Honestly, it’s the kind of dessert that feels like a hug from the inside.
The secret isn’t fancy ingredients. It’s just paying attention to the texture. When you mix the batter right and let the buttercream sit out long enough, magic happens. Simple magic. And let’s be real, if it makes kids smile and adults forget their diet for an hour, it’s worth every calorie.
Why You’ll Love This Recipe
Let’s be honest for a second. Baking can be intimidating. You walk into the kitchen with high hopes, only to end up with dense bricks that crack in the middle. I’ve been there. I’ve thrown out perfectly good cupcakes because they just didn’t rise right. But this recipe? It’s different. It’s forgiving. It’s designed for real life, not just for perfect Pinterest photos.
Here is why this recipe has earned a permanent spot in my weekly rotation, especially around October:
- Quick & Easy: These come together in under 45 minutes from start to finish. No overnight chilling, no complex tempering. If you can whisk and pipe, you can make these. It’s perfect for busy weeknights or last-minute Halloween party prep when you realize you forgot to buy candy.
- Simple Ingredients: No fancy grocery trips needed. You likely already have flour, sugar, eggs, and butter in your kitchen. The only thing you might need to grab is a bit of extra vanilla extract or white food coloring if you want that pure ghostly white look. It’s pantry-friendly, which means less stress.
- Perfect for Halloween Parties: Whether it’s a spooky school event, a neighbor drop-off, or a cozy dinner at home, these fit the theme without being too scary. They are cute, whimsical, and approachable for all ages. They’re great for potlucks because they hold their shape well.
- Crowd-Pleaser: Always gets rave reviews from kids and adults alike. The kids love the shape, obviously. But the adults? They love the flavor. It’s not overly sweet, which is a huge win. It’s balanced.
- Unbelievably Delicious: The texture and flavor combo is next-level comfort food. The cake is incredibly moist, and the buttercream is smooth and creamy. It’s not heavy like a traditional vanilla cake. It feels light, almost like eating a cloud with a vanilla bean aftertaste.
What makes this recipe different from the rest? It’s the ratio. I tested this batter about five times. I tried adding too much milk, then too little. I tried using oil instead of butter, but the flavor just wasn’t there. The final version strikes the perfect balance. It uses buttermilk for tenderness and a touch of vinegar to help the leavening agents work their magic. This isn’t just another vanilla cupcake recipe. It’s *the* vanilla cupcake recipe for Halloween.
This recipe isn’t just good—it is the kind that makes you close your eyes after the first bite. It’s comfort food reimagined for the spookiest night of the year. It’s healthier in the sense that it’s not loaded with artificial colors and weird additives, but with the same soul-soothing satisfaction as a classic treat. Perfect for impressing guests without stress, or turning a simple meal into something memorable.
What Ingredients You Will Need
This recipe uses simple, wholesome ingredients to deliver bold flavor and satisfying texture without the fuss. The beauty of these ghost cupcakes lies in their simplicity. You don’t need exotic flours or hard-to-find spices. Just good, honest baking staples that you probably already have tucked away in your cupboards.
I’ve broken down the ingredients by their role in the recipe so you can see exactly what’s happening in the batter.
For the Cake Batter
- All-Purpose Flour: 2 cups (250g). This is your structure. Don’t use cake flour unless you want them even softer, but all-purpose gives that classic cupcake crumb.
- Granulated Sugar: 1 ½ cups (300g). Provides sweetness and helps with moisture retention. I use regular white sugar, but you can try a light brown sugar for a hint of caramel depth if you want.
- Unsalted Butter: ½ cup (115g), softened. Room temperature butter is key here. If it’s cold, it won’t cream properly with the sugar. I recommend Land O’Lakes or any high-quality European-style butter for richer flavor.
- Large Eggs: 2 large, room temperature. Cold eggs can cause your batter to curdle when mixed with butter. Take them out of the fridge 30 minutes before you start.
- Buttermilk: 1 cup (240ml). This is the secret weapon. The acidity tenderizes the gluten, making the cake soft and fluffy. If you don’t have buttermilk, mix 1 cup of milk with 1 tablespoon of white vinegar and let it sit for 5 minutes.
- Vanilla Extract: 2 teaspoons. Use pure vanilla extract, not imitation. It makes a huge difference in the final taste. McCormick is reliable and affordable.
- Baking Powder: 1 ½ teaspoons. For lift.
- Baking Soda: ½ teaspoon. Reacts with the buttermilk to create air bubbles.
- Salt: ½ teaspoon. Enhances the flavor of the vanilla and balances the sweetness.
For the Vanilla Buttercream Swirl
- Unsalted Butter: 1 cup (225g), softened. You need this to be pillowy soft. It should indent easily when you press your finger into it.
- Confectioners’ Sugar: 4-5 cups (480-600g). Sifted! This is non-negotiable. Lumps in powdered sugar will ruin the smooth texture of your ghost faces. Use a fine-mesh sieve.
- Heavy Cream: 2-3 tablespoons. Adjust for consistency. More cream for a looser pipe, less for a stiffer hold.
- Vanilla Extract: 1-2 teaspoons. Again, pure vanilla is best.
- White Food Coloring Gel: Optional. If you want your ghosts to be stark white, a tiny dot of gel color helps. Gel colors are better than liquid because they don’t thin out the frosting.
I personally prefer using gel food coloring over liquid drops. Liquid adds too much water to the buttercream, which can make it split or become runny. Gel gives you intense color without changing the texture. If you’re worried about artificial colors, you can skip it entirely, but the ghosts look much more authentic when they are pure white.
For a dairy-free option, you can swap the butter for a high-quality vegan butter stick, and use oat milk instead of buttermilk. It works surprisingly well, though the texture might be slightly denser.
Equipment Needed
You don’t need a fancy kitchen to make these, but having the right tools makes the process smoother. Here is what you’ll need:
- Muffin Tin: Standard 12-cup size. Non-stick is easiest, but you’ll need liners.
- Cupcake Liners: White paper liners work best so the ghosts look seamless. You could use black liners for a spooky contrast, but white is classic.
- Mixer: A hand mixer or stand mixer with a paddle attachment. Mixing by hand is possible but takes arm strength. I use a KitchenAid, but any mixer works.
- Bowls: One large bowl for dry ingredients, one medium for wet.
- Measuring Cups and Spoons: For dry and wet ingredients respectively. For best results, weigh your flour if you have a kitchen scale.
- Piping Bag and Tip: A large round tip (like a Wilton 1M or 2A) or a simple zip-top bag with the corner cut off. The tip doesn’t matter as much as the ability to pipe dollops.
- Offset Spatula: Helpful for smoothing the top of the cupcakes if needed, though we are going for a rustic look.
If you don’t have a piping bag, just use a spoon. It’s less pretty, but the taste is the same. For a budget-friendly option, buy a reusable silicone piping bag. They are easy to clean and last forever.
Preparation Method
Making these cupcakes is straightforward, but precision matters. Follow these steps closely for the best results.
- Preheat and Prep (5 mins): Preheat your oven to 350°F (175°C). Line your muffin tin with white cupcake liners. This ensures even baking and easy removal.
- Mix Dry Ingredients (2 mins): In a medium bowl, whisk together the flour, baking powder, baking soda, and salt. Whisking aerates the flour, which helps the cupcakes rise. Set aside.
- Cream Butter and Sugar (3 mins): In a large bowl, beat the softened butter and granulated sugar together on medium-high speed until light and fluffy. This should take about 3-4 minutes. The mixture should look pale yellow and airy. This step incorporates air, which is crucial for fluffy texture.
- Add Eggs and Vanilla (2 mins): Add the eggs one at a time, beating well after each addition. Scrape down the sides of the bowl with a spatula to ensure everything is incorporated. Mix in the vanilla extract.
- Combine Wet and Dry (2 mins): Reduce mixer speed to low. Add the flour mixture in three parts, alternating with the buttermilk in two parts. Start and end with the flour. Mix just until combined. Do not overmix! Overmixing develops gluten, leading to tough cupcakes. The batter should be thick but smooth.
- Fill Liners (2 mins): Divide the batter evenly among the cupcake liners, filling them about 2/3 full. Use a cookie scoop for consistency. This should yield 12 standard cupcakes.
- Bake (18-20 mins): Place in the preheated oven. Bake for 18-20 minutes. The cupcakes are done when a toothpick inserted into the center comes out clean or with just a few moist crumbs. Do not overbake, or they will dry out. The tops should be lightly golden and spring back when touched.
- Cool Completely (30 mins): Let the cupcakes cool in the pan for 5 minutes, then transfer them to a wire rack to cool completely. This is critical. If you frost warm cupcakes, the buttercream will melt and slide off.
- Make the Buttercream (10 mins): While cupcakes cool, beat the softened butter until creamy. Gradually add the sifted powdered sugar, one cup at a time, on low speed. Once all sugar is added, increase speed to medium-high and beat for 3 minutes. Add cream and vanilla. Beat for another minute until fluffy. If using food coloring, mix it in now.
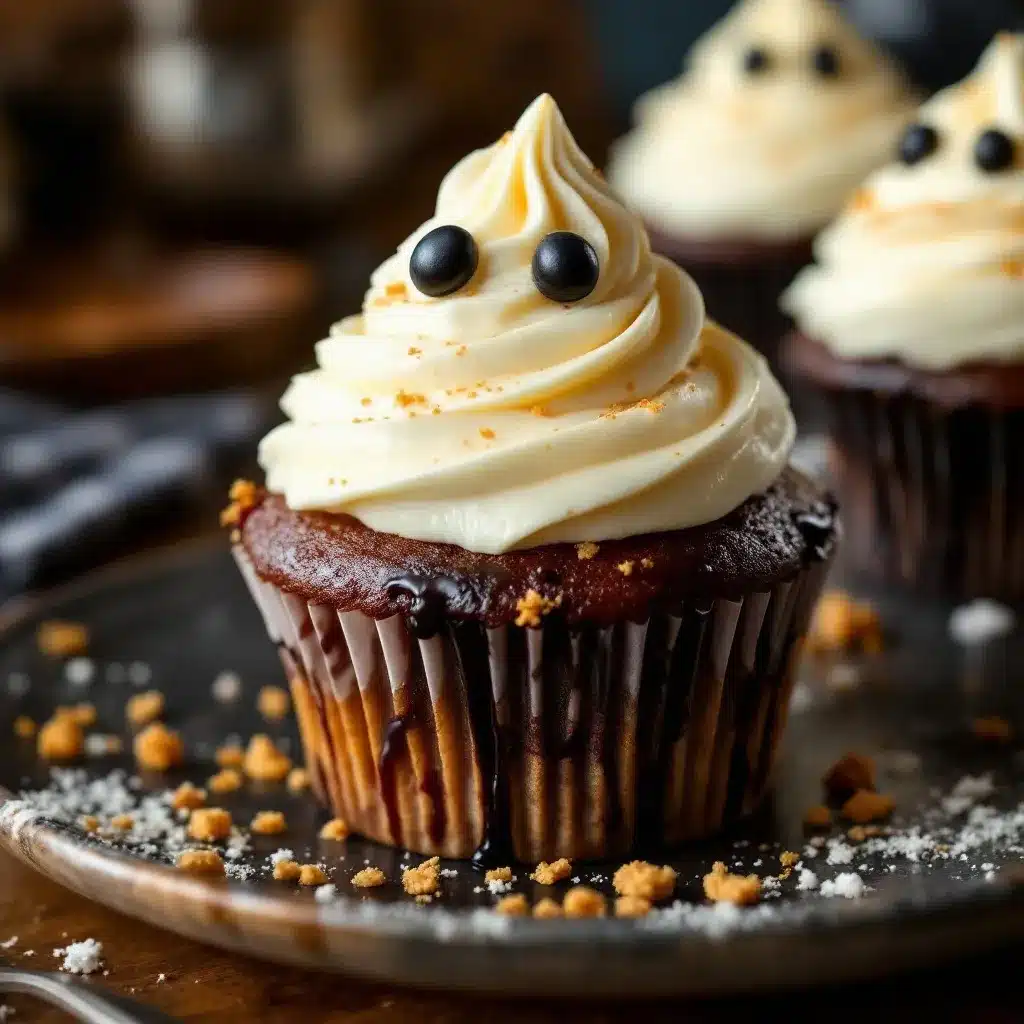
- Assemble the Ghosts (15 mins): Pipe a large dollop of buttercream on top of each cooled cupcake. Shape it into a rounded mound. Use a small round tip or a spoon to smooth the sides slightly, creating a ghostly shape. Add two small dots for eyes and a small line for a mouth using darker frosting or edible markers.
Personal tip: If your buttercream is too stiff to pipe, add more cream, one teaspoon at a time. If it’s too runny, add more powdered sugar. You want a consistency that holds its shape but is still smooth.
Cooking Tips & Techniques
I’ve learned a few things the hard way, so you don’t have to. Here are some pro tips to ensure your cupcakes turn out perfectly.
- Room Temperature Ingredients: I cannot stress this enough. Cold butter and eggs will not cream properly. Take them out of the fridge at least an hour before you start. If you’re short on time, you can soften butter by microwaving it in 5-second bursts, but be careful not to melt it.
- Don’t Overmix: Once you add the flour, mix only until you no longer see streaks of white. Overmixing leads to dense, tough cupcakes. Stop as soon as it looks uniform.
- Sift Your Powdered Sugar: This is the #1 reason buttercream gets lumpy. Sifting removes clumps and ensures a silky smooth frosting. It takes an extra minute but is worth it.
- Test Your Oven: Ovens vary. If your cupcakes are browning too fast on top but raw in the middle, lower the temperature by 25°F and bake for a few minutes longer. Use an oven thermometer to check accuracy.
- Cool Completely: Rushing the cooling process is a common mistake. Warm cupcakes melt buttercream. Let them sit on the rack until they are completely cool to the touch.
I once tried to frost cupcakes while they were still warm because I was running late. The frosting slid right off, and I ended up with a mess. Never again. Patience pays off.
Variations & Adaptations
While the classic ghost is adorable, you can tweak this recipe to suit different needs.
- Gluten-Free Option: Swap the all-purpose flour for a 1:1 gluten-free baking blend. Ensure your baking powder is certified gluten-free. The texture will be slightly more tender, which works well with the ghost shape.
- Dairy-Free: Use vegan butter sticks and oat milk or almond milk mixed with vinegar for the buttermilk substitute. The flavor will be slightly different but still delicious.
- Chocolate Ghosts: Add ½ cup of cocoa powder to the dry ingredients and reduce the buttermilk by ¼ cup. Frost with chocolate buttercream for a spooky chocolate ghost.
- Flavored Buttercream: Swap the vanilla extract in the frosting for almond extract or lemon zest for a different flavor profile. Orange zest goes great with Halloween themes.
I once made these with a hint of orange zest in the frosting, and it was a hit. It added a subtle brightness that cut through the sweetness. It’s a nice twist for fall-themed parties.
Serving & Storage Suggestions
These cupcakes are best served at room temperature. Cold buttercream can be hard and waxy, so let them sit out for 15 minutes before serving.
- Presentation: Serve them on a white platter for a clean, spooky look. You can add edible glitter or gold dust for a magical touch.
- Pairing: They go well with coffee, hot chocolate, or a glass of milk. For a Halloween party, pair them with a spooky punch or cider.
- Storage: Store leftovers in an airtight container at room temperature for up to 2 days. If your kitchen is very hot, refrigerate them, but bring them to room temperature before serving.
- Freezing: You can freeze unfrosted cupcakes for up to 3 months. Thaw them overnight in the fridge, then frost when ready to serve. The buttercream can also be frozen in an airtight container for up to 2 months.
The flavors meld together nicely if you let them sit overnight, so making them a day ahead is actually a good idea.
Nutritional Information & Benefits
These cupcakes are a treat, so enjoy them in moderation. Each cupcake contains approximately 350-400 calories, depending on the size of the frosting dollop.
- Carbohydrates: Mainly from flour and sugar, providing quick energy.
- Fat: From butter and eggs, which help with satiety and flavor.
- Protein: Moderate amount from eggs and flour.
For those with dietary restrictions, the gluten-free and dairy-free adaptations make this recipe accessible to more people. The vanilla flavor is naturally free from nuts, making it safe for nut-free schools or events.
Conclusion
These Fluffy Ghost Cupcakes with Vanilla Buttercream Swirl are more than just a Halloween treat. They are a reminder that baking can be fun, easy, and delicious. You don’t need to be a professional baker to make something that looks impressive and tastes amazing.
I hope you try this recipe and enjoy it as much as I do. Feel free to customize the frosting or add your own spooky decorations. The possibilities are endless.
If you make these, I’d love to see them! Share your creations on social media and tag me. Leave a comment below with your thoughts or any tweaks you made. Happy baking, and have a spooky Halloween!
FAQs
Can I make these cupcakes ahead of time?
Yes! You can bake the cupcakes up to 2 days in advance. Store them in an airtight container at room temperature. Frost them the day you plan to serve them to keep the frosting fresh and fluffy.
Why did my cupcakes sink in the middle?
This usually happens if the oven door was opened too early, or if the cupcakes were underbaked. Make sure to test with a toothpick and avoid opening the oven door during the first 15 minutes of baking.
Can I use liquid food coloring?
You can, but gel food coloring is recommended. Liquid coloring adds extra water to the buttercream, which can thin it out and make it harder to pipe. Gel gives you a vibrant color without affecting the texture.
How do I store leftover buttercream?
Store leftover buttercream in an airtight container in the fridge for up to 2 weeks, or in the freezer for up to 3 months. Let it come to room temperature and re-whip it with a mixer before using.
Are these cupcakes safe for nut allergies?
Yes, the base recipe is naturally nut-free. Just ensure that your ingredients (like flour and baking powder) are processed in a nut-free facility if you have severe allergies.
Pin This Recipe!
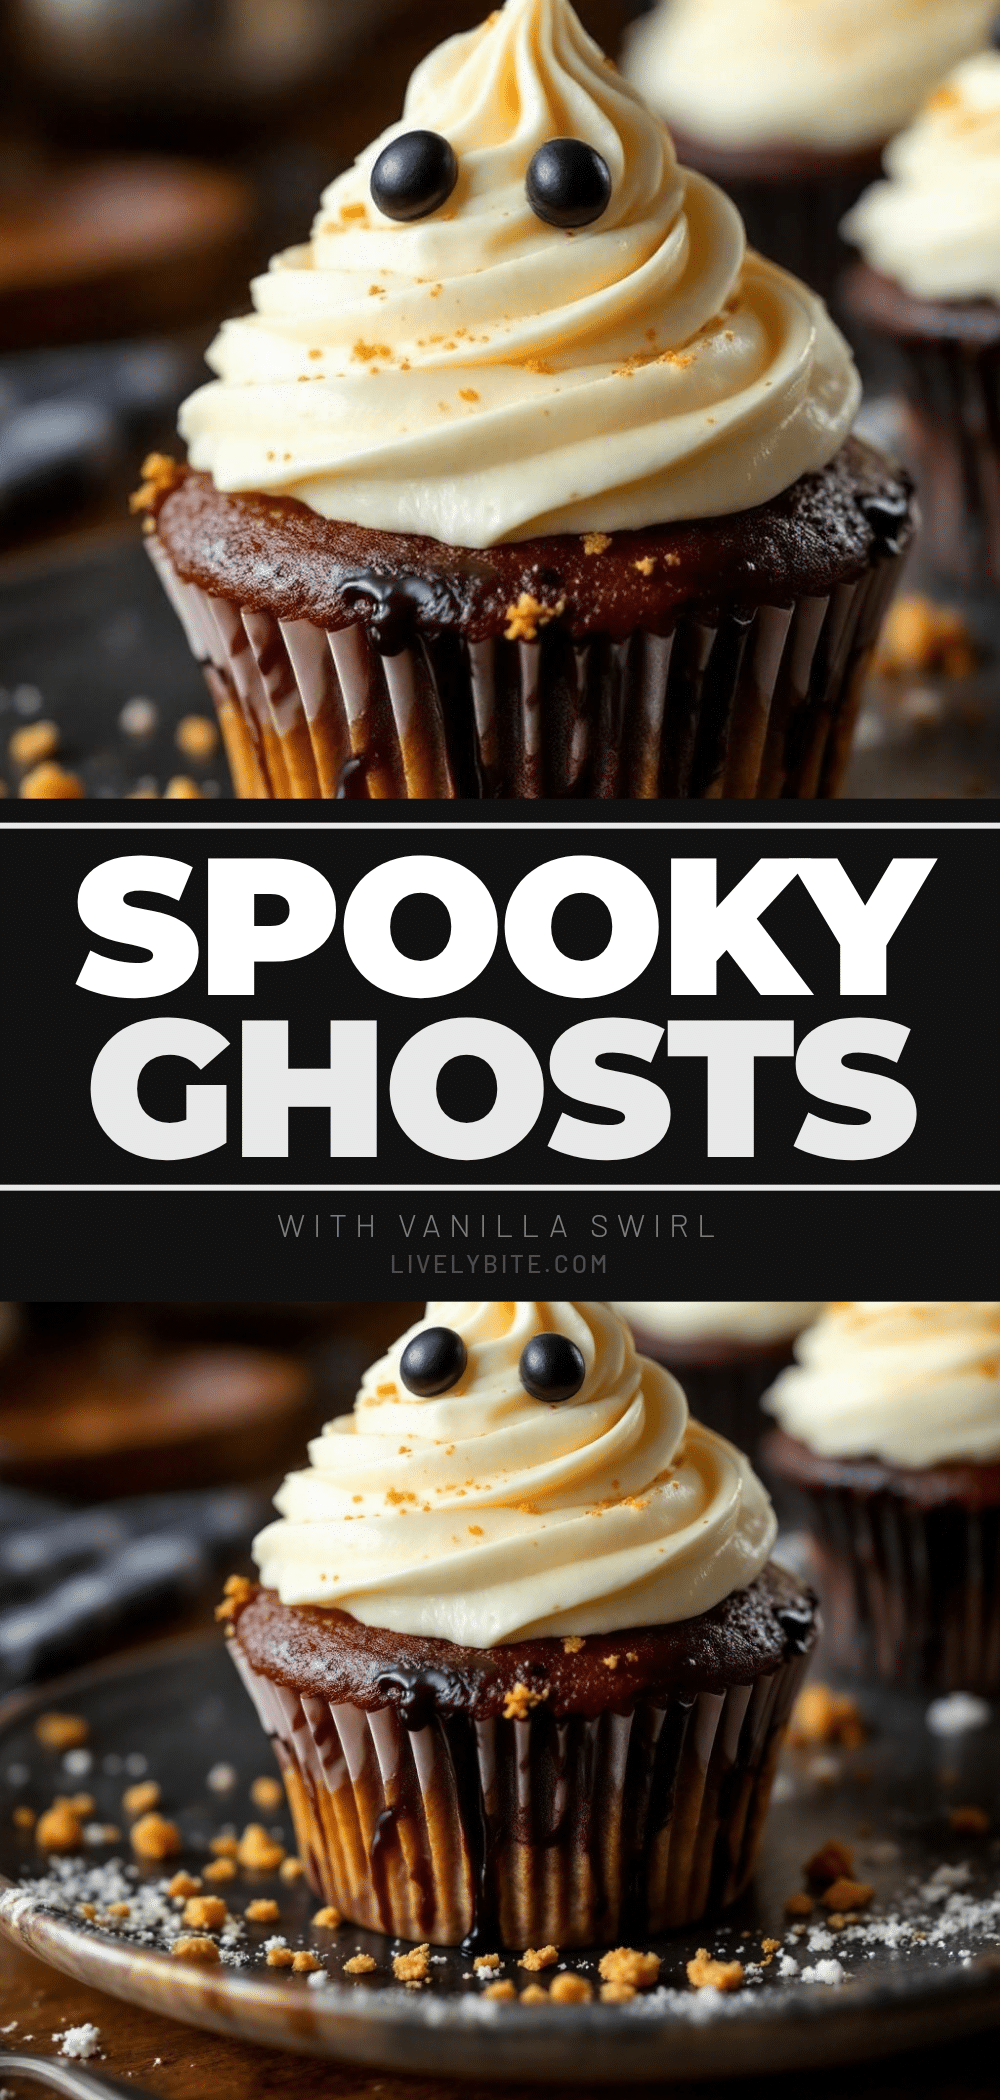
Fluffy Ghost Cupcakes with Vanilla Buttercream Swirl
These easy, airy vanilla cupcakes are topped with a smooth vanilla buttercream and shaped into cute ghosts. Perfect for Halloween parties, they are simple to make and deliciously moist.
- Prep Time: 15 minutes
- Cook Time: 20 minutes
- Total Time: 45 minutes
- Yield: 12 servings 1x
- Category: Dessert
- Cuisine: American
Ingredients
- 2 cups (250g) All-Purpose Flour
- 1 ½ cups (300g) Granulated Sugar
- ½ cup (115g) Unsalted Butter, softened
- 2 large Eggs, room temperature
- 1 cup (240ml) Buttermilk
- 2 teaspoons Vanilla Extract
- 1 ½ teaspoons Baking Powder
- ½ teaspoon Baking Soda
- ½ teaspoon Salt
- 1 cup (225g) Unsalted Butter, softened (for frosting)
- 4–5 cups (480-600g) Confectioners’ Sugar, sifted (for frosting)
- 2–3 tablespoons Heavy Cream (for frosting)
- 1–2 teaspoons Vanilla Extract (for frosting)
- White Food Coloring Gel (optional)
Instructions
- Preheat oven to 350°F (175°C) and line a 12-cup muffin tin with white cupcake liners.
- In a medium bowl, whisk together flour, baking powder, baking soda, and salt.
- In a large bowl, beat softened butter and granulated sugar on medium-high speed until light and fluffy (3-4 minutes).
- Add eggs one at a time, beating well after each addition. Scrape down bowl sides and mix in vanilla extract.
- Reduce mixer speed to low. Add flour mixture in three parts, alternating with buttermilk in two parts. Start and end with flour. Mix just until combined.
- Divide batter evenly among liners, filling them about 2/3 full.
- Bake for 18-20 minutes or until a toothpick inserted comes out clean. Cool in pan for 5 minutes, then transfer to a wire rack to cool completely.
- While cupcakes cool, beat frosting butter until creamy. Gradually add sifted powdered sugar on low speed. Increase to medium-high and beat for 3 minutes. Add cream and vanilla, beat for another minute until fluffy.
- Pipe a large dollop of buttercream on each cooled cupcake. Shape into a rounded mound to resemble a ghost.
- Add two small dots for eyes and a small line for a mouth using darker frosting or edible markers.
Notes
Ensure all ingredients are at room temperature for best results. Do not overmix the batter to keep cupcakes tender. Sift powdered sugar for smooth frosting. Cool cupcakes completely before frosting to prevent melting.
Nutrition
- Serving Size: 1 Cupcake
- Calories: 375
- Sugar: 42
- Sodium: 250
- Fat: 18
- Saturated Fat: 11
- Carbohydrates: 52
- Fiber: 1
- Protein: 4
Keywords: Halloween, Cupcakes, Vanilla, Ghost, Easy Baking, Party Dessert, Buttercream


