I thought making my own version of those store-bought sealed sandwiches would be a quick, almost silly little project. It took exactly one morning of wrestling with a hot knife and watching peanut butter ooze out the sides to realize I was completely wrong.
The idea came from a very specific place of desperation. My kindergartener, who will eat a sandwich at home without a second thought, was coming home with lunchboxes practically untouched. The crust was gone, the bread was dry, and the filling had somehow migrated to the wrapper. It was a mess. I needed a solution that was fast, reliable, and something he would actually eat. So, I started tinkering with the idea of a homemade uncrustable.
This Easy Uncrustable Lunchbox Kit is the result of those early morning experiments. It’s not about being fancy. It’s about a sandwich that stays sealed, stays soft, and actually gets eaten. And honestly, it’s kind of fun to make (once you stop burning your fingers).
If you’ve ever felt that pang of defeat when you open a lunchbox at the end of the day, this is for you. This recipe isn’t about perfection; it’s about making school mornings just a little bit easier.
Why You’ll Love This Easy Uncrustable Lunchbox Kit
Let’s be real—the store-bought ones are convenient, but they’re also expensive and, frankly, a bit of a mystery meat situation. Making your own is a total game-changer, and here is why this version has become a staple in our house.
- Quick & Easy: You can make a whole batch in under 15 minutes. Seriously. It’s faster than trying to convince a tired kid to eat a regular sandwich.
- Simple Ingredients: You likely have everything in your pantry right now. No special trips to the store for fancy bread or weird fillings. It’s just bread, your favorite spread, and maybe a little jam.
- Perfect for School Lunches: The sealed edges mean no messy spills, no soggy bread, and a sandwich that stays perfectly intact until lunchtime. It’s the ultimate kindergarten lunch idea.
- Crowd-Pleaser: I’ve made these for playdates and even for my own afternoon snack. They disappear. Kids and adults love the soft, crustless texture.
- Unbelievably Customizable: You are in complete control. Want to use sunflower seed butter? Go for it. Want a Nutella and banana combo? You do you. This is your lunchbox, your rules.
What makes this different from just making a sandwich and cutting off the crust? It’s the seal. That crimped edge keeps everything inside, preventing the dreaded “soggy bread” scenario. It’s a small trick that makes a huge difference in lunchbox longevity.
This isn’t just another lunch idea. It’s the one that makes you feel like a super parent without actually having to do much work. That’s a win in my book.
What Ingredients You Will Need
This recipe is beautifully simple. The ingredients are the stars of the show, so using good quality stuff makes a real difference. Here’s what you need to get started.
- Bread (8 slices): Use a soft, fresh loaf. White bread, whole wheat, or even brioche works great. The key is that it’s pliable enough to press and seal without cracking. I personally love a good, soft white bread for the classic texture.
- Peanut Butter (4 tablespoons): Creamy or crunchy, it’s your call. I find creamy spreads more evenly and creates a better seal. A natural, no-stir peanut butter works, but the oilier ones can sometimes make the bread soggy. I recommend Jif or Skippy for the most reliable results.
- Jam or Jelly (4 tablespoons): Strawberry, grape, or raspberry are classics. Use a good quality jam that isn’t too runny. A thicker preserve or fruit spread will stay put better. I love using a local berry jam we get from the farmer’s market.
- Optional Fillings: This is where you can get creative. A sprinkle of cinnamon, a few chocolate chips, a thin layer of Nutella, or even a smear of cream cheese can be amazing. For a healthier twist, try mashed banana or a thin layer of apple butter.
That’s it. Seriously. You don’t need any fancy ingredients. The magic is in the method, not the shopping list. If you are looking for a dairy-free option, just use a dairy-free spread and jam. It’s that simple.
Equipment Needed
You don’t need a lot of fancy tools for this, but one specific gadget makes all the difference. Here’s what you’ll want to have on hand.
- Uncrustable Sandwich Sealer: This is the star of the show. You can find these online or at most kitchen supply stores. It’s a small plastic press that cuts off the crusts and crimps the edges. If you don’t have one, you can use a round cookie cutter and a fork to press the edges, but it’s not as neat.
- Rolling Pin (Optional): A small rolling pin helps flatten the bread slightly before pressing, which creates a better seal. A clean wine bottle works in a pinch.
- Butter Knife: For spreading your fillings. A small offset spatula is even better for getting an even layer.
- Cutting Board: A clean, flat surface for assembly.
- Freezer-Safe Baking Sheet: For flash-freezing the sandwiches before you store them. This prevents them from sticking together.
- Parchment Paper: To line the baking sheet and wrap the individual sandwiches for storage.
- Freezer Bags or Airtight Container: For storing your batch of uncrustables.
I bought my sealer for about ten bucks, and it has paid for itself a hundred times over. It’s a small investment for the convenience it provides. If you are on a budget, the fork method works, but it takes a bit more patience.
Preparation Method
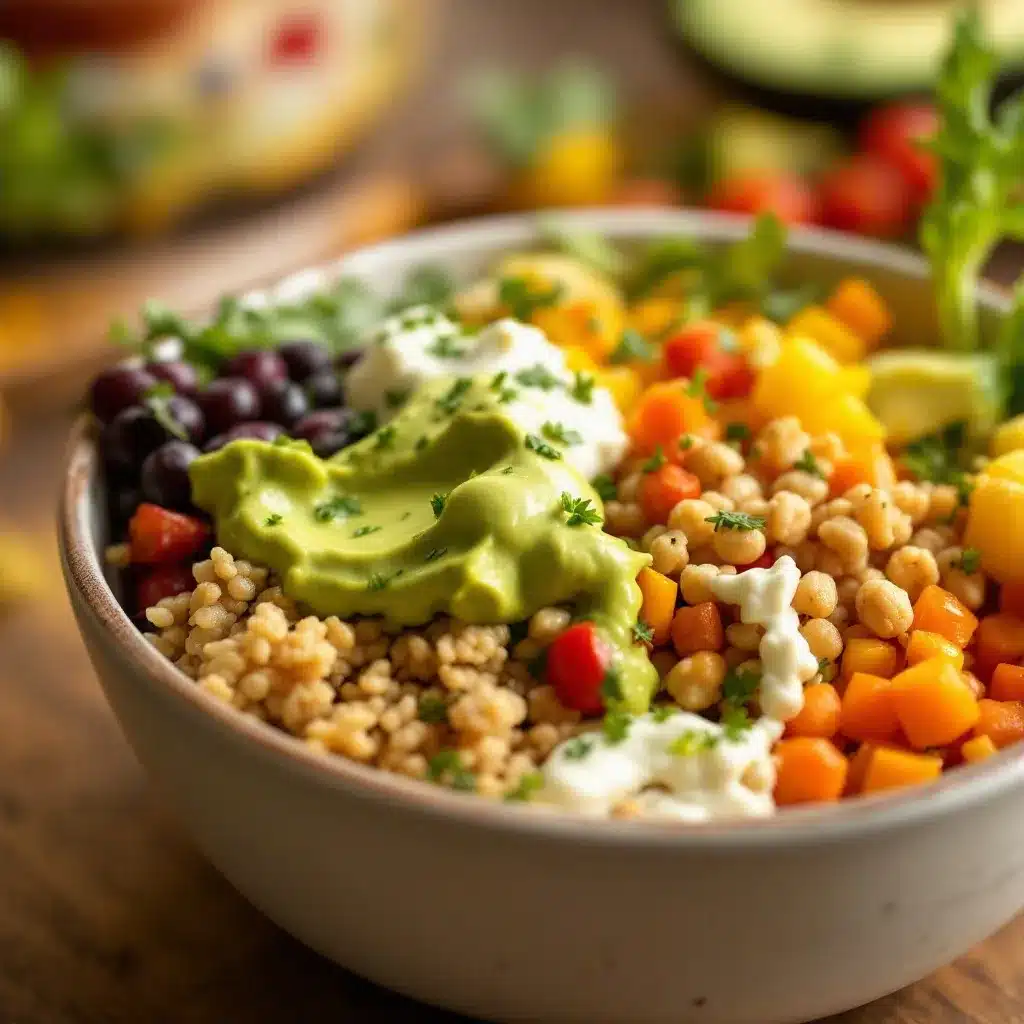
Alright, let’s get to the fun part. This process is incredibly fast once you get the hang of it. Here’s how to make your own Easy Uncrustable Lunchbox Kit.
- Prepare Your Bread: Take your slices of bread out of the bag. If you have time, let them sit out for 5 minutes to come to room temperature. This makes them more pliable and less likely to crack when you press them. Gently flatten each slice with a rolling pin, just a little bit. This helps create a better seal.
- Spread the Fillings: Lay out 4 slices of bread. On each slice, spread about 1 tablespoon of peanut butter (or your chosen spread) all the way to the edges. On the remaining 4 slices, spread about 1 tablespoon of jam. Don’t be shy—getting it close to the edge ensures the flavor is in every bite.
- Assemble the Sandwiches: Place the jam slices on top of the peanut butter slices, jam-side down. This creates a sandwich with the spread on both sides of the bread. This is a crucial step for preventing a soggy middle.
- Press and Seal: Place your sandwich sealer over the sandwich. Press down firmly and evenly. You should hear a satisfying crunch as the sealer cuts through the crust and crimps the edges. Lift the sealer, and you have a perfect, sealed uncrustable. Repeat for the remaining sandwiches.
- Flash Freeze (Important Step): Line a baking sheet with parchment paper. Place your sealed uncrustables on the sheet in a single layer, making sure they aren’t touching. Pop the sheet into the freezer for 1-2 hours, or until the sandwiches are solid. This prevents them from sticking together when you store them.
- Package for Storage: Once frozen, wrap each uncrustable individually in a piece of parchment paper or plastic wrap. Place them all in a freezer-safe bag or airtight container. They will keep in the freezer for up to 3 months.
Pro-Tip: When you are ready to pack a lunch, just grab a frozen uncrustable out of the bag and pop it straight into the lunchbox. It will thaw perfectly by lunchtime, keeping the bread soft and the filling cool. No need to defrost it overnight!
Cooking Tips & Techniques
I’ve made a lot of mistakes with these little sandwiches. Let me save you some trouble with a few hard-learned lessons.
- Don’t Overfill: This is the number one mistake. If you put too much jam or peanut butter, it will squeeze out the sides when you press, making a mess and preventing a good seal. A thin, even layer is all you need.
- The Bread Matters: Stale or very dry bread will crack when you press it. Fresh, soft bread is your best friend. If your bread is a little dry, you can lightly mist it with water before pressing. It sounds weird, but it works.
- Play with the Seal: If your sealer isn’t creating a good crimp, you might not be pressing hard enough. Use your body weight. A clean, firm press is better than a wobbly one. If the edges are still a little loose, you can run a fork along the edge to reinforce it.
- Timing is Everything: The 1-2 hour flash freeze is non-negotiable. If you skip it, your sandwiches will freeze into a giant, sticky block. Trust me on this one.
- Keep it Cool: For the best texture, don’t leave the uncrustable out of the freezer for more than a few minutes before packing it. The cold helps it stay fresh and prevents the bread from getting soggy as it thaws.
I once tried to make a batch with a very oily natural peanut butter. It was a disaster. The oil soaked into the bread, and the seal was a mess. Stick with a standard spread for the best results. It’s a small detail that makes a huge difference.
Variations & Adaptations
This is where you can really make the recipe your own. The basic formula is a blank canvas for your imagination. Here are a few of my favorite twists.
- The Nutella & Banana: Spread a thin layer of Nutella on one slice of bread and a few thin slices of banana on the other. It’s a dessert-like treat that my kids go crazy for. Just make sure the banana slices are thin so they don’t break the seal.
- The Cream Cheese & Jam: For a tangy twist, swap the peanut butter for a thin layer of cream cheese. It pairs beautifully with strawberry or raspberry jam. It’s a fantastic option for kids with nut allergies.
- The Savory Version: Who says uncrustables have to be sweet? Try a thin layer of cream cheese, a slice of ham, and a little shredded cheddar. It’s a fun, crustless version of a classic lunch meat sandwich. Just make sure the fillings are very thin.
- The Sunflower Seed Butter Swap: For a school-safe, nut-free option, use sunflower seed butter. It has a similar texture to peanut butter and works perfectly. Just be aware that it can sometimes turn a little green when combined with baking soda (not an issue here), but it’s perfectly safe to eat.
- The “Everything” Bagel: Spread a little cream cheese on the inside, and before you press, sprinkle a tiny bit of everything bagel seasoning on the outside of the bread. It’s a grown-up twist that’s surprisingly good.
I’ve personally tried a version with a thin layer of apple butter and a sprinkle of cinnamon. It was amazing. It tasted like a little apple pie without the crust. The possibilities are endless.
Serving & Storage Suggestions
These little sandwiches are designed for convenience, but a little know-how goes a long way. Here’s how to serve and store them like a pro.
- Serving Temperature: They are best served at room temperature. Just grab one from the freezer in the morning and pop it in a lunchbox. It will be perfectly thawed and soft by lunchtime. You can also let them thaw on the counter for about 30 minutes if you are serving them at home.
- Presentation: For a fun lunchbox surprise, you can pack them with a little note or a fun sticker. They look so neat and tidy, like a little gift. It’s a small touch that makes a big difference.
- Storage: As I mentioned, they freeze beautifully. Keep them in a single layer in a freezer-safe bag for up to 3 months. They are a perfect make-ahead meal prep item for busy weeks.
- Reheating: You don’t need to reheat them. They are designed to be eaten cold or at room temperature. If you want a warm, toasty version, you can pop a thawed one in a panini press for a minute or two, but that’s a whole different recipe.
- Flavor Development: Honestly, the flavor doesn’t change much over time. The beauty of this recipe is its consistency. It will taste just as good on day 90 as it did on day 1. That’s the magic of freezing.
If you are packing these for a field trip or a long day, you can also add a small ice pack to the lunchbox to keep everything extra cool. It’s a nice touch on a hot day.
Nutritional Information & Benefits
While these are a treat, making them at home gives you control over the nutritional content. Here’s a rough estimate for one uncrustable made with white bread, peanut butter, and strawberry jam.
- Calories: Approximately 250-300 calories
- Fat: 12-15g (mostly healthy fats from peanut butter)
- Protein: 8-10g
- Carbohydrates: 30-35g
- Fiber: 2-3g
- Sugar: 10-15g (from jam and bread)
Health Benefits: Using whole wheat bread adds fiber, and peanut butter provides protein and healthy fats that keep kids full and focused. You can easily swap in lower-sugar jam or a sugar-free spread to reduce the sugar content. It’s a much healthier option than the processed store-bought versions, and you know exactly what’s in it.
Dietary Considerations: This recipe is naturally vegetarian. For a vegan version, use a plant-based spread and jam. For a nut-free version, use sunflower seed butter or a soy-based spread. Always check labels for potential allergens. It’s a very adaptable recipe for various dietary needs.
Conclusion
This Easy Uncrustable Lunchbox Kit is more than just a recipe; it’s a sanity-saver. It turns the dreaded morning lunch-packing routine into a quick, almost mindless task. It’s the kind of small win that makes a big difference in your day.
I love that I can make a big batch on a Sunday afternoon and not have to think about lunch for weeks. It’s one less thing on my mental to-do list, and that’s priceless. Plus, seeing my kid actually finish his lunch? That’s a feeling that never gets old.
So, go ahead and give it a try. Customize it, experiment with fillings, and make it your own. I promise, once you start, you’ll never go back to the store-bought version. If you make a batch, I’d love to hear about it! Drop a comment below and let me know your favorite filling combination. Happy packing!
Frequently Asked Questions
Can I use any type of bread for this recipe?
Yes, but soft, fresh bread works best. White, whole wheat, or brioche are all great choices. Avoid very dense or dry bread, as it can crack when pressed.
How long do these uncrustables last in the freezer?
They will keep for up to 3 months in an airtight container or freezer bag. Just make sure they are flash-frozen first to prevent sticking.
Can I make these without a special sealer?
Absolutely! You can use a large round cookie cutter to cut the crusts off, then press the edges with a fork to create a seal. It’s a little more work, but it gets the job done.
My sealer isn’t making a good seal. What am I doing wrong?
This usually happens if the bread is too dry or you aren’t pressing hard enough. Try flattening the bread slightly with a rolling pin first, and press down with firm, even pressure using your body weight.
Can I put a warm uncrustable in my child’s lunchbox?
No, it’s best to pack them frozen. They will thaw naturally by lunchtime, keeping the bread soft and the filling cool. Packing them warm could make them soggy.
Pin This Recipe!
Easy Uncrustable Lunchbox Kit: Perfect Kindergarten Lunch Idea
Make your own homemade version of store-bought sealed sandwiches with this quick and easy recipe. Perfect for school lunches, these crustless sandwiches stay sealed, soft, and actually get eaten.
- Prep Time: 15 minutes
- Cook Time: 0 minutes
- Total Time: 15 minutes (plus 1-2 hours freezing)
- Yield: 4 servings 1x
- Category: Lunch
- Cuisine: American
Ingredients
- 8 slices soft bread (white, whole wheat, or brioche)
- 4 tablespoons peanut butter (creamy or crunchy)
- 4 tablespoons jam or jelly (strawberry, grape, or raspberry)
- Optional: cinnamon, chocolate chips, Nutella, cream cheese, mashed banana, apple butter
Instructions
- Prepare your bread: Take slices out of the bag and let them sit at room temperature for 5 minutes. Gently flatten each slice with a rolling pin.
- Spread the fillings: On 4 slices, spread 1 tablespoon of peanut butter all the way to the edges. On the remaining 4 slices, spread 1 tablespoon of jam.
- Assemble the sandwiches: Place jam slices on top of peanut butter slices, jam-side down.
- Press and seal: Place a sandwich sealer over each sandwich and press down firmly and evenly to cut off crusts and crimp edges.
- Flash freeze: Line a baking sheet with parchment paper. Place sealed uncrustables in a single layer and freeze for 1-2 hours until solid.
- Package for storage: Wrap each frozen uncrustable individually in parchment paper or plastic wrap. Store in a freezer-safe bag or airtight container for up to 3 months.
Notes
Use soft, fresh bread to prevent cracking. Don’t overfill to ensure a good seal. Flash freezing is essential to prevent sandwiches from sticking together. Pack frozen in lunchbox; it will thaw by lunchtime.
Nutrition
- Serving Size: 1 uncrustable
- Calories: 275
- Sugar: 12.5
- Sodium: 200
- Fat: 13.5
- Saturated Fat: 2.5
- Carbohydrates: 32.5
- Fiber: 2.5
- Protein: 9
Keywords: uncrustable, lunchbox, kindergarten lunch, school lunch, homemade uncrustable, easy lunch, kid-friendly, freezer meal


