Sunday evening, the kitchen is quiet except for the hum of the fridge and the quiet sizzle of ground beef hitting a hot pan. The light is that soft, golden end-of-weekend kind, and the only thing I want is a fridge full of ready-to-go lunches that won’t make me sad come Monday morning. This easy Sunday meal prep ground beef and rice bowls situation started not as a grand plan, but out of pure necessity—after a week of sad desk salads and overpriced takeout, I needed something that actually made me look forward to lunch.
The first time I made these bowls, I was just throwing things together. Leftover rice, some seasoned beef, whatever veggies were hanging out in the crisper drawer. But something clicked. The combination of savory beef, fluffy rice, and that little pop of freshness from whatever vegetable I had on hand was just… right. It wasn’t fancy, but it was satisfying in a way that felt honest and doable.
Over time, I’ve refined it. I figured out the exact spice blend that makes the beef sing, the perfect rice-to-beef ratio, and the little tricks to keep everything from turning into a mushy mess by Thursday. This isn’t a rigid recipe—it’s more of a framework, a friendly guide to building your own perfect bowl. If you’ve been looking for a meal prep routine that actually sticks, this is the one. Trust me on this.
Why You’ll Love This Recipe
Let’s be real—there are a million meal prep recipes out there. But these ground beef and rice bowls have earned a permanent spot in my weekly rotation, and here’s why they’ll do the same for you.
- Quick & Easy: From start to finish, you’re looking at about 30 minutes of active time. The rest is just simmering and cooling. Perfect for a lazy Sunday afternoon when you’d rather be doing anything else.
- Simple Ingredients: No fancy grocery store trips required. Ground beef, rice, onions, garlic, and a few pantry spices are all you need to get started. You probably have most of this stuff already.
- Perfect for Busy Weeks: These bowls are the ultimate grab-and-go lunch or dinner. They reheat beautifully, and the flavors actually get better after a day or two in the fridge.
- Crowd-Pleaser: My family devours these. Even my picky eater, who usually survives on air and goldfish crackers, asks for seconds. It’s that good.
- Unbelievably Customizable: This is a blueprint, not a prison. Swap the protein, change the veggies, use a different grain—it all works. You can make it taste different every single week.
What makes this recipe different from all the other meal prep bowls out there? It’s the balance. The beef is seasoned just right—not too salty, not too bland. The rice stays fluffy, not clumpy. And the vegetables retain just enough crunch to keep every bite interesting. It’s comfort food that actually works for real life. After a long day, closing your eyes over the first bite of this bowl is a little moment of peace.
What Ingredients You Will Need
This recipe uses simple, wholesome ingredients that come together to create something genuinely delicious. No weird science experiments here—just good food.
- Ground Beef (1 lb / 450 g): I prefer 80/20 ground beef for the best flavor. The fat renders down and adds richness to the whole dish. If you’re using leaner beef (like 93/7), you might want to add a splash of olive oil to keep it from drying out.
- White Rice (1 cup / 200 g, uncooked): Long-grain white rice is my go-to for its fluffy texture. Basmati or jasmine work beautifully too. Brown rice is a great option if you want more fiber—just adjust the cooking time and liquid accordingly.
- Yellow Onion (1 medium, diced): The aromatic base of the whole dish. It adds sweetness and depth as it cooks down. You can substitute with a white or red onion if that’s what you have.
- Garlic (3 cloves, minced): Non-negotiable in my book. Fresh garlic is best, but jarred minced garlic works in a pinch (use about 1 teaspoon).
- Beef Broth (1 cup / 240 ml): This is my secret for cooking the rice. Instead of water, using beef broth infuses every grain with savory flavor. Low-sodium is a good idea so you can control the salt level.
- Tomato Paste (2 tablespoons): Adds a concentrated umami punch and a lovely rich color to the beef. I love the double-concentrated stuff in a tube—it lasts forever in the fridge.
- Chili Powder (1 teaspoon): For a gentle warmth and smoky depth. Not spicy, just flavorful.
- Cumin (1 teaspoon): Earthy and warm, cumin is the backbone of the seasoning here.
- Paprika (1 teaspoon): Smoked paprika is my secret weapon. It adds a subtle smokiness that makes the beef taste like it’s been cooking all day.
- Salt and Black Pepper (to taste): Essential for bringing everything together. Don’t be shy with the salt—it makes a difference.
- Olive Oil (1 tablespoon): For sautéing the aromatics and browning the beef.
- Optional Vegetables (about 2 cups total): This is where you can get creative. I love adding frozen peas and carrots, bell peppers, or corn. They add color, texture, and nutrients. Fresh or frozen both work great.
Equipment Needed
You don’t need a professional kitchen to pull this off. Here’s what you’ll need:
- Large Skillet or Dutch Oven (12-inch / 30 cm): For browning the beef and cooking the vegetables. A wide surface area is key for good browning.
- Medium Saucepan with Lid (2-quart / 2 liter): For cooking the rice. A tight-fitting lid is important for fluffy rice.
- Cutting Board and Chef’s Knife: For dicing the onion and mincing the garlic. A sharp knife makes this job so much easier.
- Wooden Spoon or Spatula: For breaking up the ground beef as it cooks.
- Measuring Cups and Spoons: Accuracy matters, especially with the rice-to-liquid ratio.
- Meal Prep Containers (4-5 containers): Glass containers with airtight lids are my favorite. They’re reusable, microwave-safe, and don’t stain. I’ve had my set for years.
- Fine-Mesh Strainer: For rinsing the rice before cooking. This removes excess starch and prevents gummy rice.
If you don’t have a Dutch oven, a regular large non-stick skillet works just fine. Honestly, I’ve made this in a cast-iron skillet and it was amazing. Don’t overthink the equipment—use what you have.
Preparation Method
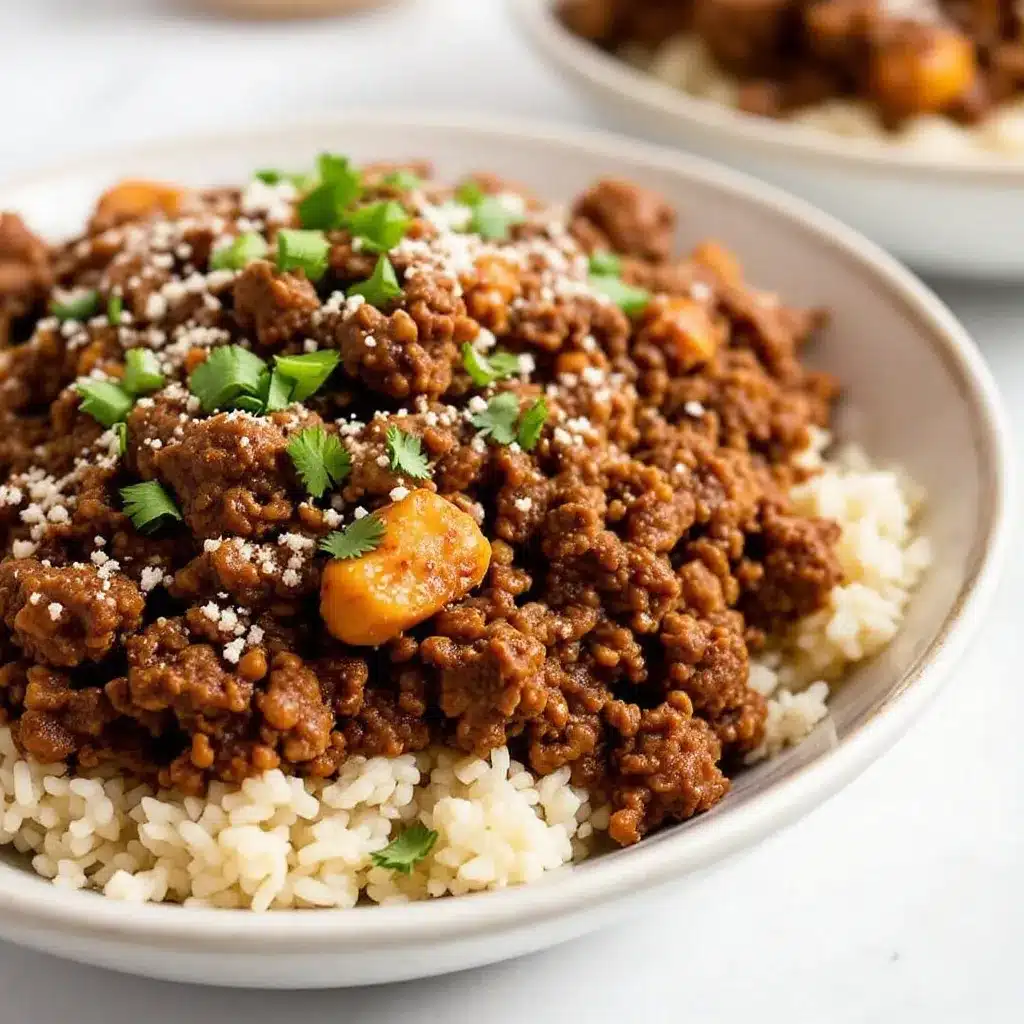
Let’s get cooking. This whole process takes about 45 minutes from start to finish, and most of that is hands-off simmering time.
- Start the Rice (5 minutes active, 20 minutes simmer): Rinse the 1 cup of white rice under cold water in a fine-mesh strainer until the water runs clear. This is a non-negotiable step—it washes away the excess starch that makes rice gummy. In a medium saucepan, combine the rinsed rice, 1 cup of beef broth, and 1 cup of water. Bring to a boil over high heat. Once boiling, reduce the heat to low, cover with a tight-fitting lid, and let it simmer for 18 minutes. Do not lift the lid during this time—trust the process. After 18 minutes, remove from heat and let it sit, still covered, for 5 minutes. Then fluff with a fork.
- Brown the Beef (10 minutes): While the rice is cooking, heat 1 tablespoon of olive oil in a large skillet over medium-high heat. Add the ground beef and let it cook undisturbed for 3-4 minutes—this allows a nice brown crust to form. Then, break it up with a wooden spoon and continue cooking until no longer pink, about 5-6 minutes more. Use a slotted spoon to transfer the cooked beef to a plate, leaving the rendered fat in the pan (unless there’s a ton—drain off all but about 1 tablespoon).
- Sauté the Aromatics (5 minutes): Reduce the heat to medium. Add the diced onion to the same skillet with the reserved fat. Cook, stirring occasionally, until softened and translucent, about 4 minutes. Add the minced garlic and cook for another 30 seconds until fragrant. Be careful not to burn the garlic—it turns bitter quickly.
- Build the Flavor Base (3 minutes): Stir in the 2 tablespoons of tomato paste, 1 teaspoon chili powder, 1 teaspoon cumin, and 1 teaspoon smoked paprika. Cook for 1-2 minutes, stirring constantly, until the tomato paste darkens and the spices smell toasty. This step blooms the spices and deepens the flavor immensely.
- Combine and Simmer (10 minutes): Return the cooked ground beef to the skillet. Add 1/2 cup of beef broth (or water) and stir to combine, scraping up any browned bits from the bottom of the pan. If you’re adding vegetables (like frozen peas and carrots), stir them in now. Bring the mixture to a gentle simmer, then reduce the heat to low and let it cook for 5-7 minutes, until the liquid has mostly evaporated and the flavors have melded. Taste and adjust salt and pepper—you’ll likely need about 1/2 teaspoon of salt and 1/4 teaspoon of pepper.
- Assemble the Bowls (5 minutes): Divide the cooked rice evenly among your meal prep containers. Top each with an equal portion of the seasoned ground beef and vegetable mixture. Let the containers cool completely on the counter before sealing with lids—about 20-30 minutes. This prevents condensation from making everything soggy.
Pro tip: If you’re adding fresh vegetables like bell peppers or zucchini, sauté them briefly in the skillet after the onions have softened, before adding the garlic. This ensures they’re cooked through but still have a little bite.
Cooking Tips & Techniques
I’ve made this recipe dozens of times, and I’ve learned a few things the hard way. Here are my best tips for success.
Don’t skip rinsing the rice. I know it’s an extra step, but it’s the difference between fluffy, separate grains and a sticky, clumpy mess. Trust me on this one—I learned my lesson after one too many gummy rice disasters.
Let the beef brown properly. When you first add the ground beef to the hot pan, resist the urge to stir it constantly. Let it sit for 3-4 minutes to develop that deep brown crust. That crust is where all the flavor lives. If you stir too early, you’ll end up with gray, steamed beef instead of beautifully browned meat.
Season as you go. Don’t wait until the end to add all the salt. Season the beef lightly as it browns, season the onions as they cook, and then adjust at the end. Layering the seasoning creates a more complex, well-rounded flavor.
Cool completely before refrigerating. This is the most common mistake people make with meal prep. If you put hot containers directly into the fridge, the steam will condense and create a soggy, unappetizing mess. Let the bowls sit out on the counter for 20-30 minutes until they’re cool to the touch, then seal and refrigerate.
Multitask like a pro. While the rice is simmering, you can brown the beef. While the beef is simmering with the spices, you can chop any fresh vegetables. This recipe is designed for efficiency—use that time wisely.
For the best texture, don’t overcook the rice. Follow the package instructions for your specific type of rice. For white rice, 18 minutes of simmering followed by 5 minutes of resting off the heat is my sweet spot.
Variations & Adaptations
This recipe is incredibly flexible. Here are some of my favorite ways to switch it up.
- Make it a Burrito Bowl: Swap the plain rice for cilantro-lime rice. Top with black beans, corn, diced avocado, and a drizzle of sour cream or Greek yogurt. It’s like Chipotle at home, but better.
- Go Low-Carb: Replace the rice with cauliflower rice. Sauté the cauliflower rice in the same skillet after cooking the beef for about 5 minutes, until tender. It’s a great way to cut carbs without losing the bowl experience.
- Add Some Heat: If you like spice, add a diced jalapeño along with the onions, or stir in 1/2 teaspoon of cayenne pepper with the other spices. A splash of hot sauce at the end is always welcome.
- Try a Different Protein: Ground turkey or chicken works perfectly here. Just be aware that leaner meats can dry out, so you might need to add an extra splash of broth during the simmering stage. Ground pork is also delicious and adds a different flavor profile.
- Make it a Greek Bowl: Season the beef with oregano, thyme, and a pinch of cinnamon instead of the chili-cumin-paprika blend. Serve over rice with cucumber, tomato, red onion, and a dollop of tzatziki sauce. This is a personal favorite of mine on hot summer days.
- Vegetarian Version: Swap the ground beef for two cans of drained and rinsed black beans or a package of crumbled tofu. Sauté the tofu with the same spices for a plant-based protein that’s just as satisfying.
I once made a version with ground lamb and added some chopped dried apricots and a pinch of cinnamon. It was incredible—sweet, savory, and totally unexpected. Don’t be afraid to experiment. That’s half the fun.
Serving & Storage Suggestions
These bowls are designed to be eaten throughout the week, but they’re also fantastic fresh out of the pan.
Serving: Serve these bowls warm. Reheat individual portions in the microwave for 2-3 minutes, stirring halfway through. If you have a little more time, reheat in a skillet over medium heat with a splash of water or broth to rehydrate the rice. For a fresh finish, top with chopped cilantro, a squeeze of lime juice, or a few slices of avocado right before eating.
Storage: Store the cooled bowls in airtight containers in the refrigerator for up to 5 days. The flavors actually meld and improve after a day or two. I’ve found that day 2 and 3 are the sweet spot—the beef is perfectly seasoned and the rice has absorbed all the savory goodness.
Freezing: These bowls freeze beautifully for up to 3 months. Let the bowls cool completely, then transfer to freezer-safe containers. To thaw, move a container to the refrigerator overnight. Reheat as usual. I like to freeze individual portions for those weeks when I know I’ll need a quick emergency meal.
Reheating Tip: If the rice seems a little dry after reheating, sprinkle a few drops of water over the top before microwaving. It creates steam and helps rehydrate the grains. This little trick has saved many a lunch for me.
Nutritional Information & Benefits
Here’s an approximate nutritional breakdown for one serving (based on 4 servings, using 80/20 ground beef and white rice):
- Calories: ~450-500
- Protein: ~28-30g
- Fat: ~18-22g
- Carbohydrates: ~45-50g
- Fiber: ~3-4g
These bowls are a balanced meal with a good mix of protein, carbohydrates, and healthy fats. The ground beef provides high-quality protein and essential nutrients like iron, zinc, and B vitamins. The rice offers steady energy, and the vegetables contribute fiber, vitamins, and antioxidants. If you’re looking for a lower-carb option, swapping the rice for cauliflower rice reduces the carbs significantly.
Dietary Considerations: This recipe is naturally gluten-free (just check your broth label). It can be made dairy-free easily. For a lower-fat version, use lean ground beef (93/7) and drain any excess fat after browning.
Allergens: This recipe contains no common allergens beyond potential trace amounts in broth. Always check your ingredient labels if you have specific allergies.
I love that this recipe makes me feel good about what I’m eating. It’s real food, made from scratch, and it keeps me full and focused through a busy workday. No mid-afternoon slumps here.
Conclusion
These easy Sunday meal prep ground beef and rice bowls have genuinely changed my relationship with weekday lunches. They’re not just convenient—they’re actually delicious. The kind of meal you look forward to eating, not just something you choke down because you have to. The combination of perfectly seasoned beef, fluffy rice, and your choice of vegetables is simple, sure, but it’s also deeply satisfying. It’s comfort food that works for real life.
I encourage you to make this recipe your own. Swap in your favorite vegetables, play with the spices, try different grains. The beauty of this bowl is its flexibility. It’s a starting point, not a final destination. The first time you open your fridge on a Tuesday afternoon and see those perfectly portioned containers waiting for you, you’ll understand why this has become a Sunday ritual for me.
Have you tried these bowls? I’d love to hear about your variations! Drop a comment below and tell me what you added or changed. And if you’re looking for more meal prep inspiration, don’t miss my easy slow cooker honey garlic chicken meal prep bowls—they’re another weeknight lifesaver. Happy cooking, friends. You’ve got this.
Frequently Asked Questions
Can I use brown rice instead of white rice?
Absolutely! Brown rice works great, but you’ll need to adjust the cooking time and liquid. Use 1 cup of brown rice, 2 cups of liquid (broth and water), and simmer for about 40-45 minutes, or until tender. The texture will be chewier and nuttier, which I personally love.
How do I keep the rice from getting mushy by day 4?
The key is to slightly undercook the rice by about 2 minutes. It will finish cooking as it steams in the container. Also, make sure the bowls are completely cool before sealing—trapped steam is the enemy of good texture. If you follow these tips, your rice will stay fluffy for the whole week.
Can I make this in a slow cooker or Instant Pot?
Yes, with some adjustments. For the Instant Pot, use the sauté function to brown the beef and aromatics, then add the rice, broth, and spices. Pressure cook on high for 5 minutes with a natural release. For a slow cooker, brown the beef and aromatics on the stovetop first, then transfer to the slow cooker with the rice and broth. Cook on low for 2-3 hours, or until the rice is tender. Be careful not to overcook—the rice can turn mushy if left too long.
What are the best vegetables to add?
Frozen peas and carrots are my go-to because they’re convenient and hold up well. Diced bell peppers, corn, green beans, and zucchini are all excellent choices. If you’re using fresh vegetables, sauté them briefly before adding the beef to ensure they’re cooked through. Leafy greens like spinach can be stirred in at the very end until wilted.
Can I double this recipe for a larger batch?
Definitely! This recipe doubles beautifully. Just make sure you have a large enough skillet or use two pans to avoid overcrowding the beef. Overcrowding leads to steaming instead of browning, and we want that beautiful brown crust. You’ll also need a larger pot for the rice. The cooking times remain the same. I often make a double batch and freeze half for later—it’s a lifesaver on extra busy weeks.
Pin This Recipe!
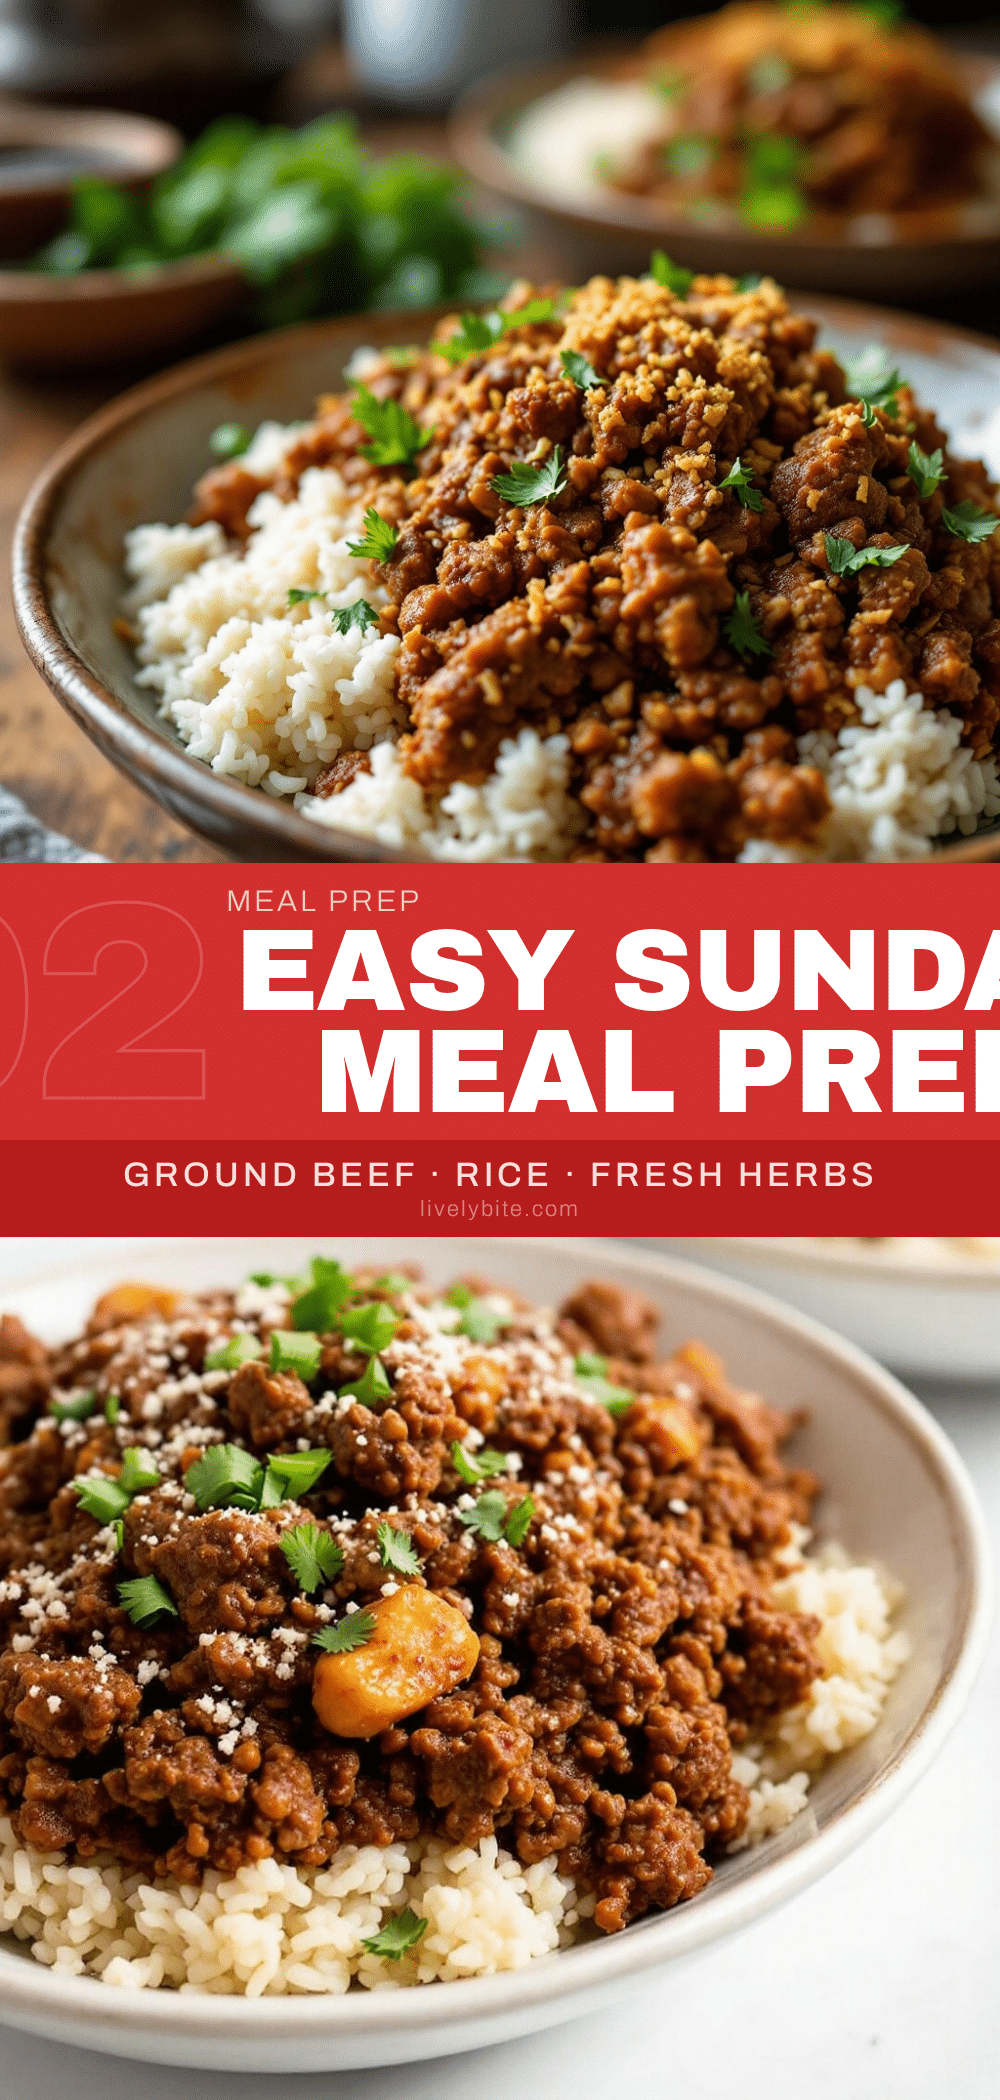
Easy Sunday Meal Prep: Best Ground Beef and Rice Bowls
These easy Sunday meal prep ground beef and rice bowls are a lifesaver for busy weeks. Perfectly seasoned beef, fluffy rice, and your choice of vegetables come together for a delicious and satisfying lunch or dinner that reheats beautifully.
- Prep Time: 15 minutes
- Cook Time: 30 minutes
- Total Time: 45 minutes
- Yield: 4-5 servings 1x
- Category: Main Course
- Cuisine: American
Ingredients
- 1 lb (450 g) ground beef (80/20 preferred)
- 1 cup (200 g) uncooked white rice (long-grain, basmati, or jasmine)
- 1 medium yellow onion, diced
- 3 cloves garlic, minced
- 1 cup (240 ml) beef broth (low-sodium recommended)
- 2 tablespoons tomato paste
- 1 teaspoon chili powder
- 1 teaspoon cumin
- 1 teaspoon smoked paprika
- Salt and black pepper to taste
- 1 tablespoon olive oil
- Optional vegetables: about 2 cups total (frozen peas and carrots, bell peppers, corn, etc.)
Instructions
- Start the Rice: Rinse 1 cup of white rice under cold water in a fine-mesh strainer until the water runs clear. In a medium saucepan, combine the rinsed rice, 1 cup of beef broth, and 1 cup of water. Bring to a boil over high heat. Reduce heat to low, cover with a tight-fitting lid, and simmer for 18 minutes. Do not lift the lid. Remove from heat and let sit, still covered, for 5 minutes. Fluff with a fork.
- Brown the Beef: While the rice cooks, heat 1 tablespoon of olive oil in a large skillet over medium-high heat. Add the ground beef and let it cook undisturbed for 3-4 minutes to form a brown crust. Break it up with a wooden spoon and continue cooking until no longer pink, about 5-6 minutes. Use a slotted spoon to transfer the beef to a plate, leaving about 1 tablespoon of rendered fat in the pan.
- Sauté the Aromatics: Reduce heat to medium. Add the diced onion to the skillet with the reserved fat. Cook, stirring occasionally, until softened and translucent, about 4 minutes. Add the minced garlic and cook for 30 seconds until fragrant.
- Build the Flavor Base: Stir in 2 tablespoons of tomato paste, 1 teaspoon chili powder, 1 teaspoon cumin, and 1 teaspoon smoked paprika. Cook for 1-2 minutes, stirring constantly, until the tomato paste darkens and the spices are fragrant.
- Combine and Simmer: Return the cooked ground beef to the skillet. Add 1/2 cup of beef broth (or water) and stir, scraping up any browned bits from the bottom. If using vegetables (like frozen peas and carrots), stir them in now. Bring to a gentle simmer, then reduce heat to low and cook for 5-7 minutes, until the liquid has mostly evaporated. Season with about 1/2 teaspoon salt and 1/4 teaspoon pepper, or to taste.
- Assemble the Bowls: Divide the cooked rice evenly among 4-5 meal prep containers. Top each with an equal portion of the seasoned ground beef and vegetable mixture. Let the containers cool completely on the counter (about 20-30 minutes) before sealing with lids and refrigerating.
Notes
Don’t skip rinsing the rice for fluffy texture. Let the beef brown properly without stirring for the best flavor. Season as you go for layered flavor. Cool bowls completely before refrigerating to prevent sogginess. For best texture, slightly undercook the rice by 2 minutes. Reheat with a sprinkle of water if rice seems dry.
Nutrition
- Serving Size: 1 bowl
- Calories: 475
- Sugar: 4
- Sodium: 580
- Fat: 20
- Saturated Fat: 7
- Carbohydrates: 47
- Fiber: 3.5
- Protein: 29
Keywords: meal prep, ground beef, rice bowls, easy dinner, Sunday meal prep, healthy lunch, ground beef recipe, rice bowl recipe


