I was on the phone with my mom, stirring a pan of what looked like beige sadness, when I realized I hadn’t eaten a real meal in three days. It was my second year of university, and I was living off instant noodles and sheer caffeine. My mom, 2,000 miles away, heard the clang of my spoon and said, “You sound like you’re cooking concrete.” I laughed, but she wasn’t wrong. That night, she walked me through the only thing she knew I couldn’t mess up: ground beef, rice, and whatever vegetables were dying in my fridge. The result was so good I ate it straight from the pan. No bowl. No shame. It wasn’t fancy, but it was the first time my tiny apartment kitchen felt like it could actually feed me. This is that recipe — the one that got me through finals, broke weeks, and those nights when cooking felt like a chore. It’s a one-pan ground beef and rice skillet, and honestly, it’s the kind of meal that makes you feel like you’ve got your life together, even when you definitely don’t.
Why You’ll Love This Recipe
Let’s be real — as a student, you don’t have time for complicated recipes with 20 ingredients and a sink full of dishes. This one-pan ground beef and rice skillet is the opposite of that. It’s the meal you make when you need to eat something real but can’t be bothered to think too hard about it.
- Quick & Easy: From start to finish, this dish takes about 30 minutes. That’s less time than it takes to decide what to order for delivery.
- Simple Ingredients: Ground beef, rice, canned tomatoes, and a few spices. No exotic grocery store trips required. You probably already have most of this in your pantry.
- Perfect for Meal Prep: Make a big batch on Sunday, and you’ve got lunch or dinner sorted for the next few days. It reheats beautifully — trust me, I’ve tested this extensively.
- Crowd-Pleaser: I’ve made this for roommates, study groups, and even a first date (it went well, by the way). Everyone asks for the recipe.
- One Pan, Minimal Cleanup: One pan. That’s it. No colanders, no extra pots for rice. Just one skillet and a spatula.
What makes this version different? It’s not mushy or bland like some one-pan rice dishes can be. The trick is toasting the rice in the pan with the beef fat before adding liquid. That little step gives the rice a nutty flavor and keeps the grains separate. It’s a small thing, but it makes a big difference. This isn’t just another ground beef recipe — it’s the one you’ll actually want to make again.
What Ingredients You Will Need
This recipe uses simple, everyday ingredients to build big flavor without any fuss. Most of these are pantry staples, so you can whip this up anytime hunger strikes.
- 1 pound (450g) ground beef — I use 80/20 for flavor, but leaner works too. If you’re using lean, add a tablespoon of oil to the pan first.
- 1 cup (200g) long-grain white rice — Basmati or jasmine work great. Don’t use instant rice or brown rice here; the cooking times are different.
- 1 medium yellow onion, diced — About 1 cup. Sweet onion works too.
- 3 cloves garlic, minced — Fresh is best, but jarred minced garlic works in a pinch.
- 1 can (14.5 oz / 400g) diced tomatoes — Fire-roasted adds nice smoky flavor. Don’t drain them.
- 2 cups (480ml) beef broth — Low-sodium preferred so you control the salt. Chicken broth works too.
- 1 teaspoon paprika — Smoked paprika adds a deeper flavor if you have it.
- 1 teaspoon dried oregano — Or Italian seasoning.
- ½ teaspoon salt — Adjust to taste.
- ¼ teaspoon black pepper — Freshly ground is best.
- 1 cup (150g) frozen peas and carrots — No need to thaw. You can use fresh if you have them.
- 2 tablespoons olive oil — For cooking, if needed.
- Optional: ½ cup (60g) shredded cheddar cheese — For topping. Not traditional, but highly recommended.
Substitution Notes: For a gluten-free option, this recipe is naturally gluten-free as long as your broth is certified gluten-free. Swap ground beef for ground turkey or chicken for a lighter version. Use brown rice, but increase the broth to 2½ cups and simmer for 40-45 minutes instead of 20. If you’re dairy-free, skip the cheese or use a plant-based alternative. I’ve also made this with ground pork and it was fantastic — just drain any excess fat after browning.
Equipment Needed
The beauty of this recipe is how little equipment it requires. You don’t need a fancy kitchen to make it work.
- Large skillet or Dutch oven (12-inch / 30cm) — A deep, heavy-bottomed pan works best. Cast iron is ideal, but non-stick works too. If you don’t have a lid that fits, use a baking sheet or aluminum foil to cover.
- Wooden spoon or spatula — For breaking up the ground beef and stirring the rice.
- Sharp knife and cutting board — For dicing the onion and mincing garlic.
- Measuring cups and spoons — Eyeballing works, but measuring ensures consistent results.
- Can opener — Unless you buy the pull-tab cans.
I’ve made this in a cheap non-stick skillet from a dorm supply store and it turned out fine. The key is having a lid that fits snugly. If you’re really in a pinch, you can even use a large pot. I once made this in a rice cooker (brown the beef in a pan first, then add everything to the cooker) and it worked surprisingly well. Don’t let missing equipment stop you.
Preparation Method
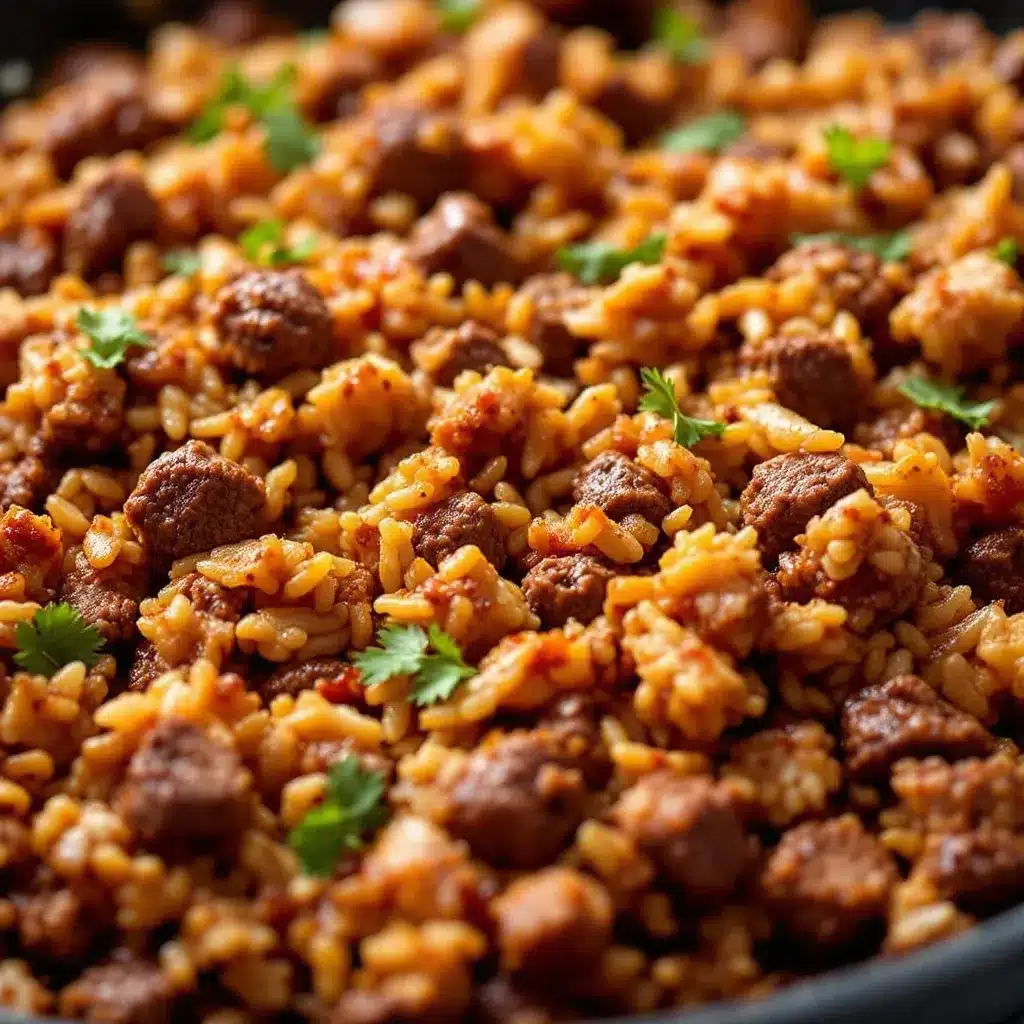
This comes together in one pan, in about 30 minutes. Here’s how to do it without stress.
- Heat the pan over medium-high heat. Add the ground beef and cook, breaking it apart with your spoon, until browned — about 5-7 minutes. Don’t stir constantly; let it sit so it gets a nice crust. If there’s more than a tablespoon of fat, drain most of it, leaving about a tablespoon in the pan.
- Add the onion and garlic. Reduce heat to medium and cook for 2-3 minutes until the onion softens. The garlic should be fragrant but not brown. If the pan looks dry, add a splash of olive oil.
- Add the rice and toast it. Stir the rice into the beef mixture and cook for 1-2 minutes, stirring constantly. The rice will start to look slightly translucent and smell nutty. This step is crucial — it prevents mushy rice.
- Add the tomatoes, broth, and spices. Pour in the diced tomatoes (with their juices), beef broth, paprika, oregano, salt, and pepper. Stir everything together, scraping up any browned bits from the bottom of the pan. Bring to a boil.
- Cover and simmer. Once boiling, reduce heat to low, cover the pan, and let it simmer for 15 minutes. Don’t lift the lid — the steam is what cooks the rice. Set a timer.
- Add the frozen vegetables. After 15 minutes, remove the lid and stir in the frozen peas and carrots. The rice should be mostly tender but still have a little bite. Cover again and cook for another 5 minutes.
- Rest before serving. Turn off the heat and let the pan sit, covered, for 5 minutes. This allows the rice to absorb any remaining liquid and the flavors to meld together. Fluff with a fork before serving.
- Top and serve. Sprinkle with shredded cheese if using, and serve straight from the pan. Garnish with fresh parsley or green onions if you’re feeling fancy.
Sensory Cues: When you lift the lid after simmering, you should see steam rising and the rice should look plump and tender. The liquid should be mostly absorbed — if it looks soupy, cook uncovered for 2-3 more minutes. The beef should be tender, not dry. If the rice is still crunchy after the full cooking time, add ¼ cup more broth and cook for 5 more minutes.
Pro Tip: If you’re making this for meal prep, slightly undercook the rice. It will continue to soften when you reheat it, and you won’t end up with mushy leftovers.
Cooking Tips & Techniques
I’ve made this recipe more times than I can count, and I’ve learned a few things the hard way. Here’s what I wish someone had told me.
Don’t skip toasting the rice. I know it seems like an extra step, but it’s the difference between fluffy, separate grains and a gluey mess. That 1-2 minutes of stirring changes everything. I once forgot to do it and ended up with something that looked like porridge. Not my finest moment.
Use the right pan size. A 12-inch skillet is ideal. If your pan is too small, the ingredients won’t fit and the rice won’t cook evenly. If it’s too large, the liquid will evaporate too quickly and the rice will be undercooked. I learned this when I tried to use a small saucepan — the rice was crunchy on top and burnt on the bottom.
Resist the urge to stir. Once you cover the pan and lower the heat, leave it alone. Every time you lift the lid, steam escapes and the cooking time increases. Set a timer and walk away. Check your email. Do some stretches. The rice doesn’t need your attention.
Season in layers. Add a pinch of salt when browning the beef, then more with the spices, and adjust at the end. This builds flavor throughout the dish instead of just on the surface. I used to add all the salt at the end, and the beef always tasted flat.
If it’s too salty, add a squeeze of lemon juice or a splash of vinegar. Acid balances out saltiness beautifully. I discovered this when I accidentally over-salted a batch — a quick squeeze of lemon saved it.
Variations & Adaptations
This recipe is a blank canvas. Here are some ways to make it your own.
- Spicy Version: Add 1 teaspoon of chili powder or a diced jalapeño with the onion. A dash of hot sauce at the end works too. I make this version when I’m craving something with a kick.
- Mexican-Style: Swap oregano for cumin, add a can of drained black beans, and top with cilantro and a squeeze of lime. Serve with tortilla chips for scooping.
- Italian-Inspired: Use Italian seasoning instead of oregano, add a handful of fresh spinach at the end, and top with Parmesan and fresh basil. This version reminds me of a lazy weeknight ragù.
- Vegetarian Option: Replace ground beef with 1½ cups cooked lentils or a plant-based ground meat substitute. Use vegetable broth instead of beef broth. I’ve tried this with lentils and it’s surprisingly hearty.
- Cheesy Rice Bake: After cooking, transfer the mixture to a baking dish, top with shredded mozzarella and cheddar, and broil for 2-3 minutes until bubbly and golden. This is my go-to when I need comfort food.
- Add More Veggies: Diced bell peppers, zucchini, or mushrooms can be added with the onion. Grated zucchini melts into the rice and adds moisture without being noticeable. I sneak in extra veggies this way all the time.
Serving & Storage Suggestions
This dish is versatile enough for any occasion. Here’s how to serve and store it.
Serving: Serve hot, straight from the pan. It’s a complete meal on its own, but it pairs beautifully with a simple side salad dressed with lemon vinaigrette. I also love it with a side of roasted vegetables — this easy lemon herb salmon sheet pan dinner uses a similar approach to sheet pan cooking if you want to double up on easy meals. For a fun twist, serve it in warm tortillas as a burrito filling, or over a bed of fresh greens for a rice bowl.
Storage: Let the dish cool completely before storing. Transfer to an airtight container and refrigerate for up to 4 days. The flavors actually get better after a day in the fridge. For longer storage, freeze individual portions in freezer-safe containers for up to 3 months. I like to portion it into single servings for easy grab-and-go lunches.
Reheating: The best way to reheat is in a skillet over medium heat with a splash of broth or water. Stir occasionally until heated through, about 5 minutes. Microwave works too — cover the bowl with a damp paper towel and heat in 1-minute intervals, stirring between each. If the rice seems dry, add a tablespoon of water before reheating. I’ve reheated this from frozen and it’s still great — just add a little extra liquid and cook covered.
Flavor Development: This is one of those dishes that tastes even better the next day. The rice absorbs more flavor overnight, and the spices meld together beautifully. I actually prefer the leftovers. If you’re making this for meal prep, consider making it a day ahead for maximum flavor.
Nutritional Information & Benefits
Here’s the approximate nutritional breakdown per serving (based on 4 servings, without cheese).
| Nutrient | Amount per Serving |
|---|---|
| Calories | 485 kcal |
| Protein | 28g |
| Carbohydrates | 45g |
| Fiber | 4g |
| Fat | 20g |
| Iron | 4.5mg (25% DV) |
| Vitamin C | 15mg (17% DV) |
This meal is a great source of protein and iron from the beef, which is especially important for busy students who need sustained energy. The rice provides complex carbohydrates for fuel, while the vegetables add fiber, vitamins, and antioxidants. The tomatoes are rich in lycopene, a powerful antioxidant, and the garlic has immune-supporting properties. It’s a balanced meal in one pan — something I didn’t realize I was missing during my instant noodle days.
Dietary Considerations: This recipe is naturally nut-free and can be made gluten-free (check your broth label). For a lower-carb option, swap the rice for cauliflower rice and reduce the broth to 1 cup. For a lower-fat version, use lean ground beef and drain all the fat after browning.
Conclusion
This one-pan ground beef and rice skillet is more than just a recipe — it’s a survival tool for busy students. It’s the meal you make when you need something real, something that actually fills you up, without spending hours in the kitchen or a fortune on groceries. I’ve made this in cramped dorm kitchens, shared apartments, and now in my own home, and it never fails to deliver.
What I love most about this recipe is how forgiving it is. You can swap ingredients, adjust spices, add whatever vegetables are about to go bad in your fridge, and it still turns out great. It’s the kind of cooking that builds confidence — once you’ve made this, you’ll realize you can actually cook.
I’d love to hear how this turns out for you. Did you add your own twist? Did it save you on a busy night? Drop a comment below and let me know. And if you’re looking for more easy, student-friendly meals, check out my full collection of recipes for more inspiration. Happy cooking!
Frequently Asked Questions
Can I use instant rice or minute rice?
I don’t recommend it. Instant rice cooks much faster and will turn mushy in this recipe. Stick with long-grain white rice for the best texture. If you’re in a hurry, you can use parboiled rice, which holds up well.
Can I make this in a slow cooker or Instant Pot?
Yes! For the Instant Pot, brown the beef on sauté mode, then add the remaining ingredients (except frozen vegetables). Pressure cook on high for 5 minutes, then quick release. Stir in the frozen vegetables and let sit for 5 minutes. For a slow cooker, brown the beef first, then add everything except the rice and vegetables. Cook on low for 6-8 hours, then stir in the rice and cook on high for another 30 minutes, then add vegetables.
Why is my rice still crunchy after the cooking time?
This usually happens if the heat was too high and the liquid evaporated too quickly, or if you lifted the lid during cooking. Next time, make sure the pan is tightly covered and the heat is low. If it’s already crunchy, add ¼ cup of broth or water, cover, and cook for 5 more minutes on low heat.
Can I freeze this dish?
Absolutely. Let it cool completely, then portion it into freezer-safe containers. It will keep for up to 3 months. Thaw overnight in the fridge before reheating. The rice might be slightly softer after freezing, but the flavor is still great.
What can I use instead of ground beef?
Ground turkey, chicken, or pork all work well. For a vegetarian option, use cooked lentils or a plant-based ground meat substitute. Just adjust the cooking time if using pre-cooked alternatives — you’ll only need to heat them through, not brown them from raw.
Pin This Recipe!
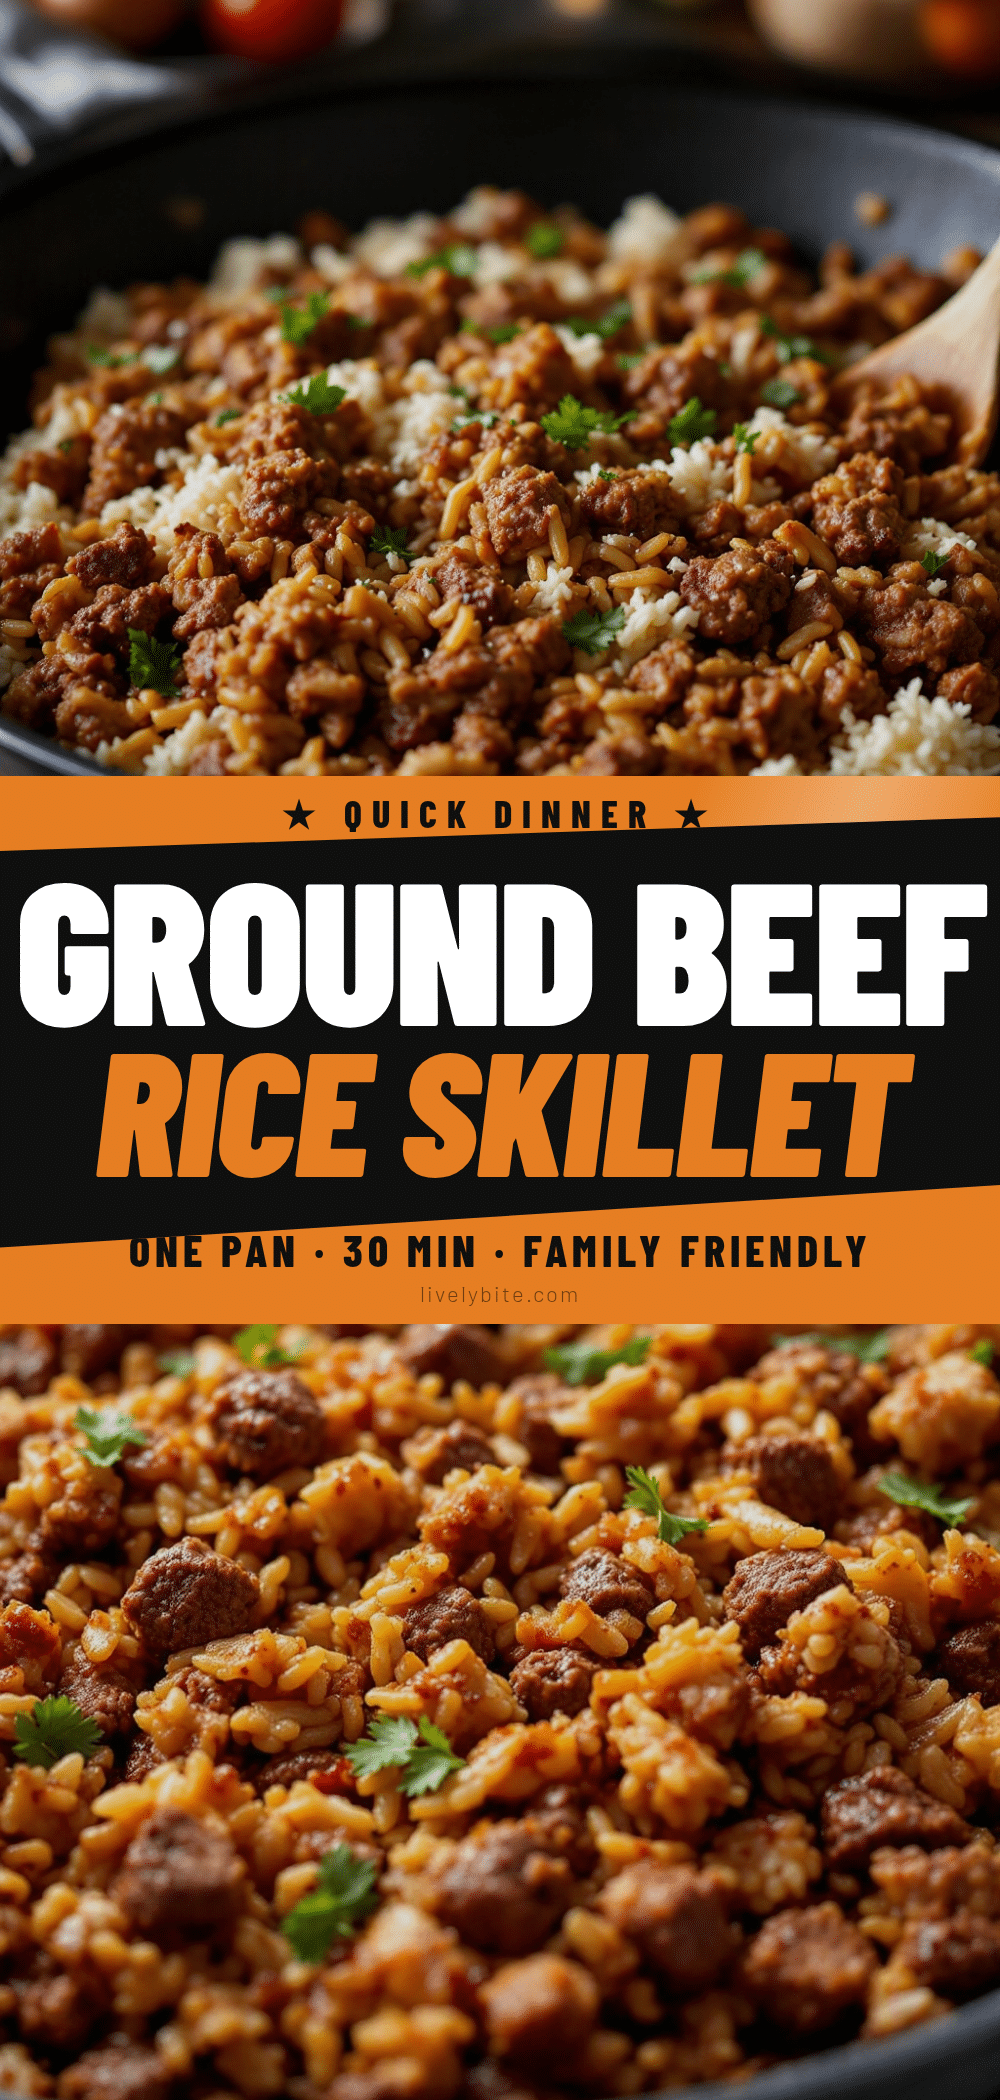
Easy One-Pan Ground Beef Rice Skillet (Best Busy Student Dinner)

A quick and easy one-pan ground beef and rice skillet that’s perfect for busy students. Made with simple pantry ingredients, this comforting meal comes together in about 30 minutes with minimal cleanup.
- Prep Time: 10 minutes
- Cook Time: 25 minutes
- Total Time: 35 minutes
- Yield: 4 servings 1x
- Category: Main Course
- Cuisine: American
Ingredients
- 1 pound (450g) ground beef (80/20 recommended)
- 1 cup (200g) long-grain white rice (basmati or jasmine)
- 1 medium yellow onion, diced (about 1 cup)
- 3 cloves garlic, minced
- 1 can (14.5 oz / 400g) diced tomatoes (fire-roasted preferred, undrained)
- 2 cups (480ml) beef broth (low-sodium preferred)
- 1 teaspoon paprika (smoked paprika for deeper flavor)
- 1 teaspoon dried oregano (or Italian seasoning)
- ½ teaspoon salt (adjust to taste)
- ¼ teaspoon black pepper (freshly ground)
- 1 cup (150g) frozen peas and carrots (no need to thaw)
- 2 tablespoons olive oil (for cooking, if needed)
- ½ cup (60g) shredded cheddar cheese (optional, for topping)
Instructions
- Heat the pan over medium-high heat. Add the ground beef and cook, breaking it apart with your spoon, until browned — about 5-7 minutes. Don’t stir constantly; let it sit so it gets a nice crust. If there’s more than a tablespoon of fat, drain most of it, leaving about a tablespoon in the pan.
- Add the onion and garlic. Reduce heat to medium and cook for 2-3 minutes until the onion softens. The garlic should be fragrant but not brown. If the pan looks dry, add a splash of olive oil.
- Add the rice and toast it. Stir the rice into the beef mixture and cook for 1-2 minutes, stirring constantly. The rice will start to look slightly translucent and smell nutty. This step is crucial — it prevents mushy rice.
- Add the tomatoes, broth, and spices. Pour in the diced tomatoes (with their juices), beef broth, paprika, oregano, salt, and pepper. Stir everything together, scraping up any browned bits from the bottom of the pan. Bring to a boil.
- Cover and simmer. Once boiling, reduce heat to low, cover the pan, and let it simmer for 15 minutes. Don’t lift the lid — the steam is what cooks the rice. Set a timer.
- Add the frozen vegetables. After 15 minutes, remove the lid and stir in the frozen peas and carrots. The rice should be mostly tender but still have a little bite. Cover again and cook for another 5 minutes.
- Rest before serving. Turn off the heat and let the pan sit, covered, for 5 minutes. This allows the rice to absorb any remaining liquid and the flavors to meld together. Fluff with a fork before serving.
- Top and serve. Sprinkle with shredded cheese if using, and serve straight from the pan. Garnish with fresh parsley or green onions if desired.
Notes
Don’t skip toasting the rice — it prevents mushy texture. Use a 12-inch skillet for best results. Resist the urge to stir once covered. For meal prep, slightly undercook the rice as it will continue to soften when reheated. If too salty, add a squeeze of lemon juice or splash of vinegar. Leftovers taste even better the next day.
Nutrition
- Serving Size: 1 serving (about 1.5
- Calories: 485
- Sugar: 6
- Sodium: 680
- Fat: 20
- Saturated Fat: 7
- Carbohydrates: 45
- Fiber: 4
- Protein: 28
Keywords: one-pan ground beef rice skillet, easy student dinner, ground beef and rice, one pot meal, budget-friendly dinner, quick weeknight dinner, ground beef skillet, rice skillet


