The 4th of July was bearing down on us, and I had that familiar, slightly panicked feeling—the one where you want to make something special but the oven is already occupied with a brisket that’s been cooking for six hours. The kitchen was a war zone of pots, pans, and half-empty spice jars. I needed a dessert that wouldn’t add to the chaos. Something that could be made in the quiet eye of the storm, with zero heat. That’s when I remembered the old icebox cake trick my grandmother used to pull out during the sweltering Virginia summers. She’d layer graham crackers with clouds of whipped cream and call it a day. It was genius. I just needed to give it a patriotic twist. So, standing there with the fridge humming and the brisket doing its thing, I started layering. It was less about a grand plan and more about a quiet, desperate need for a dessert that felt festive but didn’t require a single degree of oven heat. And honestly? It turned out to be the best decision I made all weekend.
This isn’t a fussy, complicated project. It’s a simple, beautiful assembly of flavors. The kind of dessert that looks like you spent hours on it, but in reality, you just had a little patience and a lot of cool whip. It’s become my go-to for every summer cookout, not just the 4th. There’s a specific kind of satisfaction in pulling a perfectly set, sliceable cake out of the fridge that you didn’t even bake. It feels like you’ve cheated the system, in the best possible way. And when you cut into it and see those clean, vibrant layers of red, white, and blue? It’s pure magic. This Easy No-Bake Red White & Blue Icebox Cake is the dessert you bring when you want to impress without the stress.
Why You’ll Love This Recipe
Let’s be honest, summer cooking should be about enjoying the company, not sweating over a hot stove. This recipe is the embodiment of that philosophy. It’s a crowd-pleaser that feels special and tastes incredible, all while being almost laughably simple to put together.
- Truly No-Bake: The oven stays off. This is a non-negotiable win for hot summer days. It’s a lifesaver when you’re already grilling or have a packed oven with side dishes.
- Make-Ahead Magic: This is the ultimate make-ahead dessert. It needs at least 6 hours to set, but it’s even better after 24 hours. You can cross “dessert” off your to-do list a full day before your party.
- Stunning Visuals: The red, white, and blue layers create a gorgeous, patriotic cross-section that looks incredible on any dessert table. It’s a showstopper without any special piping skills or fancy equipment.
- Simple Ingredients: You only need a handful of basic ingredients from the grocery store. No fancy bakery items or hard-to-find components. You probably have most of this in your pantry right now.
- Customizable for Any Occasion: Swap the berry colors for a birthday party, baby shower, or any holiday. The base technique is a perfect canvas for your creativity.
- Unbelievably Delicious: The magic of an icebox cake is the texture. The crisp graham crackers soften into a tender, cake-like layer, while the creamy filling stays light and luscious. The tartness of the fresh berries cuts through the sweetness perfectly.
This isn’t just another layered dessert. It’s a foolproof, stress-free solution to the “what to bring to the cookout” dilemma. It’s the one that gets the “wow, you made this?” comments, followed by the silent, happy eating of a second slice. It’s trusty, reliable, and always, always a hit.
What Ingredients You Will Need
This recipe uses simple, wholesome ingredients to deliver a bold, refreshing flavor and a satisfying, creamy texture without the fuss. Most of these are summer pantry staples that are easy to find.
- For the Creamy Filling:
- 2 cups heavy whipping cream (or 2 cups cold whole milk for a lighter version) – The foundation of our luscious layers. Make sure it’s very cold for the best volume.
- 1 (8-ounce) block cream cheese, softened – This adds a tangy richness and helps stabilize the filling. I prefer full-fat for the best texture, but Neufchâtel works well too.
- 1 (3.4-ounce) box instant vanilla pudding mix – This is the secret to a stable, sliceable filling. It thickens the cream and prevents it from getting watery.
- 1 cup powdered sugar – Adds sweetness and helps the cream whip up beautifully.
- 1 teaspoon vanilla extract – For that classic, warm flavor.
- For the Layers:
- 1 (14.4-ounce) box graham crackers – The classic choice. You’ll need about 24 full sheets. Honey or cinnamon graham crackers both work great.
- 3 cups fresh strawberries, sliced – For the red layer. Look for bright red, fragrant berries. If they’re not in peak season, you can use frozen sliced strawberries (thawed and drained well).
- 3 cups fresh blueberries – For the blue layer. Wild blueberries are smaller and sweeter, but standard ones are perfect.
- 1 cup fresh raspberries (optional, for garnish) – Adds a beautiful pop of extra red and a slightly different tartness.
- For the Topping:
- 1 (8-ounce) container frozen whipped topping (like Cool Whip), thawed – This is for the top and final decoration. It’s stable and easy to spread. (I know, I know, but it works perfectly here!)
- Red, white, and blue sprinkles (optional, for garnish) – For that extra festive touch.
Equipment Needed
You don’t need a professional pastry kitchen to pull this off. Just a few basic tools you probably already have.
- 9×13-inch baking dish – This is the perfect size for a generous cake that serves a crowd. A glass dish is great so you can see the layers.
- Electric hand mixer or stand mixer – Whipping cream by hand is a workout. A mixer makes it effortless and ensures you get stiff peaks.
- Large mixing bowl – For the cream mixture.
- Medium mixing bowls – For prepping the berries.
- Rubber spatula – For folding and spreading.
- Sharp knife and cutting board – For slicing the strawberries.
- Measuring cups and spoons – For accuracy.
- Plastic wrap or aluminum foil – For covering the cake while it chills.
If you don’t have a 9×13 dish, you can use a 9×9 square dish for a taller cake, or even a springform pan for a round version. The layering technique is the same, just adjust the number of graham crackers to fit your pan.
Preparation Method
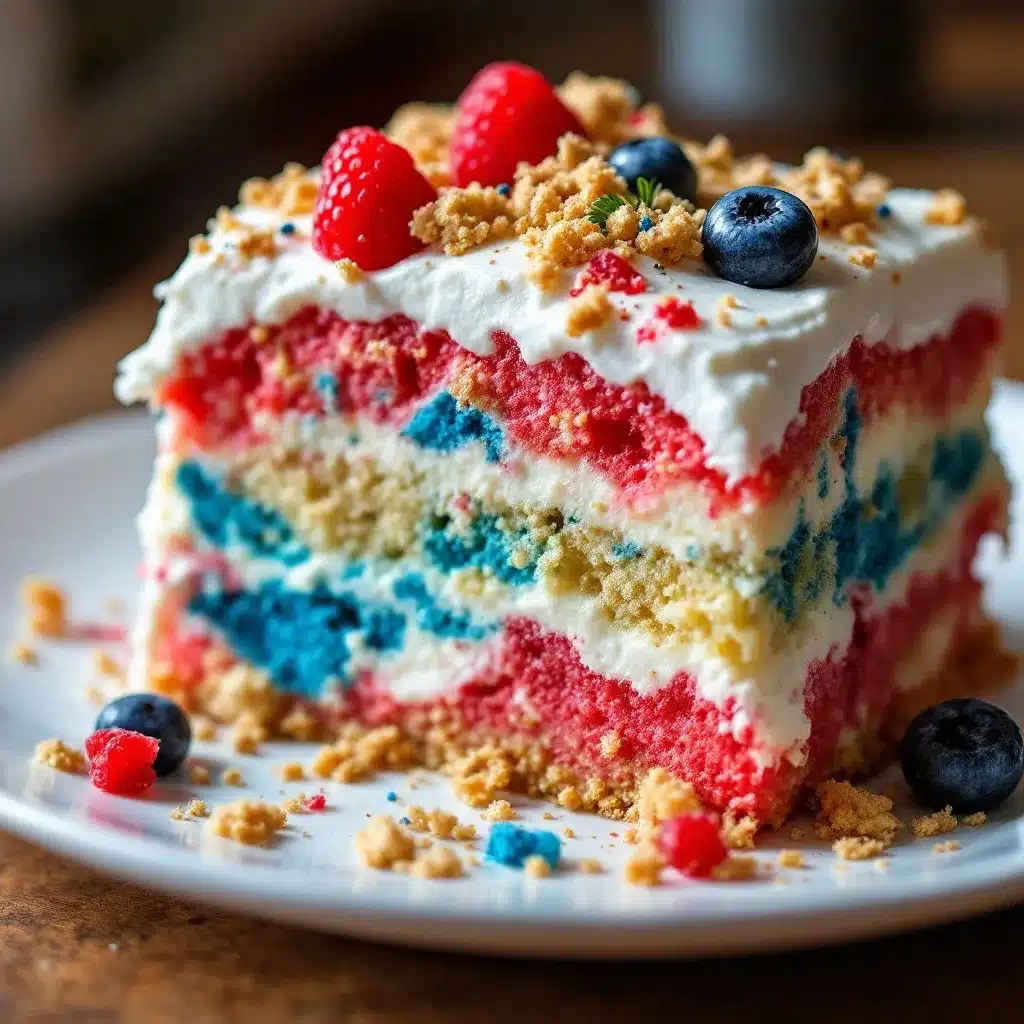
Here’s the step-by-step guide to building your no-bake masterpiece. Take your time, and don’t rush the chilling process—it’s the most important part!
- Prep Your Berries (5 minutes): Wash and dry the strawberries and blueberries thoroughly. Slice the strawberries into even, thin slices (about ¼-inch thick). Set them aside in separate bowls. If using frozen berries, make sure they are fully thawed and drained on a paper towel to remove excess moisture, which can make the cake soggy.
- Make the Cream Filling (10 minutes): In a large mixing bowl, beat the softened cream cheese with an electric mixer on medium speed until it’s smooth and fluffy, about 2 minutes. Add the powdered sugar and vanilla extract, and beat again until combined. Next, pour in the cold heavy cream (or milk) and the instant vanilla pudding mix. Beat on medium-high speed until the mixture is thick, fluffy, and holds stiff peaks. This usually takes 3-5 minutes. Don’t overmix, or it can become grainy. You want it to look like a thick, luscious mousse.
- Assemble the First Layer (5 minutes): Spread a very thin layer (about ¼ cup) of the cream mixture onto the bottom of your 9×13 baking dish. This helps the graham crackers stick. Then, arrange a single layer of graham crackers on top, breaking them as needed to fit the pan perfectly. You want full coverage.
- Build the Red Layer (5 minutes): Spread about 1 ½ cups of the cream mixture evenly over the first layer of graham crackers. Then, arrange a single, even layer of the sliced strawberries over the cream. Press them down gently so they nestle into the cream.
- Repeat the Layers (10 minutes): Place another layer of graham crackers on top of the strawberries. Spread another 1 ½ cups of cream over the crackers. Now, add a single layer of fresh blueberries on top of the cream.
- Final Layers (5 minutes): Add a third layer of graham crackers over the blueberries. Spread the remaining cream mixture over this final layer of crackers, making sure to cover the edges completely so no crackers are exposed. This is the “crumb coat.”
- Top with Whipped Topping (5 minutes): Gently spread the thawed frozen whipped topping over the entire top of the cake. Smooth it out with a spatula. This gives you a beautiful, pristine white canvas for your decorations.
- Chill and Set (Minimum 6 hours, ideally 24): This is the most crucial step! Cover the dish tightly with plastic wrap or aluminum foil and place it in the refrigerator. It needs to chill for at least 6 hours to allow the graham crackers to soften and the filling to set. For the best, most sliceable texture, let it sit for 24 hours. The longer it sits, the more it becomes a cohesive cake.
- Garnish and Serve (10 minutes): Just before serving, arrange the remaining fresh berries and raspberries on top in a patriotic pattern. I like to make a stripe of blueberries, a stripe of raspberries, and a stripe of sliced strawberries. Finish with a sprinkle of red, white, and blue sprinkles for an extra festive look. Slice and serve cold!
Cooking Tips & Techniques
I’ve made this cake a dozen times, and I’ve learned a few things the hard way so you don’t have to.
- Don’t Skip the Crumb Coat: That first thin layer of cream on the bottom of the pan isn’t just for show. It prevents the graham crackers from sliding around and helps them absorb moisture evenly. It’s a small step that makes a big difference.
- Drain Your Berries: Fresh berries are best, but if you use frozen, this is non-negotiable. Excess water from thawed berries will make your cake soggy and watery. Pat them dry with a paper towel after draining.
- Patience is a Virtue: I know you want to eat it right away. I get it. But if you cut into it before it’s fully set, you’ll have a sloppy, soupy mess. The magic happens in the fridge. The graham crackers need time to absorb the moisture from the cream and soften into a cake-like texture. The 24-hour wait is worth it.
- Overmixing the Cream: Stop beating as soon as the mixture is thick and holds stiff peaks. If you keep going, you’ll end up with a grainy, butter-like texture. It’s still edible, but not as luscious.
- Room Temperature Cream Cheese: This is a big one. Cold cream cheese will create lumps in your otherwise smooth filling. Let it sit on the counter for 30 minutes before you start. It makes a world of difference.
Variations & Adaptations
This recipe is a fantastic base for your own creations. Here are a few ways to switch it up.
- Berry Swap: Not a fan of strawberries? Use raspberries or pitted cherries for the red layer. For the blue, blackberries are a fantastic substitute for blueberries. You can also use a mix of berries for a more complex flavor.
- Chocolate Lover’s Version: Swap the graham crackers for chocolate wafer cookies or chocolate graham crackers. Add a layer of chocolate pudding mixed into the cream filling. It’s a decadent twist that’s still incredibly easy.
- Lemon Berry Twist: Add the zest of one lemon to the cream filling. The bright citrus flavor pairs beautifully with the berries. You can also add a layer of lemon curd between the graham crackers for an extra punch.
- Dairy-Free Adaptation: Use a high-quality dairy-free cream cheese (like Kite Hill or Violife) and a can of full-fat coconut cream (chilled and whipped) instead of heavy cream. Make sure your pudding mix is also dairy-free. The texture will be slightly different but still delicious.
- Gluten-Free Option: This is easy! Just use gluten-free graham crackers. Most major brands make a version now. The rest of the ingredients are naturally gluten-free. I’ve tried it with Schär brand, and it works perfectly.
My personal favorite variation is the Lemon Berry Twist. I made it for a Memorial Day picnic, and it was gone in minutes. The lemon cuts through the richness of the cream and makes the berries taste even brighter. It’s a total winner.
Serving & Storage Suggestions
This cake is best served cold, straight from the fridge. The texture is at its peak when it’s been chilled for a full day.
- Serving: Slice the cake with a sharp knife, wiping it clean between cuts for the prettiest layers. Serve it on individual plates. It’s a fantastic dessert after a heavy meal like a barbecue or a slow cooker honey garlic chicken dinner. A dollop of extra whipped cream on top is never a bad idea.
- Storage: Cover the baking dish tightly with plastic wrap or aluminum foil. The cake will keep beautifully in the refrigerator for up to 3 days. The flavors actually continue to meld, making it even better on day two.
- Freezing: Yes, you can freeze this cake! Assemble it completely, but don’t add the fresh berry garnish on top. Wrap the entire dish (or individual slices) tightly in a layer of plastic wrap, then a layer of foil. Freeze for up to 3 months. Thaw in the refrigerator overnight before serving. Add the fresh berries after thawing.
- Reheating: This is a no-bake, cold dessert. There is no reheating involved. If it’s been out of the fridge for more than 30 minutes, it will start to soften, so keep it chilled until you’re ready to serve.
- Flavor Development: The best part about this cake is how the flavors deepen over time. The tartness of the berries mellows out, the sweetness of the cream becomes more rounded, and the graham crackers become impossibly tender. It’s a true “better the next day” dessert.
Nutritional Information & Benefits
While this is a dessert and meant to be a treat, it does offer some surprising benefits from the fresh fruit. A typical serving (1/12th of the cake) contains approximately:
- Calories: 350-400
- Fat: 22-25g
- Carbohydrates: 38-42g
- Protein: 4-5g
- Sugar: 28-32g
Health Benefits: The star ingredients here are the berries. Blueberries and strawberries are packed with antioxidants, vitamin C, and fiber. They are a fantastic way to get a serving of fruit in a delicious, dessert-like format. This recipe is also a great way to use up summer berries at their peak.
Dietary Considerations: This recipe is vegetarian. It can easily be made gluten-free and dairy-free with the substitutions listed above. Potential allergens include dairy (milk, cream cheese), gluten (graham crackers), and soy (in some cream cheeses).
I love that I can serve a dessert that feels indulgent but also has some real, whole-food ingredients in it. It’s a win-win for a summer celebration.
Conclusion
This Easy No-Bake Red White & Blue Icebox Cake is more than just a pretty dessert. It’s a solution to the summer cooking conundrum. It’s the dessert you make when you want to spend your time with your family, not your oven. It’s reliable, forgiving, and always, always a hit. I love that it brings a little bit of quiet, make-ahead magic to the busiest of holidays.
I encourage you to make it your own. Play with the berries, try a different cookie, or add a splash of lemon. The base is so simple that the possibilities are endless. Don’t be afraid to get creative! And when you do, I’d love to hear about it. Please leave a comment below or tag me in your photos—I love seeing your creations. Now go make some delicious, no-bake magic!
Frequently Asked Questions
Can I use Cool Whip instead of making the cream filling?
You can, but the texture will be different. The homemade cream cheese and pudding mixture creates a much more stable, sliceable, and flavorful filling. Cool Whip alone is lighter and can make the cake a bit more fragile. For the best results, I highly recommend making the filling from scratch.
My graham crackers are still crunchy after 6 hours. What went wrong?
This usually happens if the cream mixture wasn’t spread thickly enough over the crackers. The crackers need to be fully covered to absorb the moisture. Another common culprit is not using enough cream. Make sure you are generous with each layer. If they are still crunchy, just let it chill for a few more hours. It will eventually soften.
Can I make this in a different sized pan?
Absolutely! A 9×9 square pan will give you a taller cake with more layers. You’ll need to adjust the number of graham crackers (you’ll break them to fit) and the amount of cream per layer. A springform pan is also a great option for a beautiful, round cake that’s easy to remove.
Can I use a different type of cookie instead of graham crackers?
Yes! This is a great way to change the flavor. Vanilla wafers, shortbread cookies, or even chocolate wafer cookies all work wonderfully. The key is to use a cookie that is relatively sturdy and flat. Avoid very thick or soft cookies, as they won’t soften properly.
Is it better to use fresh or frozen berries?
Fresh berries are always best for this recipe. They hold their shape better and have a firmer texture. If you must use frozen, make sure they are completely thawed and very well-drained on paper towels. Any excess water will make your cake soggy and watery, which we want to avoid.
Pin This Recipe!
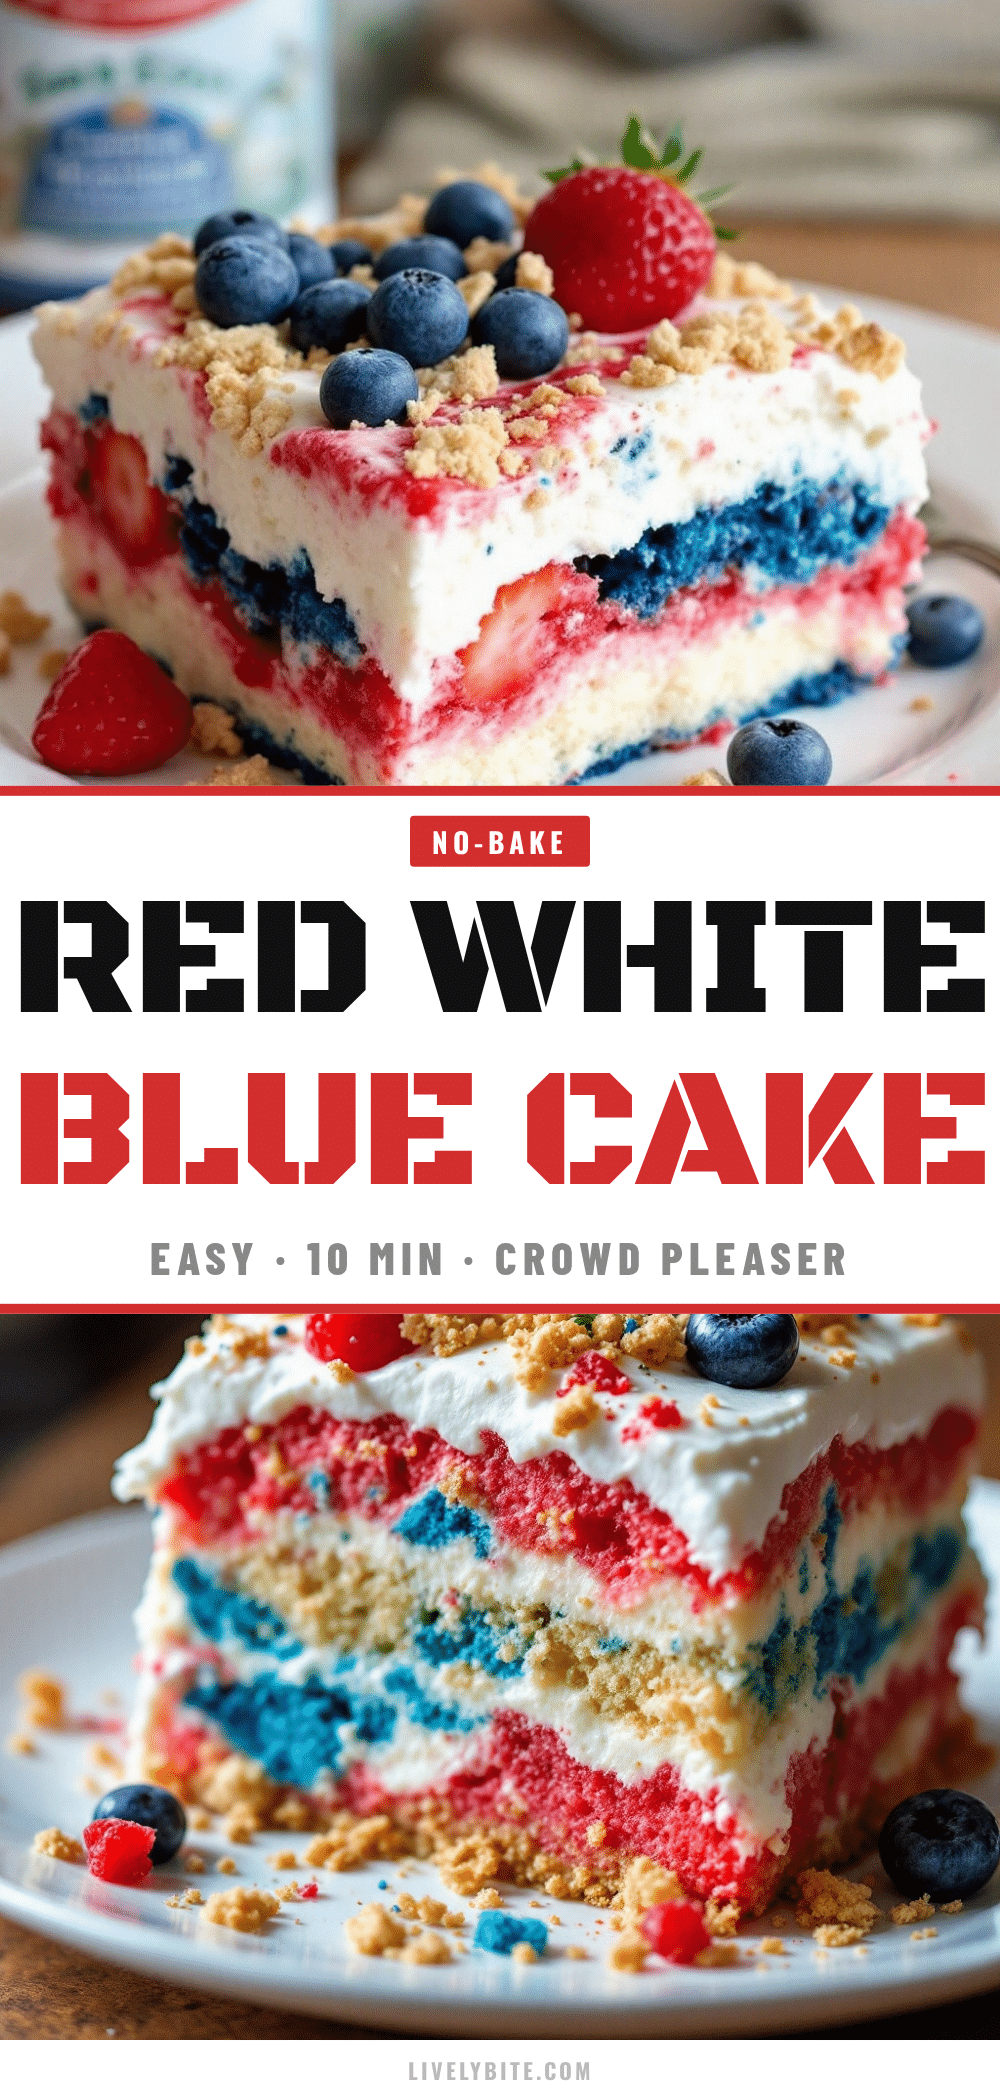
Easy No-Bake Red White & Blue Icebox Cake – Best Patriotic Summer Dessert
A simple, no-bake icebox cake with layers of graham crackers, creamy filling, and fresh strawberries and blueberries. Perfect for patriotic summer celebrations like the 4th of July.
- Prep Time: 20 minutes
- Cook Time: 0 minutes
- Total Time: 6 hours 20 minutes (includes chilling time)
- Yield: 12 servings 1x
- Category: Dessert
- Cuisine: American
Ingredients
- 2 cups heavy whipping cream (or 2 cups cold whole milk for a lighter version)
- 1 (8-ounce) block cream cheese, softened
- 1 (3.4-ounce) box instant vanilla pudding mix
- 1 cup powdered sugar
- 1 teaspoon vanilla extract
- 1 (14.4-ounce) box graham crackers (about 24 full sheets)
- 3 cups fresh strawberries, sliced
- 3 cups fresh blueberries
- 1 cup fresh raspberries (optional, for garnish)
- 1 (8-ounce) container frozen whipped topping (like Cool Whip), thawed
- Red, white, and blue sprinkles (optional, for garnish)
Instructions
- Prep Your Berries: Wash and dry the strawberries and blueberries thoroughly. Slice the strawberries into even, thin slices (about ¼-inch thick). Set them aside in separate bowls. If using frozen berries, make sure they are fully thawed and drained on a paper towel to remove excess moisture.
- Make the Cream Filling: In a large mixing bowl, beat the softened cream cheese with an electric mixer on medium speed until smooth and fluffy, about 2 minutes. Add the powdered sugar and vanilla extract, and beat again until combined. Pour in the cold heavy cream (or milk) and the instant vanilla pudding mix. Beat on medium-high speed until the mixture is thick, fluffy, and holds stiff peaks, about 3-5 minutes. Do not overmix.
- Assemble the First Layer: Spread a very thin layer (about ¼ cup) of the cream mixture onto the bottom of a 9×13-inch baking dish. Arrange a single layer of graham crackers on top, breaking them as needed to fit the pan perfectly.
- Build the Red Layer: Spread about 1 ½ cups of the cream mixture evenly over the first layer of graham crackers. Arrange a single, even layer of the sliced strawberries over the cream. Press them down gently.
- Repeat the Layers: Place another layer of graham crackers on top of the strawberries. Spread another 1 ½ cups of cream over the crackers. Add a single layer of fresh blueberries on top of the cream.
- Final Layers: Add a third layer of graham crackers over the blueberries. Spread the remaining cream mixture over this final layer of crackers, making sure to cover the edges completely.
- Top with Whipped Topping: Gently spread the thawed frozen whipped topping over the entire top of the cake. Smooth it out with a spatula.
- Chill and Set: Cover the dish tightly with plastic wrap or aluminum foil and refrigerate for at least 6 hours, ideally 24 hours, to allow the graham crackers to soften and the filling to set.
- Garnish and Serve: Just before serving, arrange the remaining fresh berries and raspberries on top in a patriotic pattern. Finish with a sprinkle of red, white, and blue sprinkles. Slice and serve cold.
Notes
For best results, chill for 24 hours. Ensure cream cheese is at room temperature to avoid lumps. Drain frozen berries thoroughly to prevent sogginess. The cake can be frozen for up to 3 months (without fresh berry garnish).
Nutrition
- Serving Size: 1 slice (1/12 of cak
- Calories: 375
- Sugar: 30
- Sodium: 280
- Fat: 23
- Saturated Fat: 14
- Carbohydrates: 40
- Fiber: 2
- Protein: 4.5
Keywords: no-bake icebox cake, red white blue dessert, patriotic dessert, 4th of July dessert, summer dessert, easy dessert, no-bake cake


