My nephew Leo showed up at my door last October 28th, already in his too-small dinosaur costume, and announced we were making Halloween treats for his class party the next morning. I had a box of vanilla cake mix, a bag of marshmallows, and absolutely no plan. The oven was broken—of course it was—and I remember standing there, holding a whisk like it might magically fix everything. Leo looked at me with that patient, slightly-judgmental look only seven-year-olds can pull off, and said, “Auntie, can we just not bake them?”
That’s when the idea hit me. No-bake ghost cupcakes. We’d make the cupcakes from scratch—well, from a box, let’s be honest—but skip the oven entirely by using the microwave. Then we’d pile on the fluffiest marshmallow frosting I could whip up, and turn each one into a tiny, adorable ghost. Leo handled the piping bag like a pro, and within an hour, we had twenty-something ghost cupcakes that looked like they’d floated straight out of a Halloween dream. His teacher texted me later that night: “These are the cutest things I’ve ever seen. Recipe please?” That’s when I knew this easy no-bake ghost cupcakes recipe wasn’t just a last-minute save—it was a keeper.
These little guys have become our annual Halloween tradition. Every year, Leo and I make a batch, and every year, I’m reminded that the best recipes aren’t the ones you plan for weeks. They’re the ones that show up when you need them most.
Why You’ll Love This Recipe
Let me tell you why these no-bake ghost cupcakes have earned a permanent spot in my Halloween rotation. First off, they’re ridiculously easy. We’re talking 15 minutes of active time, and then you’re done. No oven, no complicated techniques, no stressing over whether your cupcakes will rise properly. This is the kind of recipe you can make with kids, after work, or when you’ve completely forgotten about the school party until 9 PM the night before. (No judgment here—I’ve been there.)
- Quick & Easy: Comes together in under 20 minutes, perfect for last-minute Halloween plans or busy weeknights when you need a festive treat fast.
- Simple Ingredients: You probably already have most of these in your pantry. Cake mix, marshmallows, butter, powdered sugar—that’s basically it.
- Perfect for Halloween: These little ghosts are the star of any Halloween party, classroom celebration, or spooky movie night. They’re cute without being creepy.
- Crowd-Pleaser: Kids absolutely lose their minds over them. Adults do too, honestly. There’s something about a ghost-shaped cupcake that makes everyone smile.
- Unbelievably Delicious: The marshmallow frosting is light, fluffy, and tastes like pure childhood happiness. Paired with the tender vanilla cake, it’s a match made in Halloween heaven.
What makes these different from every other ghost cupcake out there? The texture. Because we’re not baking, the cupcakes stay incredibly moist and tender. And the frosting? It’s not your typical buttercream. This marshmallow frosting is made with actual marshmallows, so it’s cloud-like, silky, and has that perfect sticky-sweetness that makes you close your eyes after the first bite. It’s comfort food reimagined—faster, easier, but with the same soul-soothing satisfaction. Perfect for impressing guests without stress, or turning a simple Tuesday into something memorable.
What Ingredients You Will Need
This recipe uses simple, mostly pantry-staple ingredients to deliver maximum Halloween fun with minimum fuss. You don’t need anything fancy here—just good, basic baking ingredients that come together in the most delightful way.
- For the Cupcakes:
- 1 box vanilla cake mix (I prefer Pillsbury or Duncan Hines for consistent results)
- 1 cup water
- 1/2 cup vegetable oil
- 3 large eggs, room temperature (this helps everything blend smoother)
- 1 teaspoon vanilla extract (adds that extra depth of flavor)
- For the Marshmallow Frosting:
- 1 cup unsalted butter, softened (I use Land O’Lakes—it’s reliable and creamy)
- 1 (7 oz) jar marshmallow creme (like Marshmallow Fluff or store brand—both work great)
- 2 cups powdered sugar, sifted (sifting prevents lumps, trust me on this)
- 1 teaspoon vanilla extract
- Pinch of salt (balances the sweetness beautifully)
- For the Ghost Decorations:
- 1 cup mini marshmallows (for the ghost heads—look for fresh, soft ones)
- Black decorating gel or mini chocolate chips (for the eyes and mouth)
- Optional: white sanding sugar or edible glitter for a sparkly finish
A quick note on ingredient selection: For the cake mix, any brand will work, but I’ve found that using a mix with pudding in the results gives you an even softer, more tender crumb. If you’re feeling ambitious, you can absolutely use your favorite homemade vanilla cupcake recipe—just make sure to microwave it instead of bake it. For the marshmallow creme, don’t substitute with melted marshmallows. The creme has a specific texture that makes the frosting light and spreadable. Melted marshmallows will make it too dense and sticky.
For a dairy-free version, use a plant-based butter substitute and check that your cake mix is dairy-free. Most are, but always read the label. And if you want to make these gluten-free, just swap in a gluten-free vanilla cake mix. The rest of the ingredients are naturally gluten-free, so you’re good to go.
Equipment Needed
You don’t need much for this recipe, which is part of the beauty. Here’s what you’ll need:
- Microwave-safe mug or small bowl (for cooking the cupcakes individually)
- Standard 12-cup muffin tin (if you’re making a batch in the microwave—more on that below)
- Paper cupcake liners (Halloween-themed ones are fun, but plain white works too)
- Large mixing bowl and whisk or electric hand mixer
- Piping bag with a round tip (or a zip-top bag with the corner snipped off)
- Spatula for spreading frosting
- Measuring cups and spoons
If you don’t have a piping bag, don’t stress. A zip-top bag works perfectly—just fill it with frosting, snip off a tiny corner, and pipe away. I’ve done it dozens of times, and honestly, it’s often easier to control. For the microwave, any standard microwave will work. Just keep an eye on the cupcakes as they cook, since microwave times can vary. My 1000-watt microwave takes about 1 minute 30 seconds per cupcake, but yours might be different. Start checking at 1 minute and go from there.
One tip I learned the hard way: use paper liners, not silicone ones. The silicone ones don’t hold the cupcake shape as well when microwaved, and you’ll end up with a sad, flat ghost. Paper liners give you that nice, tall cupcake shape that’s perfect for ghost-making.
Preparation Method
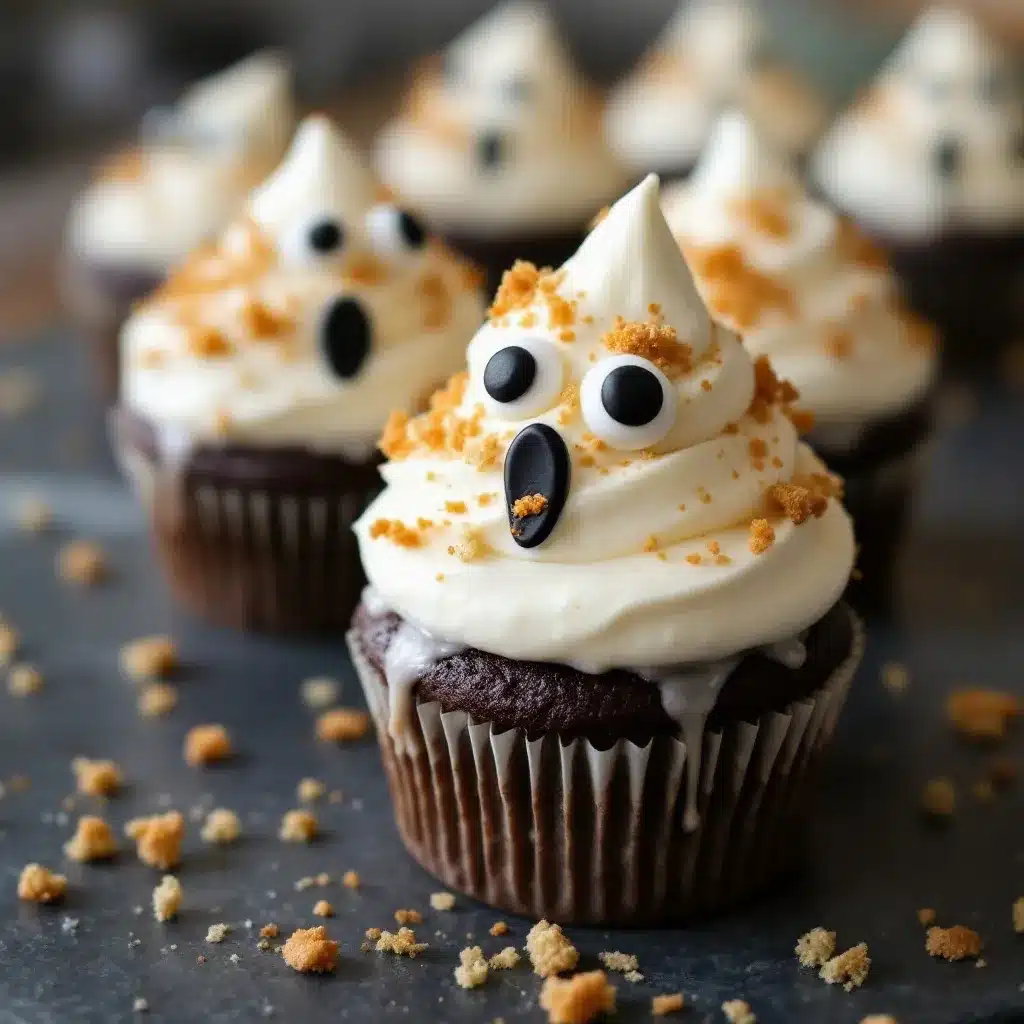
Alright, let’s make these little ghosts! The process is straightforward, but I’ll walk you through each step with all the little details I’ve picked up from making these about a hundred times.
- Make the Cupcake Batter: In a large mixing bowl, combine the vanilla cake mix, water, vegetable oil, eggs, and vanilla extract. Whisk until smooth—about 2 minutes. You want it completely lump-free. The batter should be thick but pourable. If it looks too thick, add a tablespoon of water. Too thin? Add a tablespoon of flour. But honestly, box mixes are pretty foolproof, so you’ll probably be fine.
- Prepare Your Mugs or Muffin Tin: Line your microwave-safe mugs or muffin tin with paper liners. If using mugs, fill each one about halfway with batter. For a muffin tin, fill each liner about two-thirds full. The cupcakes will rise quite a bit, so don’t overfill. Trust me, I’ve had batter overflow in the microwave, and it’s not fun to clean up.
- Microwave the Cupcakes: Place one mug or muffin cup at a time in the microwave. Cook on high for 1 minute 30 seconds to 2 minutes. Start checking at 1 minute 30 seconds. The cupcake should be set on top and spring back when lightly touched. If it still looks wet in the center, cook in 15-second increments. Every microwave is different, so watch closely the first time. Let the cupcakes cool completely in the liners on a wire rack. This takes about 20 minutes. Don’t rush this—warm cupcakes will melt your frosting into a sad puddle.
- Make the Marshmallow Frosting: While the cupcakes cool, make the frosting. In a large bowl, beat the softened butter with an electric mixer until creamy and pale—about 3 minutes. Add the marshmallow creme and beat until well combined. Gradually add the sifted powdered sugar, about 1/2 cup at a time, beating on low speed after each addition. Add the vanilla extract and pinch of salt, then beat on medium-high speed for 2-3 minutes until the frosting is light, fluffy, and spreadable. It should hold its shape when you lift the beaters.
- Assemble the Ghosts: Once the cupcakes are completely cool, it’s time to ghost-ify them. Spoon the marshmallow frosting into your piping bag or zip-top bag. Pipe a generous swirl on top of each cupcake, starting from the outside and working your way in. You want a nice, tall swirl that looks like a ghost’s body. Don’t worry about being perfect—ghosts are supposed to be a little wonky.
- Add the Ghost Heads: Gently press one mini marshmallow into the top of each frosting swirl. This is the ghost’s head. Make sure it’s centered and standing upright. If your marshmallow is leaning, just adjust it with your finger.
- Decorate the Faces: Using black decorating gel or mini chocolate chips, add two eyes and a mouth to each marshmallow head. I like to make the eyes slightly different sizes for a more expressive, goofy ghost. For the mouth, a simple open “O” shape is cute, or you can do a little wavy line. Get creative! Some of my ghosts look surprised, some look mischievous, and some look like they’ve seen a real ghost.
- Optional Sparkle: If you want extra Halloween magic, lightly dust the ghosts with white sanding sugar or edible glitter. It gives them a frosty, ethereal look that’s absolutely gorgeous.
And that’s it! You’ve just made the cutest no-bake ghost cupcakes on the block. The whole process takes about 20 minutes of active time, plus cooling time. Perfect for a last-minute Halloween treat or a fun activity with the kids.
Cooking Tips & Techniques
Over the years, I’ve made these ghost cupcakes more times than I can count, and I’ve learned a few things the hard way. Here are my best tips for getting perfect results every time.
Don’t overmix the batter. I know it’s tempting to keep whisking until it’s perfectly smooth, but overmixing can make the cupcakes tough. Just whisk until the lumps are gone, and stop. The microwave cooks quickly, so you don’t need to worry about developing gluten structure like you do with oven-baked cupcakes.
Watch your microwave like a hawk. The first time I made these, I walked away for “just a second” and came back to a marshmallow explosion in the microwave. Different microwaves have different power levels, so stay close and check frequently. The cupcake is done when the top is set and a toothpick inserted in the center comes out clean or with a few moist crumbs.
Cool completely before frosting. I cannot stress this enough. If your cupcakes are even slightly warm, the marshmallow frosting will slide right off. I once frosted a slightly warm cupcake and ended up with a ghost that looked like it was melting in the sun. Not cute. Let them cool for at least 20 minutes on a wire rack, or pop them in the fridge for 10 minutes if you’re in a hurry.
Soft butter is key for the frosting. Your butter should be at room temperature—soft enough that you can press your finger into it easily, but not melted. If your butter is too cold, the frosting will be lumpy. Too warm, and it’ll be runny. I usually take my butter out of the fridge about an hour before I start baking. If I forget, I microwave it in 5-second bursts, checking after each one. It’s a delicate balance, but worth getting right.
Pipe with confidence. When you’re piping the frosting, don’t be shy. Give it a good, generous swirl. Ghosts are supposed to be plump and fluffy. If you pipe too timidly, you’ll end up with a flat, sad ghost. Go big or go home, I always say.
Use fresh mini marshmallows. Stale marshmallows are hard and won’t stick to the frosting properly. If your marshmallows have been sitting in the pantry for months, they might not work well. Fresh, soft marshmallows are the way to go. If you only have stale ones, microwave them for 5-10 seconds to soften them up, but let them cool before using.
Variations & Adaptations
One of the best things about this recipe is how easy it is to customize. Here are some variations I’ve tried and loved.
Chocolate Ghost Cupcakes: Swap the vanilla cake mix for chocolate cake mix. The dark cake peeking out from under the white frosting is actually really striking. It gives the ghosts a little more contrast and depth. I made these for a Halloween party last year, and they were gone in minutes.
Gluten-Free Ghost Cupcakes: Use a gluten-free vanilla or chocolate cake mix. Most gluten-free mixes work well in the microwave. Just follow the package instructions for the liquid ratios, and you’re good to go. The rest of the ingredients are naturally gluten-free, so this is an easy swap.
Vegan Ghost Cupcakes: This one takes a little more work, but it’s totally doable. Use a vegan cake mix (most are accidentally vegan) and replace the eggs with flax eggs (1 tablespoon ground flaxseed mixed with 3 tablespoons water per egg). Use plant-based butter in the frosting. The texture will be slightly different, but still delicious.
Spooky Spider Cupcakes: Instead of making ghosts, turn these into spider cupcakes. Pipe the marshmallow frosting into a flat swirl, then add eight pretzel stick legs sticking out from the sides. Use a chocolate-covered peanut or a large chocolate chip for the body. My nephew Leo loves making these even more than the ghosts, if you can believe it.
Pumpkin Patch Cupcakes: For a non-spooky Halloween option, tint the marshmallow frosting orange with food coloring and pipe it into pumpkin shapes. Use a green M&M or a piece of green candy for the stem. These are perfect for younger kids who might be scared of ghosts.
Mini Ghost Cupcakes: Make mini versions by using a mini muffin tin and reducing the microwave time to about 45 seconds to 1 minute. These are perfect for class parties or snack-sized treats. Just adjust the marshmallow head size accordingly—use mini marshmallows cut in half for the heads.
Serving & Storage Suggestions
These ghost cupcakes are best served at room temperature, which is when the marshmallow frosting is at its fluffiest and most delicious. If you’ve refrigerated them (more on that below), let them sit out for about 15-20 minutes before serving to let the frosting soften up.
For presentation, I love arranging them on a black or orange platter for maximum Halloween vibes. Sprinkle some edible glitter or sanding sugar around the base for a “haunted” look. If you’re serving them at a party, consider adding some fake spiderwebs or plastic spiders around the platter for extra spooky atmosphere. The contrast between the cute ghosts and the creepy decorations is always a hit.
These pair beautifully with a warm drink. Try them alongside a refreshing cucumber mint green tea cooler for a fun Halloween party drink, or serve them with hot apple cider for a cozy fall treat. For a more indulgent spread, they’re also great with a batch of creamy vegan chocolate avocado pudding for a spooky dessert table.
Storage: Store the ghost cupcakes in an airtight container at room temperature for up to 2 days. The marshmallow frosting will stay soft and fluffy. If you need to store them longer, refrigerate them for up to 5 days. Just be aware that the frosting will firm up in the fridge, so let them come to room temperature before serving. I don’t recommend freezing these, as the marshmallow frosting can become grainy when thawed.
Make-Ahead Tip: You can make the cupcakes and frosting separately up to 2 days in advance. Store the unfrosted cupcakes in an airtight container at room temperature, and keep the frosting in the fridge. When you’re ready to serve, bring the frosting to room temperature, give it a quick whip with the mixer to fluff it back up, and assemble the ghosts. The decorations (marshmallow heads and faces) should be added right before serving for best results.
Nutritional Information & Benefits
Let’s be real—these are a treat, not a health food. But that’s okay! Halloween is about having fun and enjoying special treats in moderation. Here’s the estimated nutritional breakdown per cupcake (based on 12 servings):
| Nutrient | Amount per Cupcake |
|---|---|
| Calories | 320 |
| Total Fat | 16g |
| Saturated Fat | 8g |
| Carbohydrates | 44g |
| Sugar | 32g |
| Protein | 3g |
| Sodium | 280mg |
On the bright side, these cupcakes are free from artificial colors if you use natural decorating options. The marshmallow frosting provides a small amount of protein from the egg whites used in marshmallow creme. And if you’re using a gluten-free cake mix, these are suitable for those with gluten sensitivities (just double-check all other ingredients).
From a wellness perspective, I believe in balance. I make these for special occasions and enjoy every single bite without guilt. Life’s too short not to eat ghost cupcakes, you know? If you’re looking for a healthier option to pair with these, try a easy lemon herb salmon sheet pan dinner for a balanced meal before the sweets.
Conclusion
These no-bake ghost cupcakes have become more than just a Halloween recipe in my house. They’re a tradition, a memory-maker, and proof that you don’t need fancy equipment or hours in the kitchen to create something magical. Every time I make them, I think back to that chaotic October evening with Leo, standing in my kitchen with a broken oven and a bag of marshmallows. That night taught me that the best recipes aren’t the ones you plan—they’re the ones that find you when you need them most.
I’d love to see your ghost creations! Tag me on social media or leave a comment below with your photos and variations. Did you try the spider version? The pumpkin patch? Did your kids go wild for them? (Spoiler: they will.) Share your stories, your successes, and even your hilarious failures—I want to hear it all. And if you’re looking for more easy, fun recipes, check out our full recipe collection for more inspiration.
Happy Halloween, friends. May your ghosts be fluffy, your frosting be generous, and your kitchen be full of laughter.
Frequently Asked Questions
Can I use a homemade cupcake recipe instead of a box mix?
Absolutely! Any vanilla or chocolate cupcake recipe will work. Just make sure to adjust the microwave cooking time since homemade batters can vary in density. Start checking at 1 minute 30 seconds and go from there.
How do I keep the ghost marshmallows from falling over?
Make sure your mini marshmallows are fresh and soft. Press them gently but firmly into the frosting while it’s still soft. If they’re still wobbly, use a tiny dab of frosting as “glue” on the bottom of the marshmallow before placing it.
Can I make these ghost cupcakes ahead of time for a party?
Yes! Make the cupcakes and frosting up to 2 days ahead. Store them separately. Assemble the ghosts, including the marshmallow heads and faces, no more than a few hours before serving for the best presentation.
My frosting is too runny. What did I do wrong?
Your butter was probably too warm. Pop the frosting in the fridge for 10-15 minutes to firm it up, then whip it again. If it’s still runny, add a little more sifted powdered sugar, one tablespoon at a time, until it reaches the right consistency.
Can I double this recipe for a large party?
Definitely! This recipe scales beautifully. Just make sure to cook the cupcakes in batches—don’t overcrowd the microwave. And when making the frosting, use a large bowl to give yourself room to whip it properly. A stand mixer is great for doubled batches.
Pin This Recipe!
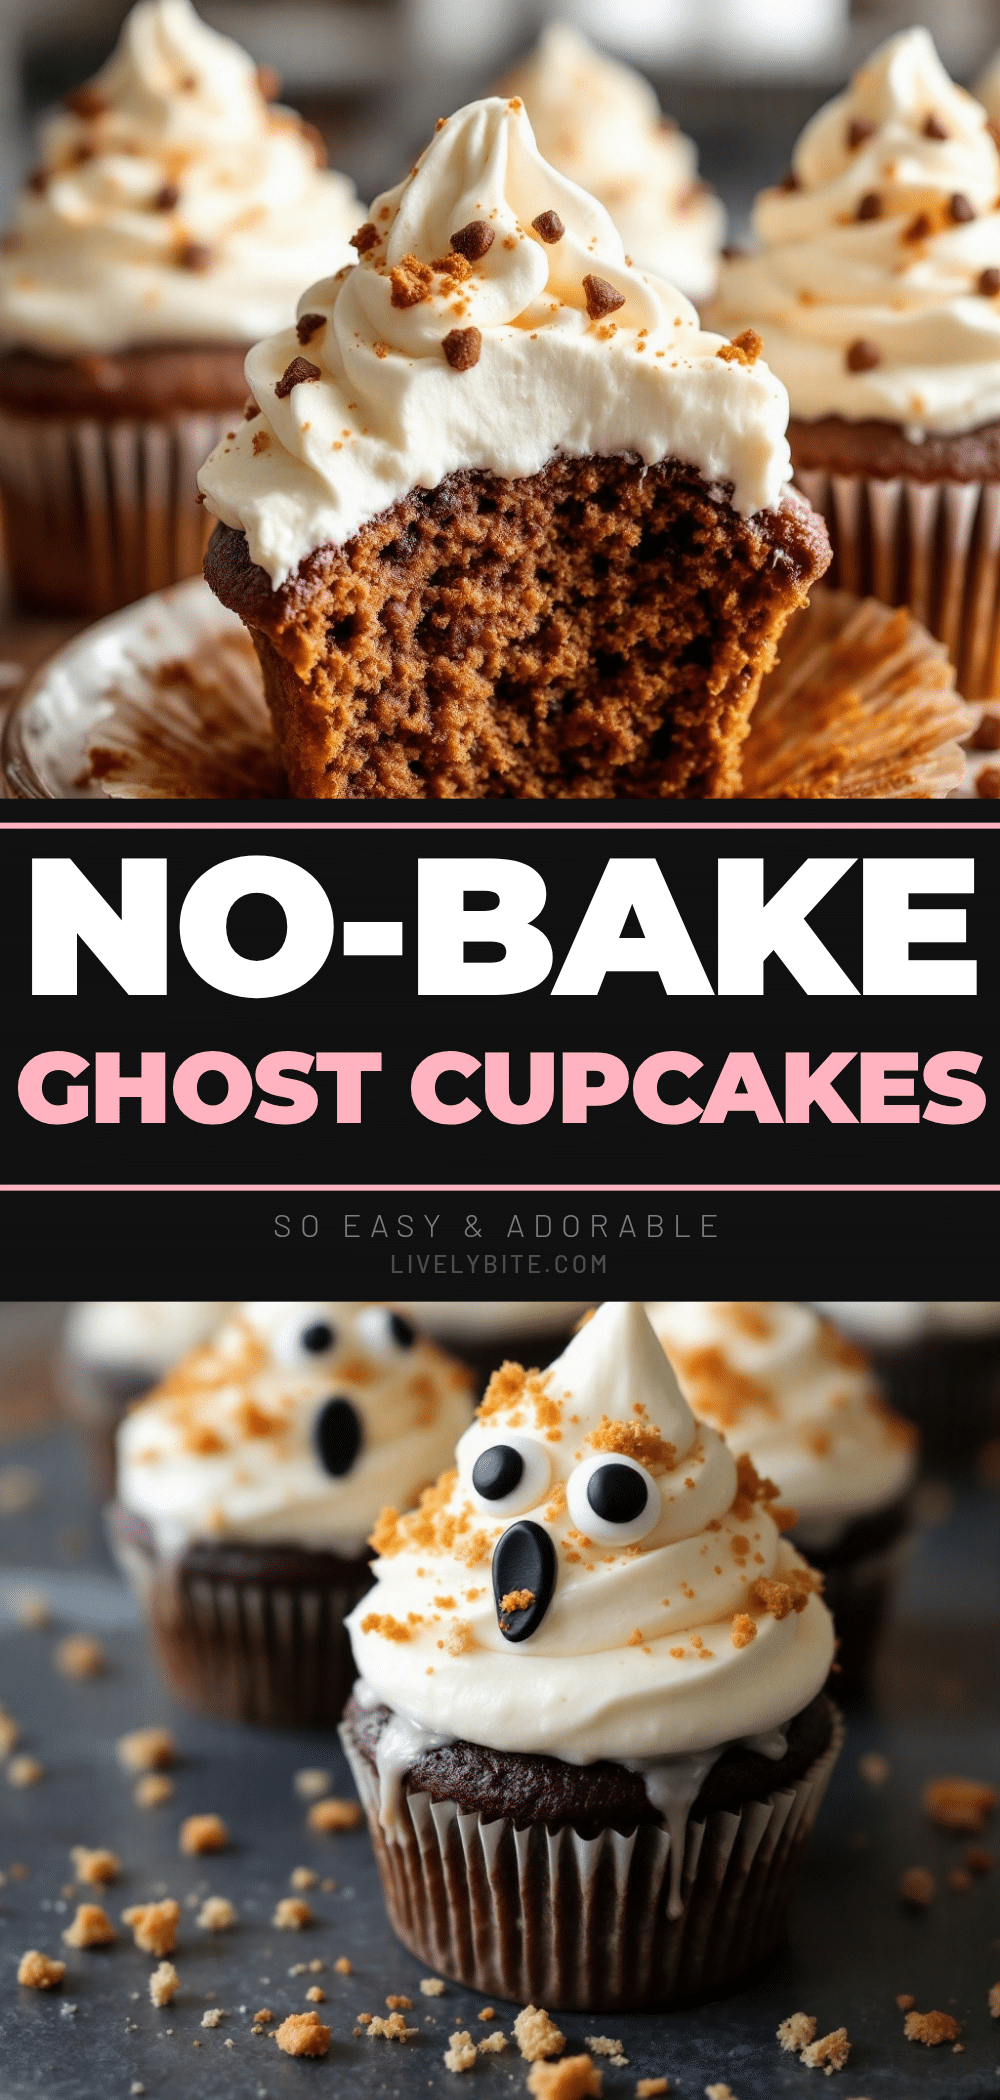
Easy No-Bake Ghost Cupcakes: Best Halloween Treat
These no-bake ghost cupcakes are a quick and easy Halloween treat made in the microwave with a boxed cake mix and fluffy marshmallow frosting. Perfect for last-minute parties or fun with kids, they’re cute, delicious, and require no oven.
- Prep Time: 15 minutes
- Cook Time: 2 minutes per cupcake
- Total Time: 20 minutes (plus cooling time)
- Yield: 12 servings 1x
- Category: Dessert
- Cuisine: American
Ingredients
- 1 box vanilla cake mix (Pillsbury or Duncan Hines recommended)
- 1 cup water
- 1/2 cup vegetable oil
- 3 large eggs, room temperature
- 1 teaspoon vanilla extract
- 1 cup unsalted butter, softened
- 1 (7 oz) jar marshmallow creme
- 2 cups powdered sugar, sifted
- 1 teaspoon vanilla extract
- Pinch of salt
- 1 cup mini marshmallows
- Black decorating gel or mini chocolate chips
- Optional: white sanding sugar or edible glitter
Instructions
- In a large mixing bowl, combine the vanilla cake mix, water, vegetable oil, eggs, and vanilla extract. Whisk until smooth, about 2 minutes.
- Line microwave-safe mugs or a muffin tin with paper liners. Fill each liner about halfway (for mugs) or two-thirds full (for muffin tin).
- Microwave one cupcake at a time on high for 1 minute 30 seconds to 2 minutes. Start checking at 1 minute 30 seconds; the cupcake should be set on top and spring back when lightly touched. Cook in 15-second increments if needed. Let cool completely on a wire rack, about 20 minutes.
- While cupcakes cool, make the frosting: In a large bowl, beat softened butter with an electric mixer until creamy and pale, about 3 minutes. Add marshmallow creme and beat until combined. Gradually add sifted powdered sugar, about 1/2 cup at a time, beating on low speed. Add vanilla extract and salt, then beat on medium-high speed for 2-3 minutes until light and fluffy.
- Once cupcakes are completely cool, spoon frosting into a piping bag or zip-top bag with a snipped corner. Pipe a generous swirl on top of each cupcake, starting from the outside and working inward.
- Gently press one mini marshmallow into the top of each frosting swirl to form the ghost’s head. Center it and adjust if needed.
- Use black decorating gel or mini chocolate chips to add two eyes and a mouth to each marshmallow head. Make eyes slightly different sizes for a goofy look.
- Optional: Lightly dust ghosts with white sanding sugar or edible glitter for a sparkly finish.
Notes
Use paper liners, not silicone, for best shape. Cool cupcakes completely before frosting to prevent melting. Use fresh, soft mini marshmallows for the ghost heads. For dairy-free, use plant-based butter and check cake mix. For gluten-free, use a gluten-free cake mix.
Nutrition
- Serving Size: 1 cupcake
- Calories: 320
- Sugar: 32
- Sodium: 280
- Fat: 16
- Saturated Fat: 8
- Carbohydrates: 44
- Protein: 3
Keywords: no-bake ghost cupcakes, Halloween cupcakes, easy Halloween treat, microwave cupcakes, marshmallow frosting, ghost cupcakes, kid-friendly Halloween recipe


