By the fourth time I made these no-bake Christmas Oreo balls this year, my kitchen looked like a sugar factory had exploded. I’m talking red sprinkles in the floorboards. White chocolate smudges on the counter backsplash. A trail of crushed cookie crumbs leading from the mixing bowl to the fridge like a breadcrumb path for a very sweet, very chaotic fairy tale.
Honestly, I didn’t plan to make them four times. The first batch was just an impulse buy at 10 PM on a Tuesday. I wanted something sweet that didn’t require turning on the oven. The second batch was because the first ones disappeared too fast, and my kids had developed a hunger that defied biological laws. The third was a panic move when I realized I hadn’t prepped any treats for the office party until the morning of. And this fourth batch? Let’s face it, I just like the rhythm of it. The way the cookies crumble. The way the cream cheese binds it all together into this dense, fudgy little sphere.
I keep going back to it because it’s the only thing that feels under control when the holidays get loud. You know how it is. The decorations are half-up. The grocery list is three pages long. And suddenly, you just need ten minutes where the only decision you have to make is “red or green sprinkles?” There is a meditative quality to rolling these balls. It’s repetitive. It’s mindless. It’s perfect.
People ask me why I bother with no-bake desserts when I love baking. The answer is simple: I don’t have the energy to wait for cooling racks. I don’t want to deal with oven temperature fluctuations. I want something that tastes like Christmas, looks festive, and doesn’t require a degree in pastry arts to execute. These Oreo balls are my reset button. They are my “I can handle this” moment in a sea of chaos.
I started making them because I needed a quick fix. I stayed making them because they actually taste good. Like, really good. The contrast of the crunchy cookie and the smooth, creamy center is weirdly sophisticated for something made with store-bought ingredients. And the coating? That’s the part that makes you feel like a pro. One minute you’re holding a lopsided ball of dough, and the next you’re dipping it into melted white chocolate and watching it turn into a holiday masterpiece.
It’s not about perfection. It’s about the process. It’s about standing in your kitchen, eating a spoonful of cream cheese filling (don’t judge me), and feeling a little bit of joy. That’s what stuck with me. Not the recipe itself, but the quiet little victory of having something sweet ready to go without any stress.
Now, if you’ll excuse me, I have to go clean the red sprinkles out of the grout before my husband notices. But first, let’s talk about why you’re going to want to make these, too.
Why You’ll Love This Recipe
Let’s be real for a second. Most holiday desserts require a lot of effort for a lot of waiting. You bake the cookies. You let them cool. You make the frosting. You wait some more. Then you decorate. By the time you’re done, you’re tired, and the kids have already eaten the raw dough. This no-bake Christmas Oreo balls recipe flips that script entirely. It’s fast, it’s forgiving, and it tastes like comfort food wrapped in a candy cane.
Here is why this specific version stands out from the hundreds of Oreo ball recipes out there:
- Zero Oven Required: This is huge for me. In December, my kitchen is already hot. I don’t need an oven heating up the whole house. This recipe uses the fridge as your oven, which keeps the house cool and your sanity intact. It comes together in under 30 minutes of active time, perfect for those last-minute holiday parties or when you just need a sweet fix after dinner.
- Pantry Staples & Simple Ingredients: You likely have everything you need right now. Oreos, cream cheese, white chocolate, and sprinkles. No fancy grocery trips. No hunting for obscure spices. It’s straightforward, wholesome (in a dessert way), and easy to substitute. If you are out of white chocolate, milk chocolate works. If you don’t have sprinkles, crushed peppermint candy adds a nice crunch.
- Perfect for Holiday Gifting: These are the ultimate edible gift. They look professional, they taste expensive, and they are easy to package. I’ve given these in tins to neighbors, teachers, and coworkers. They always get rave reviews. Kids love the sweetness, and adults appreciate the not-too-sweet balance of the cream cheese.
- Crowd-Pleaser Status: I’ve made these for large gatherings, and they vanish in minutes. They are bite-sized, so people can have two without feeling guilty. They are easy to eat while standing up and mingling. There is no fork needed. No mess. Just pure, festive joy.
- Unbelievably Delicious Texture: The texture is the star here. The crushed Oreos provide a slight crunch, while the cream cheese filling is smooth and rich. The white chocolate coating adds a snap that contrasts beautifully with the soft interior. It’s next-level comfort food that feels like a hug in mouth form.
What makes this recipe different from the rest is the balance. A lot of no-bake recipes are just sweet-on-sweet. This one has the tang of the cream cheese to cut through the sugar. It’s not just good—it’s the kind of treat that makes you close your eyes after the first bite. It’s comfort food reimagined for the holiday season. Faster, easier, but with the same soul-soothing satisfaction. Perfect for impressing guests without stress, or turning a simple Tuesday night into something memorable.
What Ingredients You Will Need
This recipe uses simple, wholesome ingredients to deliver bold flavor and satisfying texture without the fuss. You don’t need high-end baking supplies. You just need quality basics. The beauty of this recipe is that the fewer ingredients you have, the more each one matters. So, let’s break down what you need and why.
- 1 package (14.3 oz) Oreo Cookies: The classic chocolate sandwich cookies are the base. You can use regular Oreos, or if you want a twist, try double-stuff for a richer center. For a gluten-free option, you can use gluten-free chocolate sandwich cookies, but be aware that the texture might be slightly more crumbly. I recommend standard Oreos for the best structural integrity.
- 8 oz cream cheese, softened: This is the binder and the flavor balancer. It adds tang and richness. It is crucial that the cream cheese is softened to room temperature. If it’s cold, you’ll get lumps. If it’s melted, the mixture will be too wet. Softened means it should yield to gentle pressure. I prefer full-fat cream cheese for the best texture, but low-fat works in a pinch.
- 1 cup white chocolate chips: For the coating. Use high-quality white chocolate chips for a smoother melt and better flavor. Standard chips work, but they can sometimes be waxier. If you want a more natural option, you can use white chocolate bars chopped into small pieces. Avoid using white chocolate melting wafes unless you are experienced, as they can set too hard.
- 1-2 tablespoons coconut oil or vegetable shortening: This is added to the melted white chocolate. It thins the chocolate slightly, making it easier to dip, and helps it set with a nice shine. Coconut oil adds a subtle flavor, while shortening is neutral. I usually use coconut oil for that extra holiday warmth.
- Christmas sprinkles or nonpareils: For decoration. Red and green are classic, but white nonpareils look elegant against the white chocolate. You can use any holiday-themed sprinkles you have on hand. This is where you can get creative and match your home decor.
- Optional: Crushed candy canes or red/green sanding sugar: For added texture and visual appeal. Crushed candy canes add a minty crunch that pairs well with the chocolate. Sanding sugar adds a subtle sparkle.
Keep this section scannable. You don’t need to overthink the ingredients. Just grab them, and let’s get started. The simplicity is the point.
Equipment Needed
You don’t need a fancy kitchen to make these. Just a few basic tools that most people already have.
- Food processor or Ziploc bag and rolling pin: You need to crush the Oreos into fine crumbs. A food processor is the fastest way, taking about 30 seconds. If you don’t have one, put the cookies in a heavy-duty Ziploc bag and crush them with a rolling pin. It takes a bit of arm strength, but it’s satisfying.
- Mixing bowl: A medium-sized bowl to combine the cookie crumbs and cream cheese. A large bowl is better if you are mixing by hand, as it gives you more room to work.
- Silicone spatula: Essential for scraping the bowl and mixing the cream cheese smoothly. A flexible spatula works best.
- Baking sheet lined with parchment paper: To place the rolled balls on while they chill. Parchment paper prevents sticking and makes cleanup a breeze. Wax paper can work in a pinch, but it might stick if the chocolate is still warm.
- Heat-proof bowl or microwave-safe bowl: For melting the white chocolate. If using a microwave, use a bowl that is large enough to stir without spilling.
- Fork or dipping tool: To dip the balls into the chocolate. A fork works well, but a dedicated dipping tool or even chopsticks can give you more control.
- Small spoon: To drizzle extra chocolate or sprinkle toppings.
Budget-friendly tip: You don’t need to buy special equipment. A Ziploc bag and a rolling pin are cheap and effective. A standard mixing bowl and fork are all you need. Keep it simple.
Preparation Method
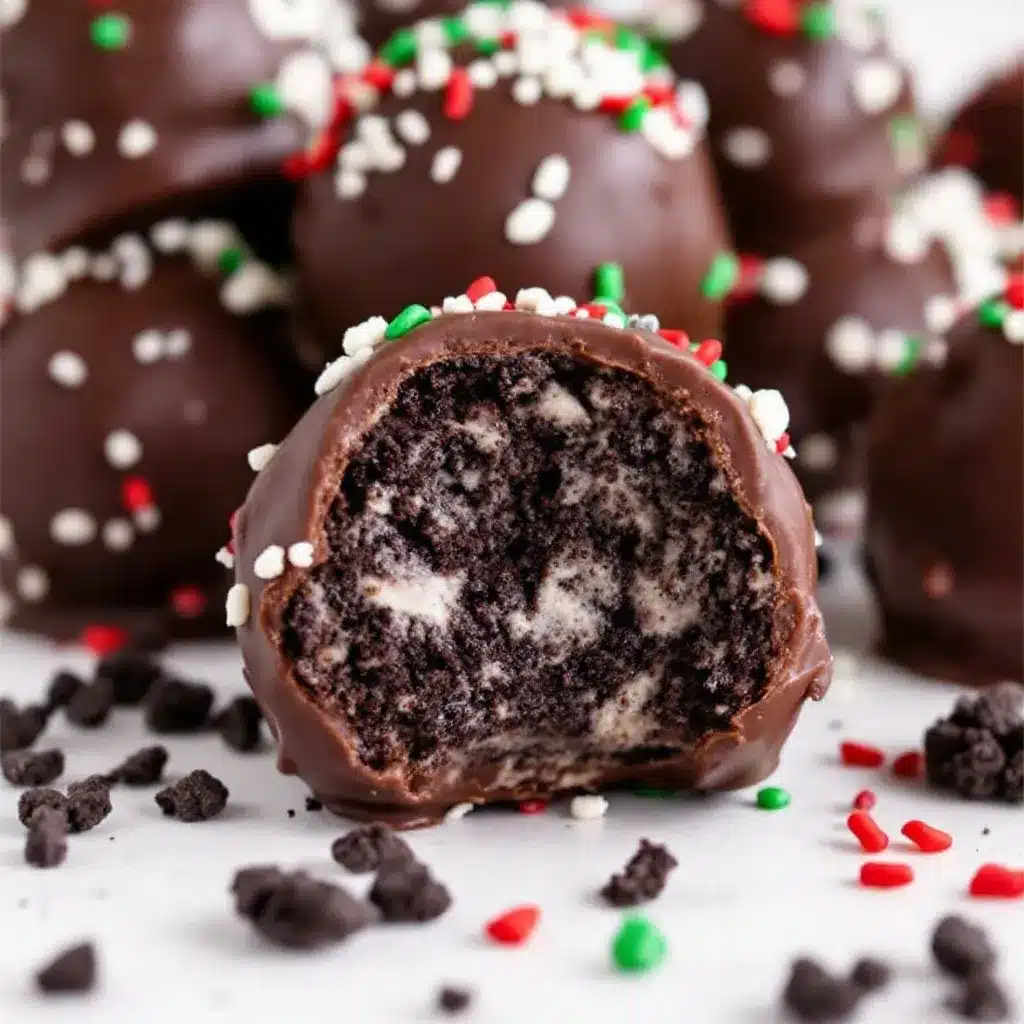
Let’s walk through the steps. It’s straightforward, but there are a few tricks to get it right.
- Crush the Oreos (5 minutes): Place the Oreo cookies in a food processor. Pulse until they are fine crumbs. If you don’t have a food processor, put the cookies in a Ziploc bag, remove the air, and crush them with a rolling pin until they are sandy. Be careful not to over-process if you want some texture, but fine crumbs are best for binding. Transfer the crumbs to a large mixing bowl.
- Combine with Cream Cheese (3 minutes): Add the softened cream cheese to the cookie crumbs. Mix with a spatula or your hands until fully combined. The mixture should look like dark, damp sand. If it’s too dry, add a teaspoon of milk. If it’s too wet, add a few more crumbs. The goal is a dough that holds its shape when rolled.
- Chill the Mixture (20-30 minutes): Cover the bowl with plastic wrap and refrigerate for at least 20 minutes. This step is crucial. It firms up the cream cheese, making the mixture easier to roll. Don’t skip this, or you’ll end up with sticky messes on your hands.
- Roll into Balls (10 minutes): Take a small amount of the mixture (about 1 tablespoon) and roll it between your palms to form a smooth ball. Place it on the parchment-lined baking sheet. Repeat with the remaining mixture. You should get about 24-30 balls, depending on size. Try to make them uniform for even coating.
- Freeze the Balls (15 minutes): Place the baking sheet in the freezer for 15 minutes. This firms up the balls, making them easier to dip without breaking. This is a pro tip that saves you from frustration.
- Melt the White Chocolate (5 minutes): Place the white chocolate chips and coconut oil in a heat-proof bowl. Microwave in 30-second intervals, stirring between each, until smooth. Alternatively, use a double boiler on the stove. Do not overheat, or the chocolate will seize. It should be fluid and glossy.
- Dip the Balls (10 minutes): Remove the balls from the freezer. Using a fork, lower a ball into the melted chocolate. Coat it completely, letting excess chocolate drip off. Lift it out and tap the fork gently to remove excess. Place it back on the parchment paper. Immediately sprinkle with Christmas sprinkles or crushed candy canes before the chocolate sets.
- Set and Serve: Let the coated balls sit at room temperature for 10 minutes, or place them in the fridge for 5 minutes to set the chocolate. Once set, they are ready to eat or store.
Cooking Tips & Techniques
Getting the texture right is the hardest part of no-bake desserts. Here are some tips to avoid common mistakes.
- Softened Cream Cheese is Key: If your cream cheese is cold, it won’t mix evenly. Leave it on the counter for an hour before starting. If you’re in a rush, you can microwave it in 5-second bursts, but watch it closely. You want it soft, not melted.
- Don’t Rush the Chill: I know it’s tempting to skip the chill step. Don’t. Warm dough sticks to your hands. It makes rolling impossible. The 20-minute chill in the fridge and 15-minute freeze are non-negotiable for clean balls.
- Temperature Control for Chocolate: White chocolate is sensitive. If it gets too hot, it becomes grainy. Melt it slowly. Stir often. If it starts to look dry, add a tiny bit more coconut oil.
- Work in Batches: Don’t melt all the chocolate at once if you are making a large batch. Melt half, dip half, then melt the rest. This keeps the chocolate at the right consistency throughout.
- Keep Your Hands Dry: If the dough is still sticky, wet your hands slightly with water. This prevents the dough from sticking to your skin. Dry hands can also work if the dough is firm enough.
Variations & Adaptations
While the classic version is great, here are some ways to customize it.
- Mint Chocolate Chip: Add 1/2 teaspoon of peppermint extract to the cream cheese mixture. Use green sprinkles or crushed candy canes for decoration.
- Red Velvet: Replace half of the Oreos with red velvet cake mix. Add a teaspoon of red food coloring to the cream cheese. Use red sprinkles.
- Gluten-Free: Use gluten-free chocolate sandwich cookies. Ensure your white chocolate and sprinkles are also gluten-free.
- Dairy-Free: Use dairy-free cream cheese and dairy-free white chocolate chips. Coconut oil works well here too.
- Low-Sugar: Use sugar-free Oreos and sugar-free white chocolate chips. The taste will be different, but it’s a good option for those watching sugar intake.
I’ve tried the mint version, and it’s my favorite. The minty crunch from the candy canes is amazing.
Serving & Storage Suggestions
These balls are best served chilled. They hold their shape better and the flavors are more pronounced.
- Storage: Store in an airtight container in the refrigerator for up to 1 week. You can also freeze them for up to 3 months. Thaw in the fridge overnight before serving.
- Presentation: Arrange them in a festive tin or cupcake liners. They look beautiful in red and green paper liners.
- Pairing: Serve with hot cocoa, coffee, or milk. The sweetness pairs well with bitter coffee.
- Flavors Over Time: The flavors meld together after a day in the fridge. They taste even better the next day.
Nutritional Information & Benefits
These treats are indulgent, but here is a rough estimate of the nutrition per ball:
- Calories: 150-180 kcal
- Fat: 10-12g
- Carbs: 15-18g
- Sugar: 12-15g
- Protein: 2-3g
They contain dairy and gluten. For those with allergies, use substitutions as noted above. From a wellness perspective, these are occasional treats. They provide quick energy and mood-boosting sugar, but should be enjoyed in moderation. I like to think of them as a mindful indulgence—a small moment of joy in a busy season.
Conclusion
These no-bake Christmas Oreo balls are worth trying. They are easy, delicious, and perfect for the holidays. Customize them to your taste. Make them your own. I love this recipe because it brings me joy without stress. It’s simple, it’s festive, and it tastes like home.
Try them out and let me know how you like them. Share your photos or variations in the comments below. Happy baking, or should I say, happy no-baking!
FAQs
Can I use different cookies besides Oreos?
Yes, you can use any chocolate sandwich cookies. Golden Oreos work well for a milder flavor. You can also use gingerbread cookies for a spicier twist.
How long do they last in the fridge?
They last up to 1 week in an airtight container. After that, they may start to dry out or lose their texture.
Can I make them ahead of time?
Yes, they can be made up to 3 days in advance. Store them in the fridge. They also freeze well for up to 3 months.
Why did my chocolate seize?
Chocolate seizes when it gets too hot or comes into contact with water. Melt it slowly and ensure all tools are dry.
Can I use dark chocolate instead of white?
Yes, dark chocolate works well. It adds a less sweet, more sophisticated flavor. Adjust the sprinkles to match.
Pin This Recipe!
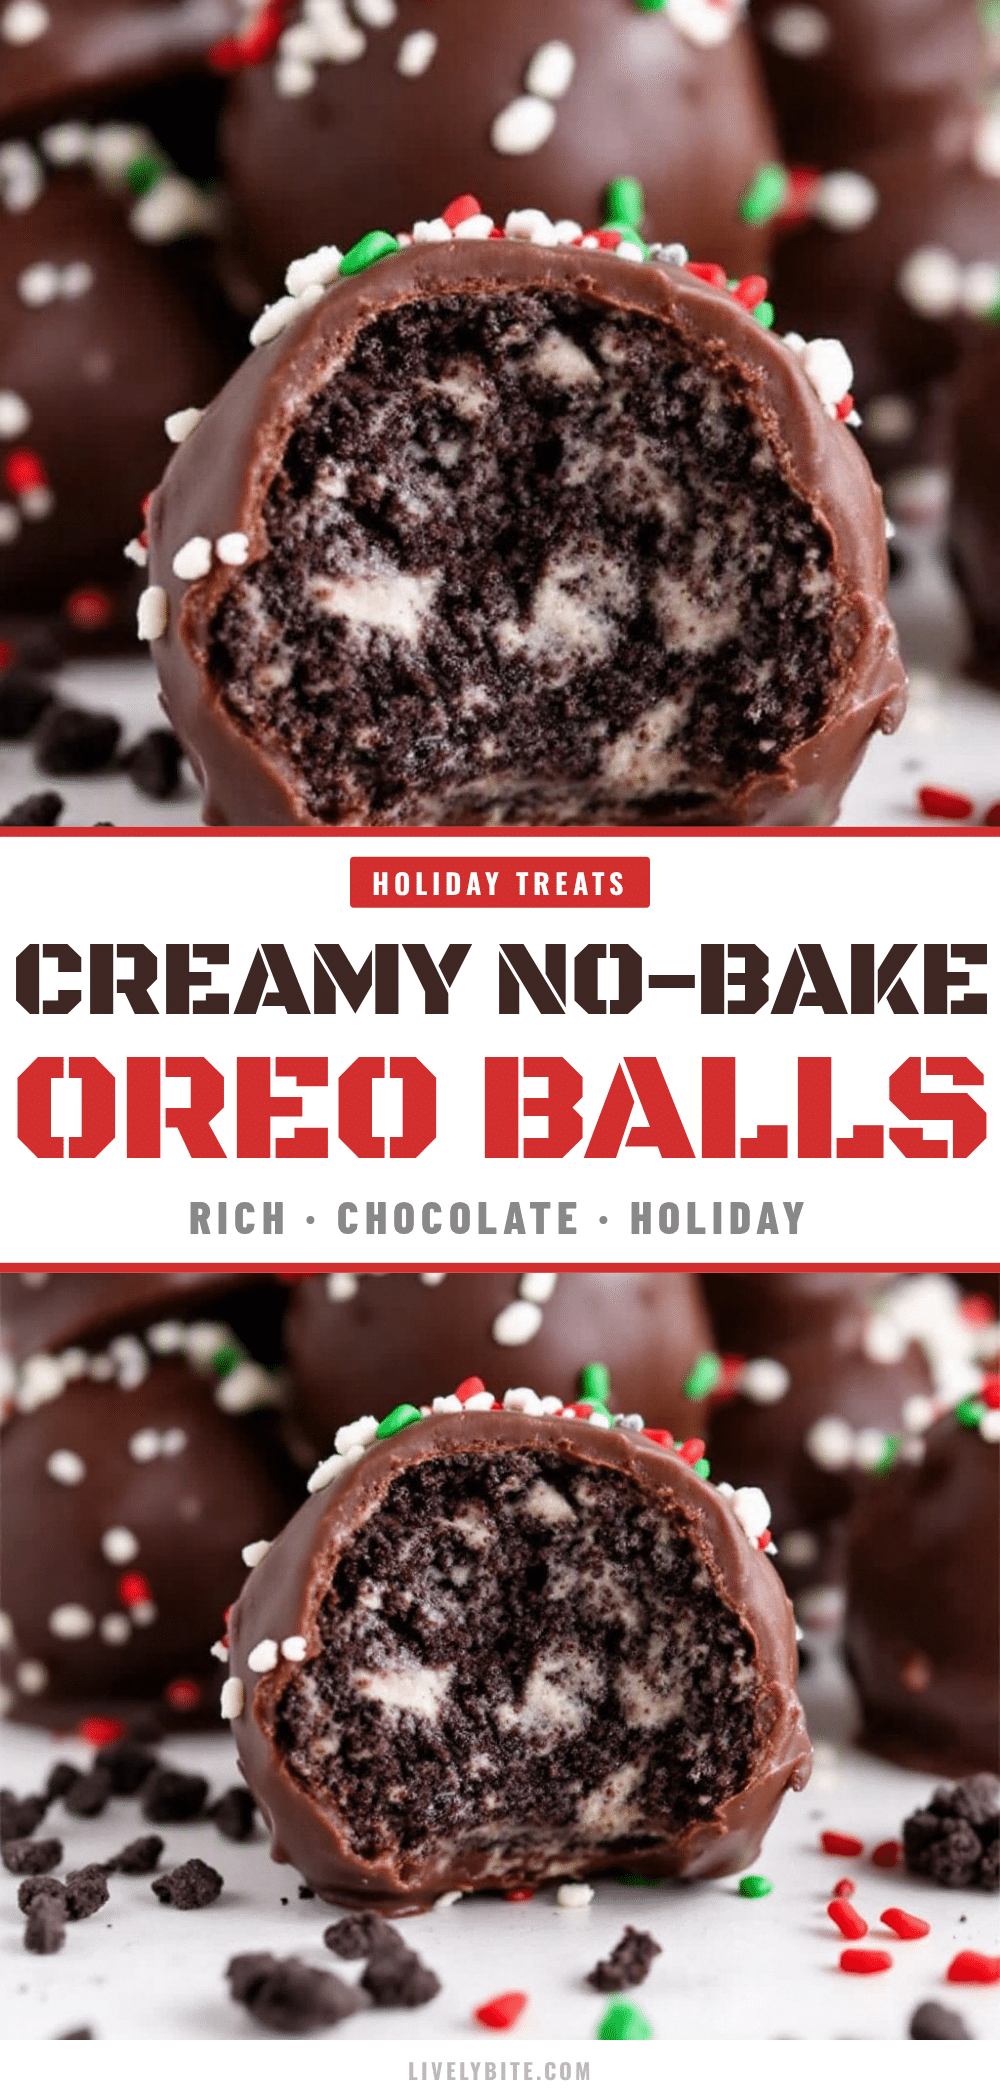
Easy No-Bake Christmas Oreo Balls: Best 5-Minute Holiday Treat

These festive no-bake Oreo balls are a quick, stress-free holiday treat made with crushed cookies, cream cheese, and a white chocolate coating. Perfect for gifting or last-minute parties, they offer a rich, fudgy texture with minimal effort.
- Prep Time: 30 minutes
- Cook Time: 0 minutes
- Total Time: 30 minutes
- Yield: 24-30 servings 1x
- Category: Dessert
- Cuisine: American
Ingredients
- 1 package (14.3 oz) Oreo Cookies
- 8 oz cream cheese, softened
- 1 cup white chocolate chips
- 1–2 tablespoons coconut oil or vegetable shortening
- Christmas sprinkles or nonpareils
- Optional: Crushed candy canes or red/green sanding sugar
Instructions
- Crush the Oreo cookies into fine crumbs using a food processor or a Ziploc bag and rolling pin. Transfer crumbs to a large mixing bowl.
- Add the softened cream cheese to the cookie crumbs and mix with a spatula or hands until fully combined. The mixture should resemble dark, damp sand.
- Cover the bowl with plastic wrap and refrigerate for at least 20 minutes to firm up the mixture.
- Roll the mixture into small balls (about 1 tablespoon each) and place them on a parchment-lined baking sheet.
- Freeze the balls for 15 minutes to firm them up for dipping.
- Melt the white chocolate chips and coconut oil in a heat-proof bowl using microwave intervals or a double boiler until smooth.
- Dip each frozen ball into the melted chocolate, coating completely. Tap off excess chocolate and place back on the parchment paper.
- Immediately sprinkle with Christmas sprinkles or crushed candy canes before the chocolate sets.
- Let the coated balls sit at room temperature for 10 minutes or refrigerate for 5 minutes to set the chocolate before serving.
Notes
Ensure cream cheese is softened to room temperature to avoid lumps. Do not skip the chilling/freezing steps as they are crucial for rolling and dipping. If chocolate seizes, it may have gotten too hot or come into contact with water. Melt chocolate slowly and stir often.
Nutrition
- Serving Size: 1 ball
- Calories: 165
- Sugar: 13
- Sodium: 120
- Fat: 11
- Saturated Fat: 7
- Carbohydrates: 16
- Fiber: 1
- Protein: 2.5
Keywords: no-bake, Christmas treats, Oreo balls, holiday dessert, easy recipes, white chocolate, cream cheese, festive snacks


