I need a Halloween dessert that doesn’t make me turn on the oven. It’s not even a debate in my head—October is already chaotic enough with costume planning, pumpkin carving, and trying to figure out how to keep my kids from eating all their candy before the actual holiday. So when I tell you these Easy Halloween Dirt Cups with Gummy Worms came together in my kitchen on a random Tuesday night while I was half-watching a horror movie, I mean it. I had chocolate pudding, some Oreos I was definitely not planning to share, and a bag of gummy worms that I bought “for the kids.” The idea felt almost too simple—crushed cookies that look like soil, creamy pudding that tastes like childhood, and those silly little worms poking out like they’re trying to escape. But honestly? That’s exactly why it works. No baking, no stress, just a dessert that looks like you spent way more effort than you actually did. I made the first batch as a test run for a Halloween party, and my husband walked through the kitchen, grabbed one, and said, “Wait, these are for the kids, right?” before eating two more. That’s when I knew this recipe was sticking around.
Why You’ll Love This Recipe
Let me be real with you for a second—there are a million dirt cup recipes out there, but this one actually delivers on the promise of being both easy and impressive. I’ve tested this version multiple times, tweaking the ratios until the texture felt just right. Here’s why I keep coming back to it:
- Quick & Easy: You can have these assembled in under 10 minutes. No joke. If you’re running late for a party or your kid just announced they need treats for class tomorrow, this is your save.
- Simple Ingredients: Chocolate pudding mix, milk, Oreos, gummy worms, and maybe some whipped cream if you’re feeling fancy. That’s it. No weird specialty items required.
- Perfect for Halloween: Whether it’s a classroom party, a spooky movie night, or just a fun weekend activity with the kids, these fit the vibe without any fuss.
- Crowd-Pleaser: I’ve served these to adults who rolled their eyes at the concept and then quietly asked for seconds. The nostalgia factor is real.
- Unbelievably Delicious: The combination of creamy pudding, crunchy cookie “dirt,” and chewy gummy worms hits every texture note you could want. It’s comfort food disguised as a craft project.
What makes this version different from the rest? It’s the ratio. Most recipes skimp on the cookie layer or end up with pudding that’s too runny. I’ve dialed in the perfect balance so every spoonful gives you that satisfying crunch against the silky chocolate. Plus, I use a little trick with the pudding that keeps it from getting watery overnight—because let’s face it, leftovers are inevitable. This isn’t just another Halloween dessert; it’s the one that makes people close their eyes and go “mm” before they even realize what they’re eating.
What Ingredients You Will Need
This recipe relies on simple, everyday ingredients to create something that feels special without the hassle. Most of these are probably already in your pantry, which is exactly how I like it.
- Chocolate Instant Pudding Mix (3.4 oz box): I use Jell-O brand because it sets up reliably every time. Don’t use cook-and-serve pudding—it’s too thick and doesn’t give that creamy, spoonable texture we’re after.
- Cold Milk (2 cups): Whole milk gives the richest result, but 2% works fine. For a dairy-free version, oat milk is my go-to because it’s creamy enough without being watery. Avoid skim milk—the pudding won’t set properly.
- Oreo Cookies (about 20-24 cookies): Regular Oreos are perfect because the dark cookie crumb looks exactly like soil. You can use Double Stuf if that’s what you have, but the filling makes the crumbs slightly stickier. Golden Oreos won’t give you that dark “dirt” look, so stick with classic.
- Gummy Worms (about 12-16 worms): Trolli or Black Forest brands hold up well and don’t get too hard when refrigerated. Avoid the sour-coated ones unless you want a weird flavor contrast with the sweet pudding.
- Whipped Topping (optional, 1 cup): Cool Whip or homemade whipped cream adds a nice lightness. I often skip it for a simpler version, but it does make the cups feel more decadent.
- Small Clear Cups (6-8 oz size): These make the presentation pop because you can see the layers. Plastic or glass both work—just make sure they’re transparent.
Ingredient Selection Tips: When buying gummy worms, look for vibrant colors that will stand out against the dark “dirt.” The red and green ones tend to show up best. For the Oreos, I recommend the original variety—they crush more evenly and give that authentic soil texture. If you’re using a store brand, just check that the cookie part is dark enough to look like dirt once crushed.
Equipment Needed
You don’t need much for this recipe, which is honestly my favorite part. Here’s what you’ll need:
- Electric Mixer or Whisk: A hand mixer makes quick work of the pudding, but a sturdy whisk works too—just expect a little arm workout.
- Large Mixing Bowl: For the pudding. Any bowl works, just make sure it’s big enough to whisk without splashing.
- Ziploc Bag or Food Processor: For crushing the Oreos. A rolling pin over a sealed bag is my preferred method because it’s oddly satisfying and keeps the mess contained.
- Measuring Cups and Spoons: For the milk. Eyeballing it can lead to pudding that’s too runny.
- Spatula: For scraping every last bit of pudding into the cups. Waste not, want not.
- Small Clear Cups (6-8 oz): I buy these in bulk from the grocery store. They’re cheap and make the dessert look like something from a bakery.
- Spoon or Small Cookie Scoop: For layering the cookie crumbs neatly. A scoop keeps things tidy.
Budget-Friendly Options: If you don’t have clear cups, small mason jars or even repurposed yogurt containers work. The visual effect isn’t quite the same, but the taste doesn’t change. I’ve also used a coffee mug in a pinch—no judgment here.
Preparation Method
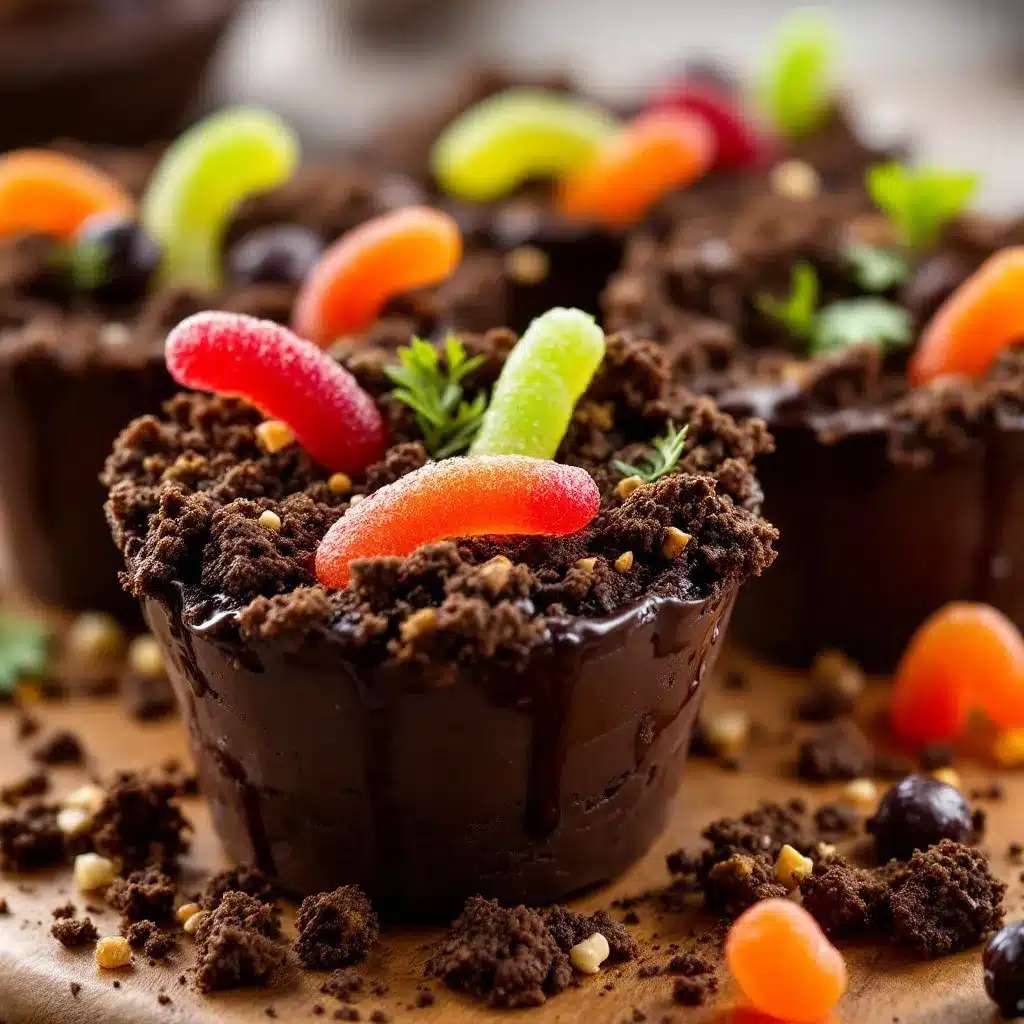
Alright, let’s get into the actual process. I’ve broken this down so even a kitchen novice can nail it on the first try.
- Make the pudding: In a large bowl, combine the chocolate instant pudding mix with 2 cups of cold milk. Whisk vigorously for about 2 minutes, or use an electric mixer on low speed. The mixture will start to thicken almost immediately. Let it sit for 5 minutes to set completely. Pro tip: If you’re in a hurry, use ice-cold milk—it speeds up the setting process.
- Crush the Oreos: While the pudding sets, place the Oreos in a sealed Ziploc bag. Use a rolling pin or even the bottom of a heavy pan to crush them into fine crumbs. You want the texture of coarse sand—not powder, but not big chunks either. If you’re using a food processor, pulse in short bursts to avoid over-processing. Sensory cue: You should see dark, soil-like crumbs with tiny specks of white from the filling.
- Layer the cups: Spoon about 2 tablespoons of crushed Oreos into the bottom of each cup. Press down gently with the back of a spoon to create an even base layer. This helps prevent the crumbs from floating up into the pudding.
- Add the pudding: Divide the prepared pudding evenly among the cups, filling them about three-quarters full. Leave some room at the top for the final cookie layer. Troubleshooting tip: If your pudding seems too runny after 5 minutes, it might need more time. Give it another 2-3 minutes of sitting time.
- Top with more “dirt”: Sprinkle another 1-2 tablespoons of crushed Oreos over the pudding layer. This creates the topsoil effect. Don’t press down this time—you want it to look loose and natural.
- Add the gummy worms: Gently poke 2-3 gummy worms into each cup so they’re partially buried in the cookie crumbs. Arrange them at different angles so it looks like they’re crawling out. Some can be fully submerged with just a head poking up, while others can be draped over the edge. Personal tip: I like to twist one worm around the rim of the cup for extra drama.
- Chill (optional but recommended): Refrigerate the cups for at least 30 minutes before serving. This helps the flavors meld and makes the texture even better. If you’re serving immediately, they’ll still taste great, but the pudding will be softer.
- Garnish and serve: If you’re using whipped cream, add a dollop on top before the final cookie layer. You can also add extra gummy worms or even some candy eyeballs for a spookier look. Serve cold.
Time estimates: Active prep time is about 10 minutes total. If you’re chilling them, factor in an extra 30 minutes to 2 hours. The pudding itself sets in 5 minutes, so this is genuinely one of the fastest desserts I’ve ever made.
Cooking Tips & Techniques
After making these dirt cups about a dozen times (for various parties, school events, and one memorable occasion where I just really needed chocolate), I’ve picked up a few tricks that make a real difference.
The Oreo crushing technique: This matters more than you’d think. If you crush the cookies too fine, they turn into a paste that doesn’t look like dirt. Too coarse, and you get chunks that feel weird against the smooth pudding. I aim for crumbs that are about the size of coarse sand. The filling naturally breaks down and mixes in, which gives the “dirt” that slightly clumpy texture you see in real soil.
My biggest failure: The first time I made these, I used fat-free milk and sugar-free pudding mix. The result was a watery, sad mess that didn’t set properly and tasted like regret. Lesson learned—full-fat ingredients matter here. The pudding needs the fat to achieve that silky texture, and the sugar helps with the structure. If you’re looking for a healthier version, this might not be the recipe for you, and that’s okay.
Timing strategy: I always make the pudding first and let it set while I crush the cookies. This way, both components are ready at the same time. If you’re making these for a party, assemble them the night before and keep them covered in the fridge. The flavors actually get better overnight, and the cookie crumbs soften slightly, which mimics real dirt even more convincingly.
Consistency tip: If your pudding seems too thick after setting, whisk in a splash of milk. If it’s too thin, add a little more pudding mix (if you have extra) or just give it more time. Patience is the secret ingredient here.
Variations & Adaptations
One of the things I love about this recipe is how flexible it is. Here are some variations I’ve tried and loved:
- Peanut Butter Dirt Cups: Swirl 2 tablespoons of creamy peanut butter into the pudding before layering. The salty-sweet combo is incredible. Just make sure your peanut butter is room temperature so it blends smoothly.
- Vegan Version: Use a vegan chocolate pudding mix (Simply Delish makes a good one) and plant-based milk. For the cookies, Oreos are actually vegan-friendly! Use coconut whipped cream if you want that extra layer.
- Spooky Spider Cups: Instead of gummy worms, use black licorice strings for spider legs and add a chocolate truffle or large marshmallow as the spider body. It’s a fun twist that looks terrifying in the best way.
- Individual Mini Cups: Use shot glasses or small condiment cups for bite-sized versions. These are perfect for parties where guests want to grab and go without committing to a full dessert.
- Gluten-Free Option: Use gluten-free chocolate sandwich cookies (Glutino makes a good one) and check your pudding mix label. Most instant pudding is gluten-free, but always verify.
I once made a batch with crushed graham crackers instead of Oreos because I ran out. It worked in a pinch, but the color was too light—it looked more like sand than dirt. Stick with dark cookies for the authentic effect.
Serving & Storage Suggestions
These dirt cups are best served cold, straight from the fridge. The contrast between the chilled pudding and the crunchy cookie crumbs is what makes them so satisfying. If you’re serving them at a party, take them out about 10 minutes before serving to take the chill off slightly—this brings out the chocolate flavor more.
Presentation ideas: Arrange the cups on a platter with extra gummy worms scattered around for a “worm farm” effect. You can also add a few plastic spiders or fake leaves for a more elaborate display. For a Halloween party, I like to label them with a small sign that says “Worm Farm” or “Graveyard Pudding.”
Storage: Cover the cups with plastic wrap or lids and refrigerate for up to 3 days. The cookie crumbs will soften over time, which some people actually prefer—it creates a more uniform “dirt” texture. I personally like them best on day two, when the flavors have fully melded.
Reheating: Don’t. These are meant to be served cold. If you need to refresh them after storage, add a thin layer of fresh cookie crumbs on top just before serving.
Freezing: I don’t recommend freezing these. The pudding becomes icy and the texture gets weird. Stick to refrigeration.
Nutritional Information & Benefits
Let’s be honest—this is a treat, not a health food. But here’s the breakdown if you’re curious:
- Calories per serving: Approximately 280-320 calories per cup (depending on toppings and milk choice)
- Protein: 4-5 grams from the milk and pudding mix
- Carbohydrates: 45-50 grams, mostly from sugar and cookies
- Fat: 12-15 grams, primarily from the cookies and any whipped cream
Health considerations: This recipe contains dairy and gluten. For allergen-friendly options, check the variations section above. The gummy worms may contain gelatin, so they’re not vegetarian. If you need a vegetarian option, look for pectin-based gummy candies.
Personal perspective: I don’t make these every week—they’re a special occasion thing. But when I do, I enjoy every single bite without guilt. Life’s too short to skip dessert, especially when it’s this fun. If you’re watching your sugar intake, you can use sugar-free pudding mix, but honestly? The full-sugar version tastes better. Moderation is key.
Frequently Asked Questions
Can I make these dirt cups ahead of time?
Absolutely. In fact, they taste better after a few hours in the fridge. Assemble them up to 24 hours in advance and keep them covered. The cookie crumbs will soften slightly, which some people prefer. Just add fresh crumbs on top right before serving if you want that crunch.
Can I use homemade chocolate pudding instead of instant mix?
You can, but it changes the texture. Homemade pudding is usually thicker and richer, which works fine, but it won’t set as firmly as instant pudding. If you go this route, let the pudding cool completely before layering to avoid melting the cookie crumbs.
How do I keep the gummy worms from getting hard in the fridge?
This is a common issue! The cold air can make gummy candies tough. To prevent this, don’t add the worms until just before serving. If you’re making them ahead, keep the worms separate and poke them in right before you serve. Alternatively, use softer gummy brands like Black Forest, which stay chewy even when chilled.
Can I use a different type of cookie?
Sure, but the color matters. Chocolate sandwich cookies work best because they create that dark “dirt” look. If you use golden Oreos or vanilla wafers, the effect is more “sand” than “soil.” Graham crackers can work in a pinch, but you’ll need to add cocoa powder to darken them up.
What size cups should I use?
Small clear cups between 6 and 8 ounces are ideal. They’re big enough for a satisfying portion but small enough that kids can finish them. Shot glasses work for mini versions, and mason jars are great for a more rustic look. Just adjust the layering amounts accordingly.
Conclusion
These Easy Halloween Dirt Cups with Gummy Worms are proof that you don’t need complicated techniques or fancy ingredients to create something memorable. They’re fun, fast, and genuinely delicious—a combination that’s harder to find than you’d think. I’ve made them for classroom parties, Halloween movie nights, and even a grown-up dinner party where they were the surprise hit of the evening. The best part? Watching people’s faces light up when they realize what’s in the cup. There’s something about that moment of discovery—the worms poking out, the dirt-like crumbs, the creamy chocolate underneath—that brings out the kid in everyone. So go ahead, grab some Oreos and gummy worms, and give these a try. And if you come up with your own twist (I’m always looking for new ideas), drop a comment below. I’d love to hear how yours turned out. Happy Halloween, and may your dessert be as spooky as it is sweet!
Pin This Recipe!
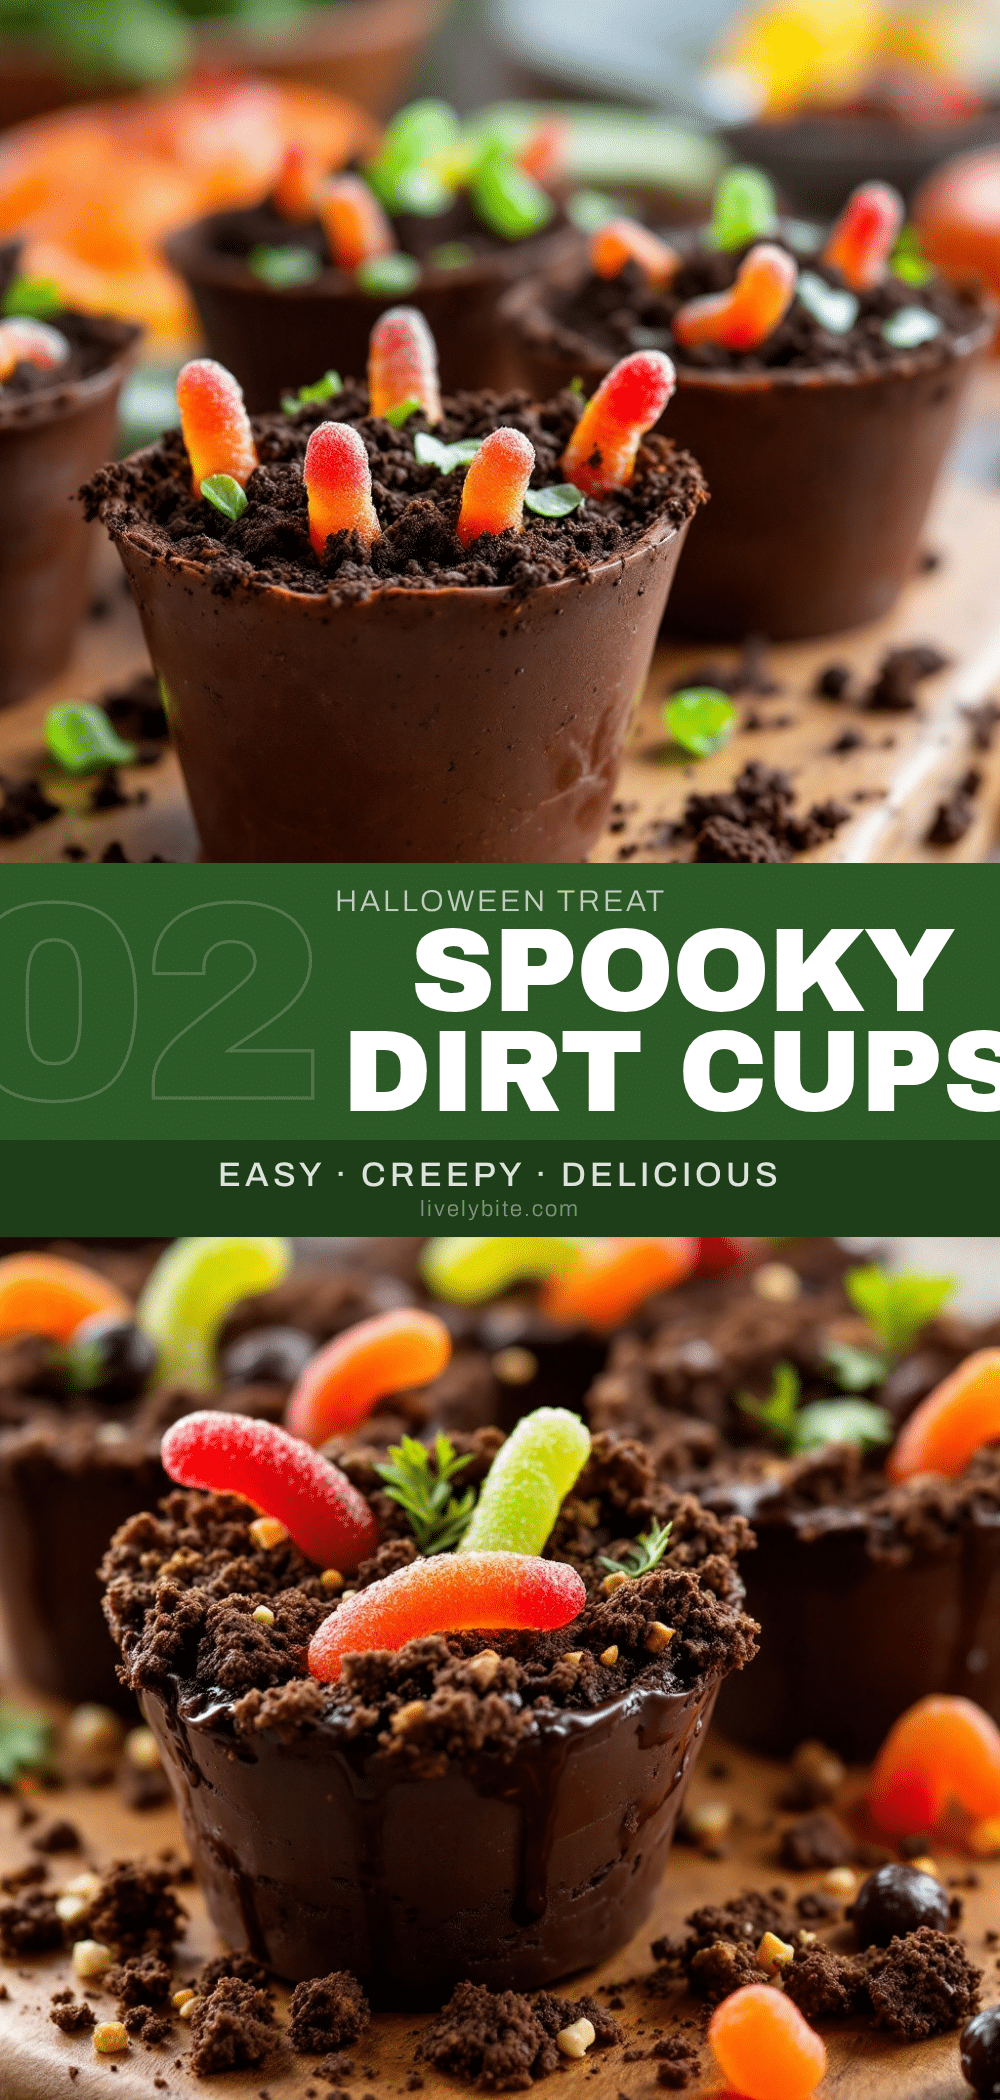
Easy Halloween Dirt Cups with Gummy Worms (Best 10-Minute Dessert)
These no-bake Halloween dirt cups combine creamy chocolate pudding, crushed Oreo ‘dirt,’ and gummy worms for a fun, spooky treat that comes together in just 10 minutes. Perfect for parties, classroom events, or a quick festive dessert.
- Prep Time: 10 minutes
- Cook Time: 0 minutes
- Total Time: 10 minutes (plus optional 30 minutes chilling)
- Yield: 6 servings 1x
- Category: Dessert
- Cuisine: American
Ingredients
- 1 box (3.4 oz) chocolate instant pudding mix (e.g., Jell-O)
- 2 cups cold milk (whole or 2% recommended)
- 20–24 Oreo cookies (original variety)
- 12–16 gummy worms (e.g., Trolli or Black Forest)
- 1 cup whipped topping (optional, e.g., Cool Whip)
Instructions
- In a large bowl, combine the chocolate instant pudding mix with 2 cups of cold milk. Whisk vigorously for about 2 minutes, or use an electric mixer on low speed. Let sit for 5 minutes to set completely.
- While the pudding sets, place the Oreos in a sealed Ziploc bag. Use a rolling pin or heavy pan to crush them into fine crumbs (coarse sand texture). Alternatively, pulse in a food processor.
- Spoon about 2 tablespoons of crushed Oreos into the bottom of each small clear cup (6-8 oz). Press down gently with the back of a spoon to create an even base layer.
- Divide the prepared pudding evenly among the cups, filling them about three-quarters full.
- Sprinkle another 1-2 tablespoons of crushed Oreos over the pudding layer to create the topsoil effect. Do not press down.
- Gently poke 2-3 gummy worms into each cup so they are partially buried in the cookie crumbs. Arrange at different angles for a crawling effect.
- Refrigerate for at least 30 minutes before serving (optional but recommended). If using whipped cream, add a dollop on top before the final cookie layer. Serve cold.
Notes
For best results, use whole milk and full-fat ingredients. The pudding sets faster with ice-cold milk. If making ahead, add gummy worms just before serving to prevent them from hardening. Leftovers can be refrigerated for up to 3 days; cookie crumbs will soften over time.
Nutrition
- Serving Size: 1 cup
- Calories: 300
- Sugar: 32
- Sodium: 380
- Fat: 13
- Saturated Fat: 5
- Carbohydrates: 47
- Fiber: 1
- Protein: 5
Keywords: Halloween dessert, dirt cups, gummy worms, no-bake, easy dessert, chocolate pudding, Oreo, spooky treat, kids dessert


