I need a Halloween dessert that looks like a mess but tastes amazing. That’s the whole point, right? Something that makes kids gasp and adults secretly grab a second one when nobody’s looking. I’ve got chocolate pudding in the fridge, a bag of Oreos in the pantry, and a pack of gummy worms that somehow survived last week’s candy raid. The only thing missing is the dirt—well, the edible kind.
These Easy Halloween Dirt Cups with Gummy Worms are exactly that kind of recipe. No baking, no fancy equipment, no stressing over whether the cake will rise or the frosting will split. Just layers of creamy chocolate pudding, crushed Oreo “dirt,” and those wiggly little worms poking out like they’re trying to escape. It’s the kind of dessert that looks like you spent hours on it when really, you threw it together in ten minutes flat.
I first made these for my nephew’s Halloween party a few years back, and honestly, they were the first thing to disappear. The kids loved the silly presentation, and the adults loved that there was no sugar crash waiting to happen (well, not as bad as a full cake anyway). Since then, they’ve become my go-to for Halloween gatherings, classroom parties, and even just a fun weekend treat when we’re in the mood for something playful.
So here’s the thing about these dirt cups—they’re forgiving. You can use store-bought pudding or make it from scratch. You can use any clear cup you have. You can even swap out the gummy worms for gummy spiders or candy eyeballs if that’s more your style. The point is, this recipe works with whatever you have, and it always delivers that “wow” factor without the stress.
Why You’ll Love This Recipe
Let me tell you why these dirt cups have earned a permanent spot in my Halloween rotation. First off, they’re ridiculously easy. We’re talking no-bake, no-cook, no-fuss easy. If you can stir pudding and crush cookies, you can make these. I’ve tested this with my niece who’s seven, and she nailed it on her first try. That’s the level of simple we’re working with here.
- Quick & Easy: From start to finish, you’re looking at about 10 minutes of active work. The hardest part is waiting for the pudding to chill, and honestly, that’s just an excuse to clean up the kitchen (or scroll your phone).
- Simple Ingredients: You probably have most of this stuff already. Chocolate pudding mix, milk, Oreos, gummy worms, and some clear cups. No weird specialty items or expensive ingredients. Your grocery bill will thank you.
- Perfect for Halloween Parties: Whether it’s a school classroom party, a neighborhood gathering, or just a spooky movie night at home, these dirt cups fit right in. They’re portable, individual-sized, and everyone loves them.
- Crowd-Pleaser: I’ve yet to meet a kid (or adult) who doesn’t get a kick out of these. There’s something undeniably fun about eating “dirt” with worms crawling out of it. It’s silly, it’s delicious, and it sparks conversation.
- Unbelievably Delicious: Underneath all that playful presentation is legitimately good chocolate pudding. The creamy texture paired with the crunch of the Oreo “dirt” and the chewy gummy worms is a combo that just works. It’s comfort food with a side of giggles.
What makes this recipe different from the rest? It’s the little details. I’ve tested different pudding brands and found that Jell-O instant chocolate pudding gives the creamiest, most consistent result. I’ve also figured out the perfect ratio of pudding to “dirt” so every bite has that satisfying crunch. And the gummy worms? I use the sour kind because the tangy contrast against the sweet pudding is chef’s kiss.
This isn’t just another Halloween dessert. It’s the one that makes you feel like a rockstar parent or host without actually working hard. It’s the recipe that gets passed around at parties and requested year after year. And honestly? It’s just really, really fun to make.
What Ingredients You Will Need
This recipe uses simple, everyday ingredients to create something that looks and tastes like a Halloween masterpiece. Here’s what you’ll need, along with a few notes from my own kitchen trials.
- 1 (3.9 oz) box instant chocolate pudding mix: I use Jell-O brand because it sets up perfectly every time. The instant kind is non-negotiable here—cook-and-serve pudding takes too long and doesn’t give you that same creamy texture. Look for the small box, not the family-size one.
- 2 cups cold milk: Whole milk gives the richest, creamiest pudding, but 2% works fine too. I’ve also tested this with oat milk and almond milk, and they both work if you’re dairy-free. Just make sure it’s cold—room temperature milk won’t let the pudding set properly.
- 1 package Oreo cookies (about 20 cookies): Regular Oreos are my go-to because they crush into that perfect dark “dirt” texture. Double Stuf works too, but you’ll end up with more white filling showing, which looks less like real dirt. If you want extra authenticity, scrape out some of the filling before crushing.
- 1 package gummy worms: I prefer the sour gummy worms for that tangy contrast, but regular ones work great too. Look for the big, fat ones if you want them to really poke out of the dirt. Trolli and Black Forest are both solid brands.
- 6-8 clear plastic or glass cups: The clear cups are key here—you need to see those layers of pudding and dirt. I use 6-ounce plastic cups for parties (they’re cheap and disposable), but small mason jars or glass tumblers work beautifully too.
- Optional: Green food coloring: I add a drop or two to the pudding sometimes to make it look extra swampy and gross. Totally optional, but kids love it.
- Optional: Candy eyeballs or gummy spiders: For extra decoration on top. I’ve used both, and they’re always a hit.
Ingredient Selection Tip: When buying gummy worms, check the package for freshness. Stale gummy worms get hard and chewy instead of soft and squishy. If your worms are a little stiff, microwave them for 5 seconds to soften them up before poking them into the dirt cups.
Substitution Guidance: Need this gluten-free? Use gluten-free chocolate sandwich cookies (like Glutino) and double-check your pudding mix label. Want it vegan? Use your favorite plant-based milk and vegan chocolate pudding mix. The gummy worms are usually gelatin-based, so look for vegan gummy worms if that matters to you.
Equipment Needed
You don’t need much for this recipe, which is part of the beauty. Here’s what I use:
- Mixing bowl: Any medium-sized bowl will do. I use a glass one because it’s easy to see if the pudding is fully mixed.
- Whisk or electric mixer: A whisk works fine, but an electric mixer (handheld or stand) makes the pudding come together in about a minute. I’ve done it both ways, and honestly, the whisk gives you a tiny arm workout, so there’s that.
- Measuring cups: For the milk. A liquid measuring cup with a spout is easiest.
- Ziploc bag or food processor: For crushing the Oreos. A Ziploc bag and a rolling pin (or your fists) is the low-tech option. A food processor gives you finer, more uniform crumbs. I use the food processor when I’m feeling fancy and the Ziploc bag when I want to let out some aggression.
- Spatula or spoon: For layering the pudding and dirt into the cups.
- Clear cups: As mentioned, 6-8 cups depending on size. Plastic solo cups work in a pinch, but clear is better for the visual effect.
- Refrigerator: For chilling the pudding. You’ll need at least 30 minutes, but an hour is better.
Budget-Friendly Option: Don’t have a food processor? No problem. Put the Oreos in a Ziploc bag, seal it, and go to town with a rolling pin, a heavy pan, or even your hands. It’s a great stress reliever and costs exactly zero dollars.
Preparation Method
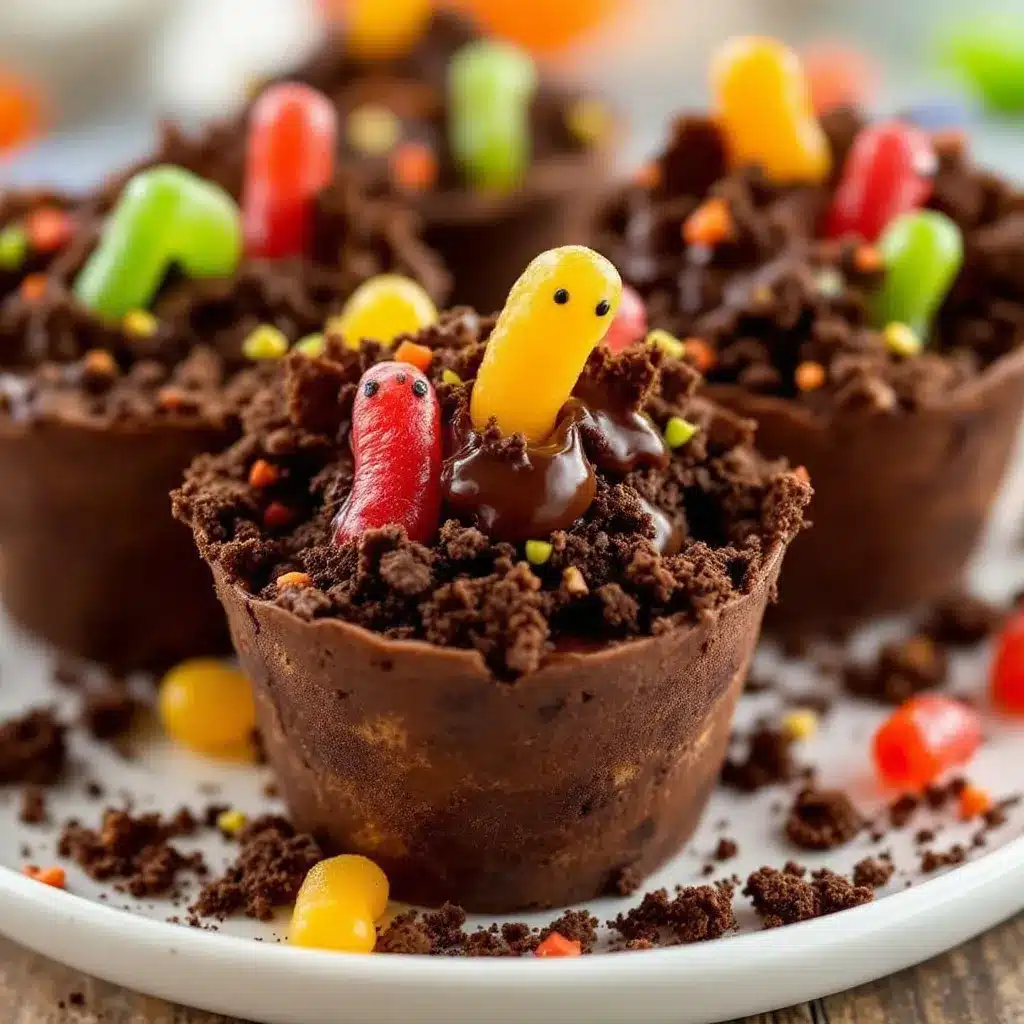
Alright, let’s get to the fun part. Here’s how I make these dirt cups, step by step, with all the little tips I’ve picked up along the way.
- Make the pudding: In your mixing bowl, combine the instant chocolate pudding mix and 2 cups of cold milk. Whisk vigorously for about 2 minutes, or use an electric mixer on low speed for 1 minute. The mixture will start out thin, then thicken up nicely. You’ll know it’s ready when it holds soft peaks and looks smooth and glossy. If you’re adding green food coloring, stir in 1-2 drops now. Pro tip: If the pudding seems too thick after mixing, add a splash more milk and whisk again. If it’s too thin, give it another minute of whisking—it’ll set up.
- Chill the pudding: Pop the bowl in the fridge for at least 30 minutes. This is the hardest part, I know. But trust me, cold pudding layers much better than warm pudding. While you wait, move on to crushing the Oreos. If you’re in a hurry, you can skip the chill time and just layer carefully, but the layers will be less distinct.
- Crush the Oreos: Place the Oreos in a Ziploc bag (remove as much air as possible) and crush them with a rolling pin until you have fine crumbs. Alternatively, pulse them in a food processor until they resemble coarse sand. You want some small chunks for texture, but mostly fine crumbs. If you’re using a food processor, pulse in short bursts—don’t let it run or you’ll get Oreo butter. Yes, that’s a thing, and no, it’s not what we want here.
- Prepare your cups: Set out your clear cups on a tray or baking sheet. This makes it easier to move them to the fridge later without spilling. I usually make 6 cups with this recipe, but you can stretch it to 8 if you use smaller cups or thinner layers.
- Layer the cups: Start with a spoonful of crushed Oreos at the bottom of each cup. About 1-2 tablespoons per cup, depending on size. Then add a layer of chilled pudding on top—about 3-4 tablespoons. Repeat with another layer of Oreos, then another layer of pudding, ending with a generous layer of Oreo “dirt” on top. The goal is to hide the pudding completely so it looks like a cup of dirt.
- Add the gummy worms: Here’s where the magic happens. Take 2-3 gummy worms per cup and gently poke them into the dirt, leaving part of them sticking out. I like to position them so they look like they’re crawling out—some halfway, some just peeking. If your worms are stiff, microwave them for 5 seconds to make them more pliable and realistic-looking.
- Decorate (optional): Sprinkle a few extra Oreo crumbs on top to cover any exposed pudding. Add candy eyeballs, gummy spiders, or even a few more gummy worms on top for extra creepiness. I’ve also used small plastic Halloween rings or toys for decoration (just remind people to remove them before eating).
- Chill again: Place the finished dirt cups in the fridge for at least 15-20 minutes before serving. This helps the layers set and makes the presentation more stable. If you’re making them ahead, they’ll keep in the fridge for up to 2 days—just add the gummy worms right before serving so they stay fresh and wiggly.
Sensory Cue: When you’re layering, the pudding should be thick enough that it doesn’t immediately soak into the Oreo crumbs. If it does, your pudding is too thin—whisk it a bit more next time. The final cup should look like a little pot of soil with worms peeking out. It should smell like chocolate and cookies, with a hint of gummy sweetness.
Cooking Tips & Techniques
I’ve made these dirt cups more times than I can count, and I’ve learned a few things the hard way. Here are my best tips to make yours perfect every time.
Don’t overmix the pudding. I know it’s tempting to keep whisking until it’s perfectly smooth, but overmixing can actually make the pudding grainy. Stop as soon as it’s combined and starting to thicken. A few lumps are fine—they’ll disappear as it chills.
Crush the Oreos fresh. Pre-crushed Oreos from a bag just don’t have the same texture. They’re too fine and dusty. Fresh-crushed Oreos have those little bits of cookie and cream that make the “dirt” look authentic. Plus, the process is oddly satisfying.
Let the pudding chill before layering. I learned this one after my first batch turned into a muddy mess. Warm pudding sinks into the Oreo crumbs and makes everything look like brown sludge. Chilled pudding stays in distinct layers, which is the whole point of a dirt cup. Patience pays off here.
Use a spoon or piping bag for the pudding. A spoon works fine, but if you want really clean layers, transfer the pudding to a piping bag or a Ziploc bag with the corner snipped off. This lets you pipe the pudding in an even layer without disturbing the Oreo crumbs underneath. I use this trick when I’m making them for a party and want them to look extra polished.
Add the gummy worms right before serving. If you add them too early, they’ll absorb moisture from the pudding and get soggy. Not a huge deal, but they lose that satisfying chew. I add them about 15 minutes before serving, or I let guests add their own worms for a fun interactive element.
Make extra “dirt.” I always crush an extra Oreo or two and keep it in a small bowl. That way, if any pudding peeks through after adding the worms, I can sprinkle more “dirt” on top to cover it up. It’s a small detail that makes a big difference in presentation.
Variations & Adaptations
One of the best things about this recipe is how easy it is to adapt. Here are some of my favorite variations, all tested and approved by my family.
Peanut Butter Cup Dirt Cups: Add a layer of peanut butter between the pudding and the Oreo crumbs. Just melt 1/4 cup of peanut butter in the microwave for 20 seconds and drizzle it over the first layer of pudding before adding the next layer of “dirt.” It adds a salty-sweet contrast that’s absolutely addictive. If you have a peanut allergy in the house, use sunflower seed butter instead.
Vegan & Dairy-Free Version: This is easier than you’d think. Use a vegan chocolate pudding mix (like Simply Delish) and your favorite plant-based milk. For the “dirt,” look for vegan chocolate sandwich cookies—there are several brands that work. And for the gummy worms, check the label for gelatin-free options. I’ve made this version for my vegan friend’s Halloween party, and nobody could tell the difference.
Pumpkin Spice Dirt Cups: For a fall twist, swap the chocolate pudding for vanilla or butterscotch pudding and add 1 teaspoon of pumpkin pie spice to the pudding mix. Use crushed graham crackers or ginger snaps instead of Oreos for the “dirt.” Top with candy pumpkins instead of gummy worms. This version is perfect for Thanksgiving or fall-themed parties.
Low-Sugar Option: Use sugar-free chocolate pudding mix and sugar-free chocolate sandwich cookies. You can also use a sugar-free gummy worm brand if you can find one. The taste is slightly less indulgent, but still satisfying. I’ve made this for a diabetic family member, and they were thrilled to have a Halloween treat that fit their diet.
Personal Variation I Love: I once made these with a layer of homemade chocolate mousse instead of instant pudding. It took longer, but the texture was incredible—rich, airy, and decadent. If you have the time, it’s worth the extra effort. I used this creamy chocolate avocado pudding recipe as a base and it worked beautifully. The avocado makes it extra creamy without any dairy.
Serving & Storage Suggestions
These dirt cups are best served cold, right out of the fridge. The contrast between the chilled pudding and the crunchy Oreo “dirt” is what makes them so satisfying. I like to serve them on a platter or tray lined with fake spiderwebs or Halloween-themed napkins for extra atmosphere.
Presentation Tip: For parties, I arrange the cups on a large tray and scatter a few extra gummy worms and candy eyeballs around them. It looks like a little graveyard scene. You can also add small plastic skeletons or tombstones for a full effect.
Complementary Dishes: These dirt cups pair beautifully with other Halloween treats like stuffed mini peppers for a savory balance, or a warm drink like cucumber mint green tea cooler (served warm or cold) to cut through the sweetness. If you’re doing a full Halloween spread, add some honey garlic chicken to keep things hearty before the sugar rush.
Storage Instructions: These dirt cups will keep in the refrigerator for up to 3 days, but they’re best within the first 24 hours. The Oreo crumbs will start to soften over time, absorbing moisture from the pudding. If you’re making them ahead, I recommend storing the pudding and crushed Oreos separately and assembling them the day you plan to serve them. The gummy worms should always be added fresh.
Freezing: I don’t recommend freezing these. The pudding will become watery when thawed, and the Oreo crumbs will turn into a soggy mess. Stick to refrigeration for best results.
Reheating: These are served cold, so no reheating needed. If you’ve stored them in the fridge, just take them out 5-10 minutes before serving to take the chill off slightly. Not necessary, but it does make the pudding a bit creamier.
Nutritional Information & Benefits
Let’s be real—these are a treat, not a health food. But here’s a rough estimate of what you’re looking at per serving (based on 6 servings):
- Calories: Approximately 350-400 per cup
- Fat: 15-18g (mostly from the Oreos and milk)
- Carbohydrates: 50-55g
- Sugar: 35-40g
- Protein: 5-7g
- Calcium: About 15% of daily value (from the milk)
Health Benefits: Okay, I’m stretching here, but the milk does provide calcium and vitamin D. The chocolate pudding has a tiny amount of iron from the cocoa. And the gummy worms? Well, they’re made of gelatin, which is a protein. So technically, there’s some protein in there. Let’s just say these are good for your soul and leave it at that.
Dietary Considerations: This recipe contains dairy (milk) and gluten (Oreos). It’s not suitable for vegans unless you make the substitutions mentioned above. The gummy worms typically contain gelatin, so they’re not vegetarian-friendly either. If you have allergies, always check labels carefully.
My Wellness Perspective: I believe in balance. These dirt cups are a fun, occasional treat that brings joy and creates memories. They’re not something you’d eat every day, and that’s exactly what makes them special. When you do indulge, enjoy every bite without guilt. That’s my philosophy, anyway.
Conclusion
So there you have it—Easy Halloween Dirt Cups with Gummy Worms that are as fun to make as they are to eat. This recipe has become a staple in my Halloween rotation because it delivers on every level: it’s simple, it’s delicious, and it brings a smile to everyone’s face. Whether you’re making them for a classroom party, a neighborhood gathering, or just a spooky movie night with the family, these dirt cups never disappoint.
The best part? You can make them your own. Add different candies, change up the pudding flavor, or get creative with the decorations. The possibilities are endless, and that’s what makes cooking so much fun. I’d love to hear how yours turn out—drop a comment below and let me know your favorite variation. Did you add candy spiders? Use green pudding? Make a vegan version? Share your creations, and don’t forget to tag me on social media so I can see your spooky masterpieces.
Thanks for stopping by, and happy Halloween! Now go make some dirt cups and pretend you’re a kid again. I promise, it’s the best kind of therapy.
Frequently Asked Questions
Can I make these dirt cups ahead of time?
Yes, you can assemble them up to 24 hours in advance. Just wait to add the gummy worms until right before serving so they stay fresh and chewy. Store the assembled cups in the refrigerator covered with plastic wrap.
What if I don’t have clear cups?
No problem! You can use any small cups or bowls you have. The presentation won’t be as dramatic since you won’t see the layers, but they’ll still taste great. Small mason jars work beautifully if you want something reusable.
Can I use homemade pudding instead of instant?
Absolutely! Homemade chocolate pudding works great in this recipe. Just make sure it’s fully chilled before layering so it doesn’t soak into the Oreo crumbs. The texture will be even richer and creamier than instant pudding.
How do I keep the gummy worms from falling over?
Poke them into the dirt at an angle, not straight down. This gives them more stability and makes them look more realistic, like worms crawling out of the soil. If they’re still falling, add a little extra Oreo crumbs around the base to hold them in place.
Can I use other types of cookies for the “dirt”?
Definitely! Chocolate graham crackers, chocolate wafer cookies, or even crushed chocolate chip cookies work well. For a different flavor, try crushed ginger snaps or vanilla wafers. Just make sure they’re crushed into fine crumbs for that “dirt” texture.
Pin This Recipe!
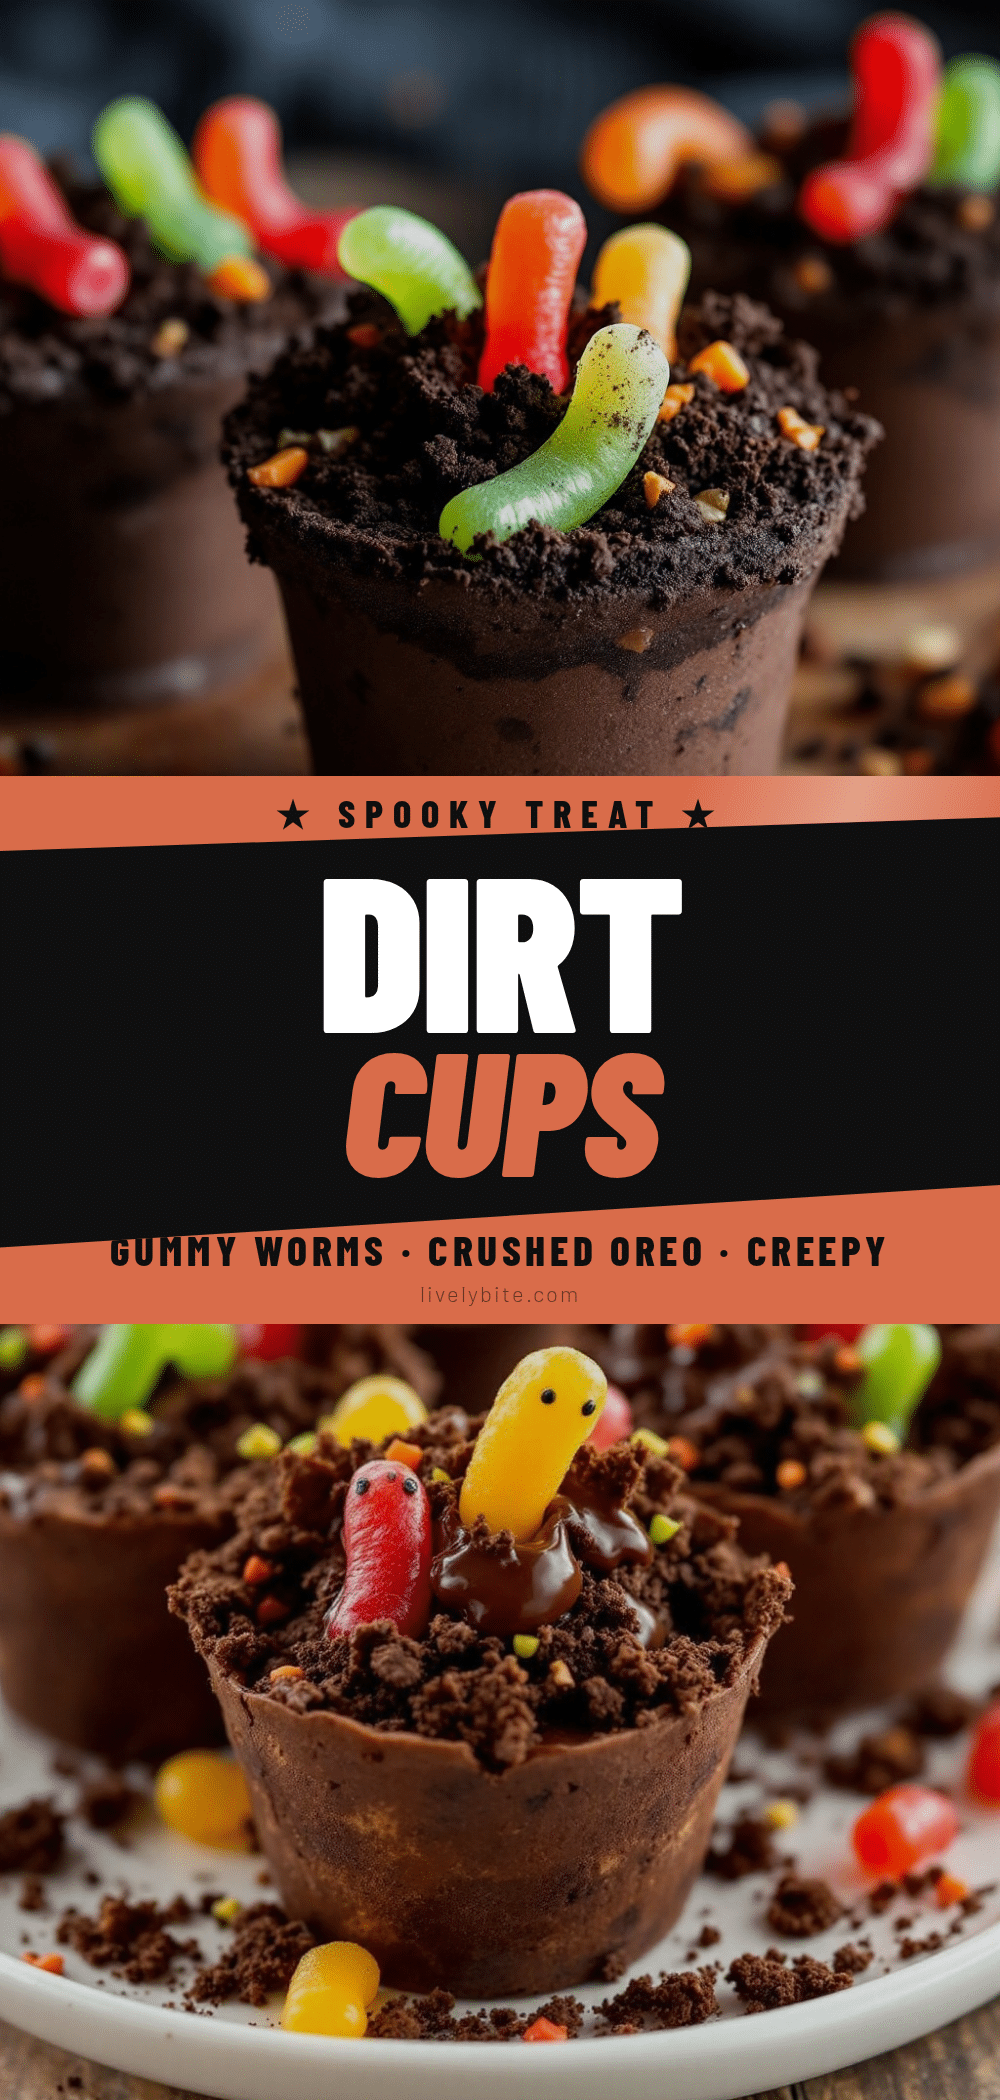
Easy Halloween Dirt Cups with Gummy Worms
No-bake chocolate pudding cups with crushed Oreo ‘dirt’ and gummy worms peeking out. A fun, quick Halloween dessert that kids and adults love.
- Prep Time: 10 minutes
- Cook Time: 0 minutes
- Total Time: 1 hour 10 minutes (includes chilling)
- Yield: 6 servings 1x
- Category: Dessert
- Cuisine: American
Ingredients
- 1 (3.9 oz) box instant chocolate pudding mix
- 2 cups cold milk
- 1 package Oreo cookies (about 20 cookies)
- 1 package gummy worms
- 6–8 clear plastic or glass cups
- Optional: green food coloring
- Optional: candy eyeballs or gummy spiders
Instructions
- Make the pudding: In a mixing bowl, combine the instant chocolate pudding mix and 2 cups of cold milk. Whisk vigorously for about 2 minutes, or use an electric mixer on low speed for 1 minute, until the mixture thickens and holds soft peaks. If using green food coloring, stir in 1-2 drops now.
- Chill the pudding: Place the bowl in the refrigerator for at least 30 minutes.
- Crush the Oreos: Place the Oreos in a Ziploc bag and crush with a rolling pin until you have fine crumbs. Alternatively, pulse in a food processor until they resemble coarse sand.
- Prepare your cups: Set out 6-8 clear cups on a tray or baking sheet.
- Layer the cups: Start with a spoonful of crushed Oreos (about 1-2 tablespoons) at the bottom of each cup. Add a layer of chilled pudding (about 3-4 tablespoons). Repeat with another layer of Oreos and another layer of pudding, ending with a generous layer of Oreo ‘dirt’ on top.
- Add the gummy worms: Gently poke 2-3 gummy worms into the dirt, leaving part of them sticking out. If worms are stiff, microwave for 5 seconds to soften.
- Decorate (optional): Sprinkle extra Oreo crumbs on top to cover any exposed pudding. Add candy eyeballs or gummy spiders if desired.
- Chill again: Place the finished dirt cups in the refrigerator for at least 15-20 minutes before serving.
Notes
For best results, use Jell-O instant chocolate pudding and whole milk. Chill pudding before layering to keep distinct layers. Add gummy worms just before serving to prevent sogginess. Can be stored in the refrigerator for up to 3 days, but best within 24 hours.
Nutrition
- Serving Size: 1 cup
- Calories: 375
- Sugar: 38
- Sodium: 480
- Fat: 16
- Saturated Fat: 6
- Carbohydrates: 52
- Fiber: 2
- Protein: 6
Keywords: Halloween dessert, dirt cups, gummy worms, no-bake, chocolate pudding, Oreo, kids treat, party dessert


