I want a burrito bowl right now. Not a maybe-one, not a let-me-think-about-it—a full-on, loaded, chicken-and-rice-and-beans situation. But here’s the problem: I have zero energy, a fridge that’s half-empty, and a week ahead that looks like a logistical nightmare. So I do what any sane, slightly exhausted person does. I open the freezer. And there it is—a container of my own past self’s genius. A freezer-friendly chicken burrito bowl, ready to save dinner (and my sanity).
This isn’t a recipe I found in a cookbook or learned from a cooking class. It came from a very real, very stressed Tuesday night when I needed dinner on the table in under ten minutes and had nothing but a bag of frozen chicken and a dream. Honestly, it was born out of pure survival mode. And you know what? It worked. It worked so well that I started making them in batches, stacking them in the freezer like little meal-prep gold bars.
There’s something about having a homemade burrito bowl waiting for you. It’s not like leftovers—it’s a gift from your past self to your future self. And this one? It reheats like a dream. The rice stays fluffy, the chicken stays juicy, and all those flavors—cumin, lime, a little heat—come right back to life. No sad, soggy microwave meals here. Just real food, ready when you are.
So if you’ve ever stared into your freezer hoping for a miracle, this is that miracle. Let me show you how to make it.
Why You’ll Love This Recipe
I’ve tested this recipe more times than I can count. Like, a lot. I wanted to make sure it could handle the freezer—and the microwave—without turning into a sad, watery mess. And after all those trials, here’s what I know for sure: this is the meal-prep recipe you’ll actually look forward to eating.
- Quick & Easy: These bowls come together in about 30 minutes of active prep time. Then you just assemble, freeze, and forget. When you need them, dinner is ready in 5 minutes flat.
- Simple Ingredients: Chicken, rice, beans, corn, salsa, cheese. That’s it. No weird ingredients, no specialty store trips. You probably have most of this in your kitchen right now.
- Perfect for Busy Nights: This is the ultimate “I don’t want to cook” meal. Pull one out of the freezer, microwave it, and you’re eating in minutes. No thinking required.
- Crowd-Pleaser: My kids devour these. My husband asks for seconds. Even my picky-eating friend (you know the one) asked for the recipe. It’s just that kind of meal.
- Unbelievably Delicious: The secret is in the seasoning and the layering. The flavors meld together in the freezer, so when you reheat it, it tastes like you just made it. I’m not kidding—it’s that good.
What makes this recipe different from every other burrito bowl out there? It’s the method. Most freezer burrito bowls end up with mushy rice or dry chicken. Not this one. I use a specific ratio of moisture to ingredients, and I layer everything in a way that protects the texture. Plus, I use a simple trick: I slightly undercook the rice so it finishes cooking when you reheat it. Game changer.
This isn’t just meal prep. It’s meal insurance. It’s knowing that no matter how chaotic your week gets, you’ve got a delicious, homemade dinner waiting for you. And honestly, that feeling? It’s priceless.
What Ingredients You Will Need
This recipe uses simple, wholesome ingredients to deliver bold flavor and satisfying texture without the fuss. Everything here is a pantry staple or easy to find at any grocery store. Let’s break it down.
For the Chicken
- 1.5 lbs boneless, skinless chicken breasts or thighs (I prefer thighs for juiciness, but breasts work great too)
- 2 tablespoons olive oil (for cooking the chicken)
- 1 teaspoon ground cumin (adds that warm, earthy flavor)
- 1 teaspoon smoked paprika (gives a subtle smoky depth)
- 1/2 teaspoon garlic powder (non-negotiable in my book)
- 1/2 teaspoon onion powder
- 1/2 teaspoon chili powder (adjust based on your heat preference)
- 1/2 teaspoon salt
- 1/4 teaspoon black pepper
- Juice of 1 lime (fresh is best, but bottled works in a pinch)
For the Bowls
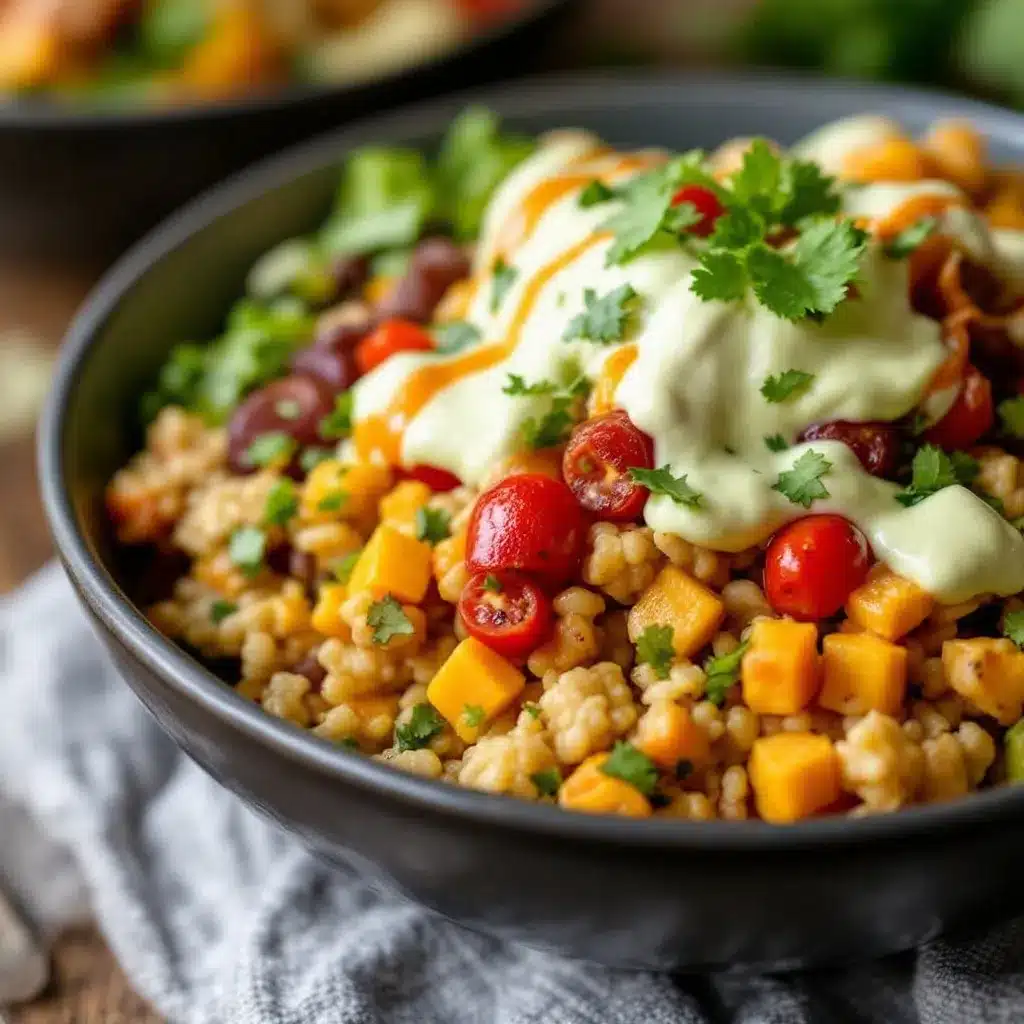
- 2 cups cooked white or brown rice (I use jasmine rice for its fluffy texture)
- 1 can (15 oz) black beans, drained and rinsed (I recommend Goya or Bush’s for consistent texture)
- 1 cup frozen or canned corn, drained (frozen corn holds up better in the freezer)
- 1 cup salsa (use your favorite brand—I like Herdez for its fresh flavor)
- 1 cup shredded cheddar or Monterey Jack cheese (optional, but highly recommended)
- 1/4 cup chopped fresh cilantro (for garnish after reheating)
- Lime wedges (for serving)
Optional Toppings (add after reheating)
- Sour cream or Greek yogurt
- Diced avocado
- Hot sauce
- Crushed tortilla chips (for crunch)
Ingredient Tips: For the best texture, use long-grain rice—it freezes and reheats better than short-grain varieties. If you’re gluten-free, double-check your salsa and chili powder labels. Some brands add flour or other fillers. And if you want to lighten things up, swap the sour cream for plain Greek yogurt—it works beautifully.
Substitution Guidance: Need a vegetarian version? Swap the chicken for extra black beans or use plant-based chicken strips. Want it dairy-free? Skip the cheese or use a dairy-free shred. You can also use quinoa instead of rice for a protein boost—just note the texture will be slightly different.
Equipment Needed
You don’t need a fancy kitchen to make these burrito bowls. Here’s what you’ll need:
- Large skillet or frying pan (for cooking the chicken)
- Cutting board and sharp knife
- Measuring spoons and cups
- Mixing bowls (one for the chicken, one for the rice mixture)
- Freezer-safe containers or zip-top freezer bags (I use Pyrex glass containers for easy microwaving)
- Aluminum foil or plastic wrap (if using containers without lids)
- Permanent marker (for labeling—trust me, you’ll forget what’s in there)
Budget-Friendly Tip: You don’t need expensive meal-prep containers. I’ve used cheap plastic takeout containers from the dollar store for years, and they work just fine. Just make sure they’re labeled “freezer-safe.” If you’re using zip-top bags, squeeze out as much air as possible before sealing to prevent freezer burn.
Personal Experience: I’ve tried fancy vacuum-sealed bags and expensive glass containers. Honestly? The cheap plastic ones with snap-on lids work the best. They stack nicely, they’re microwave-safe, and when they eventually crack (after a year or two), you’re out like two dollars. Can’t beat that.
Preparation Method
Let’s get cooking. This process is straightforward, but I’ve added some notes to help you avoid the mistakes I made along the way.
Step 1: Cook the Rice (15-20 minutes)
Start by cooking your rice according to package directions. Here’s my trick: undercook it by about 2-3 minutes. You want it just shy of fully tender—still with a tiny bit of bite. Why? Because it will finish cooking when you reheat the bowl, and it won’t turn into mush. Fluff the rice with a fork and let it cool slightly while you work on the chicken.
Step 2: Season and Cook the Chicken (10-12 minutes)
While the rice cooks, pat the chicken dry with paper towels. In a small bowl, mix together the cumin, smoked paprika, garlic powder, onion powder, chili powder, salt, and pepper. Sprinkle this seasoning mix evenly over both sides of the chicken.
Heat the olive oil in a large skillet over medium-high heat. Once the oil is shimmering (not smoking), add the chicken. Cook for 5-6 minutes per side, depending on thickness. The chicken should be golden brown on the outside and reach an internal temperature of 165°F (74°C). If you don’t have a meat thermometer, cut into the thickest part—the juices should run clear and there should be no pink.
Let the chicken rest on a cutting board for 5 minutes. This step is important—it keeps the juices inside. Then dice it into bite-sized pieces. Squeeze the lime juice over the diced chicken and toss to coat.
Step 3: Prep the Bowl Components (5 minutes)
While the chicken rests, drain and rinse the black beans. Drain the corn if using canned. If using frozen corn, you can add it straight to the bowls—it will thaw and cook during reheating. Chop the cilantro if you’re adding it now (I prefer to add it fresh after reheating, but you do you).
Step 4: Assemble the Bowls (5 minutes)
Now for the fun part. Grab your freezer-safe containers. Here’s the layering order I’ve found works best:
- Bottom layer: Rice. About 1/2 cup per bowl. This creates a solid base.
- Second layer: Black beans. About 1/4 cup per bowl.
- Third layer: Corn. About 2 tablespoons per bowl.
- Fourth layer: Diced chicken. About 1/2 cup per bowl.
- Fifth layer: Salsa. About 2 tablespoons per bowl. Spread it evenly.
- Top layer: Shredded cheese (if using). About 1/4 cup per bowl.
Pro tip: Don’t overfill the containers. Leave about 1/2 inch of space at the top—food expands as it freezes, and you don’t want lids popping off.
Step 5: Seal and Freeze (2 minutes)
If your containers have lids, seal them tightly. If not, cover with plastic wrap and then a layer of aluminum foil. Label each container with the date and contents (trust me, you’ll thank yourself later). Place them in the freezer, flat and stable. They’ll keep for up to 3 months.
Warning: Don’t stack them while they’re still warm. Let them cool completely in the fridge first, or freeze them flat on a baking sheet before stacking. Otherwise, you’ll end up with a frozen brick of mixed-up ingredients.
Cooking Tips & Techniques
I’ve made a lot of freezer burrito bowls. And I mean a lot. Some were amazing. Some were… not. Here’s what I learned the hard way so you don’t have to.
The Rice Rule: Under-cook your rice. I cannot stress this enough. If you cook it fully, it’ll turn into paste when you reheat it. I learned this after pulling out a bowl that looked more like rice pudding than a burrito bowl. Not good. Slightly underdone rice = perfectly fluffy reheated rice.
The Moisture Balance: Too much moisture and you get a soggy mess. Too little and you get dry, sad chicken. The salsa provides enough moisture for reheating, so don’t add extra water or broth. If you’re worried about dryness, add an extra tablespoon of salsa per bowl.
The Cheese Question: Should you freeze the cheese or add it fresh? I’ve tried both. Freezing the cheese works fine—it melts beautifully during reheating. But if you want that gooey, stretchy cheese pull, add it fresh after reheating. Your call.
Multitasking Strategy: Start the rice first since it takes the longest. While it cooks, season and cook the chicken. While the chicken rests, prep the beans and corn. This way, everything comes together in about 20 minutes of actual work.
Consistency Tip: Make sure all your ingredients are similar in temperature before assembling. If the chicken is hot and the beans are cold, you’ll get uneven freezing and reheating. Let everything cool to room temperature before layering.
Variations & Adaptations
One of the best things about this recipe is how customizable it is. Here are some variations I’ve tried and loved:
1. Vegetarian Black Bean Bowl
Skip the chicken and double up on the black beans. Add some sautéed bell peppers and onions for extra texture. I’ve made this version for my vegetarian friends and they rave about it. The beans hold up beautifully in the freezer.
2. Low-Carb Cauliflower Rice Bowl
Swap the white rice for riced cauliflower. Here’s the trick: sauté the cauliflower rice in a dry pan for 3-4 minutes to remove excess moisture before assembling. This prevents the bowl from getting watery during reheating. I’ve tested this and it works like a charm.
3. Spicy Chipotle Chicken Bowl
Add 1-2 chipotle peppers in adobo sauce (minced) to the chicken seasoning. The smoky heat is incredible. Just be careful—a little goes a long way. Start with one pepper and taste as you go.
4. Breakfast Burrito Bowl
Add a scrambled egg layer! Cook 2 eggs per bowl, scramble them, and add them as a layer between the rice and beans. This turns your burrito bowl into a breakfast powerhouse. I’ve made these for weekend meal prep and they’re a game-changer.
5. Dairy-Free Version
Skip the cheese and use a dairy-free sour cream (like Kite Hill or Forager Project) after reheating. The rest of the recipe is naturally dairy-free. Easy peasy.
Serving & Storage Suggestions
These burrito bowls are designed for maximum convenience, but here’s how to get the best results every time.
How to Reheat
Remove the bowl from the freezer. If the lid is microwave-safe, just pop it in (crack the lid slightly to let steam escape). Microwave on high for 3-4 minutes, stirring halfway through. If you’re using a container that’s not microwave-safe, transfer the contents to a microwave-safe bowl first.
For the best texture, add a tablespoon of water or extra salsa before microwaving. This creates steam and keeps everything moist. Trust me on this one—it makes a difference.
Oven Method: Preheat to 350°F (175°C). Transfer the frozen bowl contents to an oven-safe dish, cover with foil, and bake for 20-25 minutes. This gives you a slightly crispier texture, especially if you added cheese on top.
How to Serve
Once reheated, top with fresh cilantro, a squeeze of lime, a dollop of sour cream or Greek yogurt, and diced avocado. If you’re feeling extra, add some crushed tortilla chips for crunch. Serve it in a bowl or wrap it in a warm tortilla for a burrito—it works either way.
How to Store
These bowls will keep in the freezer for up to 3 months. For best quality, eat them within 2 months. Don’t store them in the fridge for more than 2 days before freezing—the rice will start to dry out.
Flavor Development Note: Here’s something interesting—the flavors actually get better after a week in the freezer. The spices meld together, the lime infuses the chicken, and everything becomes more cohesive. So if you can wait, the second week is even better than the first.
Nutritional Information & Benefits
Here’s a rough estimate per bowl (based on one serving, using chicken breast, white rice, and cheese):
- Calories: ~450-500
- Protein: ~35g
- Carbohydrates: ~45g
- Fat: ~15g
- Fiber: ~8g
- Sugar: ~5g
Health Benefits: This meal is packed with lean protein from the chicken, fiber from the black beans, and complex carbs from the rice. The cumin and paprika aren’t just for flavor—they’re anti-inflammatory and packed with antioxidants. The lime juice adds a dose of vitamin C. And the salsa? That’s basically a vegetable serving in disguise.
Dietary Considerations: This recipe is naturally gluten-free (just check your salsa label). It’s also nut-free and egg-free. For a low-carb version, use cauliflower rice. For a vegetarian version, double the beans. For a dairy-free version, skip the cheese or use a plant-based alternative.
Potential Allergens: Dairy (if using cheese). That’s it. Easy to modify.
Personal Wellness Note: I love that this meal feels indulgent but is actually pretty balanced. It’s comfort food that doesn’t leave me feeling sluggish. And knowing it’s made with real, whole ingredients? That’s a win in my book.
Conclusion
Look, I get it. Meal prep can feel like a chore. But this recipe? It’s different. It’s the kind of meal prep that actually saves you time, money, and sanity. You spend 30 minutes one afternoon, and you get a freezer full of delicious, homemade dinners that you’ll actually want to eat.
What I love most about these burrito bowls is how forgiving they are. You can swap ingredients, adjust the spice level, add whatever veggies you have on hand—they always turn out great. They’re not precious or fussy. They’re just good, honest food that works.
So go ahead. Make a batch. Or two. Stack them in your freezer. And the next time you’re staring into the fridge wondering what’s for dinner, you’ll remember—you’ve got this. You’ve got a bowl of something good, waiting for you.
I’d love to hear how yours turn out! Drop a comment below and let me know what variations you tried. Did you add extra spice? Swap the chicken for tofu? Make it a breakfast bowl? Tell me all about it. And if you’re looking for another meal-prep favorite, check out my easy slow cooker honey garlic chicken meal prep bowls—they’re just as freezer-friendly and absolutely delicious. Happy cooking, friends!
Frequently Asked Questions
Can I freeze these burrito bowls without the cheese?
Absolutely! In fact, I often freeze them without cheese and add it fresh after reheating. The cheese freezes fine, but adding it fresh gives you that perfect melty texture. Your call.
How long do these burrito bowls last in the freezer?
They’ll stay good for up to 3 months. For the best flavor and texture, I recommend eating them within 2 months. After that, the rice might start to dry out a bit, but they’re still perfectly safe to eat.
Can I use brown rice instead of white rice?
Yes, but there’s a catch. Brown rice takes longer to cook and can get a bit chewy after freezing. I recommend slightly undercooking it (just like with white rice) and adding an extra tablespoon of salsa or water before reheating to keep it moist.
Can I make these bowls in a slow cooker?
You can cook the chicken in a slow cooker if you prefer. Just season the chicken, add a little chicken broth, and cook on low for 4-6 hours. Shred the chicken and then assemble the bowls as directed. The rest of the ingredients (rice, beans, corn) should be prepared separately.
How do I prevent the rice from getting mushy when reheating?
The key is undercooking the rice slightly before freezing. Cook it for about 2-3 minutes less than the package directions. Also, don’t add extra liquid when assembling—the salsa provides enough moisture. If you’re worried, add a tablespoon of water before microwaving, not more.
Pin This Recipe!
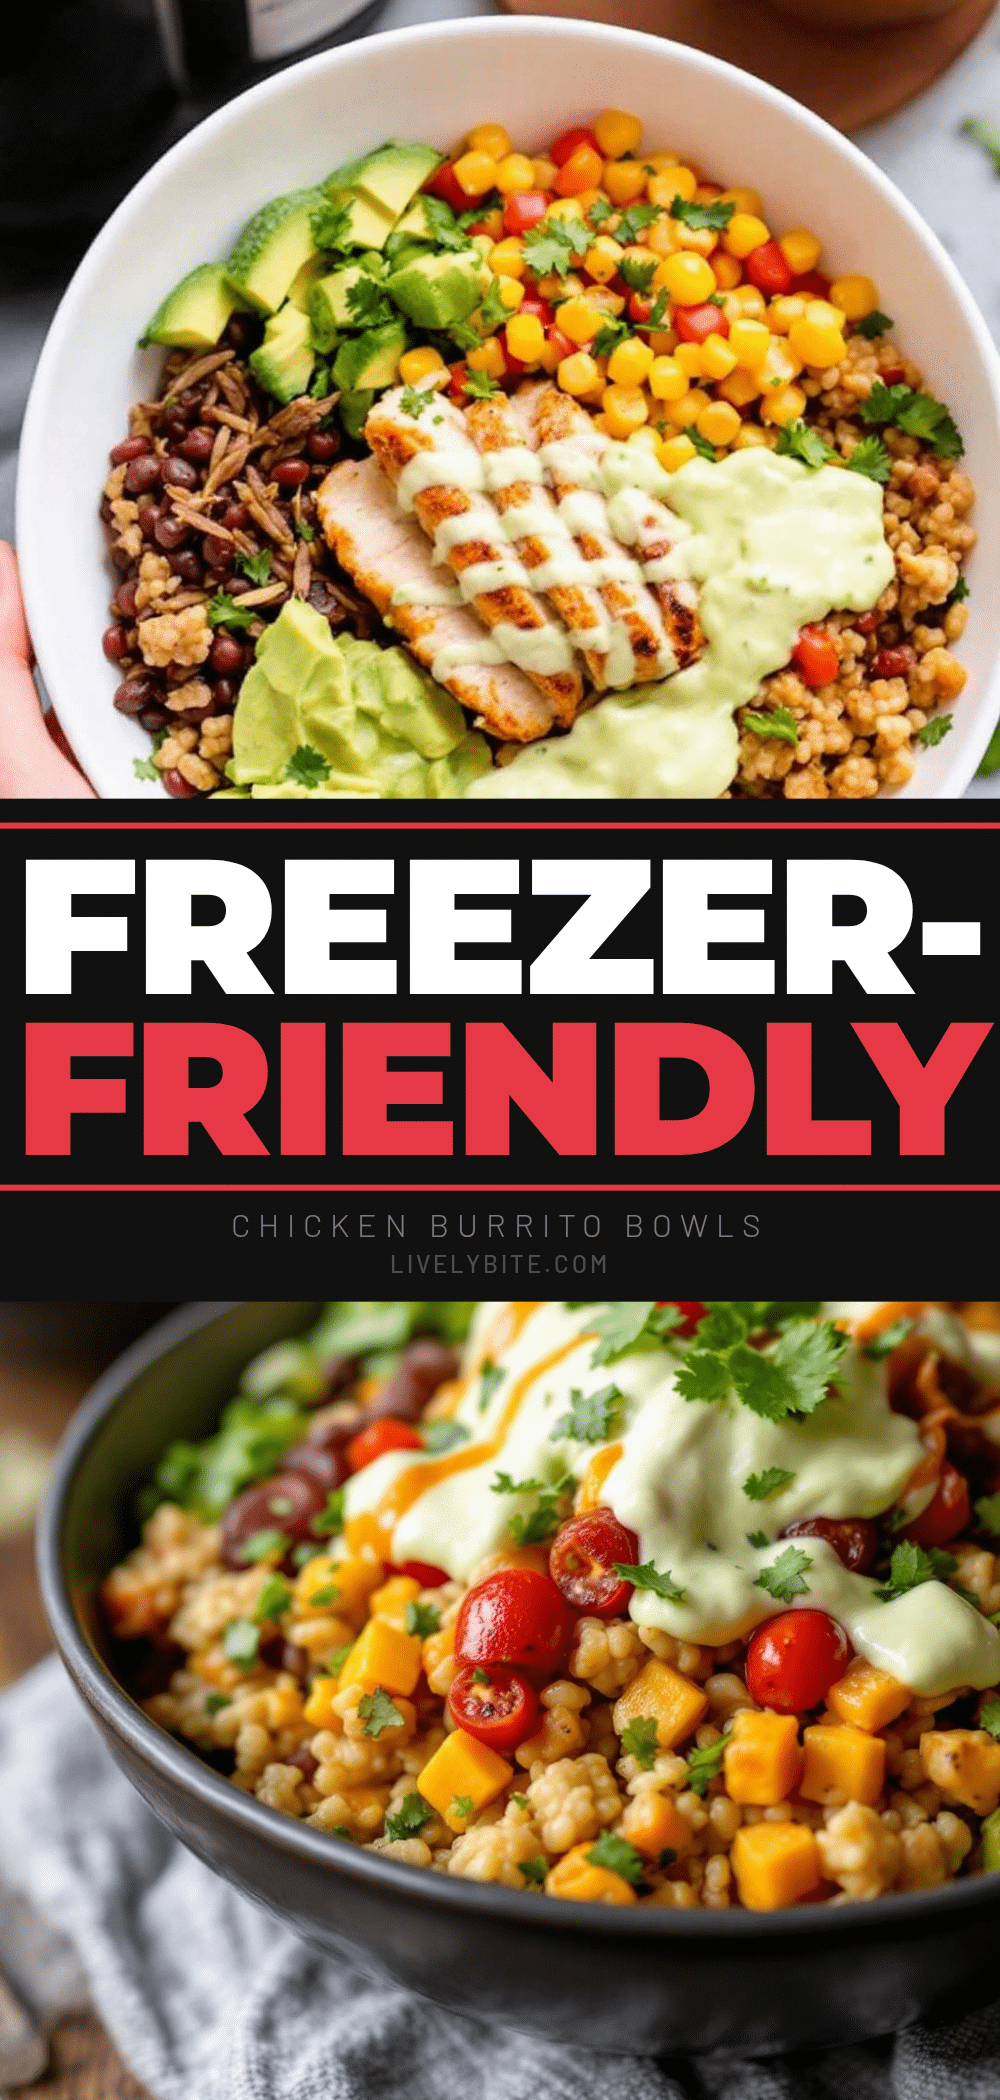
Easy Freezer-Friendly Chicken Burrito Bowls: Best Make-Ahead Meal!
These freezer-friendly chicken burrito bowls are the ultimate make-ahead meal, ready in minutes from the freezer with perfectly reheated rice, juicy chicken, and bold flavors. Perfect for busy nights, they’re simple, customizable, and delicious.
- Prep Time: 30 minutes
- Cook Time: 15 minutes
- Total Time: 45 minutes
- Yield: 4 servings 1x
- Category: Main Course
- Cuisine: Mexican
Ingredients
- 1.5 lbs boneless, skinless chicken breasts or thighs
- 2 tablespoons olive oil
- 1 teaspoon ground cumin
- 1 teaspoon smoked paprika
- 1/2 teaspoon garlic powder
- 1/2 teaspoon onion powder
- 1/2 teaspoon chili powder
- 1/2 teaspoon salt
- 1/4 teaspoon black pepper
- Juice of 1 lime
- 2 cups cooked white or brown rice (jasmine recommended)
- 1 can (15 oz) black beans, drained and rinsed
- 1 cup frozen or canned corn, drained
- 1 cup salsa
- 1 cup shredded cheddar or Monterey Jack cheese (optional)
- 1/4 cup chopped fresh cilantro (for garnish)
- Lime wedges (for serving)
- Optional toppings: sour cream or Greek yogurt, diced avocado, hot sauce, crushed tortilla chips
Instructions
- Cook the rice according to package directions, but undercook it by 2-3 minutes (just shy of fully tender). Fluff with a fork and let cool slightly.
- Pat the chicken dry. In a small bowl, mix cumin, smoked paprika, garlic powder, onion powder, chili powder, salt, and pepper. Sprinkle evenly over both sides of the chicken.
- Heat olive oil in a large skillet over medium-high heat. Cook chicken for 5-6 minutes per side until golden brown and internal temperature reaches 165°F (74°C). Let rest 5 minutes, then dice into bite-sized pieces. Toss with lime juice.
- While chicken rests, drain and rinse black beans. Drain corn if using canned. Chop cilantro if using now.
- Assemble bowls in freezer-safe containers in this order: bottom layer rice (1/2 cup), black beans (1/4 cup), corn (2 tablespoons), diced chicken (1/2 cup), salsa (2 tablespoons), shredded cheese (1/4 cup, if using). Leave 1/2 inch space at top.
- Seal containers tightly. Label with date and contents. Cool completely in fridge before freezing flat. Freeze for up to 3 months.
- To reheat: Microwave on high for 3-4 minutes, stirring halfway. Add 1 tablespoon water or extra salsa before microwaving for best texture. Alternatively, bake at 350°F (175°C) covered with foil for 20-25 minutes.
- Serve topped with fresh cilantro, lime wedge, and optional toppings like sour cream, avocado, hot sauce, or crushed tortilla chips.
Notes
Under-cook the rice slightly to prevent mushiness when reheating. Don’t add extra liquid; salsa provides enough moisture. For best texture, let ingredients cool to room temperature before assembling. Flavors improve after a week in the freezer.
Nutrition
- Serving Size: 1 bowl
- Calories: 475
- Sugar: 5
- Sodium: 800
- Fat: 15
- Saturated Fat: 5
- Carbohydrates: 45
- Fiber: 8
- Protein: 35
Keywords: freezer meal, burrito bowl, chicken burrito bowl, meal prep, make-ahead, freezer-friendly, chicken and rice, black beans, easy dinner


