For a while, I just accepted that pumpkin spice donuts meant standing over a pot of hot oil, dealing with splatters and that lingering fried smell that hangs in your kitchen for days. Don’t get me wrong—I love a good fried donut. But the mess? The fuss? The sheer commitment it takes to heat up that much oil for a batch of six? It started feeling less like baking and more like a science experiment I wasn’t prepared for. I wanted that tender, spiced, sugary ring of autumn goodness without the greasy cleanup and the calorie overload that usually comes with it.
I tried a few baked versions over the years, and honestly, most of them were dry. Like, disappointingly dry. They’d come out of the oven looking promising, all golden and domed, but one bite and you’d get that dense, crumbly texture that tastes more like a muffin pretending to be a donut. Not what I was after. I wanted the real deal—a donut that’s soft on the inside, slightly crisp on the outside, and packed with that warm pumpkin spice flavor that makes fall feel like a hug in food form. So I went back to the kitchen, batch after batch, tweaking ratios and swapping ingredients until I landed on something that finally worked.
These baked pumpkin spice donuts are the result of that persistence. They’re baked, not fried, which means you can whip up a batch in under 30 minutes without the mess. The texture is spot-on—tender, moist, with just the right crumb. And the flavor? It’s that cozy, spiced sweetness you crave when the leaves start turning. No hot oil, no deep fryer, no fuss. Just a simple recipe that delivers exactly what it promises.
Why You’ll Love This Recipe
- Quick & Easy: From mixing bowl to cooling rack in under 30 minutes. No yeast, no rising time, no complicated steps. Perfect for a lazy Sunday morning or a last-minute fall treat.
- Simple Ingredients: You likely have most of these in your pantry right now. Canned pumpkin, flour, sugar, eggs, butter, and a handful of spices. No specialty flours or hard-to-find items.
- Perfect for Fall Gatherings: Bring these to a pumpkin carving party, a Friendsgiving brunch, or just enjoy them with your morning coffee. They’re a guaranteed crowd-pleaser that disappears fast.
- Crowd-Pleaser: I’ve served these to donut purists who swore baked donuts could never be good. They changed their minds after the first bite. Kids love the sweet cinnamon-sugar coating, and adults appreciate the warm spice profile.
- Unbelievably Delicious: The texture is the real win here. These are soft, tender, and moist—not dry or cakey like some baked donuts. The cinnamon-sugar coating adds that perfect crunchy exterior that makes them feel indulgent without the grease.
What makes these different from other baked pumpkin donut recipes? It’s the balance of moisture and structure. Too much pumpkin and they turn gummy. Too little and they’re dry. This recipe nails that sweet spot, using a combination of melted butter and pumpkin puree to create a tender crumb that stays soft for days. Plus, the spice blend is dialed in just right—warm, aromatic, not overpowering. It’s the kind of donut that makes you close your eyes after the first bite, because honestly, it’s that good.
Ingredients Needed
This recipe uses simple, wholesome ingredients to deliver that cozy fall flavor without any fuss. Most of these are pantry staples, so you can whip up a batch whenever the craving hits.
- All-purpose flour (1 ¾ cups / 210g) – Provides structure. I use King Arthur Flour for consistent results, but any brand works fine. Spoon and level the flour into your measuring cup for accuracy.
- Granulated sugar (¾ cup / 150g) – Adds sweetness and helps create a tender crumb. You can reduce to ½ cup if you prefer less sweet donuts.
- Baking powder (1 ½ teaspoons) – Leavening agent that gives the donuts lift. Make sure it’s fresh—test by dropping a spoonful into hot water; it should bubble vigorously.
- Baking soda (½ teaspoon) – Works with the acidity in the pumpkin to create a light texture.
- Pumpkin pie spice (2 teaspoons) – The heart of the flavor. I prefer McCormick’s blend, but homemade works great too (see my spice blend tip below).
- Ground cinnamon (1 teaspoon) – Adds warmth and depth. I recommend Ceylon cinnamon for a milder, sweeter flavor.
- Salt (½ teaspoon) – Balances sweetness and enhances the spices.
- Pumpkin puree (1 cup / 245g) – Not pumpkin pie filling! Make sure it’s 100% pure pumpkin. Libby’s is my go-to for consistent moisture content.
- Large eggs (2, room temperature) – Bind the ingredients and add richness. Let them sit on the counter for 30 minutes before using.
- Melted butter (¼ cup / 57g) – Adds moisture and flavor. Unsalted is best so you control the salt level. You can substitute coconut oil for a dairy-free option.
- Vanilla extract (1 teaspoon) – Enhances the warm spices. Pure vanilla extract makes a difference here.
- Milk (¼ cup / 60ml) – Adds moisture to the batter. Whole milk gives the richest texture, but 2% or dairy-free milk like oat milk works too.
For the cinnamon-sugar coating:
- Melted butter (¼ cup / 57g) – For brushing the donuts so the coating sticks.
- Granulated sugar (½ cup / 100g) – The base of the coating.
- Ground cinnamon (1 tablespoon) – Mixed with the sugar for that classic cinnamon-sugar crust.
Ingredient Selection Tips: Look for pumpkin puree that’s thick and dark orange, not watery. If your pumpkin puree seems thin, drain it on a paper towel for a few minutes before using. For the spices, if you don’t have pumpkin pie spice, mix 1 teaspoon cinnamon, ½ teaspoon nutmeg, ¼ teaspoon ginger, and ¼ teaspoon cloves as a substitute.
Equipment Needed
You don’t need much to make these donuts, and that’s part of the beauty. Here’s what you’ll need:
- Donut pan (standard 6-cavity pan) – This is the only specialty item. I use a Wilton non-stick donut pan and it works perfectly. You can find them for around $10 at most kitchen stores or online. If you don’t have one, you can also use a mini donut pan or even a muffin tin (just adjust baking time).
- Two mixing bowls – One large, one medium. Glass or stainless steel works best.
- Whisk – For mixing the dry and wet ingredients separately.
- Rubber spatula – For folding the batter together without overmixing.
- Piping bag or zip-top bag – Makes filling the donut cavities much cleaner and easier. Snip off the corner and pipe the batter in.
- Cooling rack – Essential for letting the donuts cool properly before coating. A wire rack allows air to circulate so they don’t get soggy.
- Pastry brush – For brushing the melted butter onto the cooled donuts before coating.
- Shallow bowl – For the cinnamon-sugar mixture to dip the donuts in.
Budget-Friendly Options: If you don’t have a piping bag, a sturdy zip-top bag works just as well. No donut pan? Use a muffin tin and bake for 12-15 minutes, then coat as directed. They’ll be mini donut muffins, but the flavor is the same. I’ve done this when traveling and it works like a charm.
Preparation Method
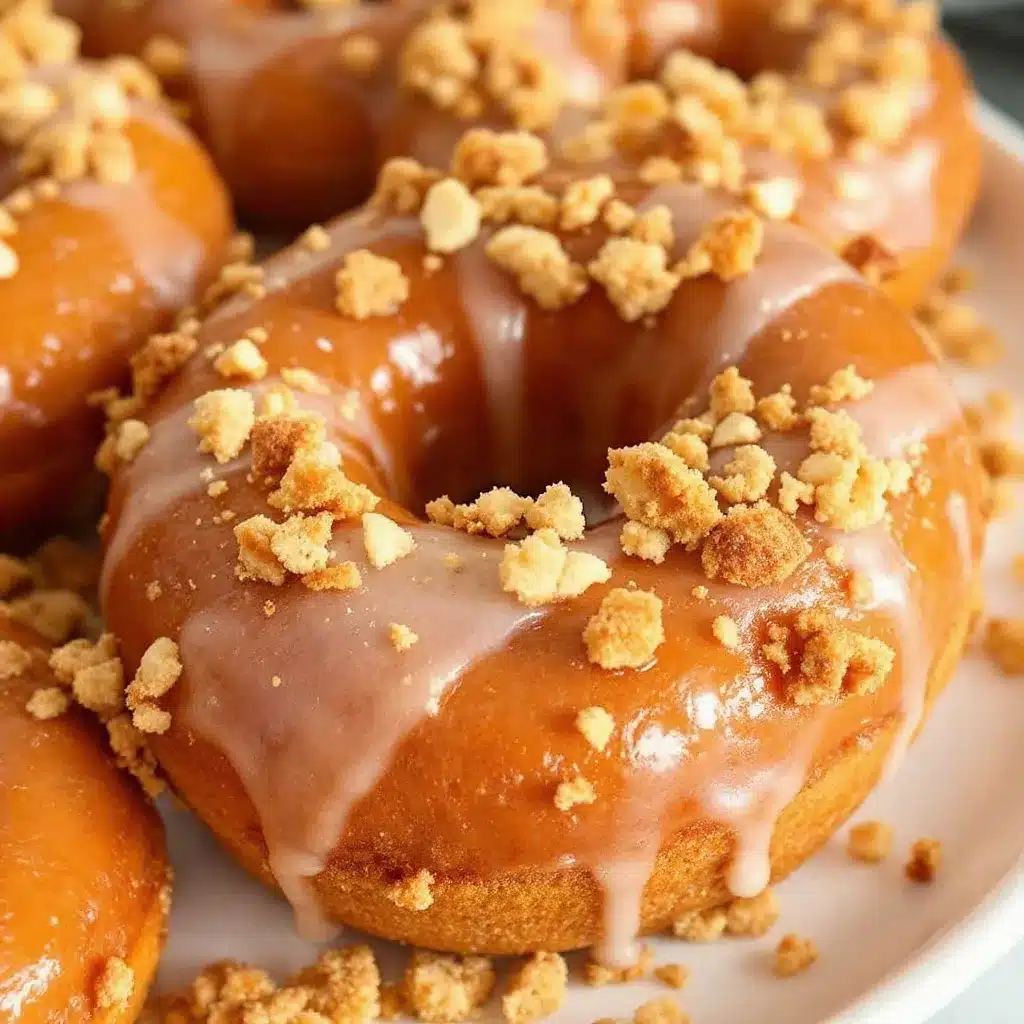
Let’s get baking. This recipe comes together fast, so have everything measured and ready before you start.
- Preheat your oven to 350°F (175°C). Spray your donut pan generously with non-stick cooking spray. I use a baking spray with flour for extra insurance, but regular spray works too. Make sure you get into all the crevices so the donuts release easily.
- In a medium bowl, whisk together the dry ingredients: flour, sugar, baking powder, baking soda, pumpkin pie spice, cinnamon, and salt. Whisk for about 20 seconds to aerate the flour and distribute the leavening agents evenly. Set aside.
- In a large bowl, whisk together the wet ingredients: pumpkin puree, eggs, melted butter, vanilla extract, and milk. Whisk until smooth and well combined. The mixture should be thick and glossy, like a smoothie consistency. If it looks curdled or separated, keep whisking—it will come together.
- Pour the dry ingredients into the wet ingredients. Use a rubber spatula to fold gently until just combined. Do not overmix! A few small lumps are totally fine. Overmixing will develop the gluten and make the donuts tough. Stop as soon as you can’t see any more dry flour. The batter will be thick and scoopable, not runny.
- Transfer the batter to a piping bag or zip-top bag. Snip off about ½ inch from the corner. Pipe the batter into the prepared donut cavities, filling each about ¾ full. Don’t overfill—they will rise. If you have extra batter, you can bake a second batch after the first one cools.
- Bake for 10-12 minutes, or until the donuts spring back when lightly touched and a toothpick inserted into the thickest part comes out clean. The edges should be golden brown. My oven runs hot, so I start checking at 10 minutes. Every oven is different, so trust your senses.
- Let the donuts cool in the pan for 5 minutes. This allows them to set and firm up enough to handle. Then transfer them to a wire rack to cool completely, about 10 minutes. Don’t skip this step—if you try to coat them while they’re warm, the butter will soak in and the coating won’t stick properly.
- While the donuts cool, prepare the cinnamon-sugar coating. In a shallow bowl, mix the granulated sugar and cinnamon together. Melt the remaining ¼ cup of butter in a small bowl or microwave-safe dish.
- Once the donuts are completely cool, brush each one lightly with melted butter. Use a pastry brush to cover all sides evenly. Then dip the buttered donut into the cinnamon-sugar mixture, turning to coat all sides. Tap off any excess. Place on a plate or serving tray.
- Serve immediately or store in an airtight container. The coating stays crunchy for about 24 hours, but honestly, these are best eaten the same day. If you’re making them ahead, wait to coat until just before serving.
Sensory Cues: When you fold the batter, it should be thick and slightly sticky, like a muffin batter. The donuts will look pale golden when done, with a slight spring when touched. The aroma of pumpkin and spices filling your kitchen is the best indicator that they’re almost ready. If you see steam rising when you open the oven door, that’s a good sign they’re cooked through.
Cooking Tips & Techniques
I’ve made these donuts more times than I can count, and I’ve learned a few things along the way. Here are my best tips for perfect results every time.
Don’t overmix the batter. This is the number one mistake people make with baked goods. Mix until the flour just disappears, then stop. Overmixing develops gluten, which makes the donuts tough and dense instead of tender and light. A few lumps are your friend here.
Use room temperature ingredients. Cold eggs and milk can cause the batter to seize up and create uneven texture. Let them sit on the counter for 30 minutes before starting. If you’re in a rush, place the eggs in a bowl of warm water for 5 minutes and microwave the milk for 10 seconds.
Properly measure your flour. Scooping directly from the bag compacts the flour and you’ll end up with too much. Instead, spoon the flour into your measuring cup and level it off with a knife. This ensures you get the right amount every time.
Let the donuts cool completely before coating. I learned this the hard way. The first time I made these, I was impatient and brushed the butter on while they were still warm. The butter soaked right in, and the cinnamon-sugar just slid off. Wait the full 10 minutes on the cooling rack—it’s worth it.
Make the coating fresh. The cinnamon-sugar mixture loses its punch if made ahead. Mix it right before you’re ready to coat. And use a shallow bowl so you can dip the donuts easily without making a mess.
Double the batch for freezing. These donuts freeze beautifully before coating. Bake, cool completely, then wrap individually in plastic wrap and place in a freezer bag. When you’re ready to serve, thaw at room temperature, warm in the microwave for 10 seconds, then brush with butter and coat. Fresh donuts anytime, with no extra work.
Variations & Adaptations
One of the best things about this recipe is how adaptable it is. Here are some variations I’ve tried and loved.
Gluten-Free Version: Substitute the all-purpose flour with a 1:1 gluten-free baking flour blend. I’ve had great results with Bob’s Red Mill 1-to-1 Baking Flour. The texture is slightly more delicate, but the flavor is spot on. Add an extra tablespoon of milk to compensate for the drier flour blend.
Vegan Version: Replace the eggs with flax eggs (2 tablespoons ground flaxseed mixed with 6 tablespoons water, let sit for 5 minutes). Use melted coconut oil instead of butter, and swap the milk for unsweetened almond or oat milk. The donuts will be a bit denser but still delicious. For the coating, use melted coconut oil instead of butter.
Chocolate Pumpkin Spice Donuts: Reduce the flour to 1 ½ cups and add ¼ cup unsweetened cocoa powder. Increase the sugar to 1 cup. The chocolate and pumpkin spice combination is surprisingly good—like a pumpkin mocha in donut form. I tried this on a whim and it’s become a favorite.
Maple Glazed Version: Skip the cinnamon-sugar coating and make a simple glaze instead. Whisk together 1 cup powdered sugar, 2 tablespoons maple syrup, and 1-2 tablespoons milk until smooth. Dip the cooled donuts in the glaze and let set on a wire rack. The maple adds a lovely fall twist.
Mini Donut Version: Use a mini donut pan and reduce baking time to 6-8 minutes. These are perfect for parties or for portion control (though I find myself eating more of them because they’re smaller, so use with caution).
Serving & Storage Suggestions
These donuts are best enjoyed the same day you make them, but they’ll keep for a few days if stored properly.
Serving Temperature: Room temperature is ideal. The texture is soft and tender, and the coating stays crunchy. If you want them warm, pop them in the microwave for 8-10 seconds before serving. Just be aware that the coating will soften slightly.
Presentation Ideas: Arrange the donuts on a rustic wooden board or a cake stand. Dust with a little extra cinnamon for visual appeal. Serve with a hot cup of coffee, spiced chai, or a warm apple cider for the ultimate fall pairing. I also love serving them alongside a refreshing cucumber mint green tea cooler for a balanced treat.
Storage Instructions: Store uncoated donuts in an airtight container at room temperature for up to 3 days. If coated, they’re best within 24 hours—the coating will start to soften after that. For longer storage, freeze uncoated donuts for up to 3 months. Thaw at room temperature, then coat as directed.
Reheating Tips: If you’re eating leftover donuts (coated or not), a quick 10-second blast in the microwave brings back some of the fresh-baked softness. For a crisper exterior, reheat in a 300°F oven for 5 minutes. Avoid the toaster—the coating can burn.
Flavor Development: Interestingly, the pumpkin spice flavor actually deepens after a day. The spices meld together and become more pronounced. So if you can resist eating them all immediately, the second day brings a richer, more complex flavor. Just re-coat them if needed before serving.
Nutritional Information & Benefits
Here’s the approximate nutritional breakdown for one donut (based on 12 donuts per batch):
| Nutrient | Amount per Donut |
|---|---|
| Calories | 195 |
| Total Fat | 8g |
| Saturated Fat | 5g |
| Cholesterol | 45mg |
| Sodium | 210mg |
| Total Carbohydrates | 29g |
| Dietary Fiber | 1g |
| Sugars | 16g |
| Protein | 3g |
Health Benefits: Pumpkin is packed with vitamin A (from beta-carotene), which supports eye health and immune function. It’s also a good source of fiber, which aids digestion. The cinnamon in the coating has anti-inflammatory properties and can help regulate blood sugar levels. While these donuts are definitely a treat, the pumpkin adds a nutritional boost you don’t get from regular donuts.
Dietary Considerations: This recipe is vegetarian. For gluten-free or vegan options, check the variations section above. The donuts contain dairy (butter, milk) and eggs, so they’re not suitable for those with allergies to those ingredients. If you need a nut-free version, ensure your milk alternative is nut-free (oat milk works great).
Personal Wellness Perspective: I believe in balance. These donuts are a treat, not a health food. But they’re made with real ingredients, no artificial flavors or preservatives, and they bring genuine joy. That counts for something. Enjoy them mindfully, share them with people you love, and don’t stress about the calories. Life’s too short for bad donuts.
Conclusion
These easy baked pumpkin spice donuts are everything I wanted in a fall treat—simple to make, packed with warm spices, and completely fuss-free. No deep fryer, no hot oil, no greasy mess. Just a tender, flavorful donut that tastes like autumn in every bite. Whether you’re making them for a cozy weekend breakfast, a Halloween party, or just because the weather turned chilly, they deliver every time.
I love that this recipe is forgiving enough for beginners but satisfying enough for experienced bakers. The texture is spot-on, the coating adds that perfect crunch, and the pumpkin spice flavor is warm and inviting without being overwhelming. It’s the kind of recipe that makes you feel like a pro, even on a lazy Sunday morning.
I’d love to hear how yours turn out. Did you try any of the variations? Did you add a glaze instead of the cinnamon-sugar? Drop a comment below and let me know. And if you’re looking for more easy, delicious recipes, check out my easy lemon herb salmon sheet pan dinner for a savory option, or the easy slow cooker honey garlic chicken meal prep bowls for a set-it-and-forget-it weeknight dinner. Happy baking, friends!
Frequently Asked Questions
Can I use pumpkin pie filling instead of pumpkin puree?
No, please don’t. Pumpkin pie filling is pre-sweetened and spiced, so it will throw off the sugar and spice balance in this recipe. Stick with 100% pure pumpkin puree for the best results. If you only have pie filling, reduce the sugar by half and skip the pumpkin pie spice, but honestly, the texture won’t be the same.
Why did my donuts turn out dry?
This usually happens from overbaking or overmixing the batter. Check your donuts at the 10-minute mark—they should be just set and springy to the touch. Also, make sure you’re measuring your flour correctly (spoon and level, don’t scoop). Too much flour will dry them out. If your pumpkin puree was particularly thick, that can also contribute to dryness.
Can I make these without a donut pan?
Absolutely. You can use a muffin tin instead and bake for 12-15 minutes. They’ll be more like donut muffins, but the flavor is identical. Just fill the muffin cups about ¾ full and bake until a toothpick comes out clean. Coat them the same way after cooling. You can also use a mini muffin pan for bite-sized treats.
How do I keep the cinnamon-sugar coating from falling off?
The key is letting the donuts cool completely before coating. If they’re even slightly warm, the butter will soak in and the coating won’t stick. Also, brush the butter on evenly—don’t overdo it. A thin, even layer is all you need. And dip immediately after brushing while the butter is still tacky.
Can I freeze these donuts?
Yes, and it works great. Freeze them uncoated. Bake, cool completely, wrap each donut individually in plastic wrap, then place in a freezer-safe bag. They’ll keep for up to 3 months. When you’re ready to enjoy, thaw at room temperature, warm in the microwave for 10 seconds, then brush with butter and coat with cinnamon-sugar. They taste fresh-baked.
Pin This Recipe!
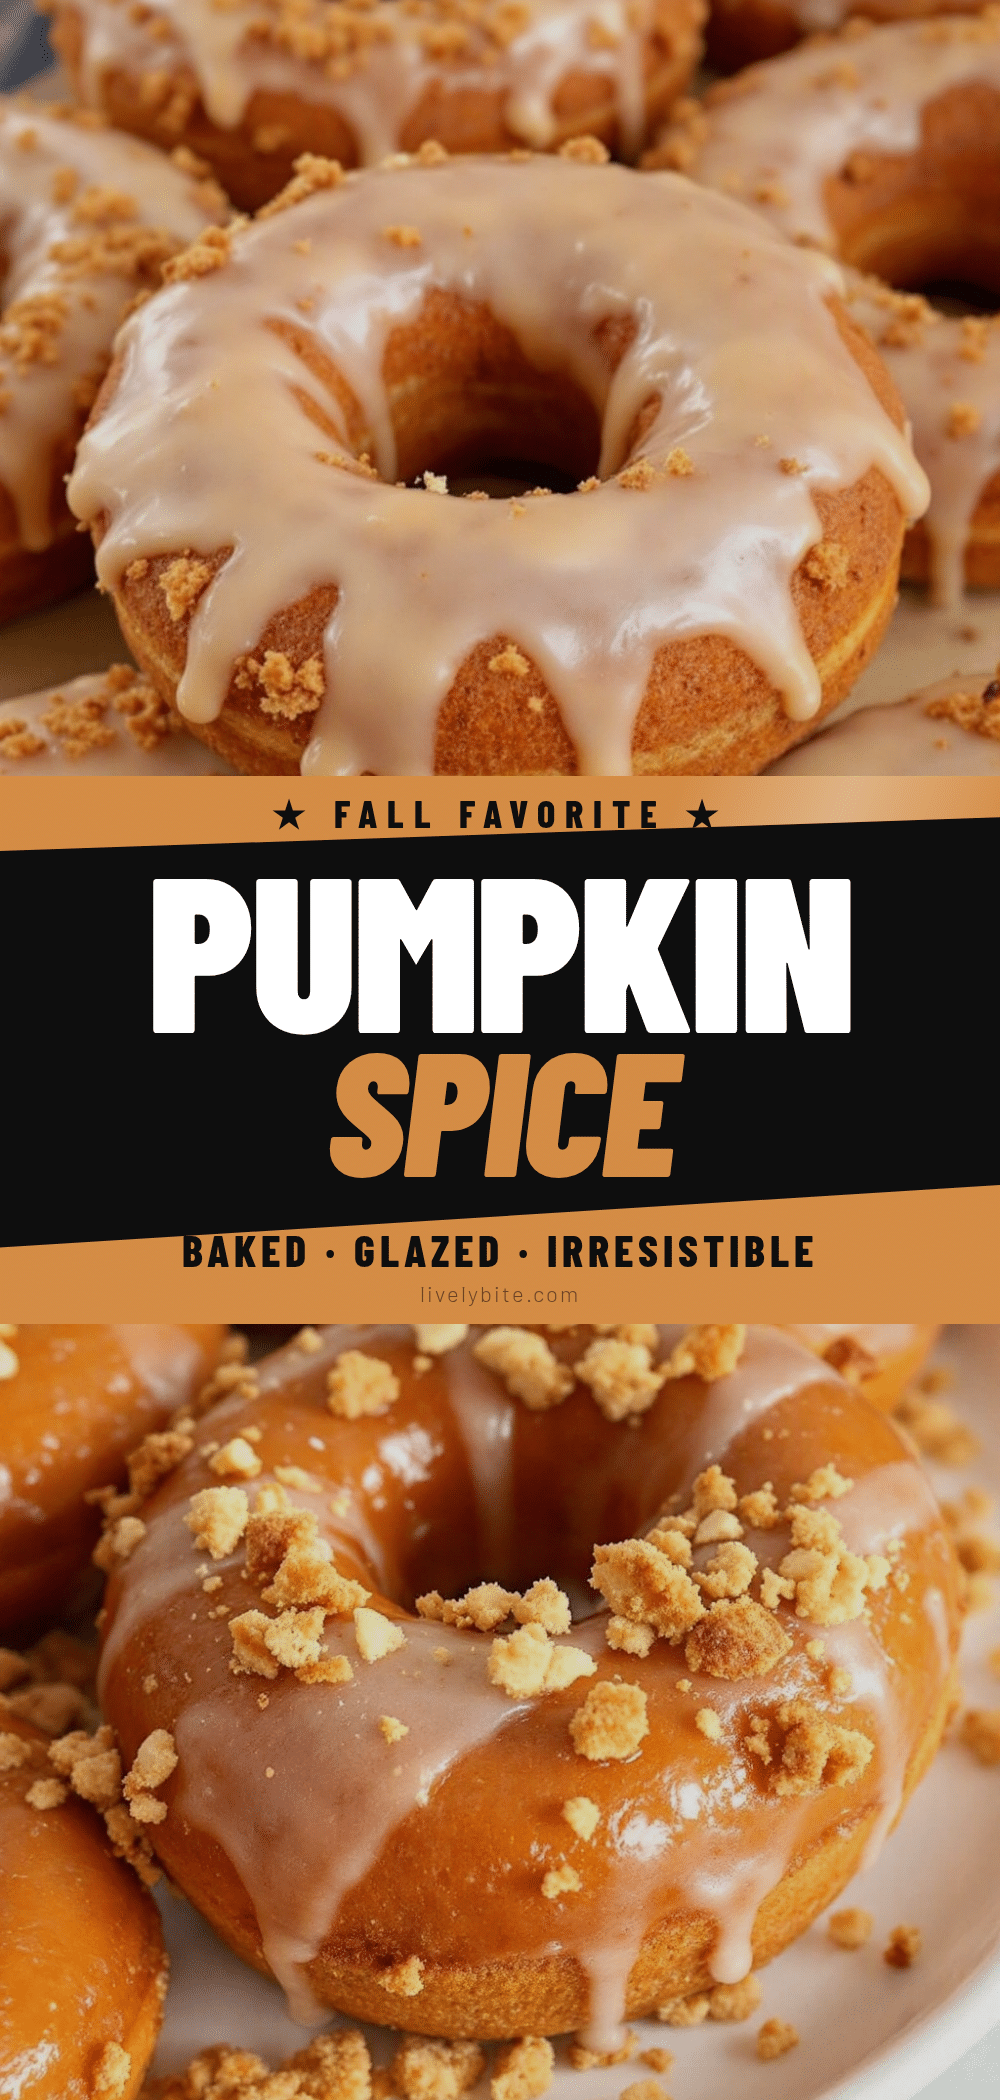
Easy Baked Pumpkin Spice Donuts Recipe (No Fryer)
These baked pumpkin spice donuts are soft, tender, and packed with warm autumn spices. Made without a deep fryer, they come together in under 30 minutes with simple pantry ingredients and a crunchy cinnamon-sugar coating.
- Prep Time: 15 minutes
- Cook Time: 12 minutes
- Total Time: 27 minutes
- Yield: 12 donuts 1x
- Category: Dessert
- Cuisine: American
Ingredients
- 1 ¾ cups (210g) all-purpose flour
- ¾ cup (150g) granulated sugar
- 1 ½ teaspoons baking powder
- ½ teaspoon baking soda
- 2 teaspoons pumpkin pie spice
- 1 teaspoon ground cinnamon
- ½ teaspoon salt
- 1 cup (245g) pumpkin puree (not pumpkin pie filling)
- 2 large eggs, room temperature
- ¼ cup (57g) unsalted butter, melted
- 1 teaspoon vanilla extract
- ¼ cup (60ml) milk (whole or 2%)
- For the cinnamon-sugar coating:
- ¼ cup (57g) unsalted butter, melted
- ½ cup (100g) granulated sugar
- 1 tablespoon ground cinnamon
Instructions
- Preheat oven to 350°F (175°C). Spray a standard 6-cavity donut pan generously with non-stick cooking spray.
- In a medium bowl, whisk together flour, sugar, baking powder, baking soda, pumpkin pie spice, cinnamon, and salt for about 20 seconds.
- In a large bowl, whisk together pumpkin puree, eggs, melted butter, vanilla extract, and milk until smooth and well combined.
- Pour dry ingredients into wet ingredients. Fold gently with a rubber spatula until just combined (a few lumps are fine; do not overmix).
- Transfer batter to a piping bag or zip-top bag. Snip off about ½ inch from the corner. Pipe batter into prepared donut cavities, filling each about ¾ full.
- Bake for 10-12 minutes, until donuts spring back when lightly touched and a toothpick inserted into the thickest part comes out clean.
- Let donuts cool in the pan for 5 minutes, then transfer to a wire rack to cool completely (about 10 minutes).
- While donuts cool, prepare coating: In a shallow bowl, mix granulated sugar and cinnamon together. Melt ¼ cup butter in a small bowl.
- Once donuts are completely cool, brush each lightly with melted butter, then dip into cinnamon-sugar mixture, turning to coat all sides. Tap off excess.
- Serve immediately or store in an airtight container. Best eaten the same day.
Notes
Don’t overmix the batter; a few lumps are fine. Let donuts cool completely before coating to ensure the cinnamon-sugar sticks. For best results, use room temperature ingredients. Freeze uncoated donuts for up to 3 months.
Nutrition
- Serving Size: 1 donut
- Calories: 195
- Sugar: 16
- Sodium: 210
- Fat: 8
- Saturated Fat: 5
- Carbohydrates: 29
- Fiber: 1
- Protein: 3
Keywords: baked donuts, pumpkin spice, fall recipe, easy donuts, no fryer, cinnamon sugar, pumpkin donuts


