Sunday night, and I’m staring at the fridge like it owes me money. The school week looms ahead, and I can already hear the familiar complaint: “Mom, the lunch was gross again.” Not this time. I needed something that would actually get eaten, not traded or tossed. Something that didn’t require me to wake up at dawn to assemble. And honestly? Something that didn’t make me feel like a short-order cook who also happens to run a deli.
That’s when this easy 5-ingredient cold pasta salad for school lunches happened. It wasn’t a eureka moment in a test kitchen. It was a Tuesday, pasta was on sale, and I had a bag of frozen peas that needed using up. I threw things together out of pure desperation, fully expecting it to be mediocre. Instead, my kid ate two helpings at dinner and asked if there would be leftovers for lunch. That’s when I knew I’d stumbled onto something good.
What makes this work isn’t fancy technique or rare ingredients. It’s the combination of textures and flavors that actually appeal to kids while still being something you’d happily eat yourself. The pasta stays tender even after a night in the fridge. The dressing clings to every piece without turning soggy. And the whole thing comes together in the time it takes to boil water. No stress, no special equipment, no weird ingredients your grocery store doesn’t stock.
This isn’t a recipe that tries to be fancy. It’s a recipe that shows up, does its job, and makes your life easier. And honestly, that’s the kind of cooking I need more of on a Tuesday night.
Why You’ll Love This Recipe
Let me tell you why this cold pasta salad has become my most-requested lunchbox recipe. I’ve tested it through three school years, two picky eaters, and countless lunchroom trades. It holds up every single time.
- Truly Five Ingredients: Pasta, dressing, cheese, peas, and one surprise ingredient. That’s it. No long grocery lists, no hunting for obscure items.
- Prep Once, Eat All Week: Make a big batch on Sunday, and you’ve got lunches sorted through Friday. The pasta actually tastes better on day two or three as the flavors meld together.
- Kid-Approved, Parent-Satisfied: My kids devour this, but I also pack it for my own work lunches. It’s that rare recipe that pleases everyone at the table.
- No Heating Required: Perfect for school lunches where microwaves are scarce or nonexistent. Pull it from the fridge and it’s ready to go.
- Budget-Friendly: A batch costs roughly the same as two school cafeteria meals but feeds the whole family for days. Your wallet will thank you.
I’ve made this for birthday parties, potlucks, and lazy summer dinners. It always disappears. The secret is letting the flavors sit overnight, which is exactly what makes it perfect for packed lunches. You’re not just prepping food; you’re building flavor while you sleep.
This isn’t just another pasta salad recipe. It’s the one that finally got my kid to stop trading lunches. And that’s a win I’ll take every single time.
What Ingredients You Will Need
This recipe uses simple, wholesome ingredients that you probably already have in your kitchen. The magic is in how they come together, not in fancy pantry items.
- Pasta (2 cups dry, about 250g): I prefer short shapes like rotini, fusilli, or farfalle. The nooks and crannies catch the dressing perfectly. For gluten-free options, chickpea or lentil pasta works beautifully and adds protein. Cook it one minute past al dente since cold pasta firms up slightly in the fridge.
- Italian Dressing (½ cup, 120ml): This is your shortcut to flavor. I use a good-quality bottled dressing like Wish-Bone or Newman’s Own. The acidity keeps everything bright, and the herbs add depth without extra work. If you’re feeling ambitious, homemade works too, but honestly, bottled is fine here.
- Frozen Peas (1 cup, 150g): They add sweetness, color, and a pop of texture. No need to thaw them first; they’ll defrost as they mix with the warm pasta. I’ve also used frozen edamame for extra protein when I’m feeling fancy.
- Cheddar Cheese (1 cup cubed, about 120g): Sharp cheddar adds tang and richness. Cube it small, about the size of the peas, so every bite gets some. Pre-shredded cheese works in a pinch but won’t have the same creamy texture. For dairy-free families, Follow Your Heart brand shreds hold up well.
- Mini Pepperoni (½ cup, about 60g): This is the surprise ingredient that makes kids actually excited. The salty, slightly spicy bites contrast beautifully with the sweet peas and tangy dressing. Turkey pepperoni works great for a lighter option. You can also use diced salami or even chopped ham.
That’s genuinely it. Five ingredients, zero stress. The beauty of this recipe is how forgiving it is. Swap the peas for chopped broccoli. Use mozzarella instead of cheddar. Throw in some cherry tomatoes if they’re sitting on your counter. The base formula is so solid that you can riff on it endlessly without ruining anything.
One tip I learned through trial and error: don’t overdress the pasta. You want enough to coat every piece, but not so much that it pools at the bottom of the container. Start with half the dressing, toss, then add more if needed. The pasta will absorb some dressing overnight, so a little extra is actually welcome.
Equipment Needed
You don’t need a professional kitchen to make this work. Here’s what you’ll actually use:
- Large Pot (6-8 quart): For boiling pasta. Give it plenty of room so the pasta doesn’t stick together.
- Colander: For draining. Nothing fancy, just something that lets water through.
- Large Mixing Bowl: Big enough to toss everything without spilling. I use a metal bowl because it chills faster.
- Measuring Cups and Spoons: For the dressing and pasta. Eyeballing works, but measuring ensures consistency.
- Sharp Knife and Cutting Board: For cubing the cheese. A dull knife will crush the cheese instead of cutting it cleanly.
- Storage Containers: Airtight containers for portioning out lunches. Glass containers work best because they don’t stain or hold odors.
If you don’t have a large mixing bowl, use the pot you cooked the pasta in. One less dish to wash. And honestly, that’s the kind of cooking wisdom I wish someone had shared with me years ago.
Preparation Method
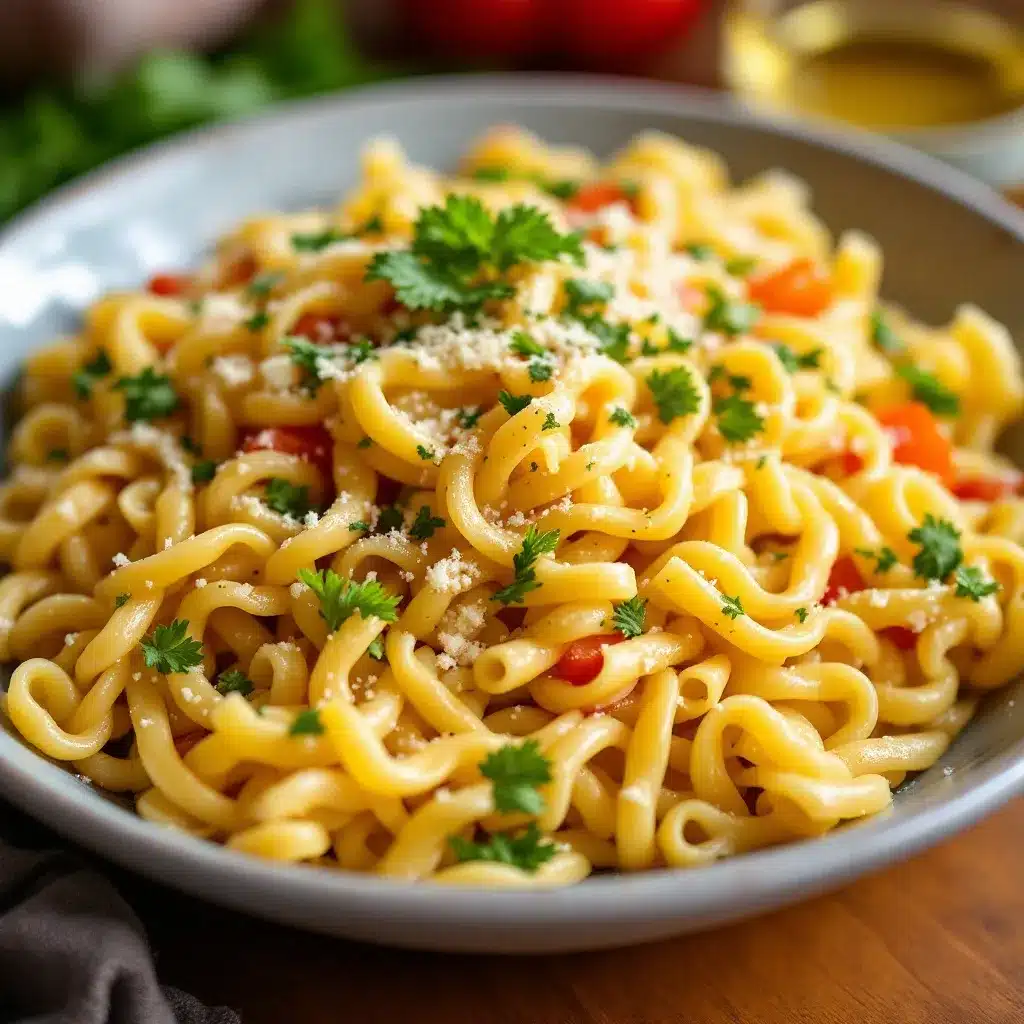
Let’s walk through this step by step. I’ve made this so many times I could do it in my sleep, but I’ll share every detail so your first batch is perfect.
- Cook the pasta (10-12 minutes): Fill your large pot with water and bring it to a rolling boil. Add a generous pinch of salt, about a tablespoon. Add your pasta and cook according to package directions, but add one extra minute. I know that sounds wrong, but cold pasta firms up in the fridge, so starting slightly softer gives you the perfect texture later. Drain the pasta in your colander and rinse briefly with cold water to stop the cooking process. Shake off excess water well; you don’t want watery pasta salad.
- Prep your add-ins (5 minutes): While the pasta cooks, cube your cheddar cheese into small pieces, about the size of your pinky nail. Uniform pieces mean every bite has cheese. If you’re using pepperoni, you can leave the mini ones whole or cut them in half. For frozen peas, just measure them out; they’ll thaw from the residual heat of the pasta.
- Combine while warm (3 minutes): Transfer your drained pasta to a large mixing bowl. While it’s still warm, add the frozen peas. The warmth will gently thaw them without turning them mushy. Add the cubed cheese and pepperoni. This is where the magic starts happening; the warm pasta slightly softens the cheese edges and wakes up the pepperoni oils.
- Add the dressing (2 minutes): Pour about half your Italian dressing over the pasta mixture. Toss gently with a large spoon or spatula. You want everything evenly coated but not swimming. Add more dressing if needed, but remember, the pasta will absorb some overnight. I usually end up using about ⅓ cup initially and save the rest for adding just before serving.
- Chill and rest (minimum 2 hours): Cover your bowl with plastic wrap or a lid and refrigerate. This is the most important step. The flavors need time to meld and develop. I’ve made this right before serving and it’s good. I’ve made it the night before and it’s incredible. The difference is night and day. Give it at least two hours, but overnight is ideal.
- Portion and pack (10 minutes): Once chilled, divide the pasta salad into individual lunch containers. I use 1-cup portions for my kids and 1.5-cup portions for myself. Add a small ice pack to their lunch bags to keep everything cold until lunchtime. If the pasta seems dry after refrigerating, drizzle a tiny bit of extra dressing on top before sealing the container.
A quick note about timing: this entire process takes about 25 minutes of active time. The passive chilling time is where the real work happens. I usually make this while I’m already in the kitchen making dinner, so it feels like zero extra effort.
Cooking Tips & Techniques
After making this probably fifty times, here’s what I’ve learned that makes the difference between good pasta salad and the kind people beg you to bring to potlucks.
Salt your pasta water generously. This is the only chance you have to season the pasta itself. The water should taste like the sea. Undersalted pasta means bland pasta salad, and you can’t fix that after the fact. Trust me, I’ve tried.
Don’t overdress. I know I keep saying this, but it’s the most common mistake. Start with less dressing than you think you need. You can always add more, but you can’t take it away. The pasta will continue absorbing liquid as it sits, so what looks perfectly dressed at mixing time might be dry by lunch. Save a little dressing to refresh it before serving.
Let it rest overnight. I cannot stress this enough. The first time I made this, I served it immediately and thought, “This is fine.” The next day, I tasted the leftovers and literally said, “Oh, THAT’S what it’s supposed to taste like.” The flavors need time to get to know each other. The dressing soaks into the pasta. The cheese softens slightly. The pepperoni infuses everything with its salty, smoky goodness. Patience is the secret ingredient.
Keep it cold. This isn’t a recipe that does well sitting out. If you’re packing for school, use an insulated lunch bag with an ice pack. For picnics, keep it in a cooler until serving time. The cold temperature keeps the pasta firm and the dressing bright.
Double the batch. This recipe scales beautifully. I always make at least a double batch because it disappears so fast. It also freezes surprisingly well for a pasta salad; just leave out the cheese and add it fresh after thawing.
Variations & Adaptations
This recipe is endlessly adaptable. Here are some versions I’ve tried and loved:
- Protein-Packed Version: Swap the pepperoni for diced grilled chicken or canned tuna. Add a tablespoon of sunflower seeds for crunch. This turns lunch into a meal that keeps kids full through afternoon classes.
- Vegetarian Delight: Skip the pepperoni and add chopped bell peppers, cucumber, and cherry tomatoes. The colors are gorgeous, and the crunch factor goes through the roof.
- Dairy-Free Adaptation: Use dairy-free cheese shreds and skip the pepperoni (or use turkey pepperoni). The dressing provides plenty of flavor, so you won’t miss the dairy.
- Gluten-Free Option: Use your favorite gluten-free pasta. Brown rice pasta holds up particularly well in cold salads. Just be extra careful not to overcook it.
- Mediterranean Twist: Swap the Italian dressing for a lemon vinaigrette, use feta instead of cheddar, and add kalamata olives and diced cucumber. This version is incredible alongside some of my other go-to lunches, like easy Mediterranean stuffed mini peppers with feta.
- Spicy Kick: Add a pinch of red pepper flakes to the dressing or use spicy pepperoni. My teenager loves this version and says it’s way better than anything from the cafeteria.
The beauty of a five-ingredient recipe is that each swap creates a completely new dish. I’ve never gotten bored with this, and I’ve made it more times than I can count.
Serving & Storage Suggestions
Serving Temperature: Serve cold, straight from the fridge. The pasta should be firm, the cheese should be cool, and the dressing should be bright. If it’s been sitting out for more than 30 minutes, pop it back in the fridge to chill before serving.
Presentation Ideas: For lunchboxes, pack the pasta salad in a small container with a tight-fitting lid. Add a side of fresh fruit, some baby carrots, and a cookie for a complete lunch. For parties, serve in a large glass bowl so everyone can see the colorful layers. Garnish with a sprinkle of fresh parsley or extra pepperoni on top.
Storage Instructions: Store in an airtight container in the refrigerator for up to 5 days. The flavors actually improve over the first 2-3 days. After that, the pasta starts to soften, but it’s still perfectly edible. I’ve never had a batch last longer than 4 days in my house because it gets eaten too fast.
Freezing Instructions: You can freeze this pasta salad, but leave out the cheese and add it fresh after thawing. Portion into freezer-safe containers and freeze for up to 3 months. Thaw overnight in the refrigerator, then add fresh cheese and a splash of dressing before serving.
Reviving Leftovers: If the pasta seems dry after a few days, add a teaspoon of dressing or a splash of milk and toss well. The pasta will rehydrate and taste fresh again. This trick has saved many a lunch from being tossed in the cafeteria trash.
Flavor Development: Here’s something I’ve noticed: this pasta salad hits its peak flavor at the 24-hour mark. The dressing has fully penetrated the pasta, the cheese has softened just slightly, and everything tastes cohesive. If you’re planning for a week of lunches, make it on Sunday and enjoy it at its best on Monday and Tuesday.
Nutritional Information & Benefits
Here’s the approximate nutritional breakdown for a 1-cup serving of this pasta salad:
| Nutrient | Amount Per Serving |
|---|---|
| Calories | 320 |
| Protein | 12g |
| Carbohydrates | 38g |
| Fat | 14g |
| Fiber | 3g |
| Sodium | 580mg |
This pasta salad offers a balanced mix of carbohydrates for energy, protein for satiety, and fat for flavor absorption. The peas add fiber and vitamin C, while the cheddar provides calcium and protein. The Italian dressing contains herbs with antioxidant properties, and the pepperoni adds a small amount of iron.
For a lighter version, use whole wheat pasta, low-fat cheese, and turkey pepperoni. This reduces calories and fat while increasing fiber. You can also bulk it up with extra vegetables like broccoli or bell peppers for added nutrients without many extra calories.
This recipe fits well into most dietary patterns. It’s naturally nut-free, which makes it school-safe for classrooms with allergy restrictions. For gluten-free or dairy-free needs, the substitutions I mentioned earlier work beautifully. It’s also easy to make vegetarian by omitting the pepperoni.
I love that this recipe lets me feel good about what my kids are eating at lunch. They’re getting real food with recognizable ingredients, not processed lunch kits filled with preservatives. And they actually eat it, which is the whole point.
Conclusion
This easy 5-ingredient cold pasta salad for school lunches has genuinely changed how I approach weekday mornings. Instead of scrambling to throw together a lunch my kids might not eat, I open the fridge, grab a pre-portioned container, and drop it in their lunch bags. Done. No stress, no complaints, no wasted food.
What I love most about this recipe is how it proves that simple food is often the best food. You don’t need complicated techniques or exotic ingredients to make something delicious. You just need a few good components that work together and a little bit of patience for the flavors to meld. That’s it. That’s the whole secret.
I encourage you to make this your own. Swap in your family’s favorite add-ins. Adjust the dressing to your taste. Experiment with different pasta shapes. The base recipe is so forgiving that you really can’t mess it up. And when your kid comes home with an empty lunchbox and asks if you can make more, you’ll know you’ve created something special.
If you love easy, make-ahead meals as much as I do, you should definitely check out my easy slow cooker honey garlic chicken meal prep bowls for another week of stress-free lunches. And for a lighter option that still packs well, my easy lemon herb salmon sheet pan dinner makes incredible leftovers for lunch the next day.
I’d love to hear how this recipe works for your family. Drop a comment below and tell me what variations you tried or how your kids reacted. Did they ask for seconds? Did they trade it for something else? Did you discover a new favorite add-in? Your feedback helps other readers, and honestly, it makes my day to hear that this recipe is making someone’s life easier.
Until next time, happy cooking and even happier lunch packing!
Frequently Asked Questions
Can I use any type of pasta for this recipe?
Absolutely! Short pasta shapes work best because they hold the dressing and mix-ins well. Rotini, fusilli, farfalle, penne, and elbow macaroni are all excellent choices. Avoid long, thin pasta like spaghetti or angel hair, as they tend to clump together and don’t distribute the add-ins evenly.
How long does this pasta salad last in the fridge?
This pasta salad stays fresh for up to 5 days when stored in an airtight container in the refrigerator. The flavors actually improve over the first 2-3 days as the dressing soaks into the pasta. After day 4, the pasta may start to soften, but it’s still perfectly safe to eat and delicious.
Can I make this pasta salad the night before?
Yes, and I actually recommend it! Making this the night before gives the flavors time to meld and develop. The pasta absorbs the dressing, the cheese softens slightly, and everything comes together into a cohesive, delicious dish. It’s one of those rare recipes that tastes better the next day.
Is this recipe suitable for school lunch allergy policies?
This recipe is naturally nut-free, which makes it safe for most nut-free classrooms. However, it does contain dairy (cheese) and gluten (pasta). For dairy-free versions, use dairy-free cheese shreds. For gluten-free versions, use your favorite gluten-free pasta. Always check with your school’s specific allergy policies before packing any lunch.
Can I add other vegetables to this pasta salad?
Absolutely! This recipe is incredibly versatile. Cherry tomatoes, diced bell peppers, cucumber, broccoli florets, shredded carrots, and chopped spinach all work beautifully. Just keep the total volume of add-ins roughly equal to the pasta so the ratios stay balanced. Extra vegetables also boost the nutritional value without adding many calories.
Pin This Recipe!
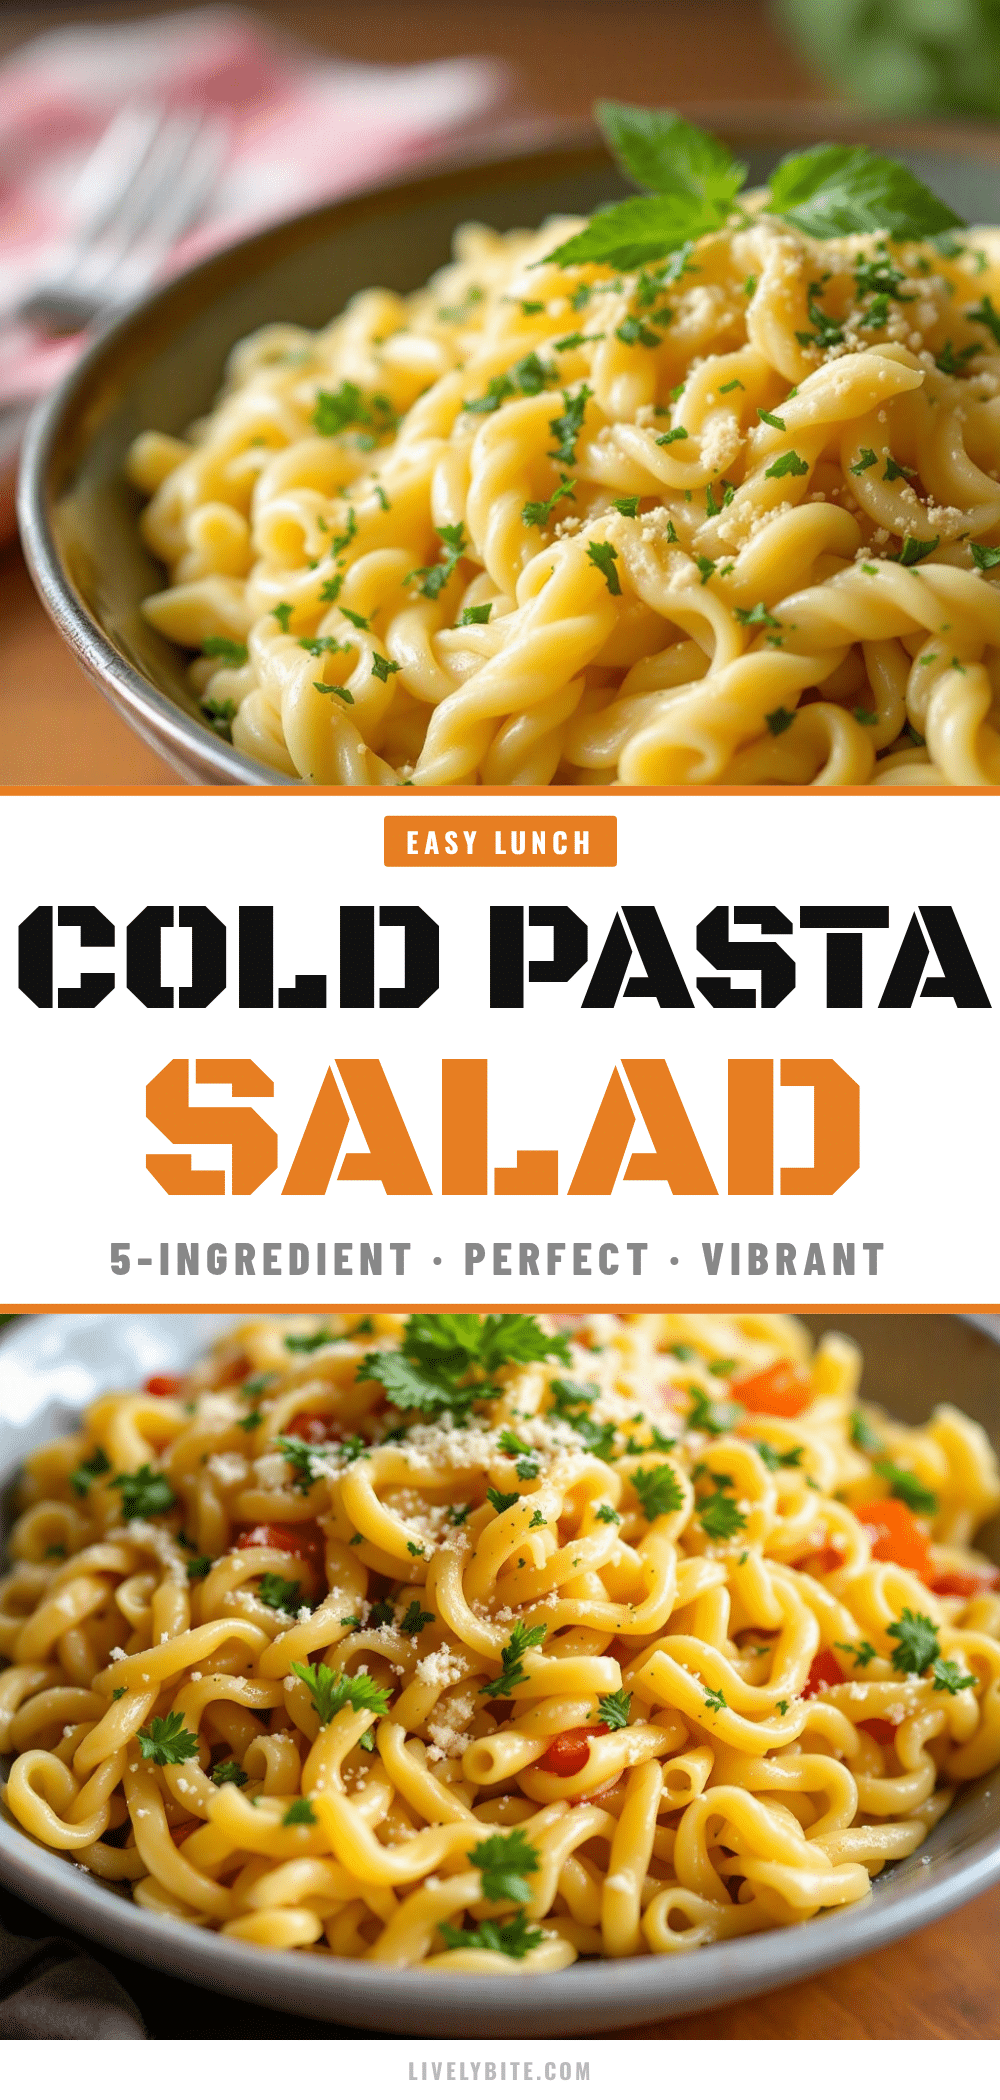
Easy 5-Ingredient Cold Pasta Salad for School Lunches
A simple, kid-approved cold pasta salad made with just five ingredients. Perfect for make-ahead school lunches, it comes together in minutes and tastes even better the next day.
- Prep Time: 15 minutes
- Cook Time: 12 minutes
- Total Time: 2 hours 27 minutes (includes chilling)
- Yield: 4 servings 1x
- Category: Main Course
- Cuisine: American
Ingredients
- 2 cups dry pasta (about 250g), such as rotini, fusilli, or farfalle
- ½ cup Italian dressing (120ml)
- 1 cup frozen peas (150g)
- 1 cup cubed cheddar cheese (about 120g)
- ½ cup mini pepperoni (about 60g)
Instructions
- Cook the pasta: Bring a large pot of salted water to a boil. Add pasta and cook according to package directions, adding one extra minute. Drain and rinse briefly with cold water. Shake off excess water.
- Prep add-ins: While pasta cooks, cube cheddar cheese into small pieces. Measure out frozen peas and mini pepperoni.
- Combine while warm: Transfer drained pasta to a large mixing bowl. While still warm, add frozen peas, cubed cheese, and pepperoni. Toss gently.
- Add dressing: Pour about half the Italian dressing over the pasta mixture and toss to coat evenly. Add more dressing if needed, but reserve some for refreshing later.
- Chill and rest: Cover the bowl and refrigerate for at least 2 hours, preferably overnight, to let flavors meld.
- Portion and pack: Divide into individual containers (about 1 cup per serving). Add a small ice pack to lunch bags to keep cold. If dry, drizzle with extra dressing before serving.
Notes
Salt pasta water generously. Don’t overdress; start with half the dressing and add more as needed. Let rest overnight for best flavor. Keep cold with an ice pack. Double the batch for meal prep. Freeze without cheese; add fresh cheese after thawing.
Nutrition
- Serving Size: 1 cup
- Calories: 320
- Sugar: 4
- Sodium: 580
- Fat: 14
- Saturated Fat: 5
- Carbohydrates: 38
- Fiber: 3
- Protein: 12
Keywords: cold pasta salad, school lunch, 5-ingredient, make-ahead, kid-friendly, easy lunch


