By Wednesday, I had made these bowls three times in five days, and the fourth batch was already cooling on the counter. That’s not normal, even for me. But somewhere between Tuesday’s lunch—where I actually looked forward to eating the same thing again—and Wednesday’s dinner, when my husband asked if we could have “those chicken bowls” instead of the takeout I’d planned, I realized I’d stumbled onto something worth repeating.
The first batch was an accident, really. I had a pack of chicken thighs that needed cooking, a fridge full of vegetables that were starting to wilt, and zero energy for complicated recipes. I chopped everything, tossed it with some basic seasonings, and roasted it all on one sheet pan. The result was so much better than the sum of its parts—the chicken stayed juicy, the veggies caramelized at the edges, and everything tasted better the next day. That’s the thing about these bowls. They’re not fancy. They’re not trendy. They’re just reliable, in the way that a good meal prep recipe has to be.
So I kept making them. I tweaked the seasoning ratios, tested different vegetable combinations, and figured out the exact roasting times that keep everything from turning into mush by day four. What I ended up with is a meal prep plan that actually works for real life—no sad, soggy vegetables or dry chicken by Friday. Just five days of lunches that taste like you actually tried.
Why You’ll Love These Easy Chicken and Veggie Meal Prep Bowls
These bowls aren’t just another meal prep idea that sounds good on paper but fails by Wednesday. I’ve tested this plan through multiple weeks of real life—busy workdays, forgotten lunches, and the inevitable moments when you just want something satisfying without effort. Here’s what makes them worth your Sunday afternoon:
- Five Days of Fresh-Tasting Meals: The roasting method and smart storage keep the chicken from drying out and the veggies from getting soggy. Day five tastes almost as good as day one—honestly, sometimes better because the flavors have melded.
- No Complicated Cooking Techniques: You don’t need to be a chef or own fancy equipment. Everything roasts on sheet pans. That’s it. If you can chop vegetables and set a timer, you can make these bowls.
- Customizable to What You Have: The vegetable combination is flexible. Use what’s in your fridge or what’s on sale. I’ve made versions with zucchini, bell peppers, sweet potatoes, broccoli, and even green beans—they all work.
- Budget-Friendly: Chicken thighs are affordable, vegetables are inexpensive, and you’re using pantry staples for the seasoning. This is a week of lunches for the price of two takeout meals.
- Actually Filling: Between the protein from the chicken, the fiber from the vegetables, and the healthy fats from the olive oil, these bowls keep you full for hours. No 3 p.m. snack cravings.
- Perfect for Busy Weeks: When life gets chaotic—and let’s face it, it always does—having ready-to-eat lunches in the fridge is a game-changer. You just grab, reheat, and eat.
What makes these different from other meal prep recipes is the attention to texture. Most meal prep bowls end up with rubbery chicken and limp vegetables by day three. Not these. The key is roasting everything at the right temperature, storing components separately, and reheating just enough to warm through without overcooking. It’s a system, not just a recipe.
What Ingredients You Will Need
This recipe uses simple, wholesome ingredients that you can find at any grocery store. The beauty of this meal prep plan is that the ingredients are flexible—you can swap based on what’s in season or what you have on hand. Here’s what you’ll need for a week’s worth of lunches:
For the Chicken
- 2 pounds boneless, skinless chicken thighs (about 6-8 thighs) – I prefer thighs over breasts because they stay juicier throughout the week. If you must use breasts, reduce cooking time by 5-7 minutes.
- 3 tablespoons olive oil – Extra virgin works fine, but regular olive oil has a higher smoke point for roasting.
- 2 teaspoons garlic powder – Not garlic salt. We’re controlling the sodium ourselves.
- 2 teaspoons smoked paprika – This gives the chicken that beautiful color and smoky depth. Regular paprika works too, but smoked is better.
- 1 teaspoon onion powder – Adds savory notes without being overpowering.
- 1 teaspoon dried oregano – Or dried thyme if that’s what you have. Both work beautifully.
- ½ teaspoon black pepper – Freshly ground if possible.
- 1 teaspoon salt – I use kosher salt. If using table salt, reduce to ¾ teaspoon.
For the Vegetables
- 2 medium sweet potatoes (about 1 pound), peeled and diced into ½-inch cubes – They add sweetness and hold up well over the week.
- 2 bell peppers (any color), seeded and chopped into 1-inch pieces – Red and orange are sweetest, but green works too.
- 1 medium red onion, cut into 1-inch chunks – Red onion gets sweeter as it roasts. Yellow onion is fine too.
- 2 cups broccoli florets – About one medium head. Cut them into similar-sized pieces for even roasting.
- 1 medium zucchini, halved lengthwise and sliced into half-moons – Adds moisture and bulk without many calories.
- 3 tablespoons olive oil – For roasting the vegetables.
- 1 teaspoon garlic powder
- 1 teaspoon dried rosemary – Or Italian seasoning. Whatever you have.
- ½ teaspoon salt
- ¼ teaspoon black pepper
For Serving (per bowl, optional but recommended)
- ½ cup cooked quinoa or brown rice – I make a big batch on Sunday. Quinoa cooks in 15 minutes and adds protein.
- Fresh lemon wedges – A squeeze of lemon right before eating brightens everything up.
- Fresh parsley or cilantro, chopped – For color and freshness.
- Your favorite sauce – I love a simple yogurt-tahini dressing or a drizzle of balsamic glaze. A quick vinaigrette works too. If you’re looking for inspiration, our easy slow cooker honey garlic chicken meal prep bowls use a similar approach but with a sweeter, stickier sauce.
Ingredient Note: I recommend using chicken thighs from a trusted brand like Bell & Evans or Organic Prairie for the best texture and flavor. For vegetables, farmer’s market produce is ideal, but grocery store vegetables work perfectly—just make sure they’re firm and not bruised. If you’re avoiding nightshades, swap the bell peppers for additional zucchini or summer squash. For a lower-carb option, skip the sweet potatoes and double the broccoli and zucchini.
Equipment Needed
The equipment list for this recipe is refreshingly short. You don’t need a food processor, a slow cooker, or any specialty gadgets. Here’s what you’ll need:
- Two large sheet pans (half-sheet size, about 18×13 inches) – Rimmed sheet pans prevent juices from spilling. If you only have one, roast in batches or crowd everything onto one pan (just expect slightly longer cooking time).
- Parchment paper or silicone baking mats – Not strictly necessary, but they make cleanup infinitely easier. I’m a silicone mat convert—they’re reusable and nothing sticks.
- A sharp chef’s knife – A dull knife makes chopping vegetables feel like a workout. I use a 8-inch Wüsthof, but any sharp knife works.
- Cutting board – Preferably two: one for the chicken and one for vegetables to avoid cross-contamination.
- Large mixing bowl – For tossing the chicken with seasonings.
- Another large bowl – For tossing the vegetables with oil and spices.
- Measuring spoons – For the seasonings. I’ve been using the same set from OXO for years—they’re magnetic and stay together.
- Meat thermometer – Optional but highly recommended. Chicken is done at 165°F, and a thermometer takes the guesswork out.
- Five meal prep containers – Glass containers with airtight lids are best. They don’t stain, they reheat well, and they last forever. I use 3-cup containers for the bowls with rice and 4-cup containers for just the chicken and veggies.
Budget Tip: You don’t need expensive equipment. A $10 sheet pan from a restaurant supply store works just as well as a $40 one from a kitchen boutique. The key is that it’s heavy-duty enough not to warp in the oven. And if you don’t have silicone mats, parchment paper is cheap and works perfectly.
Preparation Method
This is the step-by-step process for making five days of lunches in about an hour. The key is organization—prep everything before you start cooking, and the whole process flows smoothly.
Step 1: Preheat and Prep (10 minutes)
Preheat your oven to 425°F (220°C). Line two large sheet pans with parchment paper or silicone baking mats. While the oven heats, wash and chop all your vegetables. Dice the sweet potatoes into ½-inch cubes—they need to be small enough to cook through in the same time as the other vegetables. Chop the bell peppers, red onion, broccoli, and zucchini. Keep the vegetables separate from the chicken area to avoid cross-contamination.
Step 2: Season the Chicken (5 minutes)
Pat the chicken thighs dry with paper towels. This is important—dry chicken browns better and holds onto the seasoning. In a large bowl, combine the olive oil, garlic powder, smoked paprika, onion powder, dried oregano, salt, and pepper. Add the chicken thighs and toss until every piece is coated. Let them sit while you prepare the vegetables—this gives the seasoning time to penetrate.
Step 3: Season the Vegetables (5 minutes)
In a separate large bowl, combine all the chopped vegetables with the olive oil, garlic powder, dried rosemary, salt, and pepper. Toss well to coat every piece. Don’t be shy with the oil—it helps the vegetables caramelize instead of steam. If the vegetables look dry, add another tablespoon of oil.
Step 4: Arrange on Sheet Pans (5 minutes)
Spread the seasoned vegetables in a single layer on one sheet pan. Make sure they’re not overcrowded—if they’re piled on top of each other, they’ll steam instead of roast. If necessary, use two pans for the vegetables. On the second sheet pan, arrange the seasoned chicken thighs in a single layer, leaving space between each piece for even browning.
Step 5: Roast Everything (25-30 minutes)
Place both sheet pans in the preheated oven. Roast for 15 minutes, then rotate the pans (swap top and bottom racks) for even cooking. Continue roasting for another 10-15 minutes. The chicken is done when it reaches an internal temperature of 165°F (74°C) and the juices run clear. The vegetables should be tender and browned at the edges—the sweet potatoes should be easily pierced with a fork.
Visual Cue: The chicken should have a deep golden-brown color with slightly crispy edges. Don’t be afraid of dark spots on the vegetables—that’s caramelization, and it’s where the flavor lives. If the chicken is browning too quickly but isn’t cooked through, tent it loosely with foil for the last 5 minutes.
Step 6: Rest and Cool (10 minutes)
Remove both pans from the oven. Let the chicken rest on the pan for 5 minutes—this redistributes the juices so the meat stays moist. Transfer the chicken to a cutting board and let it cool slightly before slicing. Cut the chicken into bite-sized pieces or slice it against the grain. Let the vegetables cool completely on the pan before assembling the bowls.
Step 7: Assemble the Bowls (10 minutes)
Divide the cooked quinoa or brown rice among five meal prep containers (about ½ cup each). Top each with an equal portion of the roasted vegetables and sliced chicken. If you’re adding a sauce, pack it separately in a small container or add it just before eating to prevent sogginess. Sprinkle with fresh herbs if using.
Pro Tip: Let the bowls cool completely (about 30 minutes at room temperature) before sealing the lids. Trapping steam inside creates condensation that makes everything soggy. I learned this the hard way after a week of sad, wet vegetables.
Cooking Tips & Techniques
After making these bowls more times than I care to count, I’ve collected a few tips that make the difference between good meal prep and great meal prep:
The Chicken Thigh Advantage
I cannot overstate how much better chicken thighs are for meal prep than breasts. Thighs have more fat, which means they stay moist even after reheating. Breasts dry out by day three, no matter how careful you are. If you’re watching calories, you can trim the visible fat—but honestly, the extra fat is what keeps the meat tender.
Don’t Overcrowd the Pans
This is the most common mistake I see. If your vegetables are piled on top of each other, they steam instead of roast. You want them in a single layer with a little space between pieces. If you have to use two pans, do it. The extra few minutes of cleanup are worth it for properly caramelized vegetables.
Season Generously
Cold food needs more seasoning than hot food. When you refrigerate these bowls, the flavors mellow out. I season my chicken and vegetables a little more aggressively than I would for a same-day meal. You’ll thank me on Thursday when the bowl still tastes vibrant.
Reheat Smart
The best way to reheat these bowls is in the microwave for 90 seconds to 2 minutes, depending on your microwave’s power. If you have an air fryer, reheating at 350°F for 3-4 minutes gives the chicken and vegetables a slightly crispy edge. Avoid reheating in the oven—it takes too long and dries everything out. For another meal prep option that reheats beautifully, our easy lemon herb salmon sheet pan dinner follows a similar roasting method and works great for same-day meals.
What I Learned the Hard Way
I once tried to meal prep these bowls with frozen vegetables to save time. Don’t do it. Frozen vegetables release too much water during roasting, and you end up with soggy, bland vegetables that turn mushy by day two. Fresh vegetables are worth the extra chopping time. Also, I learned to store the sauce separately after a batch of bowls turned into a sad, saucy mess by Wednesday. Keep wet and dry components separate until you’re ready to eat.
Variations & Adaptations
This recipe is endlessly adaptable. Here are some variations I’ve tried and loved:
Mediterranean Version
Swap the smoked paprika and oregano for za’atar seasoning or a blend of dried mint, oregano, and sumac. Replace the sweet potatoes with diced eggplant and add cherry tomatoes to the vegetable mix. Serve with a dollop of tzatziki or hummus. This version pairs beautifully with our easy Mediterranean stuffed mini peppers with feta for a full Mediterranean-inspired lunch spread.
Spicy Southwest Version
Add 1 teaspoon of chili powder and ½ teaspoon of cayenne to the chicken seasoning. Swap the sweet potatoes for black beans (add them after roasting, just warmed through) and use bell peppers and corn as the vegetables. Top with fresh cilantro and a squeeze of lime. A drizzle of chipotle ranch takes this over the top.
Low-Carb/Keto Version
Skip the sweet potatoes and quinoa entirely. Double the broccoli and zucchini, and add cauliflower florets to the vegetable mix. The chicken and non-starchy vegetables make this naturally low-carb. Add avocado slices just before eating for healthy fats. This version has about 8 grams of net carbs per serving.
Vegetarian Adaptation
Replace the chicken with 2 cans of chickpeas (drained and rinsed) or 1 block of extra-firm tofu (pressed and cubed). Season them the same way as the chicken and roast for 20-25 minutes. Chickpeas get wonderfully crispy, and tofu absorbs the flavors beautifully. You’ll lose some protein, so consider adding edamame or a side of lentils.
Seasonal Vegetable Swaps
In summer, use zucchini, yellow squash, bell peppers, and cherry tomatoes. In fall, swap in butternut squash, Brussels sprouts, and apples. In winter, go with root vegetables like carrots, parsnips, and turnips. In spring, asparagus, snap peas, and radishes work wonderfully. The roasting time may vary slightly—root vegetables need a few extra minutes, while tender vegetables like asparagus need less time.
Serving & Storage Suggestions
These bowls are designed to be eaten throughout the week, but how you serve and store them makes all the difference:
Serving Suggestions
Serve these bowls warm or at room temperature. A squeeze of fresh lemon juice right before eating brightens all the flavors. I like to add a handful of fresh greens (spinach or arugula) to the bowl after reheating—the warmth wilts them slightly, adding freshness and texture. For a complete meal, pair with a simple side salad or a piece of crusty bread.
Storage Instructions
Store the assembled bowls in airtight glass containers in the refrigerator for up to 5 days. Keep the sauce separate if you’re using one. Do not freeze these bowls—the vegetables will become mushy upon thawing, and the texture of the chicken will suffer. If you want to freeze the chicken alone, you can, but I don’t recommend it for this recipe.
How Flavors Develop
Here’s something interesting: these bowls actually taste better on day two and three than on day one. The flavors meld together, the chicken absorbs more of the seasoning, and the vegetables soften slightly without losing their structure. By day four, the vegetables start to lose their vibrancy, but they’re still perfectly edible. Day five is the last day I’d recommend eating them—the texture is still good, but the vegetables have lost most of their crunch.
Reheating Methods
- Microwave: Remove the lid, microwave on high for 90 seconds to 2 minutes. Stir halfway through for even heating.
- Air Fryer: Transfer the chicken and vegetables to the air fryer basket. Heat at 350°F for 3-4 minutes. Add the rice or quinoa after reheating to avoid drying it out.
- Skillet: Heat a non-stick skillet over medium heat. Add the chicken and vegetables and cook for 3-4 minutes, stirring occasionally. This method gives the best texture—the vegetables get slightly charred again.
Pro Tip: If the chicken seems dry after reheating, add a teaspoon of water or broth to the bowl before microwaving. The steam will rehydrate the meat. For another meal prep-friendly recipe that stores well, check out our easy slow cooker honey garlic chicken meal prep bowls—they’re a sweeter, more saucy option for variety.
Nutritional Information & Benefits
Here’s the estimated nutritional breakdown for one serving of these bowls (with quinoa, without additional sauce):
| Nutrient | Amount Per Serving |
|---|---|
| Calories | 425-475 |
| Protein | 32g |
| Carbohydrates | 35g |
| Fiber | 8g |
| Fat | 18g |
| Saturated Fat | 3.5g |
| Vitamin A | 180% DV |
| Vitamin C | 120% DV |
| Iron | 15% DV |
| Potassium | 650mg |
Health Benefits: This meal is packed with lean protein from the chicken, which supports muscle repair and keeps you full. The sweet potatoes provide beta-carotene and vitamin A for immune health. Broccoli and bell peppers are rich in vitamin C, which aids iron absorption. The olive oil provides heart-healthy monounsaturated fats. Quinoa adds complete plant protein and fiber for digestive health.
Dietary Considerations: This recipe is naturally gluten-free and dairy-free. For a low-carb version, omit the sweet potatoes and quinoa. For a vegetarian version, substitute chickpeas or tofu. The recipe is also easily adaptable for nut-free diets. If you have nightshade sensitivities, skip the bell peppers and use additional zucchini and broccoli.
Conclusion
These easy chicken and veggie meal prep bowls have genuinely changed how I approach busy weeks. They’re not complicated, they’re not trendy, and they don’t require any special skills. They’re just good, reliable food that happens to keep well and taste great all week long.
What I love most about this recipe is how forgiving it is. You can swap vegetables based on what’s in your fridge, adjust the seasonings to match your mood, and it still works. The first time I made these, I used whatever vegetables were about to go bad—and it was delicious. That’s the kind of recipe worth keeping in your rotation.
I’d love to hear how these turn out for you. Did you try a different vegetable combination? Did you add a sauce that took them over the top? Drop a comment below and share your version. And if you’re looking for more meal prep inspiration, browse our full collection of recipes for more ideas to keep your week delicious and stress-free.
Happy prepping, friends. Your future self (on a busy Wednesday) will thank you.
Frequently Asked Questions
Can I use chicken breasts instead of thighs?
Yes, but reduce the roasting time by 5-7 minutes and check the internal temperature at 20 minutes. Chicken breasts dry out more easily, so consider brining them for 30 minutes in salt water before cooking for extra moisture. They’ll still be slightly drier by day five, so thighs remain my strong recommendation for meal prep.
How long do these bowls last in the refrigerator?
These bowls stay fresh for up to 5 days when stored in airtight containers in the refrigerator. For best quality, eat them within 3-4 days. The vegetables will soften over time, but the flavor actually improves as the ingredients meld together. Do not freeze these bowls—the vegetables become mushy upon thawing.
Can I meal prep these bowls for the whole month?
I don’t recommend freezing these bowls because the vegetables lose their texture. However, you can roast the chicken and vegetables separately and freeze them in individual portions for up to 2 months. Thaw overnight in the refrigerator, then reheat and add fresh rice or quinoa. The texture won’t be as good as fresh, but it’s a decent option for emergency lunches.
What’s the best way to reheat these without a microwave?
If you don’t have a microwave, use a non-stick skillet over medium heat. Add the chicken and vegetables and cook for 3-4 minutes, stirring occasionally. Add a splash of water or broth if things look dry. Alternatively, use an air fryer at 350°F for 3-4 minutes. Avoid the oven—it takes too long and dries everything out.
Can I make these bowls dairy-free or gluten-free?
Yes, this recipe is naturally gluten-free and dairy-free as written. The chicken and vegetables contain no gluten or dairy. If you’re adding a sauce, make sure it’s gluten-free and dairy-free as well. A simple vinaigrette made with olive oil, lemon juice, and mustard works perfectly and fits both dietary needs.
Pin This Recipe!
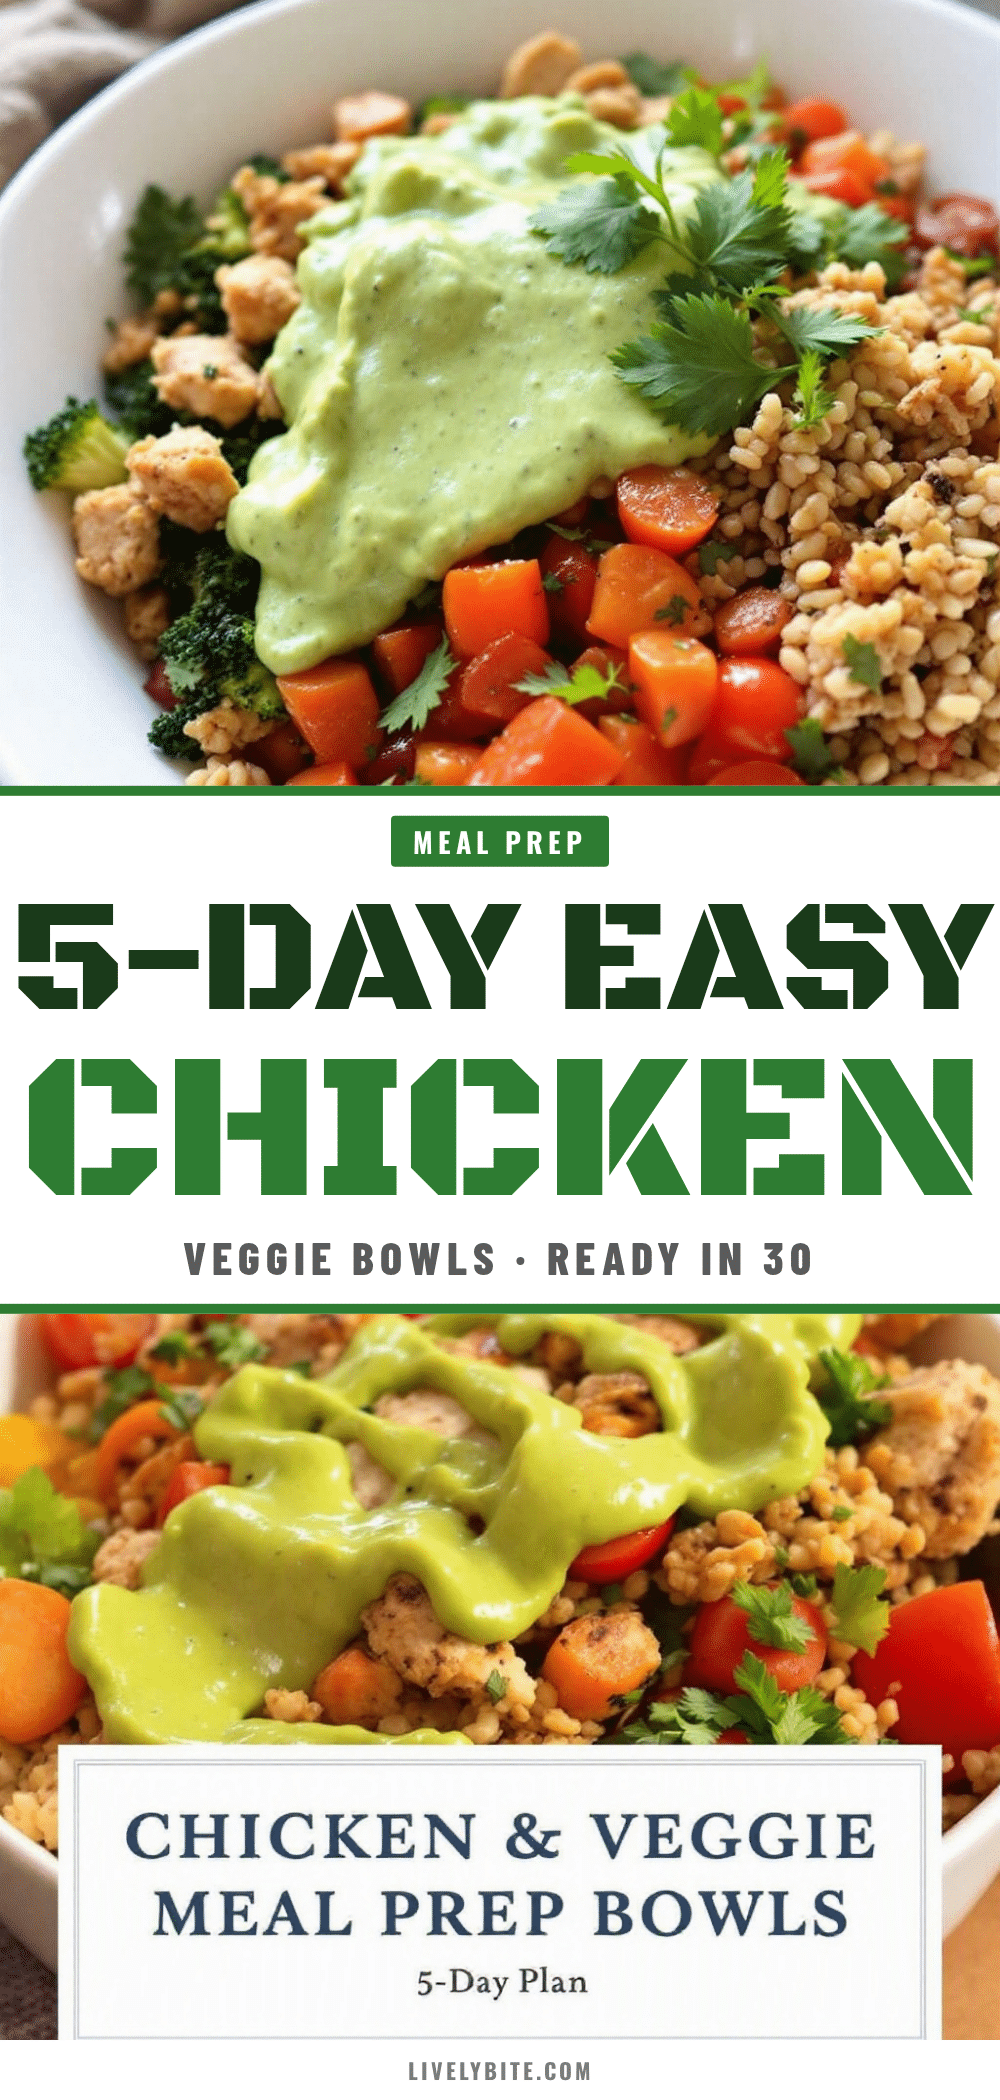
Easy 5-Day Chicken & Veggie Meal Prep Bowls
These easy chicken and veggie meal prep bowls are perfect for busy weeks. Roasted chicken thighs and vegetables stay fresh and flavorful for up to five days, making lunch a no-brainer.
- Prep Time: 20 minutes
- Cook Time: 30 minutes
- Total Time: 50 minutes
- Yield: 5 servings 1x
- Category: Main Course
- Cuisine: American
Ingredients
- 2 pounds boneless, skinless chicken thighs (about 6–8 thighs)
- 3 tablespoons olive oil
- 2 teaspoons garlic powder
- 2 teaspoons smoked paprika
- 1 teaspoon onion powder
- 1 teaspoon dried oregano
- ½ teaspoon black pepper
- 1 teaspoon salt
- 2 medium sweet potatoes (about 1 pound), peeled and diced into ½-inch cubes
- 2 bell peppers (any color), seeded and chopped into 1-inch pieces
- 1 medium red onion, cut into 1-inch chunks
- 2 cups broccoli florets
- 1 medium zucchini, halved lengthwise and sliced into half-moons
- 3 tablespoons olive oil
- 1 teaspoon garlic powder
- 1 teaspoon dried rosemary
- ½ teaspoon salt
- ¼ teaspoon black pepper
- ½ cup cooked quinoa or brown rice (per bowl, optional)
- Fresh lemon wedges (for serving)
- Fresh parsley or cilantro, chopped (for serving)
- Your favorite sauce (for serving)
Instructions
- Preheat your oven to 425°F (220°C). Line two large sheet pans with parchment paper or silicone baking mats.
- Wash and chop all your vegetables: dice sweet potatoes into ½-inch cubes, chop bell peppers, red onion, broccoli, and zucchini.
- Pat the chicken thighs dry with paper towels. In a large bowl, combine 3 tablespoons olive oil, 2 teaspoons garlic powder, 2 teaspoons smoked paprika, 1 teaspoon onion powder, 1 teaspoon dried oregano, ½ teaspoon black pepper, and 1 teaspoon salt. Add chicken thighs and toss to coat.
- In a separate large bowl, combine all chopped vegetables with 3 tablespoons olive oil, 1 teaspoon garlic powder, 1 teaspoon dried rosemary, ½ teaspoon salt, and ¼ teaspoon black pepper. Toss well.
- Spread seasoned vegetables in a single layer on one sheet pan. Arrange seasoned chicken thighs in a single layer on the second sheet pan.
- Roast for 15 minutes, then rotate the pans. Continue roasting for another 10-15 minutes until chicken reaches 165°F (74°C) and vegetables are tender and browned.
- Remove pans from oven. Let chicken rest for 5 minutes, then slice into bite-sized pieces. Let vegetables cool completely.
- Divide cooked quinoa or brown rice among five meal prep containers. Top each with roasted vegetables and sliced chicken. Add sauce separately if using. Sprinkle with fresh herbs.
- Let bowls cool completely (about 30 minutes) before sealing lids. Store in refrigerator for up to 5 days.
Notes
For best results, use chicken thighs instead of breasts as they stay juicier. Do not overcrowd the pans to ensure proper roasting. Season generously as flavors mellow when refrigerated. Store sauce separately to prevent sogginess. Reheat in microwave for 90 seconds to 2 minutes or in an air fryer at 350°F for 3-4 minutes.
Nutrition
- Serving Size: 1 bowl (with quinoa,
- Calories: 425475
- Sugar: 8
- Sodium: 650
- Fat: 18
- Saturated Fat: 3.5
- Carbohydrates: 35
- Fiber: 8
- Protein: 32
Keywords: meal prep, chicken, vegetables, sheet pan, healthy, easy, lunch, dinner


