I figured arranging fruit into pumpkins would take about twenty minutes of careful slicing and precise placement. It took about three hours of me staring at a half-eaten apple wedge and questioning my life choices. You know that feeling when you watch a TikTok video of someone making a “cute” Halloween treat, and it looks so effortless? That was me. I wanted the same thing. A pumpkin patch platter that looked professional but didn’t require a degree in pastry arts.
The reality? Apples browned faster than I could peel them. Kiwi slices slid off grape “leaves” like they were on ice. And honestly, the first five pumpkins looked less like festive gourds and more like confused orange blobs. I was ready to just serve a bowl of mixed berries and call it a day. But then, I stopped trying to be perfect. I started using the uglier fruit pieces. I used toothpicks like they were safety pins. And suddenly, it clicked.
The secret wasn’t in the skill. It was in the strategy. Using specific cuts for specific textures changed everything. The firmness of the melon held the weight. The stickiness of the grapes acted as glue. By the time the last “vine” was arranged, my living room smelled like autumn and I had a platter that actually looked like something from a magazine. It wasn’t just fruit anymore; it was a centerpiece that made my kids scream with joy. And you know what? That’s the kind of Halloween win I can get behind.
This cute Halloween fruit tray isn’t about perfection. It’s about having fun with your food and making something that looks impressive without the stress. Once you get the hang of the pumpkin shape, you’ll find yourself making these for every holiday. It’s simple, it’s edible art, and it’s surprisingly easy once you stop overthinking it.
Why You’ll Love This Recipe
Let’s be honest, most fruit platters end up as the forgotten corner of the party table. People grab a chip or a cookie and leave the healthy stuff behind. This pumpkin patch platter is different because it’s interactive. It’s playful. It turns eating fruit into a game for kids and adults alike. I’ve tested dozens of ways to arrange fruit, and this one sticks out because it combines ease with genuine visual impact.
- Quick & Easy: While it might seem intricate, the actual prep time is under 45 minutes if you have your tools ready. It’s perfect for last-minute party prep or a fun Saturday afternoon activity with the family.
- Simple Ingredients: You likely already have most of these items in your kitchen. Melons, grapes, kiwi, and apples are pantry staples that are easy to find and affordable.
- Perfect for Halloween Parties: Whether it’s a trick-or-treat drop-off, a classroom party, or a spooky dinner, this platter fits the theme perfectly without being overly sugary.
- Crowd-Pleaser: Kids love the shapes. Adults appreciate the lack of refined sugar. It’s a rare dish that satisfies both the sweet tooth and the health-conscious guest.
- Unbelievably Delicious: The combination of sweet cantaloupe, tart kiwi, and crisp apple creates a flavor profile that is refreshing and balanced. It’s not just a decoration; it tastes amazing.
What makes this recipe stand out from the rest is the structural integrity. Many fruit art tutorials fail because the pieces fall apart. This method uses the natural shapes of the fruit to create a stable base. The cantaloupe pumpkin is sturdy, and the grape leaves are anchored securely. It’s not just another version of a fruit bowl; it’s a clever, edible sculpture that holds up well at room temperature for a few hours.
This isn’t just good fruit arrangement; it’s the kind of thing that makes you feel like a creative genius in the kitchen. It’s comfort food reimagined as a festive display. Perfect for impressing guests without stress, or turning a simple snack into something memorable that gets shared on social media before it gets eaten.
What Ingredients You Will Need
This recipe uses simple, wholesome ingredients to deliver bold flavor and satisfying texture without the fuss. The key is selecting fruit that is ripe but still firm enough to hold its shape. We want vibrant colors that pop against the orange of the melon, creating that classic autumn palette.
- For the Pumpkins (The Base):
- 2 ripe cantaloupes (about 3-4 lbs each), peeled and seeded. Look for melons that are heavy for their size; they will be sweeter and firmer.
- 1 large honeydew melon, peeled and seeded. This provides a lighter green contrast for some of the pumpkins.
- For the Leaves and Vines:
- 1 cup green seedless grapes. Use firm grapes that aren’t mushy; they act as the structural “leaves”.
- 1 large kiwi fruit, sliced into rounds. I recommend Zespri kiwis for their consistent sweetness and color.
- 1 lime, cut into thin wedges. These serve as the twisted vines connecting the pumpkins.
- For the Faces and Details:
- 2 red apples, firm variety (like Fuji or Gala). These will be carved into jack-o’-lantern faces or used as decorative accents.
- 1 cup blueberries. Great for adding dark contrast or using as “eyes” on smaller fruit shapes.
- Toothpicks or wooden skewers (food-safe). Essential for holding the grape leaves in place.
- Optional Additions:
- Orange bell pepper strips. If you want a non-fruit option for the stems, these add a nice crunch.
- Mini pretzel sticks. These can double as the pumpkin stems for a salty-sweet twist.
When selecting your cantaloupe, give it a gentle squeeze. It should yield slightly but not feel soft. Soft melons will turn into mush once you start carving them. For the apples, choose ones that are crisp; bruised apples will brown quickly and look unappetizing. If you are making this for a crowd, consider buying an extra cantaloupe just in case one splits during the peeling process. It happens to the best of us.
Equipment Needed
You don’t need a fancy chef’s kitchen to pull this off. The right tools make the difference between a frustrating afternoon and a smooth creative session.
- Sharp Chef’s Knife: A good, sharp knife is non-negotiable for peeling melons safely. A dull knife is more likely to slip and hurt you. I prefer an 8-inch chef’s knife for control.
- Vegetable Peeler: A Y-shaped peeler works best for removing the thick rind of the cantaloupe. It’s faster and leaves less waste than a knife.
- Melon Baller: While optional, this tool helps create uniform spheres from the leftover melon flesh. It makes the final platter look more polished.
- Small Paring Knife: Essential for carving the apple faces and slicing the kiwi rounds thinly.
- Large Serving Platter: Choose a platter that is large enough to spread the pumpkins out. A rectangular slate or a large round wooden board works beautifully for the rustic Halloween vibe.
- Bowl of Ice Water: Keep this nearby to rinse your knife and hands occasionally. It helps remove sticky fruit juices and keeps your workspace clean.
If you don’t have a melon baller, don’t worry. You can just scoop the flesh out with a spoon. It’s not as pretty, but it still tastes great. Also, keep a damp cloth handy to wipe down the platter as you go. A clean platter makes the colors of the fruit look much more vibrant.
Preparation Method
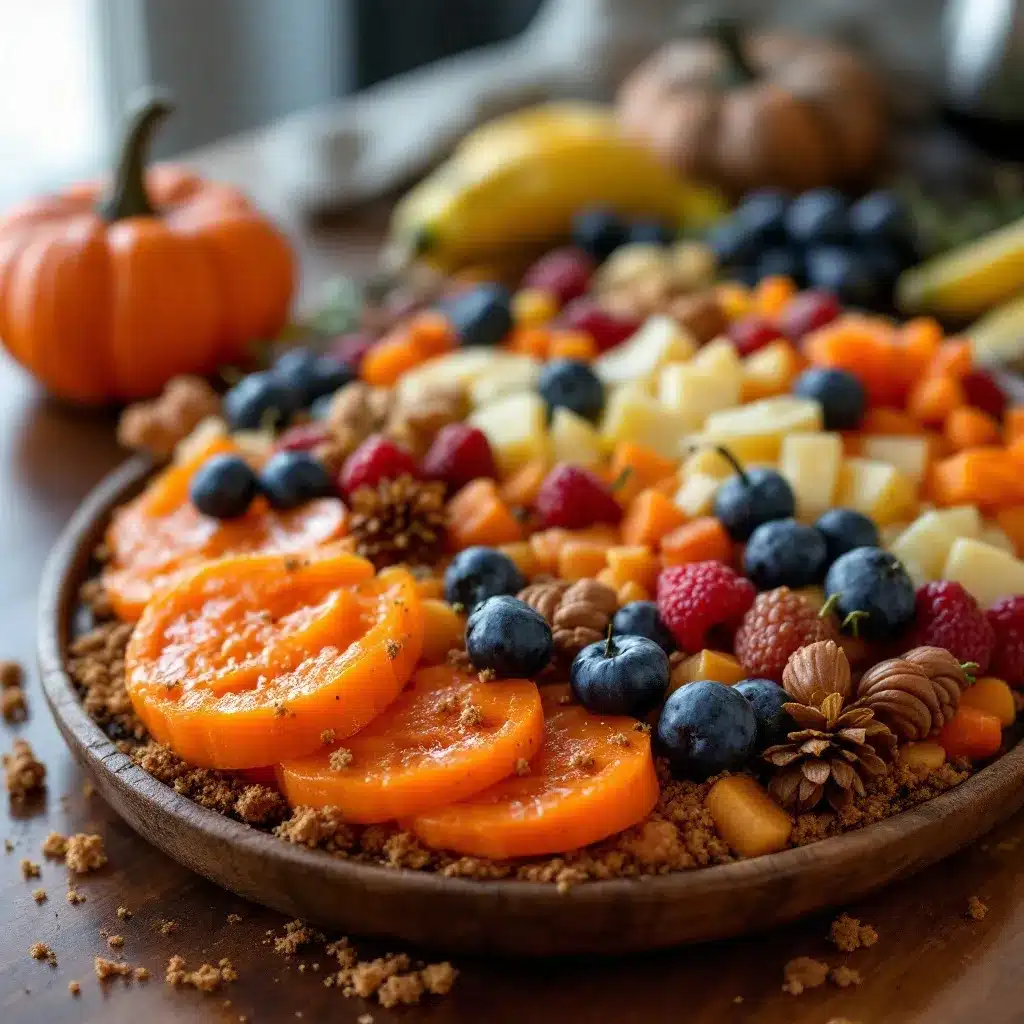
Let’s get into the nitty-gritty. This part is where the magic happens. Take your time, and don’t rush the carving. If you rush, the pumpkins might lose their shape.
- Prep the Melons (15 minutes): Start by washing the cantaloupes and honeydew. Cut off the top and bottom of the melon to create flat bases. This prevents them from rolling around on your cutting board, which is a safety hazard. Stand the melon upright and use the vegetable peeler or chef’s knife to remove the rind. Follow the curve of the melon to remove as much rind as possible without cutting into the flesh. Repeat with the honeydew. Note: If the melon is slippery, cut a small slice off the side to create a stable base.
- Form the Pumpkins (20 minutes): Cut the peeled melon into thick rounds, about 1 inch thick. These will be your pumpkins. For the stems, you can use small pieces of the cantaloupe rind saved from earlier, or use pretzel sticks. Insert a toothpick into the top of the melon round, then attach the stem. If using rind, carve it into a small curl or stick shape and secure it with the toothpick. Sensory cue: The melon should feel firm and cool to the touch.
- Create the Faces (10 minutes): Take the red apples and carve your jack-o’-lantern faces. Use a small paring knife to cut out triangles for eyes and noses, and a curved line for the mouth. If you’re not confident in your carving skills, you can use a melon baller to punch out holes for the eyes and mouth. Place these apples around the platter as accents. Warning: Carve carefully. Apple skins can be tough and require more pressure.
- Prepare the Leaves and Vines (10 minutes): Slice the kiwi into thin, round discs. These will look like stylized leaves. Wash the grapes and dry them thoroughly. Wet grapes will slide off. Cut the lime into thin wedges. Tip: If the kiwi is too soft, use fewer slices or use apple slices dipped in lemon juice instead.
- Assemble the Platter (15 minutes): Arrange the melon pumpkins on your serving platter. Space them out evenly. Take the kiwi slices and grapes. Insert a toothpick through the center of a grape and then into the side of a melon pumpkin to create a “leaf.” Add 2-3 grape leaves to the top of each pumpkin. Arrange the lime wedges in a winding path between the pumpkins to mimic vines. Finally, place the carved apple faces strategically around the edge of the platter. Final check: Ensure all toothpicks are hidden or secure so guests don’t bite into them.
This method ensures that every element is secure and visually appealing. The toothpicks are your best friend here, so don’t be shy about using them. If a grape leaf falls off, just replace it. It’s easy to fix.
Cooking Tips & Techniques
I’ve learned a few hard lessons while perfecting this cute Halloween fruit tray. Here is how to avoid the common pitfalls.
- Prevent Browning: Apples and pears brown quickly when exposed to air. If you are carving the apple faces ahead of time, dip them in a mixture of water and lemon juice (1 tablespoon lemon juice to 1 cup water). This keeps them bright red and fresh-looking.
- Choose the Right Melon: This is the most critical step. If your cantaloupe is overripe, it will collapse under the weight of the grape leaves. Always choose melons that are firm. A soft melon is a lost cause for this project.
- Keep It Cool: Fruit platters should be kept cool, especially in warm weather. If your party is outdoors, consider placing the platter on a bed of ice or putting it in the refrigerator until 30 minutes before serving. This keeps the melon crisp and the grapes firm.
- Work Efficiently: Prep all your fruit before you start assembling. Have your toothpicks ready. Have your platter wiped clean. If you try to peel, carve, and assemble all at once, you’ll get frustrated. Batch processing is your friend.
- Use Toothpicks Wisely: Don’t just stick toothpicks in randomly. Insert them at an angle that supports the weight of the grape leaves. If a leaf is heavy, use two toothpicks for stability. It’s better to have hidden support than a fallen leaf.
One personal failure of mine was using large, watery grapes. They were too heavy and kept sliding off the smooth melon surface. Switching to smaller, firmer grapes made a huge difference. It’s all about the texture match.
Variations & Adaptations
While the classic orange and green is iconic for Halloween, there are plenty of ways to adapt this cute Halloween fruit tray to suit different tastes or dietary needs.
- Gluten-Free & Vegan: This recipe is naturally gluten-free and vegan. Just ensure that any pretzel sticks you use for stems are certified gluten-free if you have guests with celiac disease. Most fruits are safe, but always check labels on processed additions.
- Tropical Twist: Swap the cantaloupe for mango or pineapple. Mango has a vibrant orange color that works well for pumpkins. Use dragon fruit for the leaves for a neon pink contrast. It’s a fun, colorful variation that still feels festive.
- Low-Sugar Option: Reduce the amount of grapes and kiwi, which are higher in natural sugars. Increase the proportion of berries, like strawberries and blueberries, which are lower in sugar and high in antioxidants. This is great for health-conscious guests.
- Adult Version: Add a splash of balsamic glaze to the strawberries or drizzle a little honey over the melon. You can also serve this with a side of whipped cream or mascarpone for a dessert-style platter.
- Minimalist Approach: If you’re short on time, skip the apple carving. Just arrange the melon pumpkins with grape leaves and a few scattered blueberries. It’s still cute and effective, just less detailed.
I once tried using watermelon for the pumpkins, but it was too watery and made the platter soggy. Stick to firmer melons for the best results. The variations allow you to get creative, but the core technique remains the same.
Serving & Storage Suggestions
This cute Halloween fruit tray is best served at room temperature for the best flavor, but it should not sit out for more than two hours. If you are serving it as part of a larger meal, place it on the table about 30 minutes before guests arrive.
- Presentation: Serve on a dark-colored platter, like slate or black ceramic, to make the orange and green colors pop. This creates a dramatic contrast that looks great in photos.
- Pairings: This platter pairs well with savory snacks like cheese cubes or crackers. The sweetness of the fruit balances the saltiness of the cheese. It also goes well with a glass of sparkling cider or a refreshing cucumber mint green tea cooler for a complete autumn spread.
- Storage: Any leftover fruit should be stored in an airtight container in the refrigerator. The melon pieces will last for 2-3 days. The grapes and kiwi should be eaten within 1-2 days for best texture. Note: The carved apple faces may brown slightly after a day, so consume those first.
- Reheating: Fruit platters are not meant to be reheated. Serve them cold or at room temperature. Reheating will make the melon mushy and the grapes burst.
Flavors develop over time, especially if the melon absorbs some of the sweetness from the grapes. However, for the best visual impact, it’s best to eat it fresh. The crispness of the apple and the firmness of the melon are key to the experience.
Nutritional Information & Benefits
This cute Halloween fruit tray is not just a treat for the eyes; it’s a nutritional powerhouse. Fruit is packed with essential vitamins, minerals, and fiber.
- High in Vitamin C: Cantaloupe and kiwi are excellent sources of vitamin C, which supports immune health. This is perfect during the fall season when colds are common.
- Hydrating: Melons have a high water content, making them hydrating and refreshing. This is great for guests who might be dehydrated from party activities.
- Natural Sugars: Unlike candy, the sugars in fruit come with fiber, which helps regulate blood sugar levels. It’s a healthier alternative to traditional Halloween sweets.
- Antioxidants: Blueberries and apples are rich in antioxidants, which help protect cells from damage. They support overall wellness and heart health.
While I don’t track every calorie, I appreciate that this platter allows me to enjoy a festive treat without the crash that comes from refined sugar. It’s a guilt-free way to celebrate the season. Just be mindful of portion sizes, as fruit can be calorie-dense if you eat a lot of it. But honestly, it’s hard to overeat when it’s this pretty.
Conclusion
Making this cute Halloween fruit tray pumpkin patch platter is a wonderful way to bring some joy to your holiday celebrations. It’s simple, it’s healthy, and it looks absolutely stunning. I hope you try it and find as much fun in the process as I did. Don’t be afraid to experiment with different fruits and shapes. Make it your own.
If you make this recipe, I’d love to see your creations. Share your photos on social media and tag me, or leave a comment below with your tips. Did you use pretzel stems? Did you add extra berries? I want to hear about it. Also, consider sharing this post with friends who might need a easy party idea. Spreading the love of healthy, festive food is what it’s all about.
Happy Halloween! May your pumpkins be cute and your fruit be fresh. Enjoy every bite.
Frequently Asked Questions
How far in advance can I make this fruit tray?
You can prepare the fruit up to 24 hours in advance, but it’s best to assemble the final platter no more than 2 hours before serving. This prevents the melon from getting too soft and the grapes from sliding off. Store the prepped fruit in airtight containers in the fridge.
Can I use canned fruit instead of fresh?
I highly recommend using fresh fruit. Canned fruit is often too soft and watery, which will cause the platter to fall apart and look messy. Fresh fruit provides the necessary structure and vibrant color needed for this design.
What if I don’t have a melon baller?
You don’t need a melon baller. You can use a spoon to scoop out the flesh of the melon after peeling it. It won’t be as uniform, but it will still taste great and can be used for garnish or eaten separately.
How do I keep the apples from browning?
Drizzle the carved apple pieces with a little lemon juice or soak them in a water-lemon juice solution for a few minutes before arranging them on the platter. This acidic barrier slows down the oxidation process.
Can I make this for a large party?
Yes, you can scale this recipe up easily. Just double or triple the ingredients. Use multiple platters if needed to ensure there is enough space for everyone to grab a piece. The technique remains the same regardless of the quantity.
Pin This Recipe!
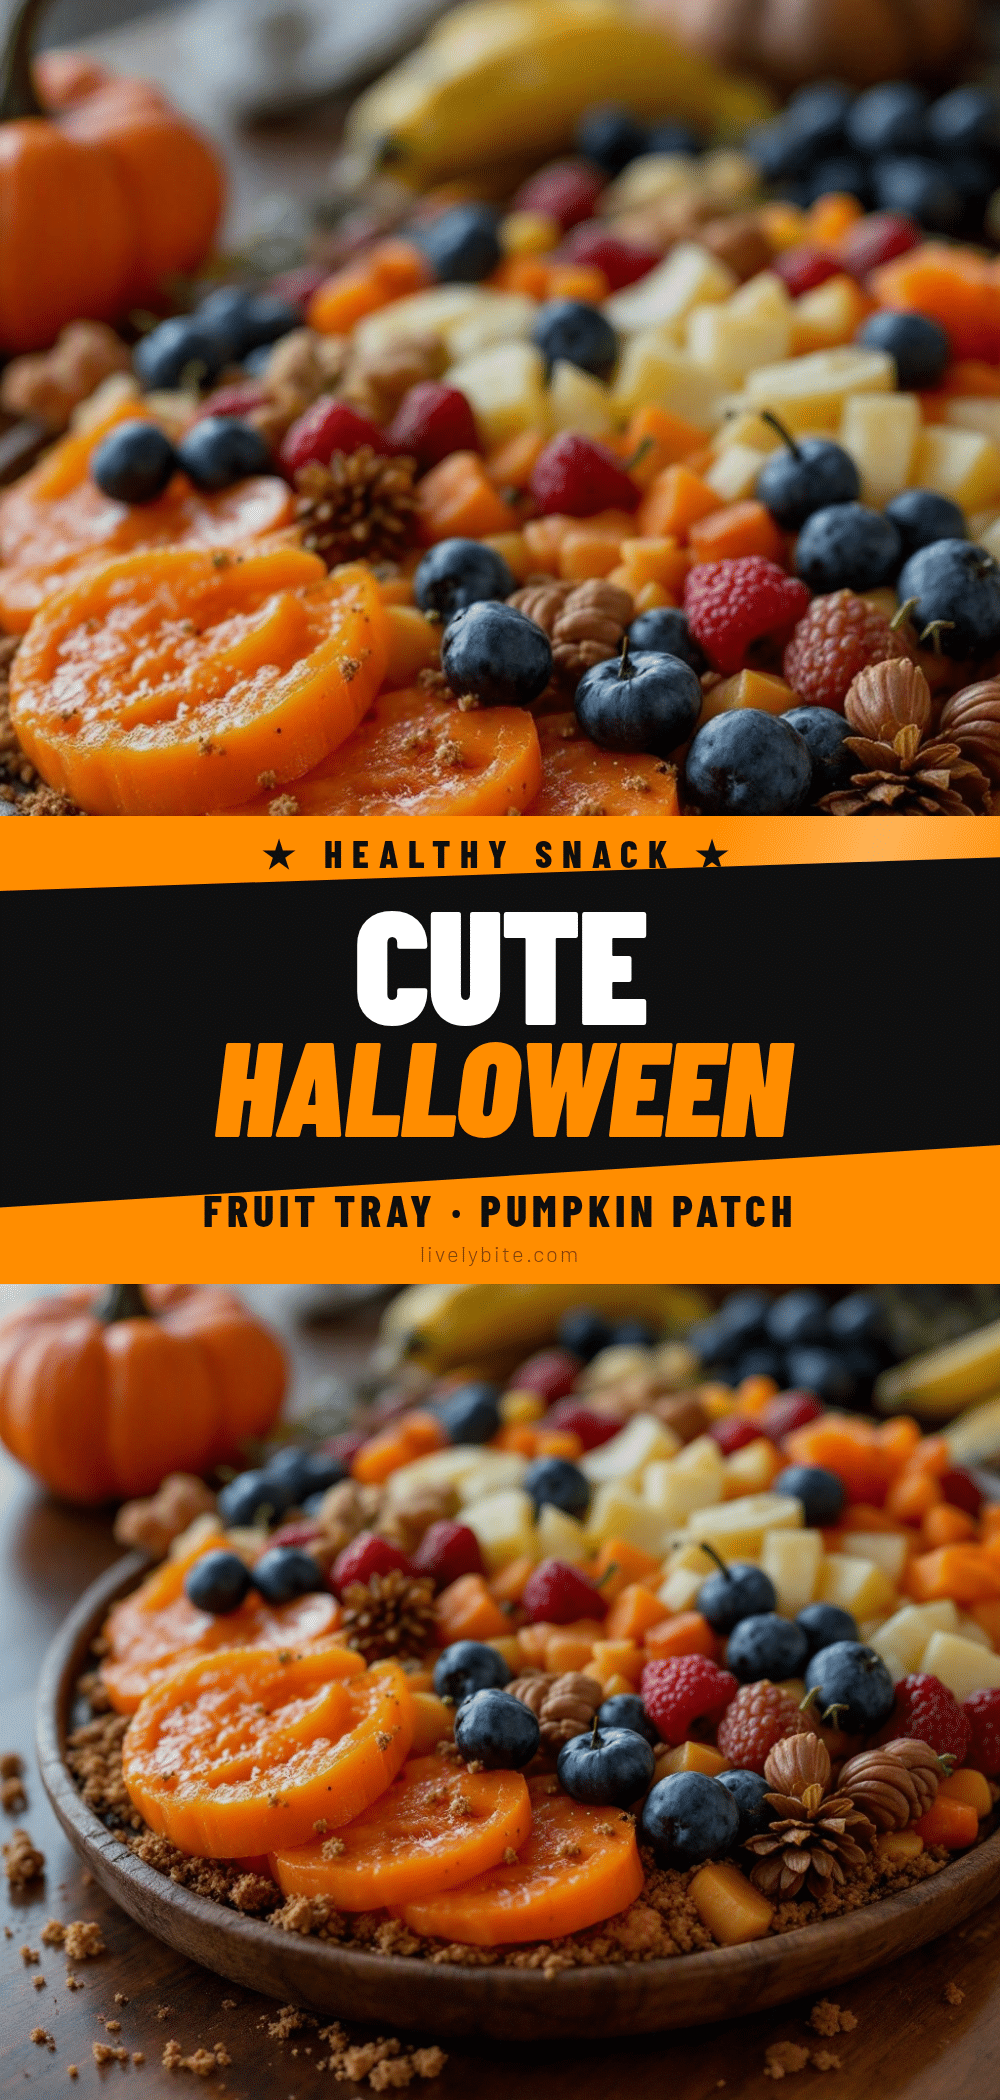
Cute Halloween Fruit Tray: Easy Pumpkin Patch Platter
A festive and interactive Halloween fruit platter featuring cantaloupe pumpkins, grape leaves, and apple jack-o’-lanterns. This easy-to-make edible art is perfect for parties and requires no baking.
- Prep Time: 45 minutes
- Cook Time: 0 minutes
- Total Time: 45 minutes
- Yield: 8 servings 1x
- Category: Appetizer
- Cuisine: American
Ingredients
- 2 ripe cantaloupes (about 3–4 lbs each), peeled and seeded
- 1 large honeydew melon, peeled and seeded
- 1 cup green seedless grapes
- 1 large kiwi fruit, sliced into rounds
- 1 lime, cut into thin wedges
- 2 red apples (firm variety like Fuji or Gala), carved into faces
- 1 cup blueberries
- Toothpicks or wooden skewers (food-safe)
- Optional: Orange bell pepper strips for stems
- Optional: Mini pretzel sticks for stems
Instructions
- Wash the cantaloupes and honeydew. Cut off the top and bottom to create flat bases.
- Stand the melons upright and use a vegetable peeler or chef’s knife to remove the rind, following the curve of the melon.
- Cut the peeled melon into thick rounds (about 1 inch thick) to form the pumpkins.
- Create stems by inserting a toothpick into the top of a melon round and attaching a piece of cantaloupe rind or a pretzel stick.
- Carve jack-o’-lantern faces into the red apples using a small paring knife or melon baller for eyes and mouth.
- Slice the kiwi into thin, round discs.
- Wash and thoroughly dry the grapes.
- Cut the lime into thin wedges to serve as vines.
- Arrange the melon pumpkins on a large serving platter.
- Insert toothpicks through grapes and into the side of melon pumpkins to create leaves (2-3 per pumpkin).
- Arrange lime wedges in a winding path between pumpkins.
- Place carved apple faces around the edge of the platter.
- Ensure all toothpicks are secure and hidden for safety.
Notes
Prevent apples from browning by dipping them in a mixture of water and lemon juice. Choose firm melons to ensure structural integrity. Keep the platter cool, especially if serving outdoors. Do not use canned fruit as it is too watery.
Nutrition
- Serving Size: Assorted fruit piece
- Calories: 120
- Sugar: 24
- Sodium: 5
- Fat: 0.5
- Carbohydrates: 30
- Fiber: 4
- Protein: 2
Keywords: Halloween, fruit tray, pumpkin patch, healthy party snack, fruit art, easy Halloween recipe, cantaloupe pumpkins


