That specific, warm spice blend — the kind that hits you the second the oven door cracks open — still takes me straight to my grandmother’s kitchen in late October. It wasn’t just pumpkin; it was the scent of cinnamon, nutmeg, and a hint of vanilla bean hanging heavy in the air. I remember standing on a step stool, watching her mix batter in that chipped blue bowl, the steam rising in lazy curls. The house felt smaller then, cozier, wrapped in wool blankets and the quiet hum of the refrigerator.
Honestly, I don’t bake by recipe anymore. I bake by memory. By the feel of the dough between my fingers. By the sound the mixer makes when it finally reaches that perfect, silky consistency. These mini bites are my attempt to capture that exact feeling, that specific moment of peace before the holidays really kick into gear.
You know how some desserts feel too heavy, too much? These aren’t like that. They’re light, airy, and packed with that cozy autumn flavor without the guilt. I’ve made dozens of versions over the years, tweaking the cream cheese ratio, testing different crusts, until I landed on this one. It’s simple. It’s fast. And it tastes like a hug.
There’s something about the texture that gets me. The crust crumbles just right, not too hard, not too soft. The filling is smooth, almost like a cloud, with just enough pumpkin spice to remind you why you love fall. It’s not about perfection. It’s about comfort. And honestly? That’s what cooking is really about, isn’t it? Bringing people together, even if it’s just for one small, sweet bite.
Why You’ll Love This Recipe
Quick & Easy
Let’s face it, life gets busy. You don’t always have hours to spend in the kitchen. This recipe comes together in under 15 minutes of active prep time. The baking is hands-off, which means you can actually relax while they cook. It’s perfect for those weeknights when you want something special but don’t want to be tied to the stove.
Simple Ingredients
You likely already have everything you need in your pantry and fridge. No fancy grocery trips needed. Just cream cheese, sugar, pumpkin puree, spices, and graham crackers. It’s wholesome, simple, and straightforward. No weird additives or hard-to-find items. Just real food that tastes incredible.
Perfect for Fall Gatherings
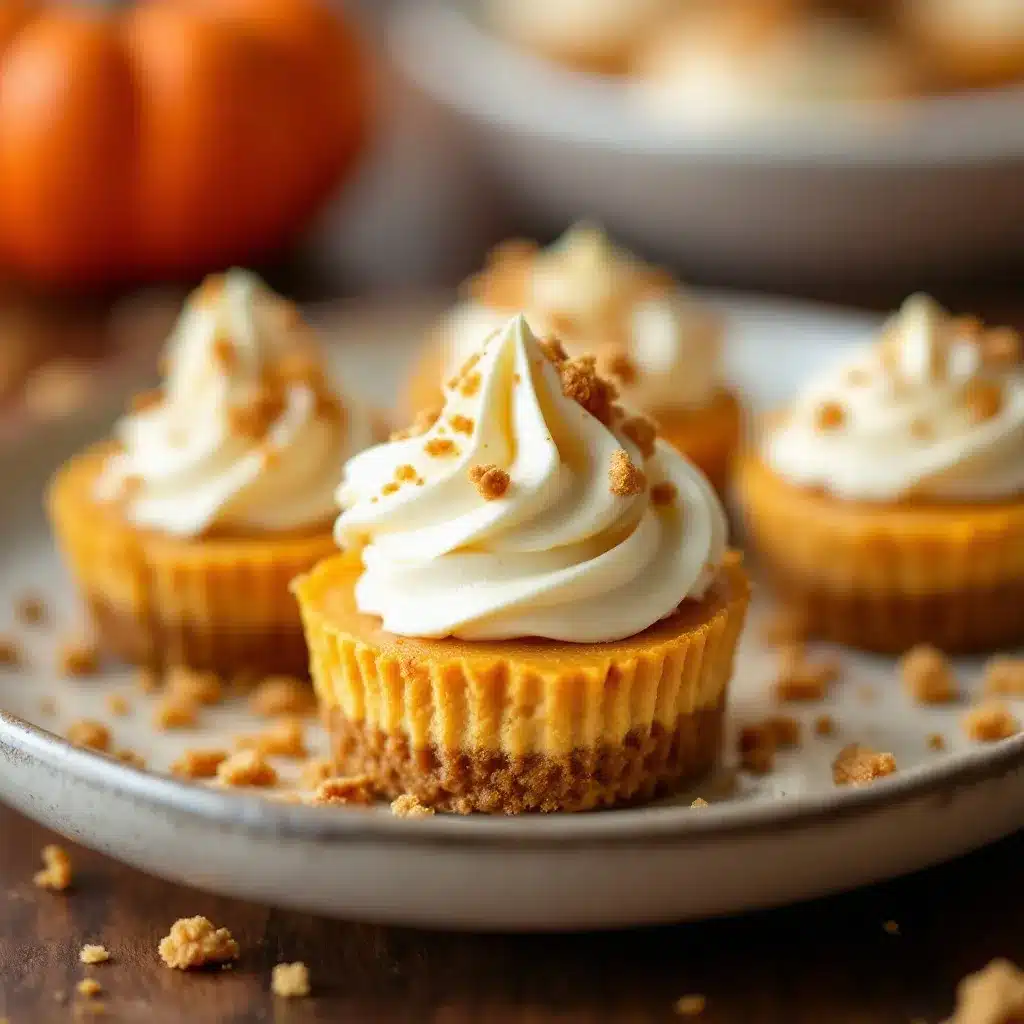
Whether it’s a potluck, a casual dinner party, or just a cozy night in, these bites fit right in. They are small enough to eat in one or two bites, making them ideal for mingling. Guests love them because they feel indulgent but not overwhelming. It’s the kind of dessert that disappears fast, so you might want to make extra.
Crowd-Pleaser
Kids and adults alike always get rave reviews from these. The pumpkin flavor is mild and sweet, not overpowering. It’s familiar, like pumpkin pie, but in a more convenient format. I’ve served these to people who claim they “don’t like pumpkin,” and they always ask for the recipe. It’s a universal favorite.
Unbelievably Delicious
The texture and flavor combo is next-level comfort food. The contrast between the buttery crumb crust and the creamy, spiced filling is what makes this recipe different. It’s not just another pumpkin treat. It’s your best version. The richness of the cream cheese balances the earthiness of the pumpkin perfectly.
This recipe isn’t just good—it is the kind that makes you close your eyes after the first bite. It’s comfort food reimagined—healthier, faster, but with the same soul-soothing satisfaction. Perfect for impressing guests without stress, or turning a simple meal into something memorable.
What Ingredients You Will Need
This recipe uses simple, wholesome ingredients to deliver bold flavor and satisfying texture without the fuss. The key is quality. Since there are so few ingredients, each one really shines. I recommend using full-fat cream cheese for the best texture—it’s rich and stable. Low-fat versions can make the filling watery or grainy, so stick with the good stuff.
For the crust, graham crackers are the classic choice. They provide that sweet, crunchy base that contrasts with the soft filling. I prefer honey graham crackers for a deeper flavor, but regular works fine too. Butter is essential here to bind the crumbs and add richness.
For the filling, canned pumpkin puree is your best friend. Make sure it’s 100% pumpkin, not pumpkin pie filling, which already has sugar and spices added. We want to control the sweetness ourselves. Eggs provide structure and richness, while sugar adds sweetness. A mix of granulated and brown sugar gives a nice depth of flavor.
Spices are where the magic happens. Cinnamon, nutmeg, ginger, and cloves are the classic pumpkin pie spices. Don’t skip the nutmeg; it adds that warm, aromatic backbone. Vanilla extract adds a subtle floral note that ties everything together. Salt is crucial too—it balances the sweetness and enhances the other flavors.
- Graham Crackers: 1 ½ cups crumbs (about 15 squares). Use honey graham crackers for extra sweetness.
- Unsalted Butter: 4 tablespoons, melted. Adds richness to the crust.
- Granulated Sugar: ½ cup. Sweetens the crust lightly.
- Full-Fat Cream Cheese: 16 ounces (2 blocks), softened to room temperature. This is critical for a smooth texture.
- Brown Sugar: ½ cup, packed. Adds moisture and a caramel-like flavor to the filling.
- Pumpkin Puree: 1 cup (about one 15oz can). Ensure it is pure pumpkin, not pie filling.
- Eggs: 2 large eggs, room temperature. Helps set the cheesecake.
- Vanilla Extract: 1 teaspoon. Pure vanilla for best flavor.
- Cinnamon: 1 teaspoon. Ground cinnamon for warmth.
- Nutmeg: ½ teaspoon. Ground nutmeg for depth.
- Ground Ginger: ¼ teaspoon. Adds a spicy kick.
- Ground Cloves: ¼ teaspoon. Use sparingly; it’s strong.
- Salt: ¼ teaspoon. Balances the sweetness.
If you need to substitute, you can use gluten-free graham crackers for a gluten-free crust. For a dairy-free option, try using a plant-based cream cheese alternative, though the texture may be slightly different. In summer, you could swap pumpkin puree for butternut squash puree for a similar flavor profile.
Equipment Needed
You don’t need much fancy gear for this recipe. A standard 12-cup muffin tin is all you really need. I prefer dark metal tins because they conduct heat better, leading to a crispier crust. If you only have light-colored pans, keep an eye on them so the bottoms don’t burn.
A food processor or a blender makes quick work of crushing the graham crackers. If you don’t have one, put the crackers in a zip-top bag and crush them with a rolling pin. It takes a bit of effort, but it works fine.
A hand mixer or stand mixer is helpful for beating the cream cheese until it’s smooth. This step is important to avoid lumps in your cheesecake. If you mix by hand, you’ll need to put in some elbow grease.
Measuring cups and spoons are essential for accuracy. Baking is chemistry, after all. A small spatula is useful for scraping down the sides of the bowl to ensure everything is evenly mixed.
For storage, an airtight container is best. If you want to keep them fresh for longer, you can freeze them in a freezer-safe bag. Just make sure to label them with the date so you know how long they’ve been sitting there.
Preparation Method
Step 1: Prepare the Crust
Preheat your oven to 350°F (175°C). Line a 12-cup muffin tin with paper liners. This makes cleanup a breeze and helps you remove the bites easily. If you don’t have liners, lightly grease the cups with butter or cooking spray.
In a medium bowl, combine the graham cracker crumbs, melted butter, and granulated sugar. Mix until the crumbs look like wet sand. You want them to hold together when you squeeze them, but not be too mushy. Spoon about 1 tablespoon of the mixture into each cup of the muffin tin. Use the bottom of a measuring cup or a small glass to press the crumbs down firmly. Create a little “cup” shape. This ensures the crust holds the filling.
Step 2: Mix the Filling
In a large mixing bowl, beat the softened cream cheese and brown sugar together until smooth and creamy. This should take about 2-3 minutes. Scrape down the sides and bottom of the bowl to ensure there are no lumps. Lumpy cheesecake is never fun.
Add the pumpkin puree, vanilla extract, cinnamon, nutmeg, ginger, cloves, and salt. Mix on low speed until just combined. Be careful not to overmix once you add the eggs, as this can incorporate too much air and cause cracking.
Step 3: Add the Eggs
Crack the eggs into a small bowl first, then pour them into the mixture. This helps you avoid getting shell fragments in your batter. Beat on low speed until the eggs are fully incorporated. The batter should be smooth and slightly thick.
Step 4: Assemble and Bake
Spoon the filling into the prepared crusts, filling them almost to the top. You should have enough filling for all 12 cups. Tap the muffin tin gently on the counter a few times to release any air bubbles. This helps prevent cracks.
Bake for 18-20 minutes. The edges should be set, but the centers should still have a slight jiggle. They will continue to set as they cool. Do not overbake, or they will become dry and crumbly.
Step 5: Cool and Serve
Remove the tin from the oven and let it cool on a wire rack for 10 minutes. Then, carefully transfer the bites to the rack to cool completely. This step is important for the texture to firm up. Once cool, you can refrigerate them for at least 2 hours to set completely. They taste best chilled.
Cooking Tips & Techniques
One common mistake is using cold cream cheese. It leads to lumps that are hard to beat out. Always let your cream cheese sit on the counter for at least 30 minutes before starting. If you’re short on time, you can microwave it in 10-second bursts, but be careful not to melt it.
Another tip is to not overmix the batter after adding the eggs. Overmixing incorporates air, which can cause the cheesecakes to rise and then fall, creating cracks. Mix just until combined. It’s okay if it’s not perfectly smooth at this stage; the baking will help.
If you notice cracks forming during baking, don’t panic. They happen. You can cover them with a dollop of whipped cream or a drizzle of caramel sauce before serving. It’s a great way to hide imperfections and add extra flavor.
For a crispier crust, press the crumbs down firmly and evenly. Make sure there are no gaps. If the crust is too thin, it might break when you try to remove the bites. A thick, sturdy base makes all the difference.
Letting the bites cool completely before refrigerating is crucial. If you put them in the fridge while they’re still warm, condensation can form, making the crust soggy. Patience pays off here.
Variations & Adaptations
Want to switch things up? Try adding a swirl of caramel or peanut butter into the filling before baking. It adds a fun visual element and extra flavor. You can also add chocolate chips to the crust for a cookie-like base.
For a lighter version, you can use Greek yogurt instead of half the cream cheese. It adds protein and tanginess, though the texture will be slightly less rich. It’s a good compromise if you want to reduce calories without sacrificing too much flavor.
If you’re not a fan of pumpkin, try using sweet potato puree. It has a similar texture and flavor profile, just slightly earthier. You can adjust the spices to suit your taste. More ginger or cardamom works well with sweet potato.
For a vegan version, use plant-based cream cheese and flax eggs. The texture might be slightly different, but it’s still delicious. Add a touch of maple syrup instead of brown sugar for a natural sweetener.
I once tried adding orange zest to the filling, and it was a hit. The citrus cuts through the richness of the cream cheese beautifully. It’s a great addition if you want a brighter flavor profile.
Serving & Storage Suggestions
Serve these bites chilled for the best texture. They are perfect for holiday parties, office snacks, or a cozy night in. Pair them with a cup of hot coffee or tea for a complete autumn experience.
To store, keep them in an airtight container in the refrigerator for up to 5 days. They actually taste better the next day as the flavors meld together. If you want to freeze them, place them in a single layer on a baking sheet until frozen solid, then transfer to a freezer bag. They can be frozen for up to 2 months. Thaw them in the refrigerator overnight before serving.
For presentation, top them with a dollop of whipped cream, a sprinkle of cinnamon, or a few crushed graham crackers. It adds a nice touch and makes them look more professional.
Nutritional Information & Benefits
Each bite contains approximately 150 calories, with 8g of fat, 18g of carbs, and 3g of protein. Pumpkin is a great source of vitamin A, which is good for eye health and immune function. It’s also high in fiber, which aids digestion.
The cream cheese provides calcium and protein, though it is high in saturated fat. Using full-fat cream cheese ensures a better texture, but you can opt for reduced-fat if you’re watching your intake.
For those with dietary restrictions, this recipe can be made gluten-free and dairy-free with substitutions. However, it does contain eggs, so it’s not suitable for vegans or those with egg allergies.
Conclusion
These creamy mini pumpkin cheesecake bites are a fall favorite for a reason. They’re easy to make, delicious to eat, and perfect for sharing. I love that they bring back memories of simpler times, while also being a modern, convenient treat.
I encourage you to try this recipe and make it your own. Add your favorite spices, swirl in some caramel, or top with your favorite garnish. Cooking is about experimentation, so don’t be afraid to tweak it to suit your taste.
I’d love to hear how they turn out for you. Leave a comment below with your thoughts or share a photo of your creations. Let’s keep the conversation going.
Thanks for reading. Happy baking!
FAQs
Can I use fresh pumpkin instead of canned?
Yes, but you’ll need to roast and puree it yourself. Fresh pumpkin puree can be watery, so make sure to strain it well before using. Canned puree is more consistent and convenient.
Why did my cheesecakes crack?
Cracks can happen if the batter is overmixed or if the cheesecakes are overbaked. Make sure to mix gently and remove them from the oven when the centers still jiggle slightly.
Can I make these ahead of time?
Absolutely. They taste even better the next day. You can make them up to 3 days in advance and store them in the refrigerator.
How do I store leftover cheesecake bites?
Store them in an airtight container in the refrigerator for up to 5 days. You can also freeze them for longer storage.
Can I use a different type of cracker for the crust?
Yes, you can use vanilla wafers, shortbread, or gingersnap cookies. Just crush them finely and mix with butter as directed.
Pin This Recipe!
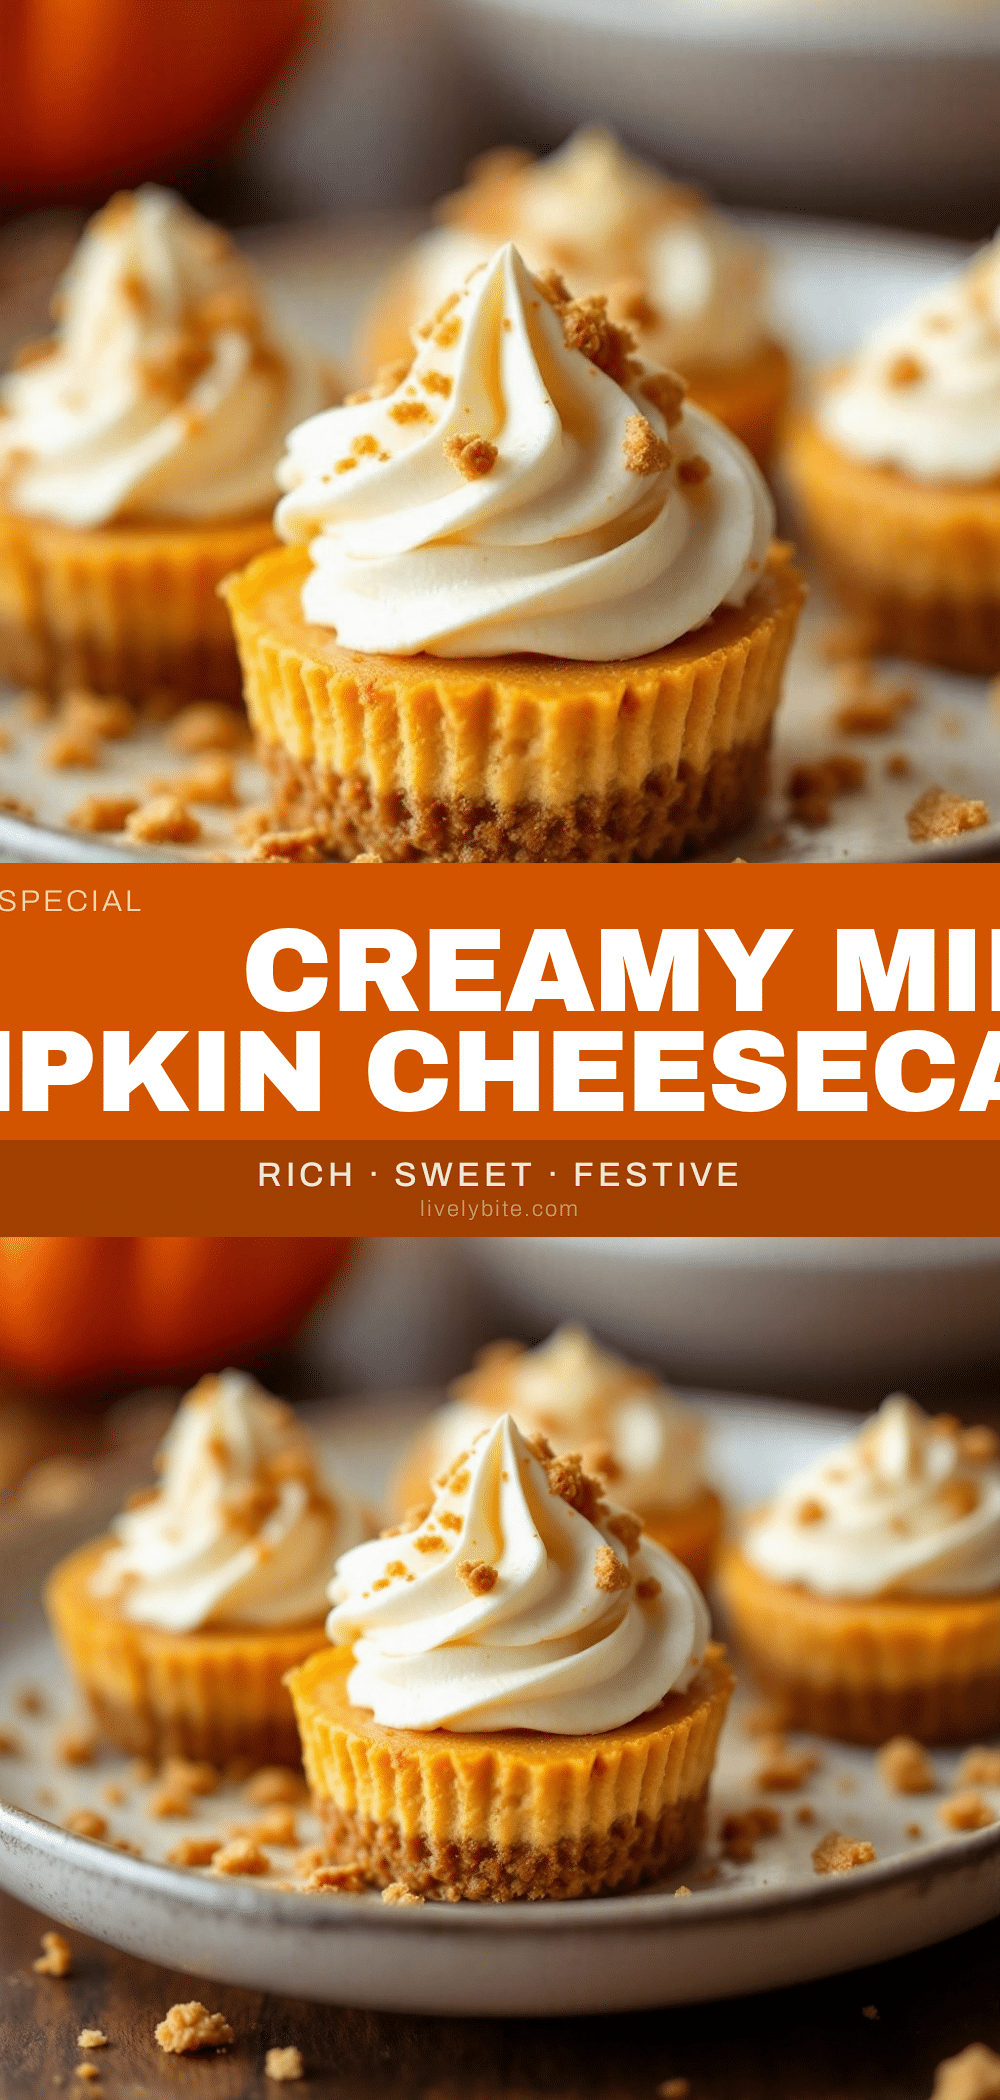
Creamy Mini Pumpkin Cheesecake Bites: 15-Minute Easy Dessert

Light, airy mini pumpkin cheesecake bites with a buttery graham cracker crust and spiced cream cheese filling. These cozy autumn treats are quick to make and perfect for fall gatherings.
- Prep Time: 15 minutes
- Cook Time: 20 minutes
- Total Time: 35 minutes
- Yield: 12 servings 1x
- Category: Dessert
- Cuisine: American
Ingredients
- 1 ½ cups graham cracker crumbs (about 15 squares)
- 4 tablespoons unsalted butter, melted
- ½ cup granulated sugar
- 16 ounces full-fat cream cheese, softened to room temperature
- ½ cup brown sugar, packed
- 1 cup pumpkin puree (100% pure pumpkin, not pie filling)
- 2 large eggs, room temperature
- 1 teaspoon vanilla extract
- 1 teaspoon ground cinnamon
- ½ teaspoon ground nutmeg
- ¼ teaspoon ground ginger
- ¼ teaspoon ground cloves
- ¼ teaspoon salt
Instructions
- Preheat oven to 350°F (175°C). Line a 12-cup muffin tin with paper liners or grease lightly.
- In a medium bowl, combine graham cracker crumbs, melted butter, and granulated sugar. Mix until it resembles wet sand.
- Spoon about 1 tablespoon of the crumb mixture into each muffin cup. Press down firmly with the bottom of a measuring cup to create a crust ‘cup’.
- In a large mixing bowl, beat the softened cream cheese and brown sugar together until smooth and creamy (about 2-3 minutes). Scrape down the sides of the bowl.
- Add the pumpkin puree, vanilla extract, cinnamon, nutmeg, ginger, cloves, and salt. Mix on low speed until just combined.
- Crack eggs into a small bowl first, then pour into the mixture. Beat on low speed until fully incorporated. Do not overmix.
- Spoon the filling into the prepared crusts, filling them almost to the top.
- Tap the muffin tin gently on the counter a few times to release air bubbles.
- Bake for 18-20 minutes. The edges should be set, but the centers should still have a slight jiggle.
- Remove from oven and let cool in the tin on a wire rack for 10 minutes.
- Transfer to the rack to cool completely, then refrigerate for at least 2 hours before serving chilled.
Notes
Ensure cream cheese is softened to room temperature to avoid lumps. Do not overmix after adding eggs to prevent cracking. For a crispier crust, press crumbs down firmly. These taste best chilled and can be stored in the refrigerator for up to 5 days or frozen for up to 2 months.
Nutrition
- Serving Size: 1 mini bite
- Calories: 150
- Sugar: 14
- Sodium: 120
- Fat: 8
- Saturated Fat: 5
- Carbohydrates: 18
- Fiber: 1
- Protein: 3
Keywords: pumpkin cheesecake, mini cheesecake, fall dessert, easy dessert, pumpkin spice, graham cracker crust, autumn baking


