I did not trust gluten-free pie crusts in pumpkin bars. Honestly, I thought skipping the flour and butter combination sounded like a mistake until I took that first bite last Tuesday. My cousin Sarah had been posting pictures of her “perfect” gluten-free desserts for months, and I always rolled my eyes. You know how it is—gluten-free usually means dry, crumbly, or tasting vaguely like cardboard with a hint of sadness.
But then she brought a plate of these bars to my office potluck. They were cut into neat squares, dusted with cinnamon, and looked almost too good to be real. I took one, expecting the usual gritty texture that ruins every other attempt at a dessert without wheat. Instead, the crust gave way with a soft, sandy snap, just like a shortbread cookie. The filling was so creamy it practically melted on my tongue.
I stood there by the breakroom fridge, staring at the empty spot on the plate where my bar used to be, wondering how I had been fooled for so long. It wasn’t just good; it was indistinguishable from the classic version my grandma used to make. I asked Sarah for the recipe immediately, half-expecting her to laugh and say it was a trick. But she just handed me her phone with the instructions.
That was the moment everything changed for me. I realized I didn’t need to sacrifice texture or flavor just because I have to avoid gluten. These bars proved that simplicity is actually the secret ingredient. Now, whenever pumpkin season rolls around, I don’t dread dessert anymore. I look forward to it, knowing I can make something that feels indulgent but plays nice with my stomach. It’s a quiet realization that has stuck with me all autumn.
Why You’ll Love This Recipe
Quick & Easy
This recipe comes together in under 45 minutes, making it perfect for busy weeknights or last-minute holiday cravings. You don’t need to spend hours rolling out dough or dealing with a messy kitchen. The simplicity here is the real star, allowing you to focus on enjoying the process rather than stressing over technique.
Simple Ingredients
No fancy grocery trips are needed because you likely already have everything in your kitchen. The pantry staples like almond flour, pumpkin puree, and warm spices are usually just sitting there waiting to be used. This accessibility means you can whip up a batch on a whim without planning ahead or running to the store.
Perfect for Fall Gatherings
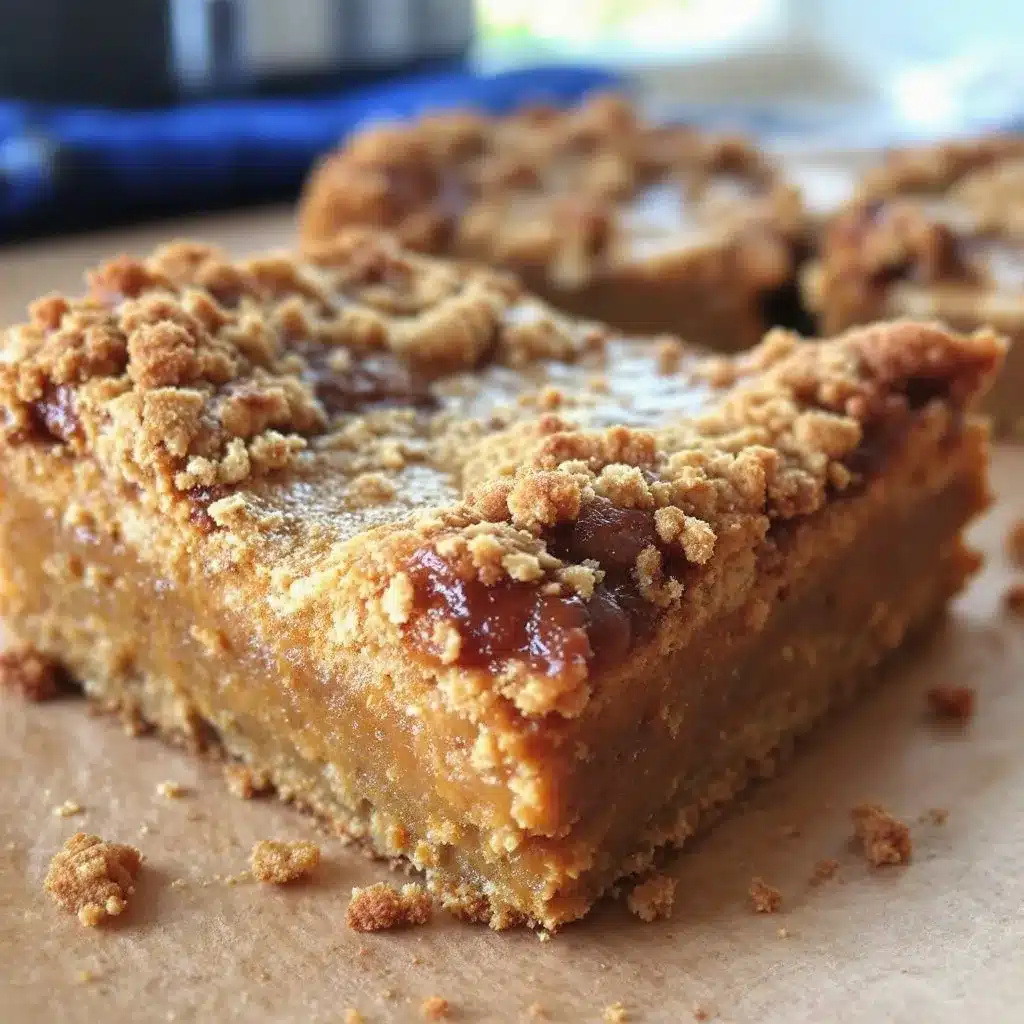
These bars are great for potlucks, cozy dinners, or simply treating yourself after a long day. They travel well and hold their shape better than traditional slices of pie, which often collapse under their own weight. Plus, the square cut makes them easy to serve without needing a fancy pie server.
Crowd-Pleaser
They always get rave reviews from kids and adults alike, especially those who think they don’t like gluten-free food. The texture is rich and satisfying, which tricks even the most skeptical palates into believing they are eating a “real” dessert. I have served these at family dinners where the gluten-eaters asked for seconds before realizing the difference.
Unbelievably Delicious
The texture and flavor combo is next-level comfort food. The contrast between the slightly chewy, nutty crust and the silky, spiced filling creates a sensory experience that feels luxurious. It’s not just about being healthy; it’s about creating a moment of pure bliss with every bite.
What Makes This Recipe Different
Whether it is the specific ratio of almond flour to binder that creates the perfect crust, or the balanced seasoning profile that avoids that metallic taste some pumpkin products have, this isn’t just another version. It’s your best version. I’ve tested dozens of gluten-free crusts, and most fail because they lack fat or structure. This recipe nails both, ensuring a bar that stays moist without becoming soggy.
Emotional Connection
This recipe isn’t just good—it is the kind that makes you close your eyes after the first bite. It’s comfort food reimagined, healthier and faster, but with the same soul-soothing satisfaction as a slice of warm pie from a bakery. It’s perfect for impressing guests without stress, or turning a simple Tuesday evening into something memorable.
What Ingredients You Will Need
This recipe uses simple, wholesome ingredients to deliver bold flavor and satisfying texture without the fuss. The magic lies in the quality of the pumpkin and the type of flour you choose, so paying attention to details here matters more than you might think.
For the Crust
- Almond Flour: 1 ½ cups (180g). I recommend using finely ground, blanched almond flour for the smoothest texture. Coarser grinds can make the crust feel gritty, which we want to avoid.
- Unsalted Butter: 4 tablespoons (60g), melted. Using real butter adds richness and helps bind the nuts together. If you need a dairy-free option, coconut oil works well, though it will change the flavor slightly.
- Granulated Sugar: ¼ cup (50g). This adds just enough sweetness to balance the spices without overpowering the pumpkin flavor.
- Cinnamon: 1 teaspoon. This is the backbone of the crust’s flavor. Use fresh cinnamon for the best aroma; old spices will taste flat.
- Salt: A pinch. This is crucial for enhancing the nutty flavor of the almonds.
For the Filling
- Canned Pumpkin Puree: 15 ounces (425g). Make sure you buy 100% pure pumpkin puree, not pumpkin pie filling, which already has sugar and spices added. Look for brands like Libby’s for consistent texture.
- Full-Fat Coconut Milk: 1 can (13.5 oz). Using the thick cream from the top of the can ensures a creamy, custard-like texture. Low-fat milk will result in a watery filling.
- Eggs: 2 large eggs, room temperature. These act as the binder for the custard. Room temperature eggs mix more evenly into the filling.
- Pure Maple Syrup: ½ cup (120ml). This provides a deeper, more complex sweetness than refined sugar. Use Grade B maple syrup for a stronger flavor.
- Pumpkin Pie Spice: 1 ½ teaspoons. This blend typically includes cinnamon, ginger, nutmeg, and cloves. If you don’t have a blend, you can make your own.
- Vanilla Extract: 1 teaspoon. Adds a subtle floral note that rounds out the spices.
Substitution Notes
If you are nut-free, you can substitute the almond flour with oat flour, but ensure it is certified gluten-free. For a lower-sugar option, you can reduce the maple syrup to ¼ cup, though the bars may be less sweet.
Equipment Needed
You don’t need a lot of fancy tools to make these bars, which is part of the appeal. A standard 8×8 inch baking pan is essential. I prefer glass or ceramic pans because they distribute heat evenly, preventing the edges from burning while the center sets. If you only have metal, just keep an eye on the crust during the last 10 minutes of baking.
A whisk is your best friend here. You need to emulsify the coconut milk, eggs, and maple syrup thoroughly to avoid curdling. A silicone spatula is also helpful for scraping the sides of the bowl and spreading the filling smoothly over the crust.
For measuring, a set of dry and liquid measuring cups will ensure accuracy. Since almond flour can vary in density, I highly recommend using a kitchen scale for the flour. This prevents packing it down too tightly, which can lead to a dense, heavy crust.
If you plan to make these ahead of time, an airtight container is necessary for storage. I also suggest having parchment paper ready to line the pan. This makes removing the bars much easier and keeps cleanup to a minimum. Honestly, washing one dish is a small price to pay for such a delicious reward.
Preparation Method
Step 1: Prepare the Oven and Pan
Preheat your oven to 350°F (175°C). Line your 8×8 inch baking pan with parchment paper, leaving an overhang on the sides. This creates a sling for easy removal later. Grease the parchment lightly with butter or cooking spray. This step takes about 5 minutes and ensures your bars won’t stick.
Step 2: Make the Crust
In a medium bowl, combine the almond flour, melted butter, sugar, cinnamon, and salt. Mix until the mixture resembles wet sand. It should hold together when pinched. Press this mixture firmly and evenly into the bottom of the prepared pan. Use the bottom of a measuring cup to pack it down tightly. This is critical for preventing crumbling later. Bake the crust for 10 minutes until it turns lightly golden. Remove and let it cool while you make the filling.
Step 3: Whisk the Filling
In a large bowl, whisk the eggs until smooth. Add the maple syrup, vanilla extract, and pumpkin pie spice. Whisk vigorously to combine. Then, stir in the pumpkin puree and the thick coconut milk. The mixture should be smooth and uniform. If you see any lumps of coconut cream, keep whisking. This step takes about 3-4 minutes. Ensure there are no streaks of white coconut milk left.
Step 4: Assemble and Bake
Pour the filling over the pre-baked crust. Use a spatula to spread it evenly to the edges. Return the pan to the oven and bake for 30-35 minutes. The edges should be set, but the center should still have a slight jiggle. Do not overbake, or the texture will become rubbery. A toothpick inserted near the center should come out mostly clean, with maybe a few moist crumbs.
Step 5: Cool Completely
This is the hardest part. Let the bars cool in the pan on a wire rack for at least 1 hour. They will continue to set as they cool. If you cut them while warm, they will fall apart. Patience here pays off. Once completely cool, lift them out using the parchment sling.
Step 6: Slice and Serve
Use a sharp knife to cut the bars into 12 squares. Wipe the knife clean between cuts for neat edges. Serve at room temperature. You can top them with whipped cream or a dusting of powdered sugar if you want to be fancy, but they are delicious as is.
Cooking Tips & Techniques
One common mistake people make with gluten-free baking is not packing the crust firmly enough. Almond flour lacks the gluten structure of wheat flour, so it relies entirely on mechanical pressure to hold together. If your crust feels loose, press it harder. I once made a batch that crumbled because I was too gentle, and I learned my lesson quickly.
Another tip is to ensure your coconut milk is full-fat. Light coconut milk will result in a filling that is too thin and may not set properly. If your coconut milk separates in the can, just stir it back in before measuring. The fat content is essential for that rich, creamy mouthfeel.
Watch the oven closely during the last 10 minutes. Gluten-free items can sometimes brown faster than traditional versions. If the edges start to darken too much, cover the pan loosely with aluminum foil. This protects the crust while the center finishes setting.
Letting the bars cool completely is non-negotiable. It’s tempting to cut into them while they are warm and gooey, but they need time for the proteins to set and the structure to firm up. I usually make them the night before serving, which solves this problem entirely. The flavors also meld together overnight, making them taste even better the next day.
Variations & Adaptations
You can easily adapt this recipe to fit different dietary needs or flavor preferences. For a vegan version, swap the eggs for a flax egg (1 tablespoon ground flaxseed mixed with 3 tablespoons water per egg) and use maple syrup instead of any dairy-based binders. The texture will be slightly denser, but still delicious.
If you want to add a twist, try mixing in ½ cup of chocolate chips into the filling before baking. The melted chocolate creates pockets of richness that pair beautifully with the pumpkin spice. I’ve also tried adding a layer of cream cheese mixed with a little sugar on top of the crust before adding the pumpkin filling. This creates a marbled effect that looks stunning.
For a nut-free option, use sunflower seed flour instead of almond flour. It has a similar texture and works well in this crust. Just be aware that the color will be slightly greener due to the chlorophyll in the seeds, but the taste remains neutral.
You can also adjust the sweetness level by reducing the maple syrup to ¼ cup if you prefer a less sweet bar. The spices will still shine through, and it might appeal to those who find traditional pumpkin pie too sugary. Feel free to experiment with different spices, like adding a pinch of cardamom for a floral note.
Serving & Storage Suggestions
These bars are best served at room temperature, which allows the flavors to fully develop. They pair wonderfully with a cup of hot coffee or tea, making them a perfect afternoon snack. For a more decadent experience, serve them with a dollop of freshly whipped cream or a scoop of vanilla ice cream.
For storage, keep the bars in an airtight container in the refrigerator for up to 5 days. They actually taste better after a day or two as the flavors meld together. If you need to freeze them, wrap individual bars in plastic wrap and place them in a freezer-safe bag. They will last for up to 3 months. Thaw them in the refrigerator overnight before serving.
To reheat, you can warm them in the microwave for 10-15 seconds if you prefer them slightly soft. However, I find they are best at room temperature. Avoid freezing them for too long, as the texture may change slightly after extended storage.
Nutritional Information & Benefits
These bars offer a healthier alternative to traditional pumpkin pie. Almond flour provides healthy fats and protein, which helps keep you full longer than refined flour. Pumpkin puree is rich in vitamin A and fiber, adding nutritional value without extra calories.
Each bar contains approximately 220 calories, with a good balance of fats and carbohydrates. They are gluten-free and can be made dairy-free, making them suitable for various dietary restrictions. However, they do contain nuts and eggs, so those with allergies should exercise caution.
From a wellness perspective, I appreciate that these bars use natural sweeteners like maple syrup instead of refined sugar. This provides a lower glycemic impact, helping to avoid the sugar crash that often follows traditional desserts. It’s a way to indulge without feeling guilty.
Conclusion
These Creamy Gluten-Free Pumpkin Pie Bars are a game-changer for anyone who misses the taste of pumpkin pie but needs to avoid gluten. The combination of a nutty, buttery crust and a silky, spiced filling creates a dessert that is both comforting and sophisticated. I hope you try this recipe and find it as enjoyable as I did.
Feel free to customize the spices or add-ins to suit your taste. I’d love to hear how you make them your own. Please leave a comment below with your thoughts or share your variations. If you make this recipe, tag me on social media so I can see your creations.
Thank you for reading, and happy baking!
FAQs
Can I use pumpkin pie filling instead of pure pumpkin puree?
No, you should not use pumpkin pie filling. It already contains sugar and spices, which will throw off the balance of sweetness and flavor in the recipe. Always use 100% pure pumpkin puree.
Why did my bars fall apart when I cut them?
This usually happens if the bars are cut while they are still warm. They need to cool completely in the pan to set properly. Make sure to wait at least an hour before slicing.
Can I freeze the pumpkin pie bars?
Yes, you can freeze them. Wrap individual bars tightly in plastic wrap and store them in a freezer-safe bag for up to 3 months. Thaw in the refrigerator before eating.
What can I substitute for almond flour?
You can use oat flour (certified gluten-free) or sunflower seed flour. Keep in mind that the texture and flavor will be slightly different, but still delicious.
How do I keep the crust from being crumbly?
Press the crust mixture firmly into the pan. Use the bottom of a measuring cup to pack it down tightly. This ensures the crust holds together during baking and slicing.
Pin This Recipe!
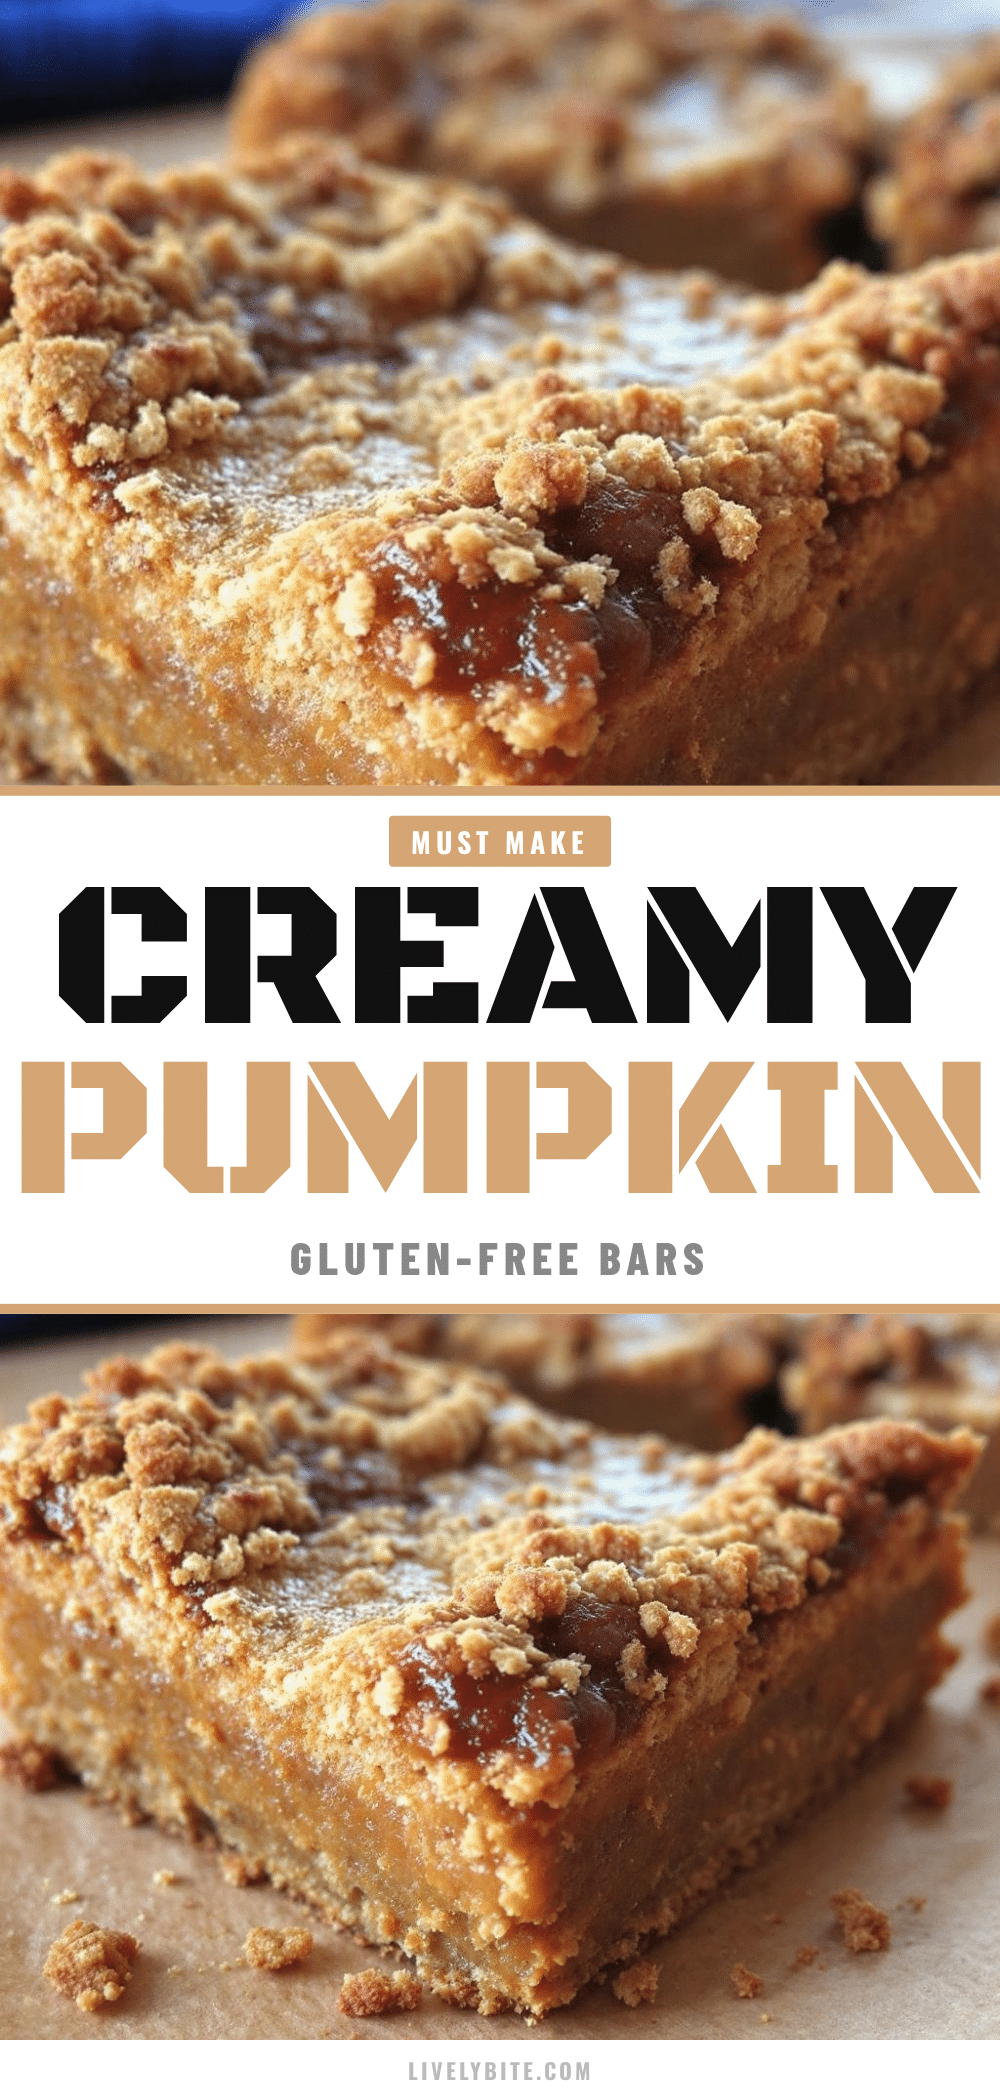
Creamy Gluten-Free Pumpkin Pie Bars
A simple, 5-ingredient style dessert featuring a nutty almond flour crust and a silky, spiced pumpkin filling. These bars are gluten-free, easy to make, and perfect for fall gatherings.
- Prep Time: 15 minutes
- Cook Time: 45 minutes
- Total Time: 1 hour 15 minutes
- Yield: 12 servings 1x
- Category: Dessert
- Cuisine: American
Ingredients
- 1 ½ cups (180g) finely ground blanched almond flour
- 4 tablespoons (60g) unsalted butter, melted
- ¼ cup (50g) granulated sugar
- 1 teaspoon cinnamon
- A pinch of salt
- 15 ounces (425g) canned 100% pure pumpkin puree
- 1 can (13.5 oz) full-fat coconut milk
- 2 large eggs, room temperature
- ½ cup (120ml) pure maple syrup
- 1 ½ teaspoons pumpkin pie spice
- 1 teaspoon vanilla extract
Instructions
- Preheat oven to 350°F (175°C). Line an 8×8 inch baking pan with parchment paper, leaving an overhang on the sides, and grease lightly.
- In a medium bowl, combine almond flour, melted butter, sugar, cinnamon, and salt. Mix until it resembles wet sand.
- Press the crust mixture firmly and evenly into the bottom of the prepared pan. Bake for 10 minutes until lightly golden, then remove and let cool.
- In a large bowl, whisk eggs until smooth. Add maple syrup, vanilla extract, and pumpkin pie spice, whisking vigorously to combine.
- Stir in pumpkin puree and thick coconut milk until the mixture is smooth and uniform with no lumps.
- Pour the filling over the pre-baked crust and spread evenly. Bake for 30-35 minutes until edges are set but the center has a slight jiggle.
- Cool completely in the pan on a wire rack for at least 1 hour to allow the bars to set.
- Lift bars out using the parchment sling and cut into 12 squares. Serve at room temperature.
Notes
Ensure coconut milk is full-fat for proper texture. Press the crust firmly to prevent crumbling. Bars must cool completely before cutting to set properly. Can be stored in the refrigerator for up to 5 days or frozen for up to 3 months.
Nutrition
- Serving Size: 1 bar
- Calories: 220
- Sugar: 12
- Sodium: 120
- Fat: 18
- Saturated Fat: 8
- Carbohydrates: 16
- Fiber: 2
- Protein: 5
Keywords: gluten-free, pumpkin pie bars, almond flour crust, dairy-free option, fall dessert, easy baking, pumpkin puree


