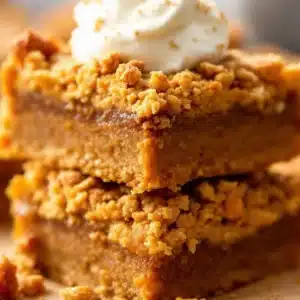
For a long time, I just accepted that gluten-free pumpkin pie wasn’t going to taste like the real thing. You know the type—the crust that crumbles into dust before you can even get a fork into it, or the filling that tastes like spiced pumpkin puree with a weird aftertaste from xanthan gum. I tried the box mixes. I tried the fancy flour blends that cost more than my grocery budget. Nothing held together. Nothing had that creamy, custard-like soul that makes you close your eyes and sigh.
It wasn’t until I started experimenting with a base of cream cheese and graham cracker crumbs that things finally clicked. Honestly, it was an accident at first. I was trying to make a cheesecake bar and ran out of vanilla extract, so I just dumped in the pumpkin spice blend I had sitting on the counter. The result was messy, but the flavor was undeniable. It tasted like autumn in a bite.
I spent the next few months tweaking the ratios. Too much spice? Too sweet? The crust falling apart? I learned what worked through trial and error, mostly while eating the failures myself. The key turned out to be balancing the tang of the cream cheese with the sweetness of the condensed milk, all held together by a crust that actually stays intact.
Now, these creamy gluten-free pumpkin pie bars are a staple in my kitchen. They aren’t perfect in a Pinterest-perfect way; they are real. They are the kind of dessert that shows up to a potluck and disappears in ten minutes. You don’t need to be a pastry chef to make them. You just need to be willing to let go of the idea that gluten-free has to be dry or bland. Once you take that first bite, you’ll know exactly what I mean.
Why You’ll Love This Recipe
Let’s be honest for a second. Gluten-free baking can be a gamble. Sometimes it works, and sometimes you end up with a rock-hard disc that chips your tooth. That is not the experience I want for you. I have tested this recipe over a dozen times, adjusting the flour blends and baking times, to ensure it delivers on every promise. Here is why these bars are worth your oven space:
- Quick & Easy: Unlike a traditional pie that requires blind-baking a crust and waiting for layers to set, these bars come together in about 15 minutes of prep. You mix the crust, press it in, mix the filling, pour it on, and bake. It is perfect for busy weeknights or when you have last-minute guests knocking at the door.
- Simple Ingredients: You likely already have most of this in your pantry. Canned pumpkin, cream cheese, condensed milk, and gluten-free graham cracker crumbs. No fancy grocery trips needed. If you have a box of gluten-free graham crackers, you are halfway there.
- Perfect for Fall Gatherings: Whether it is a Thanksgiving dinner, a Halloween party, or just a cozy Sunday afternoon, these bars fit right in. They are portable, easy to serve, and don’t require a fancy plate.
- Crowd-Pleaser: I have served these to people who are strictly gluten-free and people who don’t care about gluten at all. The non-gluten-free crowd usually loves them even more because they find the texture richer and more substantial than traditional pie.
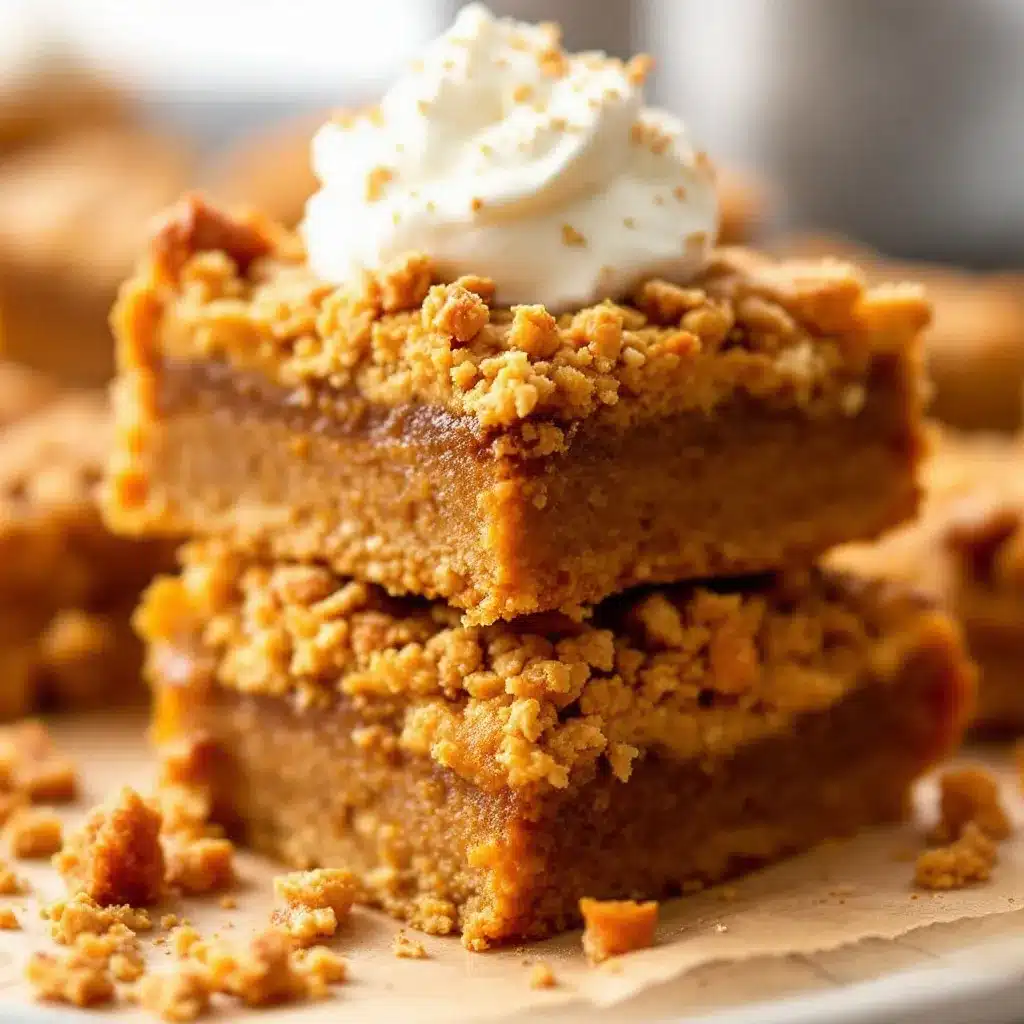
- Unbelievably Delicious: The texture is next-level. It is somewhere between a cheesecake and a pumpkin pie. The crust is buttery and crisp, while the filling is silky, smooth, and incredibly rich. It is comfort food reimagined—healthier in the sense that it is easier on the stomach, but with the same soul-soothing satisfaction.
What makes this recipe different from the rest is the addition of the cream cheese layer. It adds a tangy depth that cuts through the sweetness of the pumpkin and condensed milk. It prevents the bars from being cloying. This isn’t just another version of a pumpkin bar; it is the best version I have found. It’s the kind that makes you close your eyes after the first bite. It’s perfect for impressing guests without stress, or turning a simple meal into something memorable.
What Ingredients You Will Need
This recipe uses simple, wholesome ingredients to deliver bold flavor and satisfying texture without the fuss. The beauty of these bars lies in how few ingredients you need, and how easily they can be sourced. Most of these are pantry staples, though you might need to make a quick trip for gluten-free graham crackers if your local store doesn’t stock them.
For the Crust
- Gluten-Free Graham Cracker Crumbs: About 1.5 cups. You can buy pre-made crumbs or crush whole gluten-free graham crackers in a food processor. I recommend using a brand like Kate’s Real Food or Jelly Belly for the best texture and flavor.
- Unsalted Butter: 1/2 cup (1 stick), melted. This binds the crumbs together. Using unsalted butter allows you to control the saltiness, but salted butter works in a pinch.
- Granulated Sugar: 2 tablespoons. Just a little bit to help the crust caramelize slightly and add a hint of sweetness.
- Cinnamon: 1/2 teaspoon. Adds warmth and depth to the base.
For the Filling
- Cream Cheese: 8 ounces (1 block), softened to room temperature. This is crucial for a smooth filling. If it’s cold, you’ll get lumps. I prefer Philadelphia brand for its consistent texture.
- Canned Pumpkin Puree: 15 ounces (1 can). Make sure it is pure pumpkin, not pumpkin pie mix. The mix already has sugar and spices, which will throw off the balance.
- Condensed Milk: 1 can (14 ounces). This provides sweetness and the creamy, custard-like texture. Do not substitute with evaporated milk; they are not the same.
- Eggs: 2 large eggs. These help set the filling. Room temperature eggs blend more easily into the cream cheese mixture.
- Pumpkin Pie Spice: 1.5 teaspoons. This is a blend of cinnamon, ginger, nutmeg, and cloves. If you don’t have it, you can make your own by mixing 1 tsp cinnamon, 1/2 tsp ginger, 1/4 tsp nutmeg, and 1/8 tsp cloves.
- Vanilla Extract: 1 teaspoon. Pure vanilla extract makes a huge difference in flavor complexity.
If you need to adjust for dietary restrictions, you can swap the butter in the crust for coconut oil, though it will change the flavor slightly. For a dairy-free option, use vegan cream cheese and vegan butter, but note that the texture may be slightly denser. I also recommend looking for firm, small-curd cottage cheese if you want to blend it into the filling for extra protein, though it is not necessary for the classic taste.
Equipment Needed
You don’t need a lot of fancy gear to make these bars. A few basic tools will get the job done. First, you’ll need a 9×13 inch baking pan. Glass pans are great because they bake evenly, but metal pans work fine too. Just line it with parchment paper or foil for easy removal later.
A food processor or a zip-top bag and rolling pin is helpful if you are crushing the graham crackers yourself. If you buy pre-made crumbs, you can skip this. A stand mixer or a hand mixer is highly recommended for the filling. You want to beat the cream cheese until it is completely smooth before adding the other ingredients. Doing this by hand is possible, but it takes elbow grease and you might still end up with tiny lumps.
A whisk is useful for mixing the wet ingredients separately before combining them with the cream cheese. This ensures the pumpkin spice and vanilla are evenly distributed. Finally, a spatula is essential for spreading the filling evenly over the crust. Don’t underestimate the power of a good rubber spatula; it gets every bit of mixture out of the bowl and into the pan. If you don’t have a stand mixer, a strong arm and a wooden spoon will work, but it will take longer to get that smooth consistency.
Preparation Method
Making these bars is straightforward, but attention to detail ensures the best results. Follow these steps carefully.
- Preheat and Prep: Preheat your oven to 350°F (175°C). Line your 9×13 inch baking pan with parchment paper, leaving an overhang on the sides. This is your best friend for removing the bars later. Grease the parchment lightly with butter or cooking spray.
- Make the Crust: In a medium bowl, combine the gluten-free graham cracker crumbs, melted butter, sugar, and cinnamon. Mix until it looks like wet sand. Pour this mixture into the prepared pan. Use the bottom of a measuring cup or your fingers to press the mixture firmly and evenly into the bottom of the pan. You want it compact so the bars hold together. Bake the crust for 8-10 minutes until it smells toasty and looks set. Remove from the oven and let it cool while you make the filling. (Time: 10 minutes)
- Beat the Cream Cheese: In a large mixing bowl, beat the softened cream cheese with a hand mixer or stand mixer on medium speed until it is completely smooth and creamy. This should take about 2 minutes. Scrape down the sides of the bowl to ensure no lumps remain. (Time: 2 minutes)
- Add Wet Ingredients: Add the pumpkin puree, condensed milk, eggs, pumpkin pie spice, and vanilla extract to the cream cheese. Beat on low speed just until combined. Be careful not to overmix once the eggs are added, as this can incorporate too much air and cause cracking. The mixture should be smooth and uniform in color. (Time: 3 minutes)
- Pour and Bake: Pour the filling over the pre-baked crust. Smooth the top with a spatula. Bake at 350°F (175°C) for 35-40 minutes. The edges should be set, but the center should still have a slight jiggle when you gently shake the pan. It will continue to set as it cools. (Time: 40 minutes)
- Cool Completely: This is the hardest part. Let the bars cool in the pan on a wire rack for at least 1 hour. Then, refrigerate them for at least 4 hours, preferably overnight. Cutting them while warm will result in a messy, gooey mess. Cold bars cut cleanly. (Time: 4+ hours)
If you notice cracks forming on top during baking, don’t panic. It happens sometimes with custard-like batters. You can hide them with a dollop of whipped cream or a dusting of powdered sugar when serving.
Cooking Tips & Techniques
Even simple recipes have pitfalls. Here is how to avoid them based on my own kitchen failures. First, room temperature ingredients are non-negotiable. If your cream cheese is cold, it will lump up with the pumpkin puree. If your eggs are cold, they might curdle the mixture. Take your cream cheese out of the fridge at least an hour before you start. I usually set it on the counter while I crush the crackers.
Second, don’t overmix. Once you add the eggs, mix just until they disappear. Overmixing incorporates air bubbles, which expand in the oven and then collapse, leading to cracks. I learned this the hard way on my third batch. The bars tasted fine, but they looked ugly. Now, I mix gently and confidently.
Third, check for doneness early. Ovens vary. Start checking at 30 minutes. The bars are done when the edges are firm and the center is just set. If you wait until the center is completely firm, they will be overbaked and dry. A slight jiggle is your friend. The residual heat will finish the cooking process as they cool.
Also, use pure pumpkin puree, not pie filling. Pie filling is pre-sweetened and spiced, which will make these bars cloyingly sweet and likely alter the texture. Puree is just cooked pumpkin. It’s neutral and lets the spices shine.
Finally, be patient with cooling. I know it’s tempting to cut into them right out of the oven, but they need time to set. The structure relies on the proteins in the eggs and the fats in the cream cheese to firm up. Rushing this step ruins the texture. If you can’t wait overnight, at least give it 4 hours in the fridge. Trust me, the wait is worth it.
Variations & Adaptations
While the classic version is my favorite, these bars are versatile. Here are a few ways to tweak them:
- Maple Pecan Twist: Add 1/2 cup of chopped pecans to the crust mixture before baking. It adds a nice crunch and pairs beautifully with the pumpkin. You can also sprinkle toasted pecans on top before serving.
- Spiced Latte Flavor: Add 1 teaspoon of instant espresso powder to the filling. It enhances the pumpkin flavor without making it taste like coffee. This is great for those who enjoy their pumpkin spice with a kick.
- White Chocolate Swirl: Melt some white chocolate chips and drizzle them over the filling before baking. Use a knife to swirl it into the batter for a marbled effect. It adds a sweet, creamy contrast.
- Dairy-Free Option: Use vegan cream cheese and vegan butter. The texture might be slightly denser, but the flavor is still excellent. You can also use a dairy-free condensed milk, though it is harder to find.
- Low-Sugar Version: Use a sugar-free condensed milk substitute and a sugar-free graham cracker crust. This makes the bars more suitable for diabetic diets, though the texture will be slightly different.
I personally love adding a pinch of sea salt on top after baking. It highlights the sweetness and adds a sophisticated touch. You can also swap the cinnamon in the crust for nutmeg for a different warm spice profile.
Serving & Storage Suggestions
These bars are best served chilled. They hold their shape perfectly when cold and offer the best texture contrast between the crisp crust and the creamy filling. For presentation, dust them with powdered sugar or top with a dollop of whipped cream. A sprinkle of crushed graham crackers or a few pecans adds visual appeal.
They pair wonderfully with a hot cup of coffee or tea. The warmth of the beverage complements the cool, creamy bars perfectly. You can also serve them with a side of fresh fruit, like apple slices or pear, to balance the richness.
Storage: Store the bars in an airtight container in the refrigerator for up to 5 days. They can also be frozen. Wrap individual bars in plastic wrap and place them in a freezer-safe bag. They will keep for up to 3 months. Thaw them in the refrigerator overnight before serving.
Reheating: These bars are best eaten cold. If you prefer them at room temperature, let them sit on the counter for 20-30 minutes before serving. Avoid reheating them, as the texture may become grainy or oily.
Nutritional Information & Benefits
These bars are rich and indulgent, so they are best enjoyed in moderation. Each bar contains approximately 250-300 calories, depending on the size of the cut. They are a good source of calcium from the cream cheese and pumpkin, and they provide some fiber from the graham crackers and pumpkin.
For those with gluten sensitivities, these bars are a safe and satisfying alternative to traditional pie. The use of gluten-free graham crackers ensures that everyone can enjoy them without worry. However, if you have a dairy allergy, you will need to use vegan substitutes.
From a wellness perspective, pumpkin is rich in vitamins A and C, which are great for immune health and skin. The spices used, like cinnamon and ginger, have anti-inflammatory properties. So, while these are definitely a treat, they do offer some nutritional benefits compared to other desserts.
Conclusion
Making creamy gluten-free pumpkin pie bars doesn’t have to be complicated or disappointing. With the right ingredients and a little patience, you can create a dessert that is both beautiful and delicious. These bars are my go-to for any fall gathering because they are easy to make, easy to eat, and impossible to resist.
I encourage you to try this recipe and make it your own. Add nuts, change the spices, or top it with your favorite garnish. Cooking is about experimentation, and this recipe is a great canvas for your creativity. If you make these bars, I would love to hear how they turned out. Leave a comment below with your thoughts, or share a photo on social media. Tag me so I can see your creations!
Happy baking, and enjoy every bite of this autumnal delight.
FAQs
Can I use homemade pumpkin puree?
Yes, you can use homemade pumpkin puree. Just make sure to drain any excess liquid by placing the puree in a cheesecloth or paper towel for a few hours. Too much moisture can make the filling runny.
Why did my bars crack on top?
Cracking usually happens if the bars are overbaked or if the mixture was overmixed. Make sure to pull them out when the center still has a slight jiggle, and mix the eggs in gently and just until combined.
Can I freeze the bars?
Absolutely. Wrap individual bars tightly in plastic wrap and store them in a freezer-safe bag for up to 3 months. Thaw in the refrigerator overnight before serving.
What if I don’t have pumpkin pie spice?
You can make your own blend. Mix 1 teaspoon cinnamon, 1/2 teaspoon ginger, 1/4 teaspoon nutmeg, and 1/8 teaspoon cloves. This will give you the same warm flavor profile.
Can I make these bars in a different pan size?
You can, but the baking time will change. If you use a smaller pan, like an 8×8, the bars will be thicker and may take longer to bake. If you use a larger pan, they will be thinner and bake faster. Keep an eye on them.
For more easy and delicious recipes, check out our recipe collection or try our creamy vegan chocolate avocado pudding for a different kind of sweet treat.
Pin This Recipe!
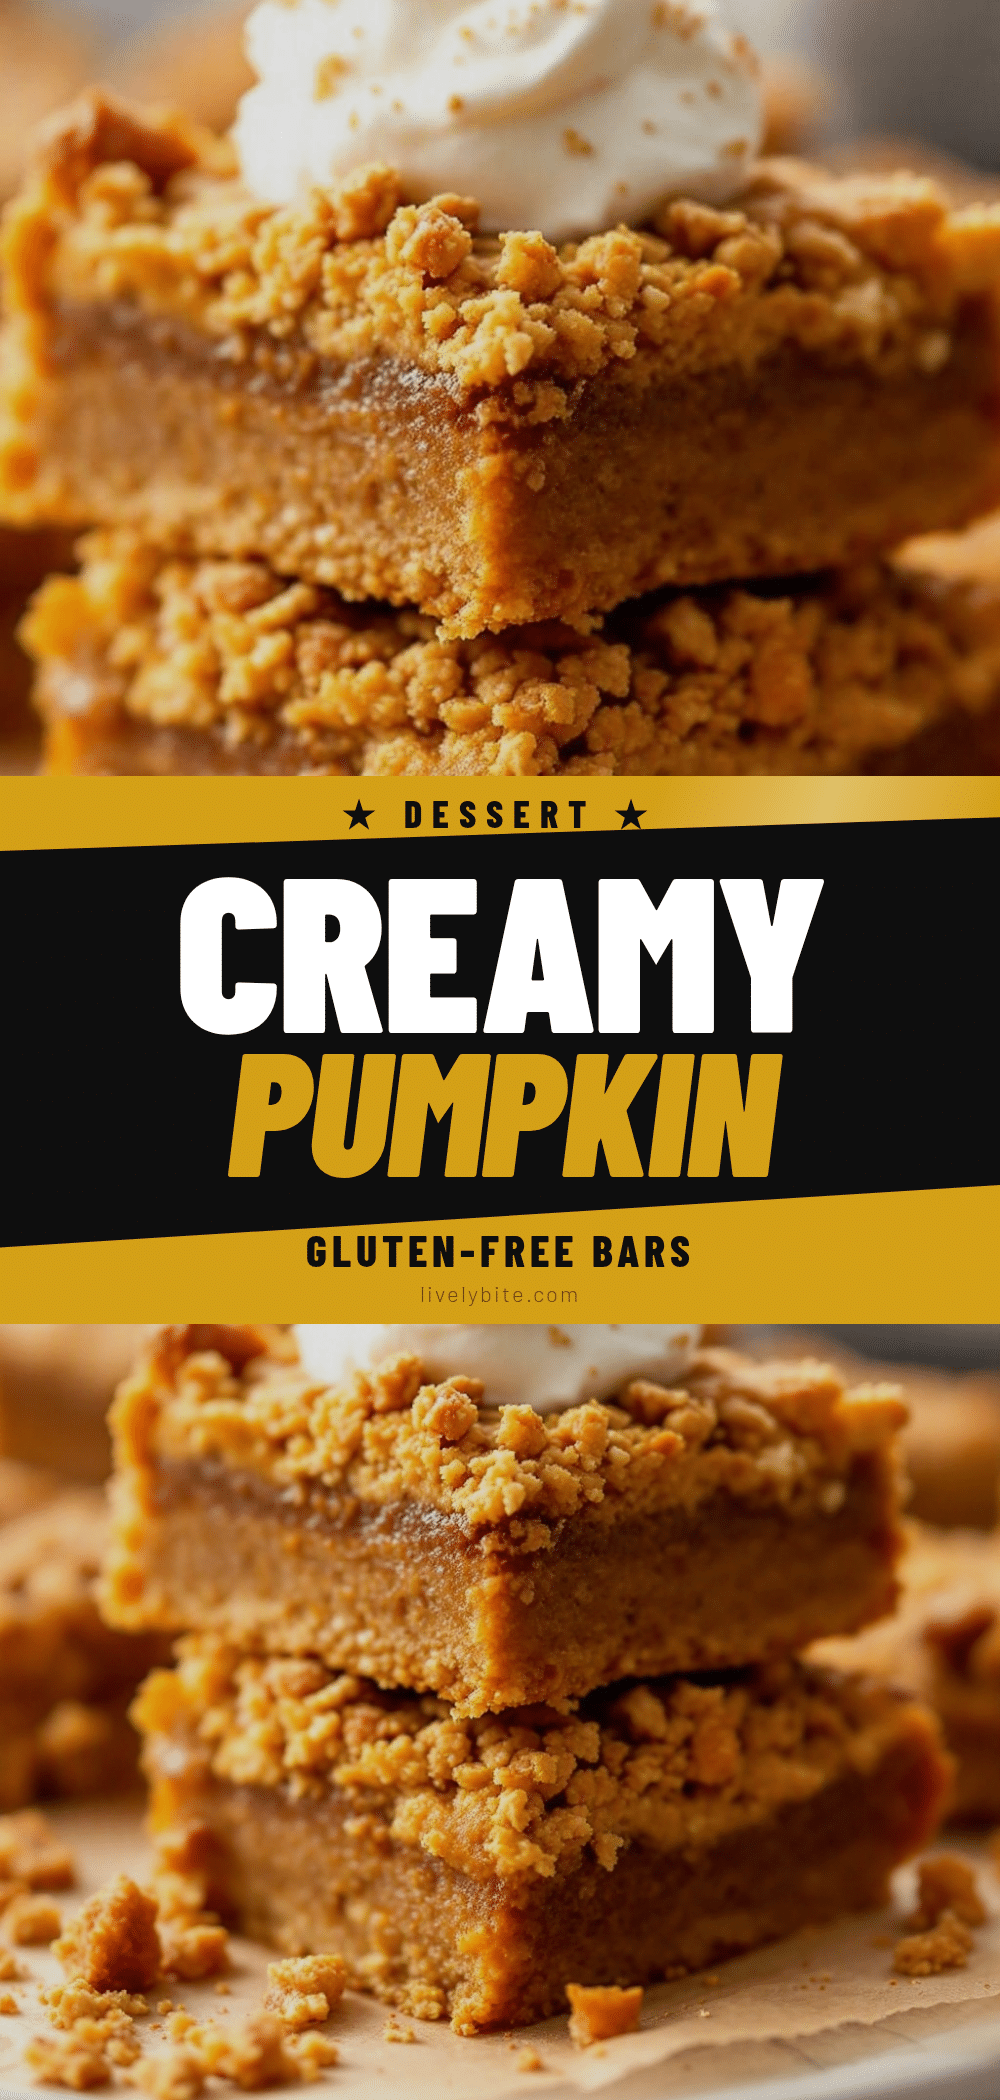
Creamy Gluten-Free Pumpkin Pie Bars
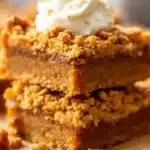
These creamy gluten-free pumpkin pie bars combine a buttery graham cracker crust with a rich, tangy cream cheese and pumpkin filling. They are easy to make, crowd-pleasing, and offer the perfect balance of sweetness and spice for fall gatherings.
- Prep Time: 15 minutes
- Cook Time: 50 minutes
- Total Time: 4 hours 65 minutes
- Yield: 12 servings 1x
- Category: Dessert
- Cuisine: American
Ingredients
- 1.5 cups Gluten-Free Graham Cracker Crumbs
- 1/2 cup Unsalted Butter, melted
- 2 tablespoons Granulated Sugar
- 1/2 teaspoon Cinnamon
- 8 ounces Cream Cheese, softened to room temperature
- 15 ounces Canned Pumpkin Puree
- 1 can (14 ounces) Sweetened Condensed Milk
- 2 large Eggs, room temperature
- 1.5 teaspoons Pumpkin Pie Spice
- 1 teaspoon Vanilla Extract
Instructions
- Preheat oven to 350°F (175°C). Line a 9×13 inch baking pan with parchment paper, leaving an overhang on the sides, and grease lightly.
- In a medium bowl, combine gluten-free graham cracker crumbs, melted butter, sugar, and cinnamon. Mix until it resembles wet sand.
- Press the crust mixture firmly and evenly into the bottom of the prepared pan.
- Bake the crust for 8-10 minutes until set and toasty. Remove from oven and let cool.
- In a large mixing bowl, beat the softened cream cheese on medium speed until completely smooth (about 2 minutes). Scrape down the sides.
- Add pumpkin puree, condensed milk, eggs, pumpkin pie spice, and vanilla extract to the cream cheese. Beat on low speed just until combined. Do not overmix.
- Pour the filling over the pre-baked crust and smooth the top with a spatula.
- Bake at 350°F (175°C) for 35-40 minutes. The edges should be set, but the center should have a slight jiggle.
- Cool the bars in the pan on a wire rack for at least 1 hour.
- Refrigerate for at least 4 hours, preferably overnight, before cutting and serving.
Notes
Ensure all ingredients, especially cream cheese and eggs, are at room temperature to prevent lumps. Do not overmix the batter once eggs are added to avoid cracking. Use pure pumpkin puree, not pumpkin pie mix. Bars must be chilled completely before cutting for clean slices.
Nutrition
- Serving Size: 1 bar
- Calories: 275
- Sugar: 22
- Sodium: 180
- Fat: 18
- Saturated Fat: 10
- Carbohydrates: 28
- Fiber: 1
- Protein: 5
Keywords: gluten-free pumpkin pie, pumpkin bars, cream cheese pumpkin, fall dessert, easy pumpkin recipe, gluten-free dessert, holiday baking