For a while, I just accepted that pumpkin pie wasn’t going to taste like actual pumpkin. You know the type—the ones that arrive at Thanksgiving dinner looking like orange meringue mountains, tasting vaguely of canned soup and regret. I had spent years buying the pre-made crusts that turned soggy before the first slice was served, or attempting from-scratch versions that resulted in a watery mess that slid out of the shell like a slippery eel. It was a frustrating cycle of disappointment. I wanted something creamy, something that held its shape, and a crust that actually stayed crunchy until the very last bite. Honestly, I thought finding that balance was impossible without a degree in pastry arts. Then I stumbled upon a method that changed everything. It wasn’t about fancy techniques or expensive equipment. It was about trusting the ingredients and letting the oven do the heavy lifting. Now, every time I pull this pie out of the oven, the kitchen smells like autumn itself. It’s quiet satisfaction, really. Just a perfect slice on a plate, no drama, no fuss. That’s the kind of dessert that stays with you.
Why You’ll Love This Recipe
There is a specific kind of magic that happens when you combine high-quality pumpkin puree with a rich, custard-like filling. This recipe isn’t just another version of the classic; it is the result of testing dozens of ratios to find that sweet spot between firm and jiggly. I’ve learned through trial and error that the secret lies in not over-beating the eggs, which keeps the texture velvety instead of rubbery. Here is why this creamy easy pumpkin pie with graham cracker crust has become my go-to for any gathering:
- Quick & Easy: It comes together in under 20 minutes of prep time, which is perfect for busy weeknights or last-minute holiday cravings when you realize you forgot to buy a dessert.
- Simple Ingredients: No fancy grocery trips needed. You likely already have pumpkin puree, spices, and graham crackers in your pantry. This isn’t about hunting for exotic items; it’s about using what you have to make something extraordinary.
- Perfect for Gatherings: Great for potlucks, cozy dinners, or holiday mornings. The graham cracker crust adds a buttery crunch that contrasts beautifully with the smooth filling, making it a crowd-pleaser that gets rave reviews from kids and adults alike.
- Unbelievably Delicious: The texture and flavor combo is next-level comfort food. It’s the kind that makes you close your eyes after the first bite, remembering simpler times. It’s comfort food reimagined—faster, but with the same soul-soothing satisfaction.
What makes this recipe different is the use of a graham cracker crust instead of traditional pie dough. It eliminates the risk of a soggy bottom and adds a delightful caramel note. Whether you are a novice baker or a seasoned pro, this recipe removes the stress from dessert making. It’s perfect for impressing guests without the hours of prep time usually associated with pie.
What Ingredients You Will Need
This recipe uses simple, wholesome ingredients to deliver bold flavor and satisfying texture without the fuss. The key to success here is quality. Since there are so few components, each one carries significant weight in the final taste. I recommend using 100% pure pumpkin puree rather than pumpkin pie filling, which already contains sugar and spices and will throw off the balance.
- Graham Crackers (1 ½ cups): These form the base. I prefer standard honey graham crackers for their slight sweetness. Crush them finely for a uniform crust.
- Unsalted Butter (6 tablespoons): Melted, this binds the crumbs. Using unsalted allows you to control the salt level in the crust. Room temperature butter is easier to melt evenly.
- Granulated Sugar (½ cup): Just enough to sweeten the filling without overpowering the spice profile. Brown sugar can be used for a deeper molasses flavor, but white keeps it light and creamy.
- Large Eggs (3): These provide structure. Room temperature eggs blend more smoothly into the filling, preventing lumps. I’ve learned the hard way that cold eggs can cause the mixture to curdle slightly.
- Pumpkin Puree (15 ounces): One standard can. Make sure it is pure pumpkin, not the sweetened pie mix. Look for brands like Libby’s for consistent texture.
- Heavy Cream (1 ¼ cups): This is the secret to the creamy texture. Half-and-half works too, but heavy cream gives that rich, luxurious mouthfeel. For a lighter option, whole milk can be substituted, though the result will be less dense.
- Vanilla Extract (1 teaspoon): Pure vanilla is essential. Artificial flavors can taste harsh when baked. A good quality vanilla bean paste is also a fantastic option for visual specks and intense flavor.
- Pumpkin Pie Spice (2 teaspoons): A blend of cinnamon, ginger, nutmeg, and cloves. If you don’t have a pre-made blend, you can mix your own using 1 tsp cinnamon, ½ tsp ginger, ¼ tsp nutmeg, and ¼ tsp cloves.
- Salt (¼ teaspoon): A pinch of salt is crucial to balance the sweetness and enhance the spices. Do not skip this step.
For substitutions, you can use almond flour for a gluten-free crust option, though the texture will be more crumbly. If you need a dairy-free version, swap the heavy cream for full-fat coconut milk and use vegan butter for the crust.
Equipment Needed
You don’t need a fancy kitchen to make this pie. The equipment list is straightforward, which is part of why this recipe is so approachable. Here is what you’ll need to get started:
- 9-Inch Pie Dish: Glass or ceramic is ideal because it conducts heat evenly. Metal pans can cause the crust to burn faster, so keep an eye on the edges.
- Food Processor or Ziploc Bag: For crushing the graham crackers. A food processor gives you the most consistent crumbs, but a rolling pin and a sturdy bag work just fine if you want to avoid extra dishes.
- Mixing Bowls: One large bowl for the filling and one medium for the crust mixture.
- Whisk: A balloon whisk is best for aerating the eggs and blending the cream smoothly. Avoid electric mixers, as they can incorporate too much air, leading to cracks in the pie.
- Measuring Cups and Spoons: Precision matters in baking. Use standard measuring cups for dry ingredients and liquid measuring cups for the cream.
If you don’t have a food processor, don’t worry. The ziploc bag method is cheaper and just as effective. Just wrap the bag in a towel to prevent it from bursting if you get too enthusiastic with the rolling pin.
How to Prepare the Graham Cracker Crust
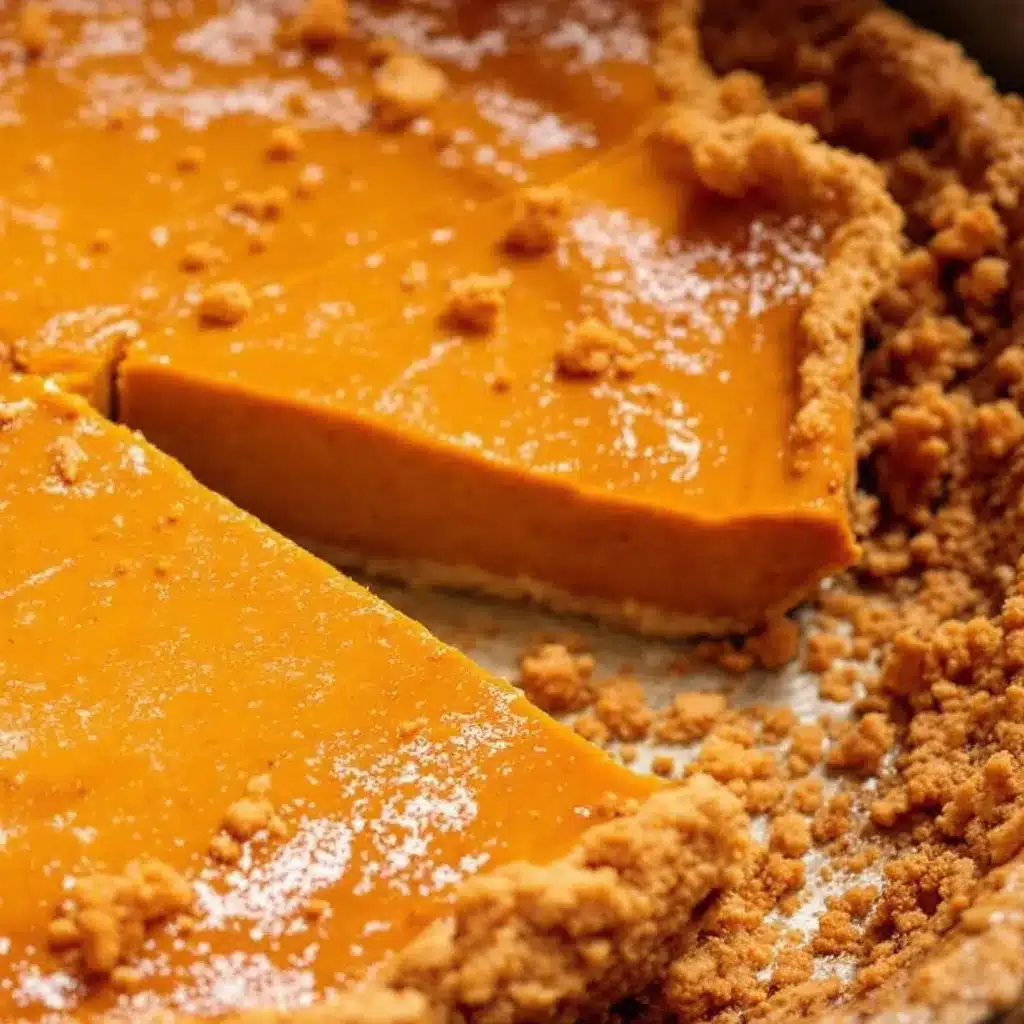
Start by preheating your oven to 350°F (175°C). This temperature is crucial for setting the crust without burning it. Place your graham crackers in a food processor and pulse until they resemble fine sand. If you are using a bag, crush them until there are no large chunks left. Transfer the crumbs to a mixing bowl and add the melted butter and a tablespoon of sugar if you like a sweeter crust. Mix until the crumbs look like wet sand. Press this mixture firmly into the bottom and up the sides of your pie dish. Use the bottom of a measuring cup to pack it down tightly. This step prevents the crust from falling apart when you slice it. Bake the crust for 8-10 minutes until it smells toasted and fragrant. Let it cool slightly while you make the filling. This pre-baking step, known as blind baking, ensures a crunchy base that won’t get soggy from the wet filling.
How to Make the Creamy Filling
While the crust cools, focus on the filling. In a large bowl, whisk together the eggs gently. You want to break them up and mix them with the yolk, but don’t whip air into them. Add the sugar and salt, whisking until combined. Pour in the pumpkin puree and mix until smooth. Scrape down the sides of the bowl to ensure no pockets of puree remain. Gradually pour in the heavy cream while whisking continuously. This slow addition helps emulsify the mixture, creating a smooth, homogeneous liquid. Stir in the vanilla extract and pumpkin pie spice. Taste the mixture at this stage—it should be sweet and spiced but not overwhelming, as the flavors will mellow slightly during baking. Pour the filling into the cooled graham cracker crust. It should be smooth and glossy. If there are bubbles on top, tap the pie dish gently on the counter to release them.
Baking and Cooling
Place the pie in the center of the preheated oven. Bake for 45-50 minutes. The pie is done when the edges are set but the center still has a slight jiggle, similar to Jell-O. It will continue to set as it cools. If the crust edges start to brown too quickly, cover them with a strip of aluminum foil. Once baked, remove the pie from the oven and let it cool on a wire rack for at least one hour. This cooling period is non-negotiable for clean slicing. Rushing this step will result in a gooey mess. For the best texture, refrigerate the pie for at least 4 hours, or preferably overnight. The cold temperature firms up the custard and allows the flavors to meld together, creating that signature creamy ease.
Cooking Tips & Techniques
There are a few common mistakes that can ruin this pie, but they are easy to avoid with a little attention. First, avoid over-mixing the filling. As I mentioned earlier, too much air leads to cracks. Whisk gently and steadily. Second, watch the oven temperature. Every oven runs differently. If your pie cracks, it usually means the oven was too hot or the pie was baked too long. A cracked pie still tastes great, but a smooth top is more visually appealing. To prevent cracking, you can place a pan of hot water on the rack below the pie to create steam. This gentle heat helps the custard set evenly. Another tip is to use room temperature ingredients. Cold eggs and cream can cause the pumpkin puree to seize up, creating a grainy texture. Let your eggs sit on the counter for 30 minutes before you start. Finally, when testing for doneness, remember that the center should still jiggle slightly. It will firm up as it cools, so if it looks completely set in the oven, it will be overcooked by the time it reaches the table.
Variations & Adaptations
While the classic version is perfect, there are plenty of ways to adapt this recipe to suit your tastes or dietary needs. For a spicier kick, add a pinch of cayenne pepper or black pepper to the filling. It adds a subtle warmth that pairs beautifully with the cinnamon. If you prefer a less sweet pie, reduce the sugar to ¼ cup. The natural sweetness of the pumpkin and the graham crackers is often enough. For a chocolate twist, stir in ½ cup of semi-sweet chocolate chips into the filling before baking. The chocolate melts into ribbons throughout the custard, creating a pumpkin chocolate chip pie. For a dairy-free version, use coconut cream instead of heavy cream and vegan butter for the crust. The flavor will be slightly coconut-forward, which is delightful. If you want to change the crust entirely, you can use crushed ginger snaps or shortbread cookies for a more buttery, spicy base. I’ve also tried adding a layer of cream cheese spread on top of the crust before adding the filling, which creates a marble effect and adds tanginess. These variations keep the recipe exciting while maintaining its core simplicity.
Serving & Storage Suggestions
This pie is best served chilled. A cold slice is firmer and cleaner to cut. Serve it with a dollop of whipped cream for extra richness, or a sprinkle of toasted pecans for crunch. It pairs wonderfully with a cup of hot coffee or tea. For storage, cover the pie tightly with plastic wrap or aluminum foil. It can be kept in the refrigerator for up to 5 days. The flavors actually improve after the first day as the spices have more time to infuse the custard. If you need to freeze the pie, wrap it well in plastic and foil. It can be frozen for up to 2 months. Thaw it overnight in the refrigerator before serving. Do not refreeze once thawed, as the texture may become watery. For reheating, warm individual slices in the microwave for 15-20 seconds if you prefer a slightly softer texture. However, the cold serving method is generally preferred for this type of custard pie.
Nutritional Information & Benefits
Pumpkin is not just a flavor; it is a nutritional powerhouse. It is rich in vitamin A, which supports eye health and immune function. It also contains potassium, which helps regulate blood pressure, and fiber, which aids digestion. The graham cracker crust provides carbohydrates for energy, while the eggs and cream offer protein and healthy fats. Each slice contains approximately 350-400 calories, depending on the size and toppings. For those with dietary restrictions, this recipe can be adapted to be gluten-free or dairy-free, as mentioned in the variations section. However, it is still a dessert, so it should be enjoyed in moderation. The natural sweetness from the pumpkin reduces the need for excessive added sugar, making it a slightly more balanced option than some other pies.
Conclusion
This creamy easy pumpkin pie with graham cracker crust is more than just a dessert; it is a solution to the holiday baking stress that plagues so many of us. It delivers the comfort and flavor you crave without the hours of labor. I love this recipe because it is forgiving, delicious, and consistently reliable. Whether you are a beginner or an expert, you will find joy in making it. I encourage you to try it and customize it with your favorite spices or toppings. Share your results in the comments below—I love hearing how you adapt the recipe. And if you have friends who struggle with baking, send them this link. There is nothing more rewarding than sharing a slice of pie with people you care about. Enjoy the process, and enjoy the result.
Frequently Asked Questions
Can I make this pie ahead of time?
Yes, this pie is even better the next day. You can make it up to 2 days in advance. Store it covered in the refrigerator. This allows the flavors to meld and the texture to set perfectly.
Why did my pie crack?
Cracking usually happens if the pie is overbaked or the oven temperature is too high. The next time, check the pie a few minutes early. It should still have a slight jiggle in the center when you remove it from the oven.
Can I use fresh pumpkin instead of canned?
You can, but you need to roast and puree the pumpkin first. Canned puree is more concentrated and consistent. If using fresh, make sure to drain the excess water from the puree to avoid a watery pie.
Is graham cracker crust better than pie crust?
It depends on personal preference. Graham cracker crust is sweeter and crunchier, and it doesn’t get soggy. Traditional pie crust is flakier and less sweet. For a creamy filling like this, the graham cracker crust provides a nice textural contrast.
How long does it take to cool?
It takes about 1 hour to cool to room temperature, but it needs at least 4 hours in the refrigerator to set properly. Overnight is best for clean slicing.
For more easy dessert ideas, you might also enjoy my creamy vegan chocolate avocado pudding or check out the full recipe collection for more inspiration.
Pin This Recipe!
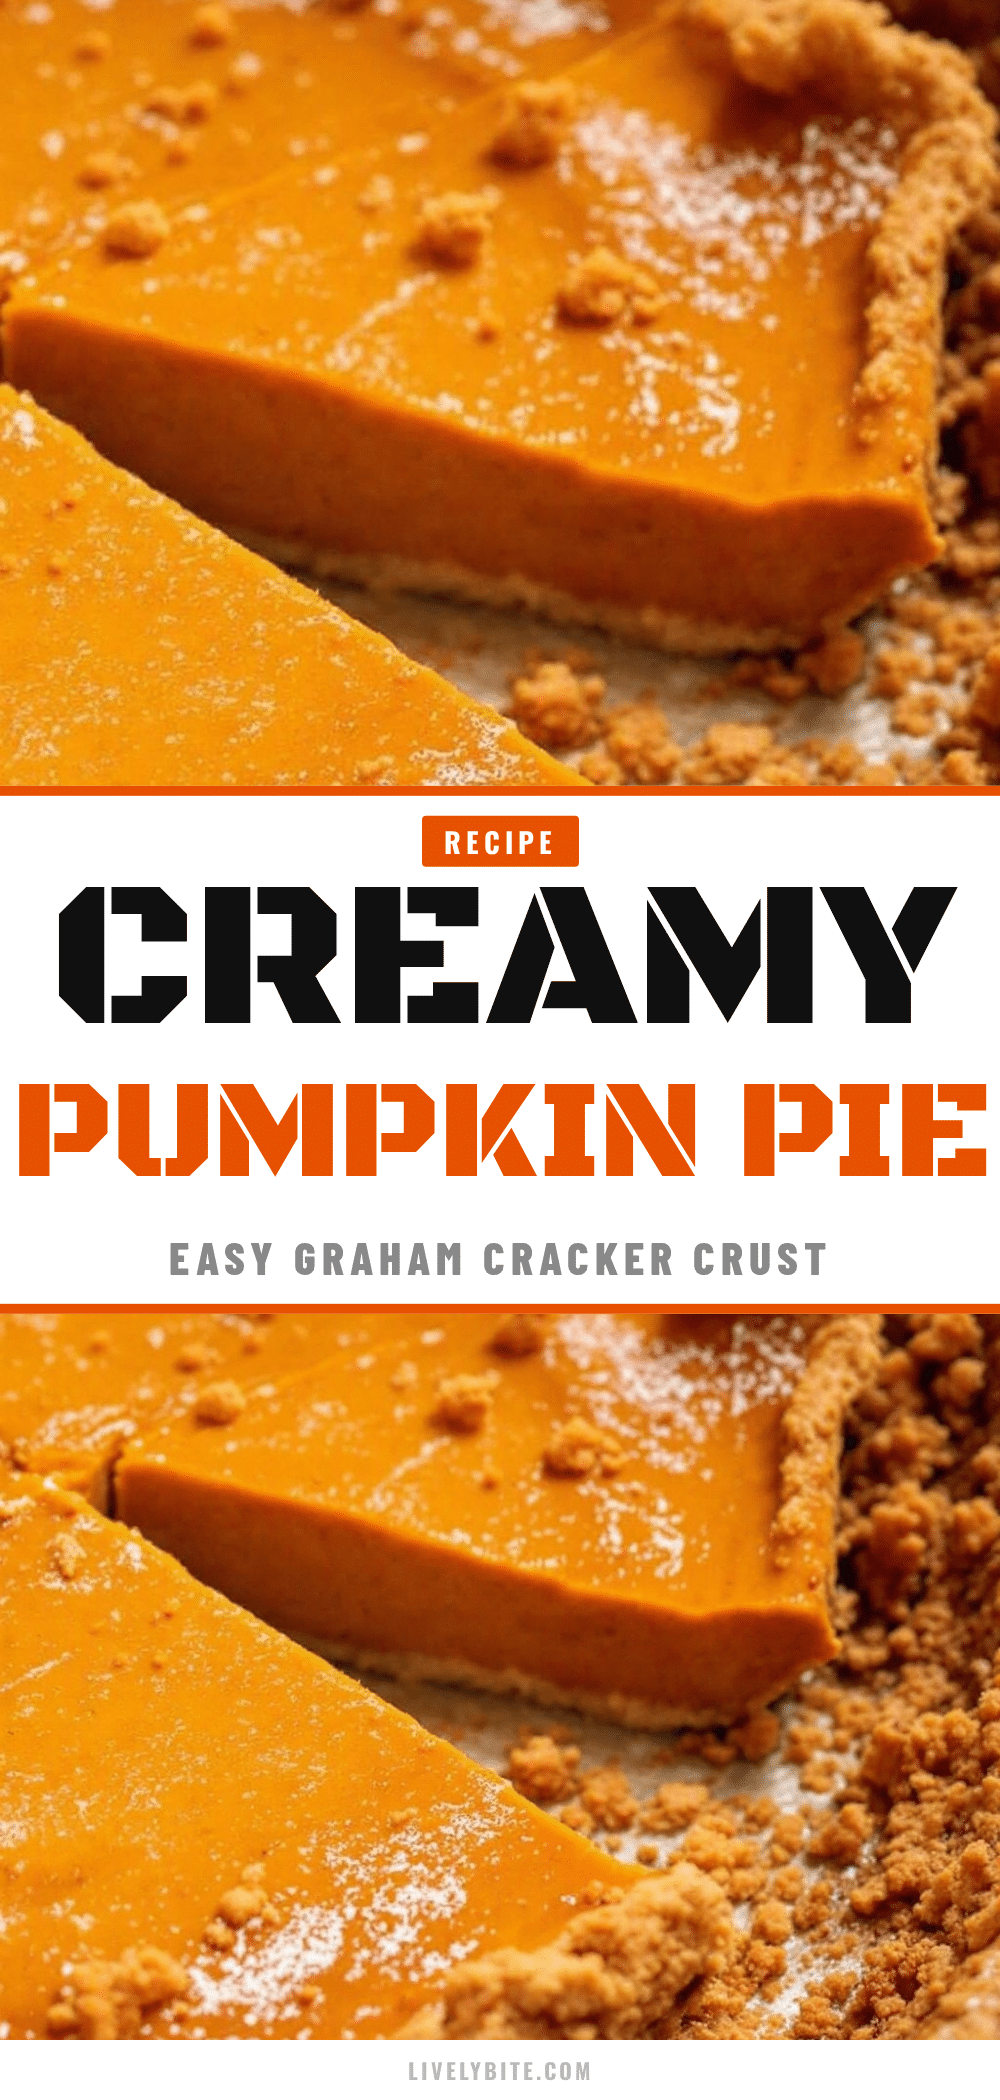
Creamy Easy Pumpkin Pie: 5-Step Perfect Dessert
A rich, velvety pumpkin pie with a buttery graham cracker crust that is quick to prepare and consistently reliable for holiday gatherings.
- Prep Time: 20 minutes
- Cook Time: 50 minutes
- Total Time: 1 hour 10 minutes
- Yield: 8 servings 1x
- Category: Dessert
- Cuisine: American
Ingredients
- 1 ½ cups graham cracker crumbs
- 6 tablespoons unsalted butter, melted
- ½ cup granulated sugar
- 3 large eggs, room temperature
- 15 ounces pure pumpkin puree
- 1 ¼ cups heavy cream
- 1 teaspoon vanilla extract
- 2 teaspoons pumpkin pie spice
- ¼ teaspoon salt
Instructions
- Preheat oven to 350°F (175°C).
- Crush graham crackers into fine crumbs using a food processor or ziploc bag.
- Mix crumbs with melted butter and press firmly into the bottom and sides of a 9-inch pie dish.
- Pre-bake crust for 8-10 minutes until fragrant, then let cool slightly.
- In a large bowl, gently whisk eggs until broken up but not aerated.
- Add sugar and salt, whisking until combined.
- Add pumpkin puree and mix until smooth.
- Gradually pour in heavy cream while whisking continuously to emulsify.
- Stir in vanilla extract and pumpkin pie spice.
- Pour filling into the cooled crust and tap dish to release air bubbles.
- Bake for 45-50 minutes until edges are set but center still jiggles slightly.
- Cool on a wire rack for 1 hour, then refrigerate for at least 4 hours or overnight before serving.
Notes
Use room temperature eggs to prevent curdling. Do not over-mix to avoid cracks. The pie must be chilled for at least 4 hours for clean slicing. Can be made 2 days in advance.
Nutrition
- Serving Size: 1 slice
- Calories: 375
- Sugar: 24
- Sodium: 250
- Fat: 22
- Saturated Fat: 12
- Carbohydrates: 38
- Fiber: 2
- Protein: 6
Keywords: pumpkin pie, graham cracker crust, easy dessert, holiday baking, creamy pumpkin pie, fall recipes


