I ruined three batches of this pumpkin sourdough before I got it right. The first one came out of the oven looking beautiful—golden, tall, that perfect cinnamon swirl peeking through the crust. I waited the full two hours before slicing, which felt like an eternity, only to find the inside was gummy and dense. Like, embarrassingly raw in the center. The second batch? I overcompensated by adding too much flour, and it baked into this dry, crumbly brick that even butter couldn’t save. The third time, I forgot the salt entirely. Have you ever tasted saltless bread? It’s weirdly sweet in a way that makes you question everything.
But here’s the thing—I’m stubborn when it comes to bread. Something about the process keeps pulling me back. The way the dough feels alive in your hands, the patience it demands, the way your kitchen smells like a bakery for an entire day. So I kept tweaking. I adjusted hydration ratios, played with proofing times, and finally figured out the exact moment when pumpkin puree and sourdough starter actually want to cooperate. This pumpkin sourdough bread with cinnamon swirl isn’t just another fall recipe I threw together for content. It’s the version I make every single weekend now, sometimes twice, because my family devours it before Monday morning even rolls around.
Honestly, I almost didn’t share this one. Not because it’s bad—but because it’s become mine. That kind of recipe you guard a little, you know? But then I thought about all those times I scrolled past pumpkin bread recipes that looked gorgeous but turned out disappointing. This one isn’t that. It’s soft, lightly sweet, with that signature sourdough tang playing against warm cinnamon and nutty pumpkin. The swirl stays put (finally), the crumb is tender, and the crust has that perfect crackle when you bite into it. It tastes like October mornings and slow weekends, and I think you’re going to love it just as much as I do.
Why You’ll Love This Recipe
I’ve tested this pumpkin sourdough bread more times than I care to count, and here’s what makes it different from every other recipe out there:
- Perfectly Balanced Flavor — The tangy sourdough starter cuts through the sweetness of the pumpkin and brown sugar, creating a loaf that’s complex, not cloying. You get that warm fall spice hit upfront, followed by a subtle sour finish that keeps you coming back for another slice.
- Actually Works with Real Pumpkin — Most pumpkin bread recipes end up gummy because they don’t account for the extra moisture. I’ve adjusted the hydration specifically so this dough holds its shape, rises beautifully, and bakes through completely—no raw centers here.
- That Cinnamon Swirl Actually Stays — I developed a technique for rolling the cinnamon sugar mixture into the dough that prevents it from melting into a sad, sticky mess. Every slice has distinct swirls, not just a brownish middle.
- Simple Ingredients, Big Results — You don’t need fancy equipment or hard-to-find specialty flours. Just standard bread flour, canned pumpkin, your active starter, and pantry spices. I tested this with both store-bought and homemade pumpkin puree, and both work great.
- Weekend-Friendly Timeline — This isn’t a same-day recipe, and that’s intentional. The cold fermentation overnight develops deeper flavor and makes the dough easier to handle. You mix it up one evening, shape it the next morning, and have fresh bread by lunchtime.
- Freezes Like a Dream — I always bake two loaves now. One gets eaten immediately, the other gets wrapped tightly and tossed in the freezer for those mornings when you need something cozy without the work.
This bread has become my go-to fall hostess gift, my Sunday morning breakfast staple, and honestly, my favorite way to use up extra starter when I’ve been feeding it all week. It’s the kind of recipe that makes you look like you spent hours in the kitchen when really, the dough did most of the work.
What Ingredients You Will Need
This recipe keeps things simple. No weird additions, no trips to specialty stores. Just solid, reliable ingredients that work together to create something genuinely special. Here’s what you’ll need and why each one matters:
For the Dough
- Bread flour — 3 ½ cups (440g). I tested this with all-purpose flour too, and it works, but bread flour gives you a taller rise and chewier crumb. King Arthur or Bob’s Red Mill are my go-to brands for consistent results.
- Active sourdough starter — ½ cup (120g), fed and bubbly. Your starter should be at peak activity—doubled in size, full of bubbles, and smelling pleasantly sour. Discard starter won’t work here; it needs that fermentation power to lift the heavy pumpkin puree.
- Canned pumpkin puree — ¾ cup (170g). Not pumpkin pie filling! Make sure you’re getting 100% pure pumpkin. Libby’s is my favorite because it’s consistently thick and not watery. If your puree looks loose, pat it dry with paper towels before using.
- Warm water — ¼ cup (60ml). About 80°F, not hot. You’re just helping the starter along, not killing it.
- Brown sugar — ¼ cup (50g), packed. Light or dark both work. Dark brown sugar gives a deeper molasses flavor that pairs beautifully with the pumpkin.
- Unsalted butter — 2 tablespoons (28g), melted and slightly cooled. Adds richness and tenderness to the crumb.
- Salt — 1 ½ teaspoons (9g). Don’t skip this. Salt controls fermentation and amplifies all the other flavors.
- Pumpkin pie spice — 2 teaspoons. Store-bought is fine, but I make my own with 1 tsp cinnamon, ½ tsp ginger, ¼ tsp nutmeg, ¼ tsp allspice, and a pinch of cloves.
- Cinnamon — 1 teaspoon, added to the dough itself for extra warmth.
For the Cinnamon Swirl Filling
- Brown sugar — ⅓ cup (67g), packed. Light or dark, your choice.
- Cinnamon — 2 tablespoons. Yes, that much. You want distinct, bold swirls, not a whisper of cinnamon.
- Unsalted butter — 2 tablespoons (28g), very soft but not melted.
- Pinch of salt — Just a tiny one to balance the sweetness.
For the Top (Optional but Recommended)
- Egg wash — 1 egg beaten with 1 tablespoon water. Gives that glossy, deep brown crust.
- Sprinkle of raw sugar — Turbinado or demerara for a little crunch on top.
That’s it. No xanthan gum, no vital wheat gluten, no complicated additions. If you’ve got a healthy starter and a can of pumpkin, you’re already most of the way there. I’ll note that pumpkin puree can vary in moisture content between brands, so if your dough feels excessively sticky after mixing, resist the urge to add more flour right away. Let it rest for 20 minutes first—the flour needs time to absorb the liquid.
Equipment Needed
You don’t need a fancy bakery setup for this bread. Here’s what actually matters:
- Digital kitchen scale — I know, I know, measuring cups are easier. But bread baking is chemistry, and grams are way more accurate than cups. A $15 scale from Amazon will transform your baking.
- Large mixing bowl — Glass or ceramic works best. Metal can react with the sourdough starter over long fermentation times.
- Bench scraper — Makes handling sticky dough so much less frustrating. I use mine for dividing dough, cleaning the work surface, and shaping loaves.
- 9×5-inch loaf pan — Standard size. Glass, ceramic, or metal all work. If using dark metal, reduce your oven temperature by 25°F to prevent over-browning.
- Plastic bowl scraper or dough whisk — A dough whisk is one of those tools you didn’t know you needed until you use it. The open design cuts through sticky dough without it balling up inside the tines.
- Parchment paper — Lining your loaf pan makes removal effortless. No fighting with stuck bread.
- Plastic wrap or a reusable bowl cover — For covering the dough during bulk fermentation and cold proofing.
- Instant-read thermometer — This is optional but honestly, it’s how I stopped under-baking bread. The internal temperature should reach 200-205°F when done.
If you don’t have a bench scraper, a stiff metal spatula works in a pinch. No loaf pan? You can shape this into a free-form boule on a parchment-lined baking sheet—just expect a wider, flatter loaf with a slightly different crumb structure. I’ve done it both ways, and honestly, the round loaf looks gorgeous with the cinnamon swirl visible on top.
Preparation Method
Let me walk you through this step by step. I’ve included all the little details I wish someone had told me when I was first starting out.
Step 1: Feed Your Starter (The Night Before)
About 8-12 hours before you plan to mix the dough, feed your starter. You need it active and bubbly—at its peak, floating on water. If your starter isn’t reliably doubling within 4-6 hours after feeding, this recipe will be frustrating. Take the time to strengthen your starter first. Trust me on this one.
Step 2: Mix the Dough (Day 1, Morning or Early Afternoon)
In your large bowl, whisk together the active starter, warm water, pumpkin puree, melted butter, and brown sugar until smooth. The mixture should look like thick orange pancake batter. Add the bread flour, salt, pumpkin pie spice, and cinnamon. Mix with your dough whisk or a sturdy spoon until a shaggy mass forms—no dry bits left. This will be sticky. That’s normal. Cover the bowl with plastic wrap and let it rest for 30 minutes. This autolyse step lets the flour absorb the liquid and starts developing gluten without you having to knead.
Step 3: Stretch and Folds (The First 2 Hours)
After the rest, wet your hands slightly (sticky dough is less sticky with wet hands). Grab one side of the dough, stretch it up, and fold it over the top. Rotate the bowl a quarter turn and repeat. Do this 4 times total—that’s one set. Cover and rest 30 minutes. Repeat this stretch-and-fold process 4 times total over 2 hours. You’ll feel the dough tighten and become smoother with each set. By the last round, it should hold its shape better and feel less like glue.
Step 4: Bulk Fermentation (4-6 Hours at Room Temperature)
Cover the bowl and let the dough rise at room temperature (70-75°F is ideal). It needs to increase in volume by about 50%—not quite doubled, but noticeably puffy. This takes anywhere from 4 to 6 hours depending on your starter’s strength and your kitchen temperature. The dough should feel aerated and jiggly when you gently shake the bowl. If it’s cold in your kitchen, find a warm spot—on top of the fridge, in the oven with the light on, or near a sunny window.
Step 5: Cold Fermentation (Overnight, 8-12 Hours)
After bulk fermentation, cover the bowl tightly and stick it in the refrigerator overnight. This cold rest does two things: it develops deeper, more complex flavor, and it makes the dough way easier to handle. Cold dough doesn’t stick as much. You can skip this step if you’re impatient, but the flavor won’t be as good, and shaping will be more difficult. I always do the overnight cold proof—it’s worth the wait.
Step 6: Shape and Add the Swirl (Day 2, Morning)
Next morning, take the dough out of the fridge. Lightly flour your work surface. Turn the dough out gently—try not to deflate it too much. Pat it into a rectangle about 8×10 inches, with the long side facing you. In a small bowl, mix the brown sugar, cinnamon, and pinch of salt for the filling. Spread the softened butter over the dough rectangle, leaving a 1-inch border on the far edge. Sprinkle the cinnamon-sugar mixture evenly over the butter. Starting from the edge closest to you, roll the dough tightly into a log, like you’re making cinnamon rolls. Pinch the seam to seal. Place the log seam-side down in your parchment-lined loaf pan. Cover loosely with plastic wrap.
Step 7: Final Proof (2-4 Hours)
Let the shaped loaf proof at room temperature until it rises about 1 inch above the rim of the pan. This takes 2 to 4 hours depending on temperature. The dough should feel puffy and hold a gentle indentation when you poke it. Don’t rush this—under-proofed bread will be dense. If your kitchen is cold, this could take closer to 5 hours. Be patient.
Step 8: Bake (45-50 Minutes)
About 20 minutes before baking, preheat your oven to 375°F. Brush the top of the loaf with egg wash and sprinkle with raw sugar if using. Bake for 45-50 minutes, rotating the pan halfway through. The bread should be deep golden brown and sound hollow when tapped on the bottom. The internal temperature should read 200-205°F. If the top is browning too quickly, tent loosely with foil after 30 minutes.
Step 9: Cool Completely (The Hardest Part)
Let the bread cool in the pan for 10 minutes, then transfer to a wire rack. Here’s the non-negotiable part: let it cool completely before slicing. At least 2 hours. I know it smells incredible. I know you want warm bread with butter. But cutting into hot bread compresses the crumb and makes it gummy. Trust the process. It’s worth it.
Cooking Tips & Techniques
After all those failed loaves, I learned a few things the hard way. Here’s what I wish I’d known from the start:
Watch your pumpkin’s moisture level. Not all canned pumpkin is created equal. Some brands are noticeably more watery. If your pumpkin puree looks loose or has liquid pooling on top, spoon it onto a paper towel-lined plate and pat it dry before adding it to the dough. This one adjustment solved my gummy bread problem completely.
Don’t add too much flour during shaping. Sticky dough is scary, I get it. But adding too much flour will dry out your bread. Use just enough to prevent sticking, and keep your hands wet instead of floured when handling the dough during stretch and folds.
Cold dough is easier to shape. This is why the overnight cold fermentation is so helpful. Cold dough is firm, less sticky, and holds its shape beautifully. If you’re shaping at room temperature and struggling, pop the dough in the freezer for 15 minutes first.
Check your oven temperature. Ovens lie. Mine runs 25°F cooler than it says, which I discovered after months of under-baked bread. An inexpensive oven thermometer will change your baking life. Place it in the center of the oven and adjust accordingly.
Let the swirl filling breathe. When you mix the brown sugar and cinnamon for the filling, make sure there are no clumps. Press them through a sieve if needed. Clumps of sugar create hollow pockets in the bread that look messy when sliced.
Slice with a serrated knife. A sharp bread knife makes clean slices without squishing the loaf. Let the knife do the work—saw gently, don’t press down hard. And never, ever store bread in the refrigerator. It goes stale six times faster in the cold. Room temperature in a bread box or paper bag is best.
Variations & Adaptations
One of the best things about this pumpkin sourdough bread is how flexible it is. Here are some variations I’ve tested and loved:
Whole Wheat Version: Substitute 1 cup of the bread flour with whole wheat flour. You’ll need to add an extra 2 tablespoons of water since whole wheat absorbs more liquid. The flavor gets nuttier and more complex, and the crumb will be slightly denser but still delicious.
Vegan Adaptation: Replace the butter with coconut oil or vegan butter. Use maple syrup instead of brown sugar (it’ll be slightly less sweet but still good). Skip the egg wash and brush with plant milk before baking. I’ve made this version for friends with dairy allergies and everyone was happy.
Extra Spiced Pumpkin Bread: Double the pumpkin pie spice and add ½ teaspoon of cardamom to the dough. The cardamom adds this floral, almost citrusy note that makes the bread taste like a fancy bakery creation. My sister-in-law requests this version every Thanksgiving.
Cranberry Pumpkin Sourdough: Fold ½ cup of dried cranberries into the dough during the last stretch and fold. The tart cranberries cut through the sweetness beautifully and add little pops of color throughout the loaf. This is my favorite holiday variation.
Gluten-Free Option: I won’t lie—this one takes some experimenting. A good gluten-free bread flour blend (like Cup4Cup or Bob’s Red Mill 1-to-1) can work, but you’ll need to adjust hydration and add xanthan gum if your blend doesn’t include it. The texture won’t be identical, but the flavor will still be there.
Maple Pecan Twist: Add ¼ cup of maple syrup to the dough (reduce the water slightly) and fold in ½ cup of toasted chopped pecans during shaping. Drizzle extra maple glaze on top after baking. This version disappears fastest in my house.
I’ve also tried this as a savory version—skip the cinnamon swirl filling, add roasted garlic and fresh rosemary to the dough, and use it for the best grilled cheese sandwiches of your life. Just saying.
Serving & Storage Suggestions
This pumpkin sourdough bread is at its absolute best the day it’s baked, but it’s still wonderful for days afterward. Here’s how to make the most of it:
Serving: Slice and serve at room temperature or lightly toasted. A thin pat of salted butter melting into the warm crumb is pure magic. For breakfast, I love it with a smear of cream cheese and a drizzle of honey. For an afternoon snack, it’s perfect with a hot cup of chai or coffee. I’ve also used slightly stale slices to make the most incredible French toast you’ve ever had—the cinnamon swirl infuses the custard beautifully.
Storage: Keep the bread wrapped in beeswax wrap or a clean kitchen towel at room temperature for up to 3 days. Do not refrigerate—it will dry out. If your kitchen is humid, store it cut-side down on a cutting board with a cloth over it.
Freezing: This bread freezes like a champ. Let it cool completely, then wrap tightly in plastic wrap, followed by a layer of foil. Freeze for up to 3 months. To thaw, leave it on the counter overnight wrapped, or pop slices directly in the toaster from frozen. I always freeze one loaf immediately after baking—it’s like finding a gift in your freezer on a busy morning.
Reheating: For that fresh-baked experience, warm slices in a 300°F oven for 5-7 minutes, or toast them. The microwave works in a pinch but makes the bread chewy. If you’re reheating a whole loaf, wrap it in foil and warm at 300°F for 15 minutes.
Flavor Development: Here’s something interesting—the pumpkin and spice flavors actually deepen on day two. If you can resist eating the entire loaf on day one, you’ll be rewarded with an even more complex, aromatic bread the next morning. The sourdough tang becomes more pronounced too.
This bread also makes incredible bread pudding if it gets a few days old. Just cube it up, soak in a custard of eggs, milk, maple syrup, and a splash of vanilla, and bake until golden. It’s like a second recipe hiding inside the first one.
Nutritional Information & Benefits
While I’m not a nutritionist, here’s the general breakdown per slice (based on 12 slices per loaf):
- Calories: Approximately 220-250 per slice
- Carbohydrates: 42g
- Protein: 6g
- Fat: 5g
- Fiber: 3g
- Sugar: 12g
The real star here is the pumpkin. It’s packed with vitamin A (beta-carotene), which supports eye health and immune function. One cup of pumpkin has more vitamin A than a whole sweet potato. It’s also rich in fiber, which helps keep you full and supports digestion. The sourdough fermentation process breaks down phytic acid in the flour, making the minerals in the bread more bioavailable. Some studies suggest sourdough bread has a lower glycemic impact than regular bread, meaning it won’t spike your blood sugar as dramatically.
This recipe contains gluten and dairy (butter). For a dairy-free version, use coconut oil. For gluten-free, try the adaptation mentioned above. The cinnamon in the swirl has anti-inflammatory properties, and honestly, there’s something to be said for the mental health benefits of baking—the rhythm of kneading, the smell of spices, the satisfaction of creating something nourishing with your own hands.
Is this health food? No. But it’s real food, made from simple ingredients, without preservatives or weird additives. And that counts for a lot in my book.
Frequently Asked Questions
Can I use active dry yeast instead of sourdough starter?
Technically yes, but it won’t be the same bread. Without the sourdough starter, you lose that signature tangy flavor and the unique texture that fermented dough provides. If you want a quick pumpkin bread with cinnamon swirl, there are easier recipes for that. This one is specifically designed around the sourdough process. If you’re determined to try, use 2 ¼ teaspoons of active dry yeast dissolved in the warm water, skip the overnight cold fermentation, and bake the same day. The result will be a nice pumpkin bread, just not sourdough pumpkin bread.
Why is my dough so sticky? Am I doing something wrong?
Nope, you’re doing it right. Pumpkin puree adds significant moisture to the dough, and sourdough naturally creates a wetter dough than yeasted breads. That stickiness is normal and expected. The stretch-and-fold technique replaces traditional kneading and helps develop gluten without you having to fight with sticky dough. If the dough truly feels unmanageable, let it rest for 20 minutes—the flour will absorb more liquid and the dough will tighten up. Only add extra flour if the dough is literally liquid, and even then, add it one tablespoon at a time.
Can I skip the overnight cold fermentation?
You can, but I wouldn’t recommend it. The cold fermentation does three things: it develops deeper flavor, makes the dough easier to handle during shaping, and improves the final texture. Without it, your bread will be less tangy, harder to shape, and more likely to turn out dense. If you’re truly short on time, do at least a 4-hour cold proof. Even that makes a noticeable difference. And if you’re planning your baking schedule, the overnight rest is actually convenient—mix one evening, bake the next morning, and you’ve got fresh bread by lunch.
How do I know when my starter is active enough for this recipe?
Your starter should pass the float test. Drop a small spoonful of your fed starter into a glass of room temperature water. If it floats, it’s ready. It should also have doubled in size within 4-6 hours of feeding, have lots of visible bubbles on the surface and sides, and smell pleasantly sour—not like acetone or nail polish remover. If your starter isn’t reliably doubling, feed it twice a day for a few days with equal parts flour and water until it perks up. A weak starter will struggle to lift the heavy pumpkin puree, and you’ll end up with a dense loaf.
My cinnamon swirl disappeared into the bread. What went wrong?
This happens for a few reasons. First, make sure your butter is soft but not melted when you spread it on the dough. Melted butter soaks into the dough instead of creating distinct layers. Second, roll the dough tightly—loose rolling creates gaps where the filling can escape. Third, if your dough was too warm when you shaped it, the butter melts immediately and the sugar dissolves. Keep the dough cold from the fridge, work quickly, and if your kitchen is warm, pop the shaped loaf back in the fridge for 15 minutes before the final proof. I’ve also found that pressing the cinnamon sugar firmly into the butter before rolling helps it stick better.
Conclusion
This pumpkin sourdough bread with cinnamon swirl has become my fall baking tradition, and I hope it becomes yours too. It’s not the quickest recipe on my blog—that honor goes to this 30-minute salmon dinner—but it’s absolutely one of the most rewarding. There’s something about the process that slows you down, makes you pay attention, and rewards you with a loaf that fills your entire home with the smell of cinnamon and warm bread.
What I love most about this bread is how it brings people together. I’ve brought loaves to neighbors, shared slices with friends over coffee, and watched my kids fight over the last piece. It’s simple food, made with care, and that’s really what cooking should be about.
If you make this recipe, I’d love to hear how it turns out. Leave a comment below, tag me in your photos, tell me about your own baking adventures. Did you try one of the variations? Did your swirl hold? Did you eat half the loaf before it cooled? (No judgment here—I’ve done it too.)
And if you’re looking for something to serve alongside this bread, try my creamy chocolate avocado pudding for dessert, or a refreshing cucumber mint green tea cooler for a cozy afternoon drink. Happy baking, friends. Your kitchen is about to smell incredible.
Pin This Recipe!
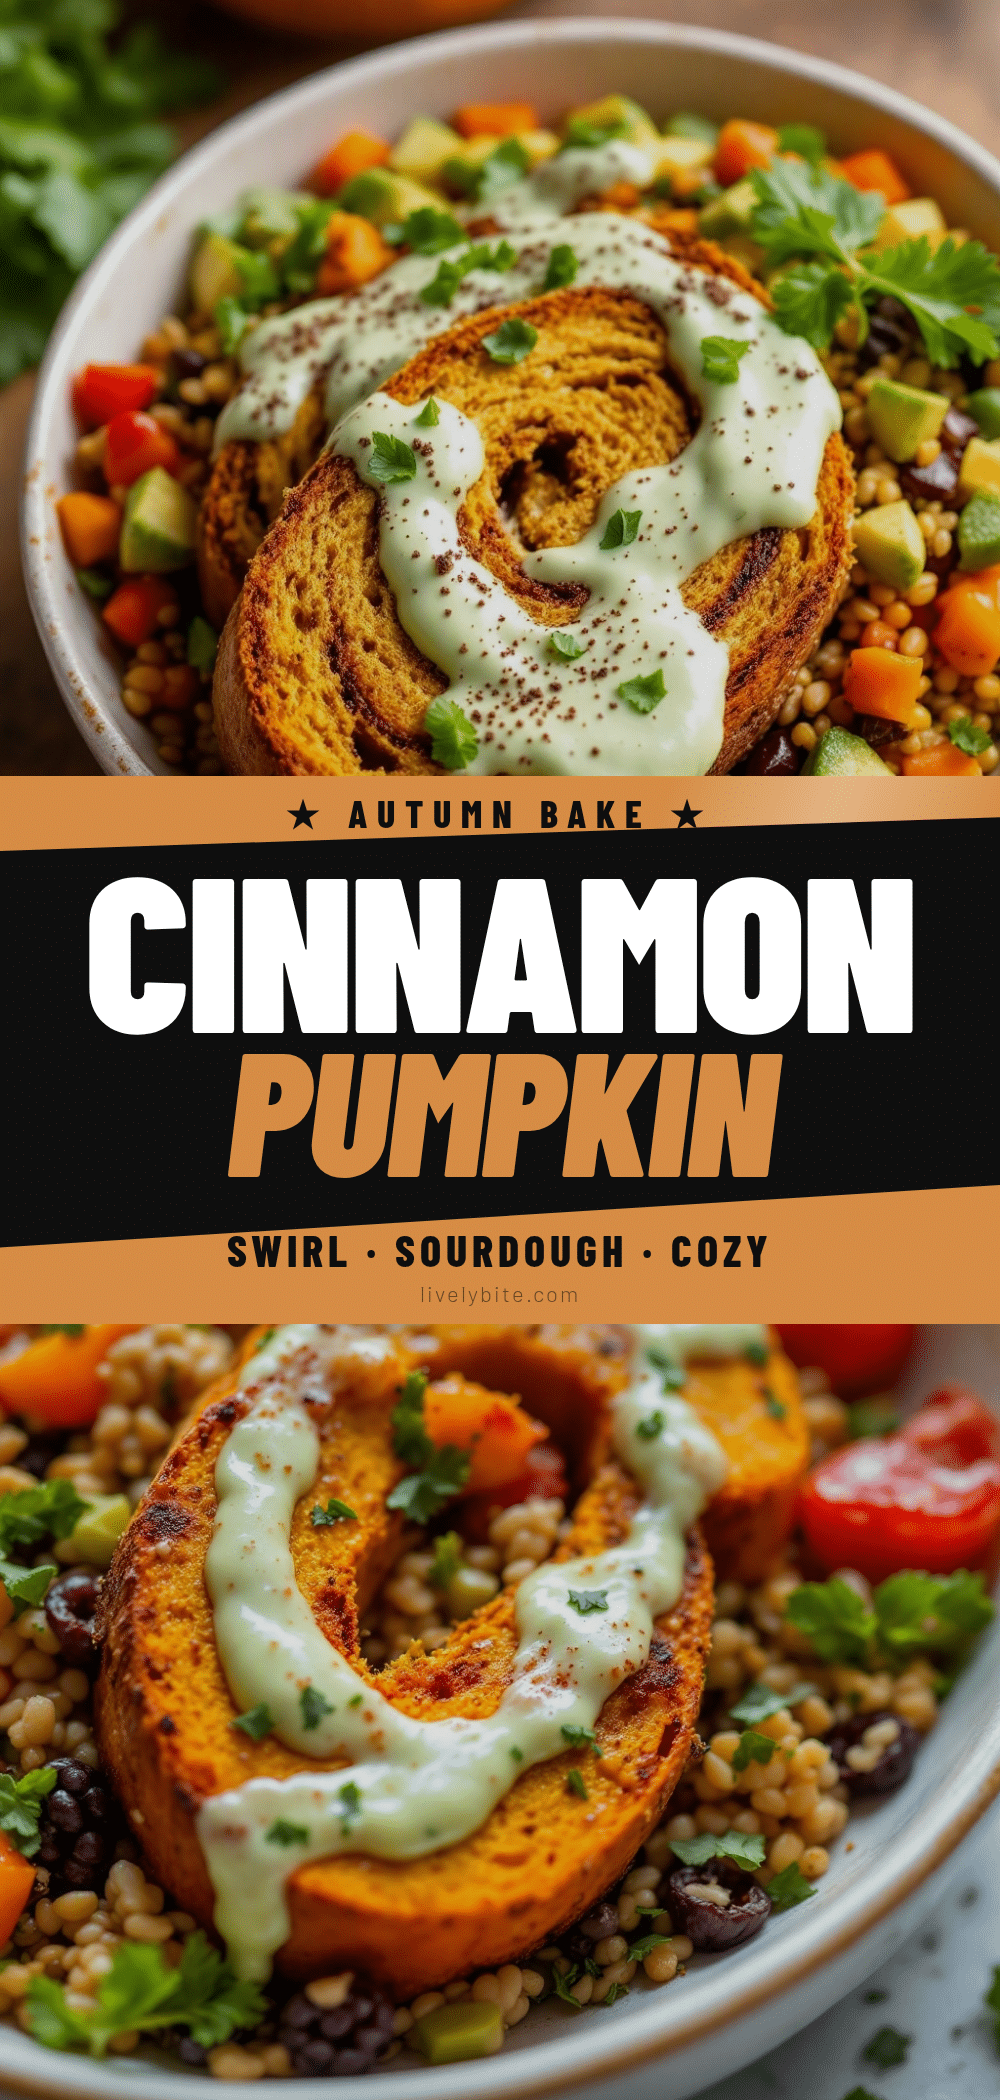
Cozy Pumpkin Sourdough Bread with a Cinnamon Swirl
A soft, lightly sweet sourdough bread with warm cinnamon swirl and nutty pumpkin flavor. Perfect for fall mornings, this recipe features a tangy sourdough starter that balances the sweetness of pumpkin and brown sugar.
- Prep Time: 30 minutes
- Cook Time: 45 minutes
- Total Time: 14 hours (includes overnight fermentation and proofing)
- Yield: 12 servings 1x
- Category: Bread
- Cuisine: American
Ingredients
- 3 ½ cups (440g) bread flour
- ½ cup (120g) active sourdough starter, fed and bubbly
- ¾ cup (170g) canned pumpkin puree (100% pure, not pie filling)
- ¼ cup (60ml) warm water (about 80°F)
- ¼ cup (50g) packed brown sugar (light or dark)
- 2 tablespoons (28g) unsalted butter, melted and slightly cooled
- 1 ½ teaspoons (9g) salt
- 2 teaspoons pumpkin pie spice
- 1 teaspoon cinnamon
- ⅓ cup (67g) packed brown sugar (for filling)
- 2 tablespoons cinnamon (for filling)
- 2 tablespoons (28g) unsalted butter, very soft but not melted (for filling)
- Pinch of salt (for filling)
- 1 egg beaten with 1 tablespoon water (for egg wash, optional)
- Sprinkle of raw sugar (turbinado or demerara, optional)
Instructions
- Feed your starter 8-12 hours before mixing the dough. It should be active, bubbly, and pass the float test.
- In a large bowl, whisk together the active starter, warm water, pumpkin puree, melted butter, and brown sugar until smooth.
- Add the bread flour, salt, pumpkin pie spice, and cinnamon. Mix until a shaggy mass forms with no dry bits. Cover and let rest for 30 minutes (autolyse).
- Perform 4 sets of stretch and folds over 2 hours, with 30-minute rests between each set. Wet your hands slightly to prevent sticking.
- Cover the bowl and let the dough rise at room temperature (70-75°F) for 4-6 hours, until increased by about 50% and jiggly.
- Cover tightly and refrigerate overnight (8-12 hours) for cold fermentation.
- The next morning, lightly flour a work surface. Gently turn out the dough and pat into an 8×10-inch rectangle.
- Mix the filling ingredients (brown sugar, cinnamon, salt) in a small bowl. Spread the softened butter over the dough, leaving a 1-inch border. Sprinkle the cinnamon-sugar mixture evenly over the butter.
- Roll the dough tightly into a log, starting from the edge closest to you. Pinch the seam to seal. Place seam-side down in a parchment-lined 9×5-inch loaf pan.
- Cover loosely with plastic wrap and let proof at room temperature for 2-4 hours, until the dough rises about 1 inch above the rim and holds a gentle indentation.
- Preheat oven to 375°F. Brush the top with egg wash and sprinkle with raw sugar if using.
- Bake for 45-50 minutes, rotating halfway through. The bread should be deep golden brown, sound hollow when tapped, and have an internal temperature of 200-205°F. Tent with foil after 30 minutes if browning too quickly.
- Cool in the pan for 10 minutes, then transfer to a wire rack. Cool completely (at least 2 hours) before slicing.
Notes
For best results, use a digital scale for accuracy. If pumpkin puree is watery, pat it dry with paper towels. Cold dough is easier to shape. Let the bread cool completely before slicing to avoid a gummy texture. Store at room temperature for up to 3 days or freeze for up to 3 months.
Nutrition
- Serving Size: 1 slice
- Calories: 235
- Sugar: 12
- Sodium: 290
- Fat: 5
- Saturated Fat: 3
- Carbohydrates: 42
- Fiber: 3
- Protein: 6
Keywords: pumpkin sourdough bread, cinnamon swirl bread, fall bread recipe, sourdough pumpkin bread, homemade bread, pumpkin spice bread


