My sister took one sip, then another, and then she looked at me with that squinty-eyed expression she gets when she’s trying to figure out if something is too good to be true. “Wait, you made these marshmallows?” she asked, holding up a half-melted cube bobbing in her mug. I nodded, trying to act casual, but honestly, I was holding my breath. She’s the toughest food critic I know—she once sent back a $40 steak because the sear wasn’t even. But she just shrugged, dropped three more marshmallows into her cup, and said, “Okay, this is happening for Christmas.”
That moment stuck with me. Not because of the compliment (though, let’s be real, that felt pretty good), but because it clicked something into place. A hot cocoa bar with homemade marshmallows isn’t just about the drink. It’s about the setup, the choices, the little details that make people stop rushing and actually sit down together. It’s the kind of thing that turns a regular Tuesday night into something that feels like a snow day, even if there’s not a flake falling outside.
This whole setup started as a way to use up some vanilla beans I’d impulse-bought online, and somehow it became the most requested thing at every family gathering. The marshmallows are surprisingly simple—no candy thermometer drama, I promise—and the bar itself is just a matter of pulling together a few good ingredients. You don’t need a fancy kitchen or a dozen special gadgets. You just need a little time and the willingness to let people build their own perfect cup.
Why You’ll Love This Recipe
This hot cocoa bar with homemade marshmallows is the kind of project that feels impressive but is secretly easy. I’ve tested this setup at least a dozen times—for birthday parties, lazy Sunday afternoons, and even a virtual book club where everyone made their own mugs on Zoom. It works every single time, and here’s why:
- Homemade marshmallows are life-changing: They’re soft, pillowy, and melt into hot cocoa in a way store-bought ones just can’t. No weird aftertaste, no chalky texture—just pure vanilla sweetness.
- It’s a crowd-pleaser for all ages: Kids love the toppings bar, adults appreciate the quality, and everyone gets to customize their cup exactly how they want it.
- Simple ingredients, big payoff: You probably already have sugar, corn syrup, vanilla, and gelatin in your pantry. The cocoa base uses basic pantry staples too—no fancy chocolate required.
- Perfect for any occasion: Holiday parties, snow days, movie nights, or just a Tuesday that needs a little warmth. I’ve even set up a mini version for a small dinner party and it was the hit of the night.
- Make-ahead friendly: The marshmallows keep for weeks in an airtight container, so you can prep everything in advance and just set out the toppings when guests arrive.
What makes this different from just buying a box of hot cocoa mix? It’s the texture of those homemade marshmallows, the richness of real melted chocolate, and the freedom to mix and match flavors. It’s not about being fancy—it’s about giving people a moment to slow down and enjoy something made with care. And honestly, watching someone take that first sip and close their eyes? That’s the whole point.
What Ingredients You Will Need
This recipe uses simple, wholesome ingredients to build layers of flavor and texture. Most of these are pantry staples, but a few special touches make all the difference. Let’s break it down by component so you can see exactly what goes into each part.
For the Homemade Marshmallows
- Granulated sugar – 1 ½ cups (300g). Regular white sugar works best here. Don’t substitute with brown sugar—it changes the texture and color too much.
- Light corn syrup – ¾ cup (180ml). This keeps the marshmallows soft and prevents crystallization. You can use honey or agave in a pinch, but the texture will be slightly different (more dense, less fluffy).
- Cold water – ¾ cup (180ml), divided. Half goes into the gelatin, half into the sugar syrup. Use filtered water if your tap water has a strong taste.
- Unflavored gelatin powder – 3 tablespoons (about 3 packets). I use Knox brand because it’s reliable and widely available. Avoid gelatin sheets for this recipe—the measurements don’t translate easily.
- Vanilla extract – 2 teaspoons (10ml). Pure vanilla extract is worth the splurge here. Imitation vanilla works, but the flavor is noticeably less rich.
- Powdered sugar – For dusting. About ½ cup (60g), mixed with a little cornstarch if you want extra anti-stick power.
For the Rich Hot Cocoa Base
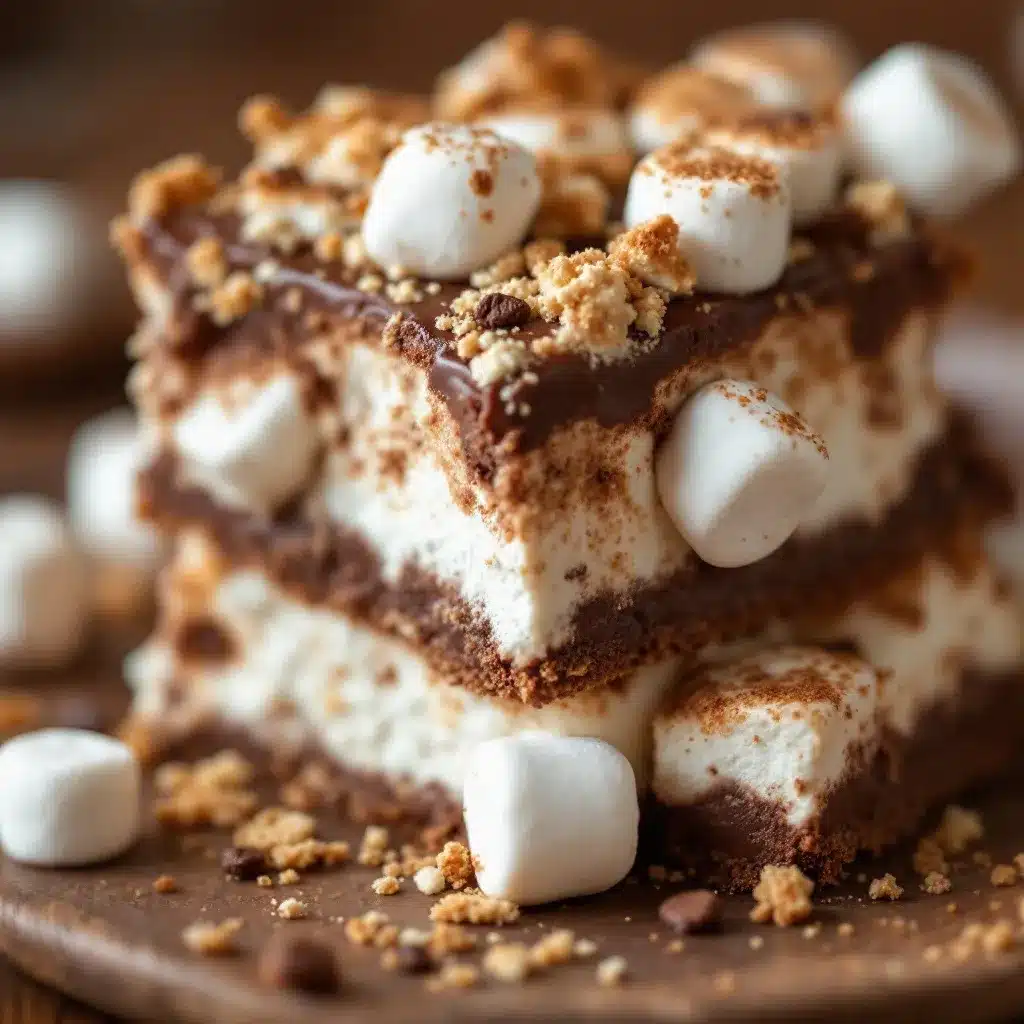
- Whole milk – 4 cups (960ml). Whole milk gives the creamiest texture. You can use 2% or oat milk, but the cocoa won’t be as luscious. I’ve tested this with almond milk and it’s fine, just thinner.
- Semi-sweet chocolate chips – 6 ounces (170g). I prefer Ghirardelli or Guittard for their smooth melting quality. Avoid chocolate chips with stabilizers if possible—they don’t melt as evenly.
- Unsweetened cocoa powder – ¼ cup (25g). Dutch-process cocoa gives a deeper, more mellow chocolate flavor. Natural cocoa works too, but the taste is slightly sharper.
- Granulated sugar – 3 tablespoons (38g). Adjust to your sweetness preference. If you’re using sweetened chocolate, you might want a little less.
- Vanilla extract – 1 teaspoon (5ml). Adds warmth and rounds out the chocolate flavor.
- Pinch of salt – Just a tiny pinch (about ⅛ teaspoon). Salt enhances the chocolate and balances sweetness. Don’t skip it!
For the Toppings Bar (Optional but Highly Recommended)
- Whipped cream – Homemade is best, but store-bought works in a pinch. I like to whip heavy cream with a little powdered sugar and vanilla until soft peaks form.
- Crushed candy canes – About ½ cup (60g). Adds a minty crunch that pairs beautifully with chocolate.
- Mini chocolate chips – For extra chocolatey goodness. White chocolate chips are also great here.
- Caramel sauce – Store-bought or homemade. Drizzle it over the whipped cream for a salted caramel vibe.
- Cinnamon sticks – Use as stirrers for a subtle spice note. You can also add a pinch of cinnamon to the cocoa base.
- Sea salt flakes – A light sprinkle on top takes the whole thing to another level. Trust me on this one.
Equipment Needed
You don’t need a professional pastry kitchen to pull this off, but a few key tools make the process smoother. Here’s what I use and what you can substitute if needed.
- Stand mixer or hand mixer: A stand mixer with a whisk attachment is ideal for whipping the marshmallow mixture to fluffy perfection. A sturdy hand mixer works too—just be prepared to hold it steady for about 10 minutes.
- Candy thermometer: This is the one piece of equipment I really recommend. It takes the guesswork out of getting the sugar syrup to the right temperature (240°F or 115°C). If you don’t have one, you can use the cold water test, but it’s less precise. I’ve ruined a batch by eyeballing it—don’t be like me.
- 8×8-inch baking pan: For setting the marshmallows. A glass or metal pan works fine. Line it with parchment paper so the marshmallows lift out easily.
- Saucepan: Medium-sized, heavy-bottomed. This prevents the sugar syrup from scorching. I use a stainless steel one because it heats evenly.
- Large mixing bowl: For the cocoa base. A heatproof bowl is nice if you’re melting chocolate on the stovetop, but a regular bowl works if you’re careful.
- Whisk and spatula: A silicone spatula is great for scraping every last bit of marshmallow fluff out of the bowl. A whisk helps incorporate the cocoa powder smoothly.
- Mugs or heatproof cups: Choose ones that can handle hot liquid. Ceramic mugs are classic, but glass mugs let you see the layers of cocoa and marshmallow—very pretty for photos!
If you don’t have a candy thermometer, you can pick one up for under $10 at most grocery stores. It’s a small investment that saves a lot of frustration. And honestly, once you start making marshmallows, you’ll find yourself making them for everything—s’mores, hot cocoa, even just snacking straight from the container (no judgment here).
Preparation Method
Let’s walk through this step by step. I’ve broken it into two parts: the marshmallows first (they need time to set), then the cocoa base. You can make the marshmallows up to two weeks ahead, which makes party day a breeze.
Part 1: Homemade Marshmallows
- Prepare your pan. Line an 8×8-inch baking pan with parchment paper, leaving some overhang on two sides. Lightly grease the parchment with a little butter or nonstick spray. Dust with a mixture of powdered sugar and cornstarch (about 2 tablespoons each). Set aside.
- Bloom the gelatin. In the bowl of your stand mixer (or a large heatproof bowl if using a hand mixer), combine ½ cup (120ml) cold water with the 3 tablespoons gelatin powder. Stir gently to combine, then let it sit for 5-10 minutes until the gelatin absorbs the water and becomes firm and rubbery. This is called blooming—don’t skip it!
- Make the sugar syrup. In a medium saucepan, combine the granulated sugar, corn syrup, and remaining ¼ cup (60ml) cold water. Stir gently until the sugar is mostly dissolved. Place the saucepan over medium-high heat and bring to a boil. Insert your candy thermometer and cook without stirring until the mixture reaches 240°F (115°C). This usually takes about 8-10 minutes. Watch it carefully—once it hits around 230°F, it climbs fast.
- Combine and whip. Once the syrup reaches 240°F, remove it from heat immediately. Turn your mixer with the bloomed gelatin to low speed, then slowly pour the hot syrup down the side of the bowl in a thin, steady stream. Be careful—the syrup is extremely hot and can splash. Once all the syrup is added, increase the speed to medium-high and whip for about 10-12 minutes. The mixture will become thick, glossy, and white, and will hold stiff peaks when you lift the whisk. It should look like marshmallow fluff but thicker.
- Add vanilla. With the mixer running on low, add the vanilla extract and mix just until combined. Don’t overmix at this point or you’ll deflate the marshmallow.
- Pour and set. Scrape the marshmallow mixture into your prepared pan using a greased spatula. Spread it evenly—it will be sticky, so work quickly. Dust the top with more of the powdered sugar mixture. Let it sit uncovered at room temperature for at least 4 hours, or overnight. Don’t refrigerate it—the texture will become too firm.
- Cut and store. Once set, lift the marshmallow block out of the pan using the parchment overhang. Dust a sharp knife or pizza cutter with powdered sugar and cut into squares. Toss the cut marshmallows in a little more powdered sugar mixture to prevent sticking. Store in an airtight container at room temperature for up to 2 weeks—if they last that long.
Part 2: Rich Hot Cocoa Base
- Heat the milk. In a medium saucepan, warm the whole milk over medium heat until it’s steaming but not boiling. You’ll see small bubbles around the edges—that’s your cue. Don’t let it boil or it might scorch.
- Add chocolate and cocoa. Reduce heat to low. Add the semi-sweet chocolate chips, cocoa powder, sugar, and salt. Whisk constantly until the chocolate is completely melted and the mixture is smooth. This takes about 3-5 minutes. If you see lumps, keep whisking—they’ll dissolve as the cocoa powder hydrates.
- Finish with vanilla. Remove from heat and stir in the vanilla extract. Taste and adjust sweetness if needed. If you want a thinner cocoa, add a splash more milk. For a thicker, more indulgent version, add an extra ounce of chocolate.
- Keep warm. If you’re serving immediately, pour into mugs and top with homemade marshmallows. For a party, transfer the cocoa to a slow cooker set to warm (or a large thermos) so guests can serve themselves throughout the event.
Part 3: Setting Up the Cocoa Bar
- Choose your vessels. Arrange mugs, a pitcher or slow cooker of hot cocoa, and a bowl of homemade marshmallows on a table or counter. Make sure there’s enough space for people to move around without bumping elbows.
- Arrange toppings. Put each topping in a small bowl or ramekin. Label them if you’re feeling fancy—it helps guests know what they’re grabbing, especially if you have multiple chocolate options.
- Add stirrers and extras. Place cinnamon sticks, candy cane pieces, or even small spoons for scooping marshmallows. If you’re using whipped cream, keep it in a bowl with a serving spoon, or pipe it fresh on each mug right before serving.
- Let people build their own. Encourage guests to start with a mug of cocoa, add marshmallows, then pile on toppings. Some people go wild with everything, others keep it simple—either way, it’s their perfect cup.
Cooking Tips & Techniques
I’ve made marshmallows more times than I can count, and I’ve definitely had my share of failures. Here are the lessons I learned the hard way so you don’t have to.
Don’t rush the sugar syrup. The first time I made marshmallows, I cranked the heat too high trying to speed things up. The syrup got to temperature unevenly, and the marshmallows turned out grainy. Low and steady wins this race. Keep the heat at medium-high and be patient—it’s worth it.
Use room temperature eggs if you’re making whipped cream. Wait, you’re not using eggs for marshmallows. But if you’re whipping cream for the topping, cold cream whips better. Just a little tip I picked up from trial and error.
Grease everything that touches marshmallow. The spatula, the pan, your hands if you’re shaping anything—marshmallow sticks to everything. A light coating of butter or nonstick spray makes cleanup so much easier. I keep a small bowl of butter next to my work station just for this.
Watch for humidity. Marshmallows are sensitive to moisture in the air. If it’s a rainy or humid day, they might not set as firmly. I’ve had a batch turn out slightly sticky on a humid summer afternoon—still delicious, just harder to cut neatly. If you’re making them for a special occasion, pick a dry day if you can.
Test your cocoa temperature. If you’re keeping cocoa warm in a slow cooker, don’t let it sit on high for hours. It can develop a skin on top (not ideal) and the chocolate flavor can become slightly bitter. Warm or low setting is perfect for up to 3 hours. Stir occasionally to keep it smooth.
Double the marshmallow recipe. Seriously. They disappear fast. I always make a double batch now because single batches vanish before I even get to set up the bar. Plus, they make great gifts—just package them in a little cellophane bag with a twist tie.
Don’t skip the salt. A pinch of salt in the cocoa base and a sprinkle of flaky salt on top transforms the whole experience. It’s not about making it salty—it’s about making the chocolate taste more like itself. Trust me on this one.
Variations & Adaptations
One of the best things about a hot cocoa bar with homemade marshmallows is how easy it is to customize. Here are some variations I’ve tried and loved.
Dairy-free version: Use oat milk or full-fat coconut milk for the cocoa base. Oat milk gives the creamiest texture without a strong flavor. For the marshmallows, they’re naturally dairy-free (no milk or butter involved), so you’re good there. Just make sure your chocolate chips are dairy-free too—many semi-sweet brands are, but check the label.
Peppermint twist: Add ½ teaspoon peppermint extract to the cocoa base along with the vanilla. Top with crushed candy canes and a dollop of whipped cream. This is my go-to for Christmas parties—it’s festive and refreshing at the same time.
Spiced hot cocoa: Stir in ½ teaspoon cinnamon, ¼ teaspoon nutmeg, and a pinch of cayenne pepper to the cocoa base. The warmth of the spices pairs beautifully with the rich chocolate. I first tried this after making a batch of creamy vegan chocolate avocado pudding and realizing how well chocolate works with warm spices.
Marshmallow flavor swaps: Instead of vanilla, try adding almond extract, coconut extract, or even a little orange zest to the marshmallow mixture. Just keep in mind that extracts are stronger than vanilla, so start with 1 teaspoon and taste as you go. I once made a batch with lavender extract and it was lovely—like a fancy French dessert.
Salted caramel version: Drizzle caramel sauce over the whipped cream and finish with a sprinkle of flaky sea salt. The combination of sweet, salty, and chocolate is absolutely addictive. I’ve been known to make this version just for myself on a quiet evening.
Kid-friendly bar: Set out bowls of mini marshmallows (store-bought for little hands), sprinkles, chocolate shavings, and even a few gummy bears. Kids love the freedom to build their own cup, and honestly, so do adults.
Serving & Storage Suggestions
This hot cocoa bar with homemade marshmallows is best served warm and fresh, but there are plenty of ways to prep ahead and store leftovers.
Serving temperature: Serve the cocoa hot but not boiling—around 140-150°F (60-65°C) is ideal. It should be warm enough to melt the marshmallows slowly but not so hot that it burns your tongue. If you’re using a slow cooker, keep it on warm and stir occasionally.
Presentation tips: Arrange toppings in a rainbow of colors—white marshmallows, pink candy canes, brown chocolate chips, green mint leaves if you’re using them. It makes the bar look inviting and encourages people to try a little of everything. I like to use small glass jars or vintage teacups for the toppings—it adds a cozy, collected-over-time feel.
Complementary dishes: This cocoa bar pairs beautifully with refreshing cucumber mint green tea cooler if you want a non-chocolate option for guests. For a full dessert spread, add a plate of easy Mediterranean stuffed mini peppers with feta for a savory-sweet contrast—it sounds unusual, but the salty feta balances the sweet cocoa perfectly.
Storing leftover cocoa: If you have extra cocoa base, let it cool completely and store it in an airtight container in the refrigerator for up to 3 days. Reheat gently on the stovetop or in the microwave, adding a splash of milk to thin it out if needed. The flavor actually deepens overnight—it’s almost better the next day.
Storing marshmallows: Keep homemade marshmallows in an airtight container at room temperature. They’ll stay soft and fluffy for up to 2 weeks. Don’t refrigerate them—the cold makes them tough and dry. If they start to feel a little sticky, toss them with a bit more powdered sugar.
Freezing marshmallows: You can freeze marshmallows for up to 3 months. Place them in a single layer on a baking sheet, freeze until solid, then transfer to a freezer bag. Thaw at room temperature for about 30 minutes before using. They’ll be slightly denser after freezing but still delicious.
Nutritional Information & Benefits
Let’s be real—this is an indulgence. But that doesn’t mean it can’t have some redeeming qualities. Here’s a rough breakdown per serving (one mug of cocoa with 2-3 homemade marshmallows, no additional toppings):
| Nutrient | Amount per Serving |
|---|---|
| Calories | 320-380 |
| Total Fat | 14-18g |
| Saturated Fat | 8-10g |
| Carbohydrates | 45-55g |
| Sugar | 38-45g |
| Protein | 6-8g |
| Calcium | 25% DV |
| Iron | 10% DV |
Health benefits worth noting: Dark chocolate (like the semi-sweet chips used here) contains antioxidants called flavonoids, which may support heart health. Milk provides calcium and vitamin D for bone health. And the gelatin in homemade marshmallows is a good source of collagen, which supports skin and joint health—so there’s that!
Dietary considerations: This recipe is naturally gluten-free and nut-free (if you use certified gluten-free ingredients and nut-free milk). For a dairy-free version, use oat milk and dairy-free chocolate chips. For a lower-sugar option, reduce the sugar in the cocoa base and use sugar-free marshmallows (though homemade ones are harder to make without sugar).
Potential allergens: Contains dairy (milk, chocolate) and may contain traces of soy (in some chocolate brands). Always check labels if serving guests with allergies.
Honestly, I don’t make this for the health benefits. I make it because it’s warm, comforting, and brings people together. But it’s nice to know there’s a little bit of goodness hiding in that marshmallow fluff.
Conclusion
This hot cocoa bar with homemade marshmallows has become a tradition in my house, and I hope it becomes one in yours too. It’s the kind of recipe that doesn’t just feed people—it gives them a moment to pause, to choose, to create something that feels exactly right for them. There’s something almost magical about watching a group of people hover over a table of toppings, debating whether to add caramel or extra marshmallows, laughing as they try each other’s creations.
The marshmallows are surprisingly simple to make, the cocoa base is rich and forgiving, and the whole setup is as flexible as you want it to be. You can go all out with a dozen toppings or keep it minimal with just marshmallows and whipped cream. Either way, it works.
I’d love to hear how your cocoa bar turns out. Did you try a flavor variation? Did someone in your family make a wild topping combination that actually worked? Drop a comment below and let me know—I’m always looking for new ideas to try. And if you’re looking for more cozy recipes to round out your winter menu, check out our full recipe collection for more inspiration.
Now go make some marshmallows. Your future self (and everyone you share them with) will thank you.
Frequently Asked Questions
Can I make the marshmallows without a candy thermometer?
Yes, but it’s trickier. You can use the cold water test: drop a small amount of the sugar syrup into a bowl of cold water. If it forms a firm, pliable ball that holds its shape (soft-ball stage), it’s ready. But honestly, a candy thermometer is cheap and takes the guesswork out completely. I’ve ruined a batch by guessing wrong, so I always use one now.
How far in advance can I make the marshmallows?
You can make them up to 2 weeks ahead and store them in an airtight container at room temperature. They actually get a little softer and more pillowy after a day or two. Just keep them away from humidity and direct sunlight.
Can I use store-bought marshmallows instead of homemade?
Absolutely. The homemade version is softer and more flavorful, but store-bought works in a pinch. If you’re using store-bought, consider toasting them under the broiler for a few seconds—it adds a smoky flavor that mimics campfire marshmallows.
What’s the best way to reheat leftover cocoa?
Gently reheat on the stovetop over low heat, stirring frequently. You can also microwave it in 30-second bursts, stirring between each. Add a splash of milk if it’s too thick. The flavor is often even better the next day as the chocolate deepens.
Can I set up a cocoa bar for a large party?
Yes! Double or triple the cocoa recipe and keep it warm in a slow cooker. Make a double batch of marshmallows (they disappear fast). Set out toppings in separate bowls with serving spoons. For a large group, label each topping so guests know what they’re grabbing. It’s a great self-serve option that keeps people mingling.
Pin This Recipe!
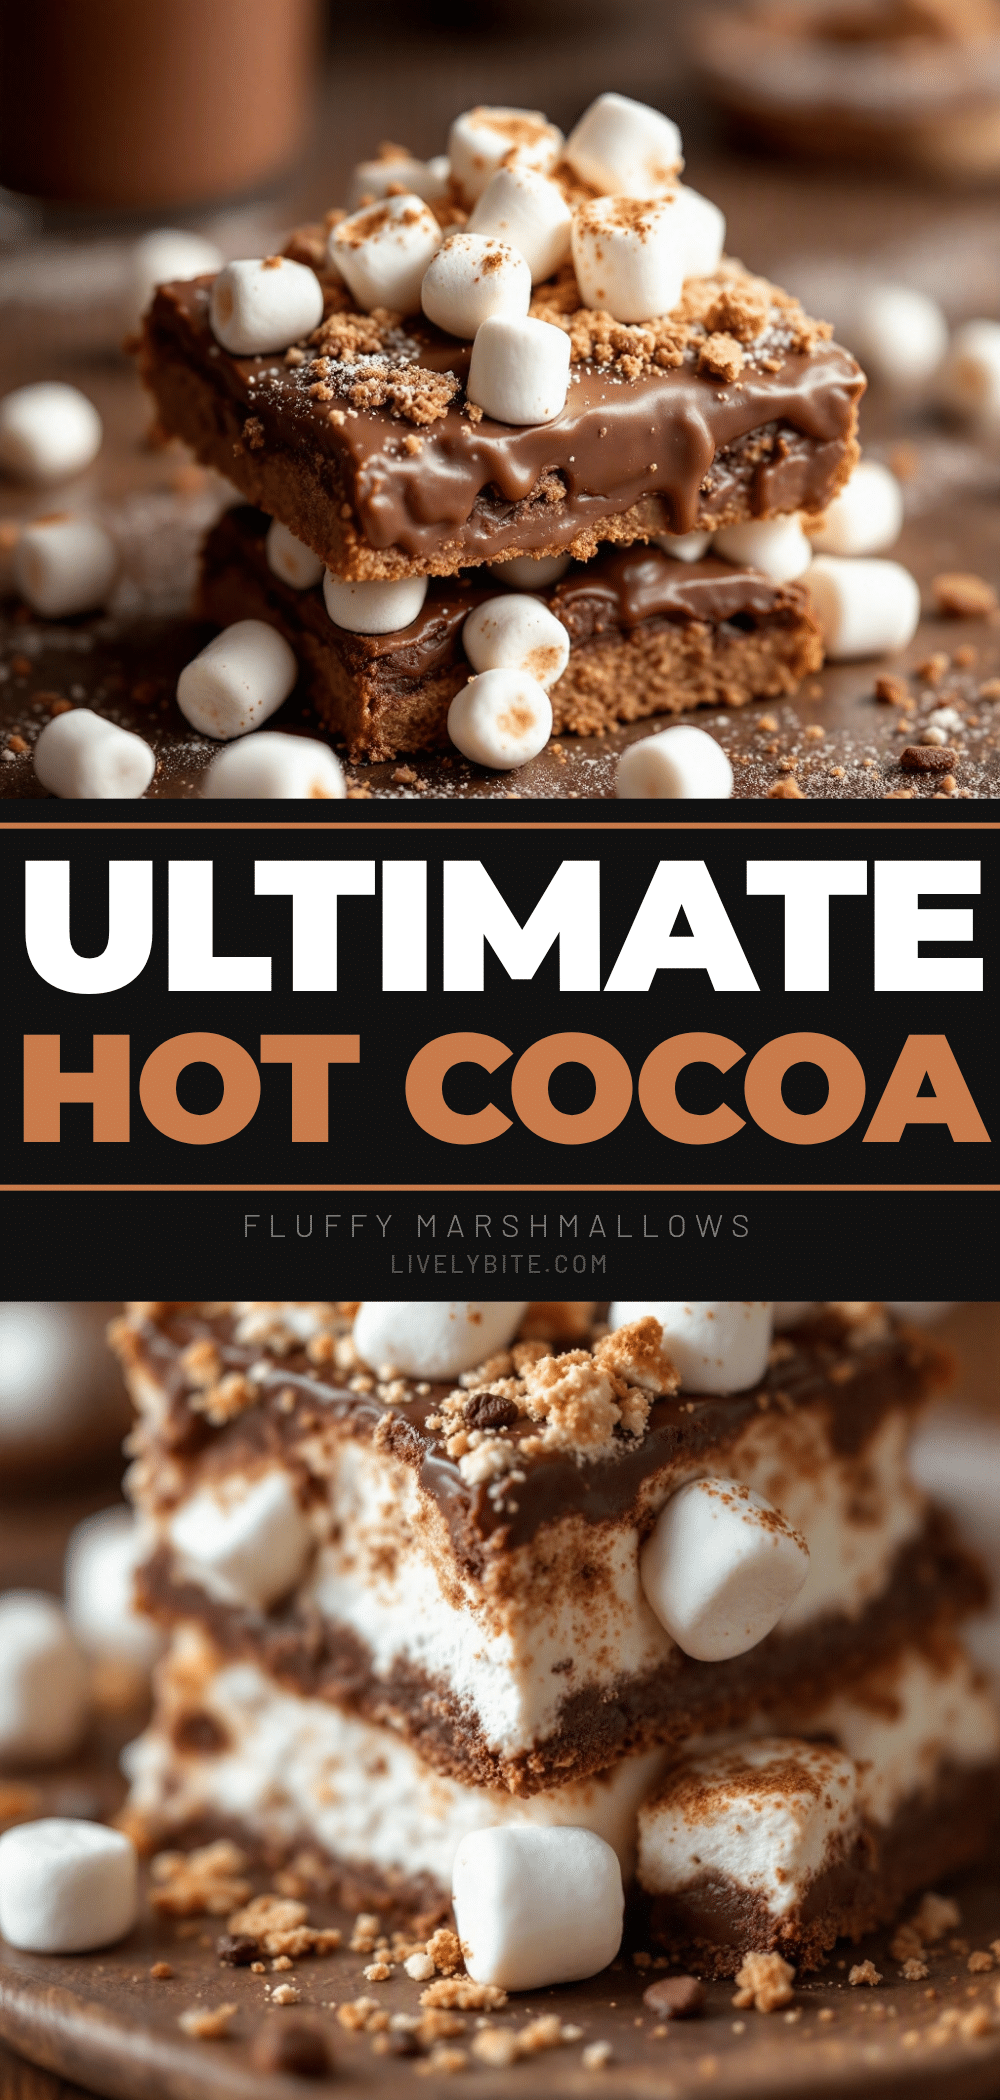
Best Hot Cocoa Bar with Homemade Marshmallows
Create a cozy hot cocoa bar with pillowy homemade marshmallows and a rich chocolate base. Perfect for holiday parties, snow days, or any occasion that calls for warmth and togetherness.
- Prep Time: 20 minutes
- Cook Time: 15 minutes
- Total Time: 4 hours 35 minutes (includes setting time)
- Yield: 8 servings 1x
- Category: Beverage
- Cuisine: American
Ingredients
- 1 ½ cups (300g) granulated sugar
- ¾ cup (180ml) light corn syrup
- ¾ cup (180ml) cold water, divided
- 3 tablespoons unflavored gelatin powder (about 3 packets)
- 2 teaspoons (10ml) vanilla extract
- ½ cup (60g) powdered sugar (for dusting)
- 4 cups (960ml) whole milk
- 6 ounces (170g) semi-sweet chocolate chips
- ¼ cup (25g) unsweetened cocoa powder (Dutch-process preferred)
- 3 tablespoons (38g) granulated sugar
- 1 teaspoon (5ml) vanilla extract
- Pinch of salt (about ⅛ teaspoon)
- Whipped cream (optional, for serving)
- Crushed candy canes (optional, for serving)
- Mini chocolate chips (optional, for serving)
- Caramel sauce (optional, for serving)
- Cinnamon sticks (optional, for serving)
- Sea salt flakes (optional, for serving)
Instructions
- Prepare the pan: Line an 8×8-inch baking pan with parchment paper, leaving overhang. Lightly grease and dust with a mixture of powdered sugar and cornstarch.
- Bloom the gelatin: In the bowl of a stand mixer, combine ½ cup cold water with gelatin powder. Let sit for 5-10 minutes until firm.
- Make the sugar syrup: In a saucepan, combine sugar, corn syrup, and remaining ¼ cup cold water. Bring to a boil over medium-high heat without stirring until it reaches 240°F (115°C) on a candy thermometer.
- Combine and whip: With mixer on low, slowly pour hot syrup into bloomed gelatin. Increase speed to medium-high and whip for 10-12 minutes until thick, glossy, and holding stiff peaks.
- Add vanilla: Mix in vanilla extract on low until just combined.
- Pour and set: Scrape mixture into prepared pan, spread evenly, and dust top with powdered sugar mixture. Let sit uncovered at room temperature for at least 4 hours or overnight.
- Cut and store: Lift marshmallow block out, cut into squares with a dusted knife, and toss in more powdered sugar. Store in an airtight container at room temperature for up to 2 weeks.
- Heat the milk: In a saucepan, warm whole milk over medium heat until steaming but not boiling.
- Add chocolate and cocoa: Reduce heat to low, add chocolate chips, cocoa powder, sugar, and salt. Whisk constantly until smooth (3-5 minutes).
- Finish with vanilla: Remove from heat and stir in vanilla extract. Adjust sweetness if needed.
- Keep warm: Transfer to a slow cooker on warm setting for serving.
- Set up the cocoa bar: Arrange mugs, hot cocoa, marshmallows, and toppings in small bowls. Let guests build their own cups.
Notes
Marshmallows can be made up to 2 weeks ahead. For dairy-free, use oat milk and dairy-free chocolate chips. Avoid making marshmallows on humid days as they may not set firmly. Grease all utensils that touch marshmallow mixture to prevent sticking.
Nutrition
- Serving Size: 1 mug of cocoa with
- Calories: 350
- Sugar: 42
- Sodium: 120
- Fat: 16
- Saturated Fat: 9
- Carbohydrates: 50
- Fiber: 2
- Protein: 7
Keywords: hot cocoa, homemade marshmallows, cocoa bar, winter drink, holiday recipe, marshmallow recipe


