My neighbor actually gasped. Not in a dramatic way—she literally put her hand over her mouth and said, “Wait, you made this?” and I knew right then the trifle had done its job. I had just carried this towering glass bowl of red, white, and blue layers to her Fourth of July barbecue, and honestly, I was a little nervous. You know how potluck desserts can be—either everyone’s hovering around them before the burgers are done, or they sit there untouched, looking sad and forgotten. This one? People were taking photos before they even grabbed a plate. That’s when I realized this easy red white and blue berry trifle recipe wasn’t just good—it was the kind of dessert that makes people stop mid-conversation.
I’ve made a lot of layered desserts over the years, and I’ll be the first to admit they can be finicky. Trifles though? They’re forgiving in a way that cakes and pies just aren’t. You don’t need perfect knife skills or a steady piping hand. You just need good ingredients and a willingness to layer things in a glass bowl. And this version? It’s got that wow factor without the stress. The kind of dessert you bring to a gathering and suddenly everyone’s asking for the recipe before they’ve even finished their first bite.
The funny thing is, I almost didn’t bring it. I had been testing a different dessert the night before—some complicated layered thing that completely flopped—and this trifle was my backup plan. I threw it together with ingredients I already had, figuring it would be fine but nothing special. Turns out, the simplest things often are the most memorable.
Why You’ll Love This Recipe
Let me tell you why this easy red white and blue berry trifle has become my go-to for every summer celebration. It’s not just about the way it looks, though honestly, it’s a showstopper. It’s about how little effort it takes to get that reaction.
- Quick & Easy : This comes together in about 30 minutes of active time. No baking required if you use store-bought angel food cake or pound cake. Perfect for those last-minute invites or when you just want something impressive without spending all day in the kitchen.
- Simple Ingredients : You probably have most of these already. Fresh berries, cream cheese, heavy cream, powdered sugar, and some kind of light cake. No weird specialty items you’ll never use again.
- Perfect for Celebrations : Fourth of July, Memorial Day, Labor Day, or just a summer get-together—the red, white, and blue theme fits right in. But honestly, I’ve made it for regular backyard dinners too, just using whatever berries are in season.
- Crowd-Pleaser : Kids love the sweetness and the fun layers. Adults appreciate that it’s not too heavy. I’ve watched people go back for seconds more times than I can count.
- Unbelievably Delicious : The combination of creamy cheesecake-like filling, tender cake, juicy berries, and light whipped cream is just perfection. Each spoonful gives you a little bit of everything.
What makes this version different from all the other trifle recipes out there? It’s the texture balance. A lot of berry trifles end up soggy or one-note. I figured out that tossing the berries with a little sugar and lemon zest brings out their natural juices without making them watery. And the cream cheese layer? It’s stabilized so it holds up beautifully, even after a few hours in the fridge. This isn’t just another trifle—it’s the one that actually works.
There’s something about watching people’s faces light up when they see those distinct red, white, and blue layers through the glass. It’s comfort food disguised as something fancy. And honestly, that’s my favorite kind of dessert.
What Ingredients You Will Need
This recipe uses simple, fresh ingredients that come together to create something truly special. Most of these are pantry staples or easy to find at any grocery store, especially during berry season.
- Angel food cake or pound cake (1 store-bought loaf, about 10-12 ounces) – I prefer using a good quality store-bought angel food cake for convenience. It’s light, airy, and soaks up the cream beautifully without getting mushy. If you’re feeling ambitious, homemade works great too. Just make sure it’s cooled completely before you start layering.
- Fresh strawberries (2 cups, hulled and sliced) – Look for bright red, firm berries that smell sweet. I like to slice them evenly so they layer nicely. If strawberries aren’t in season, you can use frozen (thawed and drained), but fresh really is best here for texture.
- Fresh blueberries (2 cups) – Small, plump blueberries with a dusty bloom are the freshest. Give them a quick rinse and pat them dry. No need to slice these—they’re the perfect size as is.
- Fresh raspberries (1 cup) – These add a beautiful pop of red and a slightly tart flavor that balances the sweetness. Handle them gently—they’re delicate.
- Heavy cream (2 cups cold) – This is for the stabilized whipped cream. Make sure it’s really cold; warm cream won’t whip properly. I’ve tried using whipped topping in a pinch, but nothing beats the real thing.
- Cream cheese (8 ounces, softened) – Full-fat cream cheese gives the best texture and flavor. Let it sit out for about 30 minutes before you start so it blends smoothly with no lumps.
- Powdered sugar (1/2 cup) – This sweetens the cream cheese layer without making it grainy. Sift it if you’re feeling fancy, but honestly, I’ve skipped that step plenty of times and it’s fine.
- Vanilla extract (1 teaspoon) – Pure vanilla extract makes a difference here. The imitation stuff has a weird aftertaste that you’ll notice in a simple recipe like this.
- Lemon zest (from 1 lemon) – This is my secret ingredient. A little lemon zest in the berry mixture brightens everything up and keeps the sweetness from being cloying.
- Granulated sugar (2 tablespoons) – Just a little to macerate the berries and draw out their natural juices.
For the cream cheese layer, I really recommend Philadelphia brand—it’s consistent and blends smoothly every time. And for the heavy cream, look for one with at least 36% milk fat. The higher fat content means it whips up thicker and holds its shape longer.
If you’re dairy-free, you can substitute the heavy cream with a full-fat coconut cream (chilled overnight) and use a dairy-free cream cheese alternative. The texture will be slightly different, but still delicious. For a gluten-free option, make sure your cake is labeled gluten-free—many store-bought angel food cakes are naturally gluten-free, but always check the label.
Equipment Needed
You don’t need a lot of fancy equipment for this easy red white and blue berry trifle, which is part of why I love it. Here’s what you’ll need:
- Large glass trifle bowl (3-4 quart capacity) – This is the star of the show. The clear glass lets everyone see those beautiful layers. If you don’t have a trifle bowl, a large glass salad bowl or even a straight-sided glass vase works perfectly. I found my favorite one at a thrift store for five bucks.
- Electric mixer (handheld or stand mixer) – You’ll need this to whip the cream and beat the cream cheese mixture. A whisk and some elbow grease will work, but it takes forever and your arm will hate you.
- Large mixing bowls (2-3) – One for the cream cheese mixture, one for whipping cream, and one for the berries. I use stainless steel bowls because they’re lightweight and easy to clean.
- Rubber spatula – For folding the whipped cream into the cream cheese mixture gently. You want to keep all that air in the cream.
- Chef’s knife and cutting board – For slicing strawberries and cubing the cake. A serrated knife works best for angel food cake—it won’t squish the delicate crumb.
- Measuring cups and spoons – Accuracy matters, especially with the cream and sugar.
If you’re on a budget, skip the fancy trifle bowl and use a large glass mixing bowl instead. The layers won’t be as visible from the sides, but the flavor is exactly the same. And honestly, a clear glass bowl from the dollar store works just fine.
Preparation Method
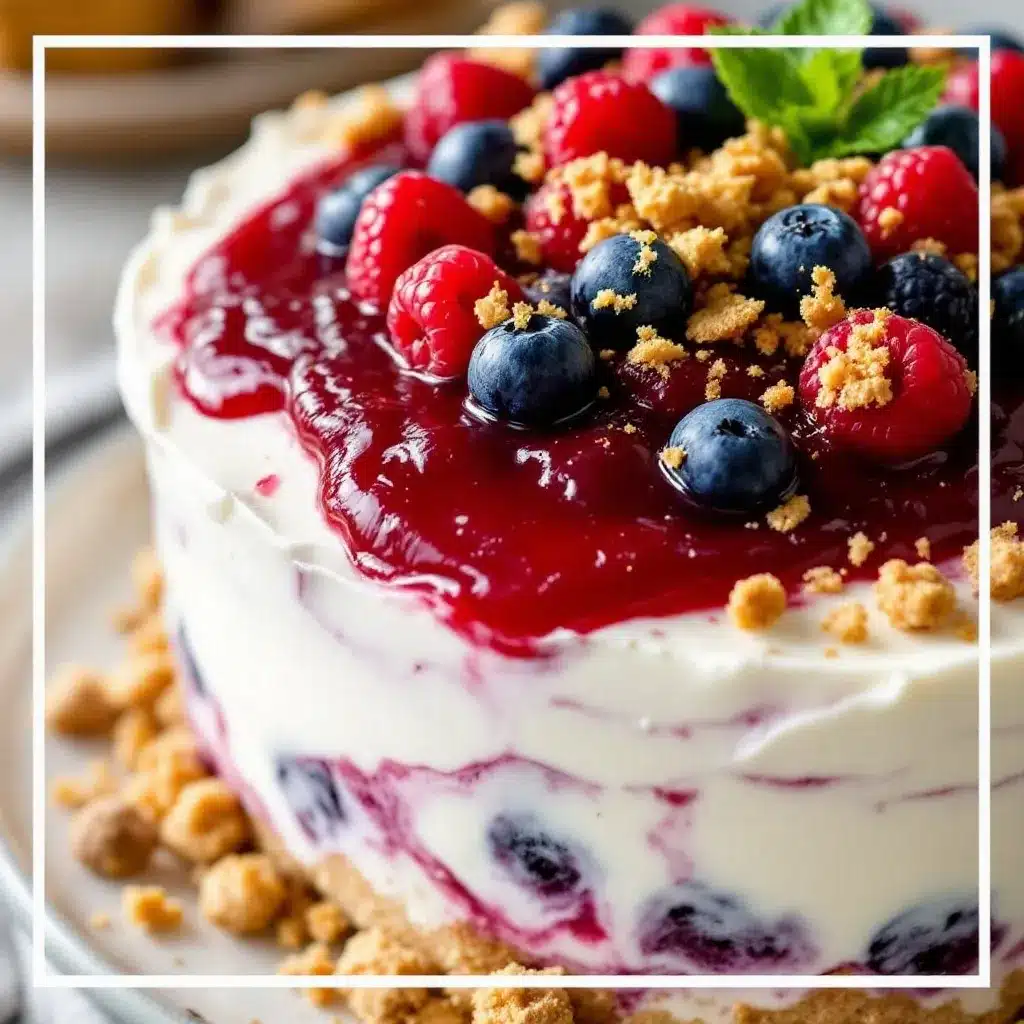
Alright, let’s get to the fun part. This easy red white and blue berry trifle comes together in layers, and each one is simple on its own. Here’s how to do it:
- Prep the berries. Wash and dry all your berries gently. Hull and slice the strawberries into even pieces—about 1/4 inch thick. In a medium bowl, combine the sliced strawberries, blueberries, and raspberries. Add 2 tablespoons of granulated sugar and the zest of one lemon. Toss gently to coat. Let this sit for about 10 minutes while you work on the cream layers. The sugar draws out the natural juices and creates a light syrup that soaks into the cake beautifully.
- Cube the cake. Cut your angel food cake or pound cake into 1-inch cubes. You want them bite-sized but not too small—they should hold their shape when layered. If you’re using angel food cake, a serrated knife is your best friend here. Regular knives tend to squish it. You should end up with about 5-6 cups of cake cubes.
- Make the cream cheese layer. In a large mixing bowl, beat the softened cream cheese with an electric mixer on medium speed until it’s smooth and creamy—about 2 minutes. Add 1/2 cup of powdered sugar and 1 teaspoon of vanilla extract. Beat until everything is well combined and fluffy. Scrape down the sides of the bowl with a rubber spatula to make sure there are no lumps hiding.
- Whip the cream. In a separate cold bowl, pour in 2 cups of cold heavy cream. Using clean beaters, whip the cream on medium-high speed until stiff peaks form. You’ll know it’s ready when you lift the beaters and the cream holds its shape without drooping. Be careful not to over-whip—it can turn into butter pretty quickly. I’ve done that before, and let me tell you, it’s not a fun cleanup.
- Fold it together. Take about a third of the whipped cream and fold it into the cream cheese mixture using a rubber spatula. This lightens up the cream cheese so it’s easier to combine with the rest. Then gently fold in the remaining whipped cream until just combined. You want streaks of white throughout—don’t overmix or it’ll deflate.
- Start layering. Place your trifle bowl on a flat surface. Start with a layer of cake cubes—about a third of them—spread evenly across the bottom. Don’t press them down; just let them rest naturally.
- Add the berry layer. Spoon about a third of the berry mixture (including the juices) over the cake cubes. Spread it out so every bit of cake gets some berry goodness.
- Add the cream layer. Spoon about a third of the cream cheese mixture over the berries. Use the back of your spoon or a spatula to spread it gently to the edges. You want to see it peeking through the glass.
- Repeat the layers. Do this two more times: cake, berries, cream. You’ll end with a final layer of cream on top. Don’t worry if it’s not perfectly even—trifles are supposed to look rustic and inviting.
- Top it off. Save a few of the prettiest berries for the top. Arrange them in a pattern—I like to do a ring of strawberries around the edge, then blueberries and raspberries in the center. You can get creative here. A few mint leaves on top add a nice pop of green if you have them.
- Chill. Cover the trifle loosely with plastic wrap and refrigerate for at least 2 hours, but 4 hours is even better. This gives the flavors time to meld together and the cake to soak up all that berry goodness. The texture transforms in the fridge—it goes from good to incredible.
One thing I learned the hard way: don’t skip the chilling time. I once served a trifle right after assembling it, and it was fine, but the next day’s leftovers were absolutely amazing. The cake had softened perfectly, and the flavors had married together. Patience pays off here.
Cooking Tips & Techniques
After making this easy red white and blue berry trifle more times than I can count, I’ve picked up a few tricks that make a real difference. Let me share them with you.
Stabilize your whipped cream. If you’re making this ahead of time (which I highly recommend), add a tablespoon of instant vanilla pudding mix to your heavy cream before whipping. It sounds weird, but it helps the cream hold its shape for days instead of deflating overnight. I learned this trick from a pastry chef friend, and it’s been a game-changer for make-ahead desserts.
Don’t oversoak the cake. Some recipes tell you to brush the cake with syrup or liqueur. For this trifle, the natural juices from the macerated berries provide plenty of moisture. If you add extra liquid, you’ll end up with mushy cake. Trust the berries—they know what they’re doing.
Room temperature cream cheese is non-negotiable. I know, I know, you’re in a hurry. But cold cream cheese will leave you with lumpy filling no matter how long you beat it. Let it sit on the counter for at least 30 minutes. If you forgot to take it out, cut it into small cubes and microwave it in 10-second bursts until it’s soft but not warm.
Wipe the bowl between layers. As you’re layering, use a damp paper towel to wipe any smears off the inside of the glass bowl. This keeps those layers looking crisp and clean. It’s a small step, but it makes the trifle look like it belongs on a magazine cover.
Use a piping bag for the cream layer. If you want picture-perfect layers, put the cream cheese mixture into a piping bag (or a zip-top bag with the corner snipped off) and pipe it into the bowl. This prevents the cream from mixing with the berry layer and keeps everything distinct. I don’t always do this, but when I’m bringing it to a party, it’s worth the extra effort.
One of my biggest failures with trifles? I once used frozen berries without thawing and draining them first. The extra water made the whole thing soupy and sad. Learn from my mistakes—always thaw and drain frozen berries, or better yet, use fresh when they’re in season.
Variations & Adaptations
This easy red white and blue berry trifle is incredibly versatile. Here are some ways to make it your own:
Berry swap. Not a fan of raspberries? Use blackberries instead. Or go all in on strawberries and blueberries for a simpler version. In the summer, I love adding sliced peaches or nectarines when they’re at their peak. The red, white, and blue theme works with any combination of red and blue fruits.
Dairy-free version. Use a dairy-free cream cheese alternative (Kite Hill makes a good one) and chill a can of full-fat coconut cream overnight. Scoop out the solid part and whip it with powdered sugar. The texture is a little different—fluffier and less dense—but still delicious. Make sure your cake is dairy-free too; many store-bought angel food cakes are.
Gluten-free option. Most angel food cakes are naturally gluten-free since they’re made with just egg whites, sugar, and flour (often a gluten-free blend). But double-check the label. You can also use gluten-free pound cake or even gluten-free vanilla cupcakes cut into cubes.
Boozy adult version. Add a splash of Grand Marnier or limoncello to the berry mixture while it’s macerating. The orange or lemon flavor pairs beautifully with the berries and cream. Just go easy—you want a hint, not a punch.
Chocolate twist. Swap the angel food cake for chocolate pound cake and add a layer of chocolate shavings between the cream layers. The chocolate and berry combination is absolutely divine. I made this for a friend’s birthday, and she said it was the best dessert she’d ever had.
Individual servings. Instead of one big trifle, layer everything into small mason jars or clear plastic cups. These are perfect for picnics, barbecues, or parties where people are standing and mingling. Plus, no fighting over the last serving!
Serving & Storage Suggestions
This trifle is best served chilled, straight from the refrigerator. The cold cream and juicy berries are incredibly refreshing on a hot summer day. I like to let it sit out for about 10 minutes before serving—just enough to take the chill off without losing the structure.
For presentation, use a large serving spoon that can reach all the way to the bottom. You want each serving to get a little bit of every layer. I usually scoop from the side rather than straight down, which gives a beautiful cross-section of all those colors.
This trifle pairs beautifully with a cup of coffee or iced tea. If you’re serving it for a brunch, a glass of sparkling wine or a refreshing cucumber mint green tea cooler is a perfect match. The lightness of the trifle complements both without overwhelming the palate.
Storage: Cover the trifle tightly with plastic wrap or transfer leftovers to an airtight container. It will keep in the refrigerator for up to 3 days. The texture does change over time—the cake absorbs more moisture and becomes softer, almost pudding-like. Some people prefer it this way. I actually think day two is the sweet spot.
Freezing: I don’t recommend freezing this trifle. The cream cheese layer and whipped cream don’t thaw well, and the berries become watery and mushy. If you need to make something ahead, prepare the components separately and assemble the day you plan to serve it.
Reheating: Don’t. This is a cold dessert through and through. If it’s been in the fridge for a while and seems too firm, just let it sit at room temperature for 15-20 minutes before serving.
Nutritional Information & Benefits
Here’s the thing about this easy red white and blue berry trifle—it’s a dessert, so it’s not health food. But it’s made with real ingredients, and there are some nutritional bright spots worth mentioning.
Per serving (based on 12 servings):
- Calories: approximately 320
- Fat: 18g
- Carbohydrates: 38g
- Protein: 5g
- Fiber: 3g
- Sugar: 28g
Berries are packed with antioxidants, vitamin C, and fiber. Strawberries and blueberries are particularly high in flavonoids, which support heart health and brain function. The cream cheese and heavy cream provide calcium and protein, though they’re also higher in saturated fat. If you’re watching your sugar intake, you can reduce the powdered sugar to 1/4 cup—the sweetness from the berries and cake will still carry the dessert.
This recipe contains dairy and gluten (depending on the cake you choose). If you have allergies, check the ingredient labels carefully. For a lighter option, use a low-fat cream cheese and reduce the heavy cream to 1 1/2 cups. The texture will be slightly less rich, but still satisfying.
I personally love that this dessert feels indulgent without being heavy. It’s the kind of treat you can enjoy after a big barbecue without feeling like you need to unbutton your pants. The lightness of the angel food cake and the freshness of the berries make it feel almost virtuous—even if the cream cheese layer says otherwise.
Conclusion
This easy red white and blue berry trifle has become my signature summer dessert, and I think it’s about to become yours too. It’s everything I want in a holiday recipe—stunning to look at, simple to make, and absolutely delicious to eat. No stress, no complicated techniques, just beautiful layers of flavor that come together in a way that feels special.
I love that you can make it your own. Swap in your favorite berries, change up the cake, or add a little something extra. The base recipe is forgiving enough to handle whatever creative twist you throw at it. And honestly? That’s the kind of recipe worth keeping in your back pocket.
If you’re looking for other crowd-pleasing dishes to round out your menu, try my easy lemon herb salmon sheet pan dinner for a main course that’s just as simple to put together. Or if you’re in the mood for something savory and light, these easy Mediterranean stuffed mini peppers with feta are always a hit at parties.
I’d love to hear how your trifle turns out! Drop a comment below and let me know what variations you tried, or tag me in your photos on social media. Did you add something unexpected? Did your family love it as much as mine does? Share your stories—I read every single one.
Now go make that trifle. Your summer celebrations deserve something this good.
Frequently Asked Questions
Can I make this trifle the night before?
Absolutely. In fact, I recommend it. Making it a day ahead gives the flavors time to meld and the cake to soften perfectly. Just cover it tightly and refrigerate. Add any fresh berries for the top decoration right before serving so they stay bright and beautiful.
What’s the best cake to use for this trifle?
I prefer angel food cake for its light, airy texture that soaks up the berry juices without getting mushy. But pound cake works great too—it’s denser and gives a richer, more substantial bite. Store-bought versions of both work perfectly. If you’re feeling ambitious, homemade is always lovely, but honestly, no one will know the difference.
How do I keep the layers from mixing together?
The key is making sure each layer is thick enough to hold its own. Don’t spread the cream cheese mixture too thin—aim for about an inch per layer. Also, let the trifle chill for at least 2 hours before serving. This firms up the cream and helps everything set. If you’re really worried about it, pipe the cream layer instead of spooning it.
Can I use frozen berries instead of fresh?
Yes, but there’s a catch. Frozen berries release a lot of water as they thaw. If you use them straight from the bag, your trifle will be watery. Thaw them first, drain off the excess liquid, and pat them dry with paper towels. You might also want to reduce the sugar since frozen berries are often packed in syrup. Fresh berries are better for texture, but frozen work in a pinch.
How long will leftovers last in the fridge?
Covered tightly, this trifle will keep for up to 3 days in the refrigerator. The texture will continue to soften as the cake absorbs more moisture, so it won’t look as pretty on day three, but it’ll still taste amazing. I actually love the leftovers—the flavors are even more developed. Just don’t try to freeze it; the cream cheese layer doesn’t thaw well.
Pin This Recipe!
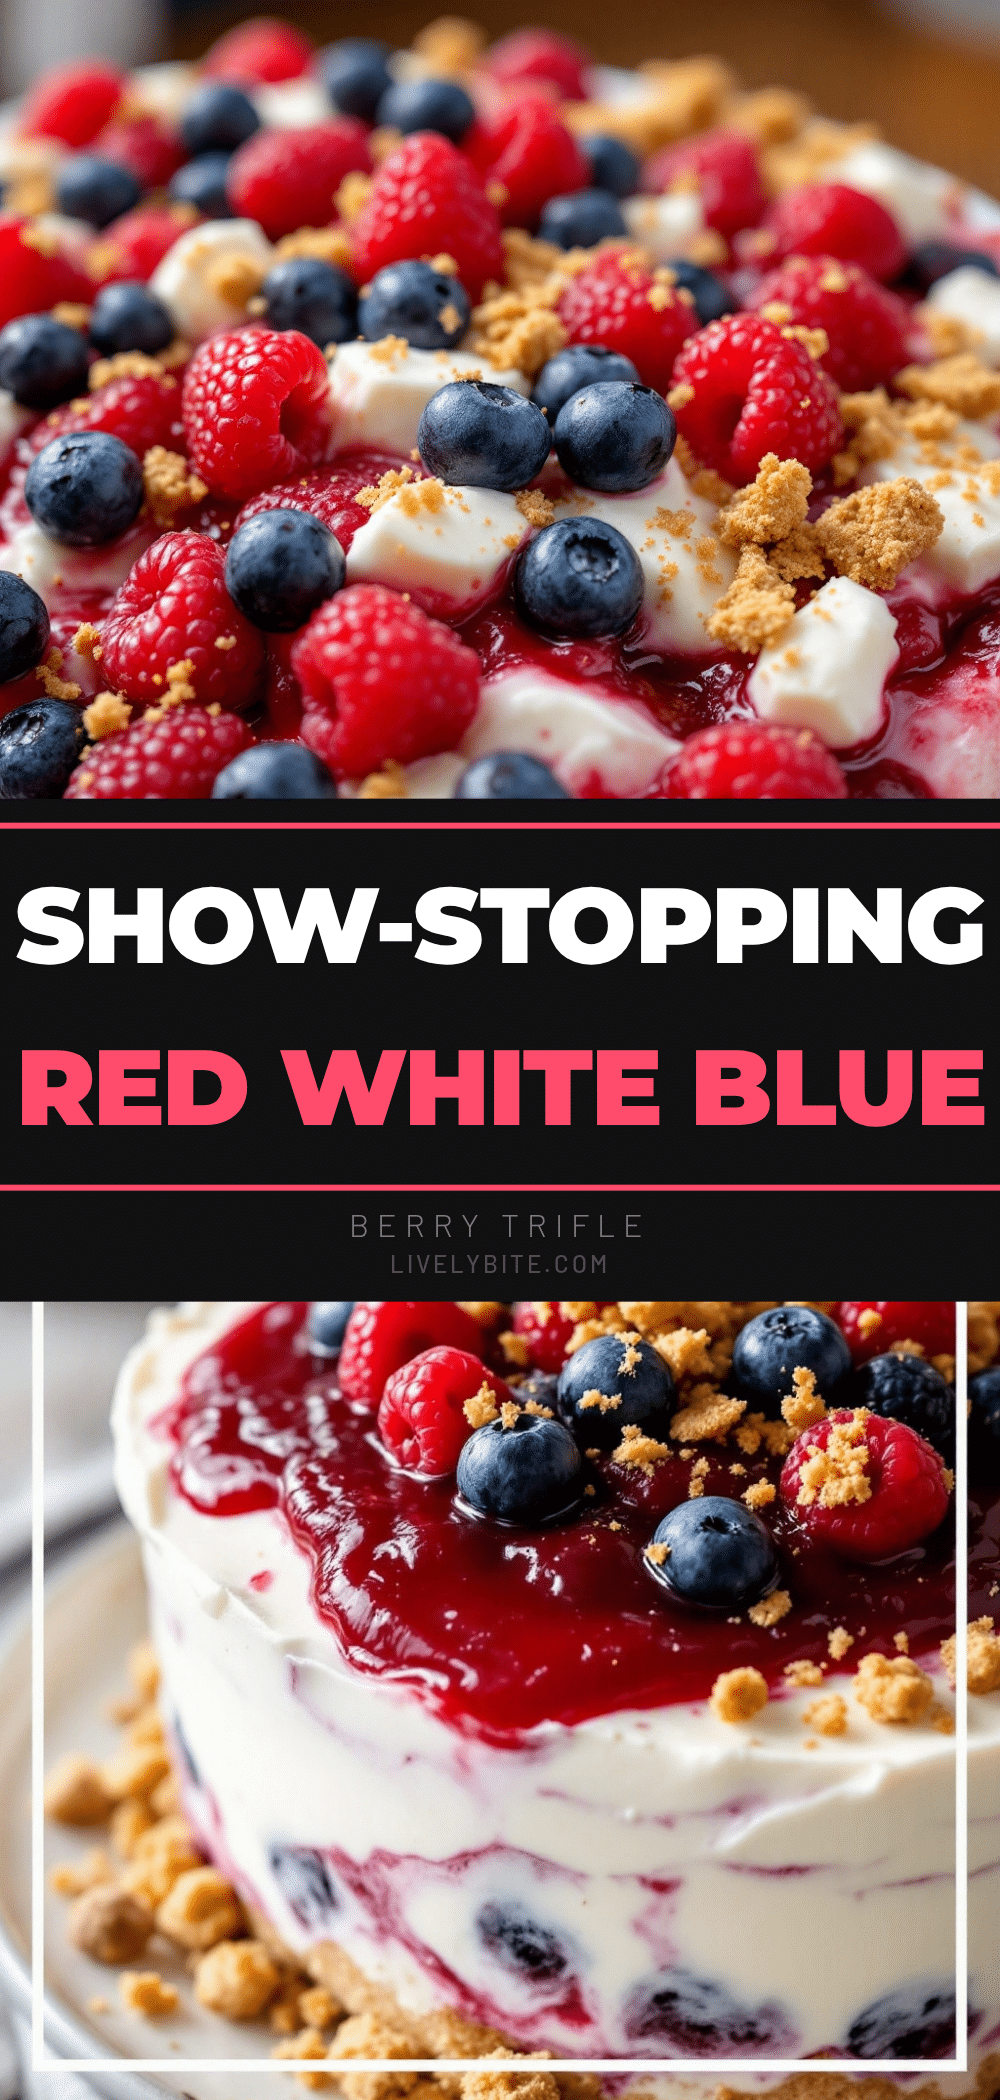
Best Easy Red White and Blue Berry Trifle Dessert

This stunning red, white, and blue berry trifle is a showstopper for summer celebrations. With layers of light cake, fresh berries, and a creamy cheesecake-like filling, it’s surprisingly easy to make and always a crowd-pleaser.
- Prep Time: 30 minutes
- Cook Time: 0 minutes
- Total Time: 2 hours 30 minutes (includes chilling)
- Yield: 12 servings 1x
- Category: Dessert
- Cuisine: American
Ingredients
- 1 store-bought angel food cake or pound cake (about 10–12 ounces)
- 2 cups fresh strawberries, hulled and sliced
- 2 cups fresh blueberries
- 1 cup fresh raspberries
- 2 cups cold heavy cream
- 8 ounces cream cheese, softened
- 1/2 cup powdered sugar
- 1 teaspoon vanilla extract
- Zest of 1 lemon
- 2 tablespoons granulated sugar
Instructions
- Prep the berries: Wash and dry all berries gently. Hull and slice strawberries into even pieces (about 1/4 inch thick). In a medium bowl, combine sliced strawberries, blueberries, and raspberries. Add 2 tablespoons granulated sugar and lemon zest. Toss gently to coat. Let sit for about 10 minutes.
- Cube the cake: Cut angel food cake or pound cake into 1-inch cubes (about 5-6 cups). Use a serrated knife for angel food cake to avoid squishing.
- Make the cream cheese layer: In a large mixing bowl, beat softened cream cheese with an electric mixer on medium speed until smooth and creamy (about 2 minutes). Add 1/2 cup powdered sugar and 1 teaspoon vanilla extract. Beat until well combined and fluffy. Scrape down sides of bowl.
- Whip the cream: In a separate cold bowl, pour in 2 cups cold heavy cream. Using clean beaters, whip cream on medium-high speed until stiff peaks form. Be careful not to over-whip.
- Fold it together: Take about a third of the whipped cream and fold it into the cream cheese mixture using a rubber spatula to lighten it. Then gently fold in the remaining whipped cream until just combined (streaks of white are fine).
- Start layering: Place trifle bowl on a flat surface. Add a layer of cake cubes (about a third) spread evenly across the bottom. Do not press down.
- Add the berry layer: Spoon about a third of the berry mixture (including juices) over the cake cubes, spreading evenly.
- Add the cream layer: Spoon about a third of the cream cheese mixture over the berries, spreading gently to the edges.
- Repeat layers: Repeat steps 6-8 two more times, ending with a final layer of cream on top.
- Top it off: Save a few prettiest berries for the top. Arrange them in a pattern (e.g., ring of strawberries around edge, blueberries and raspberries in center). Add mint leaves if desired.
- Chill: Cover loosely with plastic wrap and refrigerate for at least 2 hours (4 hours is better) to let flavors meld and cake soften.
Notes
For make-ahead, add 1 tablespoon instant vanilla pudding mix to heavy cream before whipping to stabilize. Do not skip chilling time; it transforms the texture. Use room temperature cream cheese to avoid lumps. Wipe the inside of the bowl between layers for clean presentation. For picture-perfect layers, pipe the cream cheese mixture instead of spooning.
Nutrition
- Serving Size: 1 serving (based on
- Calories: 320
- Sugar: 28
- Sodium: 200
- Fat: 18
- Saturated Fat: 11
- Carbohydrates: 38
- Fiber: 3
- Protein: 5
Keywords: berry trifle, red white and blue dessert, Fourth of July dessert, easy trifle, summer dessert, no-bake dessert


