I figured I knew exactly how banana bread was supposed to turn out. It took about forty-five minutes and a loaf pan full of dense, gummy, vaguely banana-scented sadness for that assumption to fall apart completely. My first few attempts were, honestly, a bit of a disaster. I followed the recipe on the back of a flour bag and ended up with something that was more like a brick than a bread. It was edible, sure, but it wasn’t the kind of thing you’d want to serve to anyone you actually liked.
Then, a few years ago, I was at a neighbor’s house for a casual coffee. She brought out a slice of banana bread that was just… different. The top was a deep, glossy brown, almost like a crackled brownie. The inside was tender and moist, studded with toasted walnuts that added this incredible crunch. It smelled like my grandmother’s kitchen but tasted even better. I asked her for the recipe, and she just laughed. “It’s nothing fancy,” she said. “It’s just my mother’s old-fashioned banana bread.”
That was the key, I think. It wasn’t about fancy techniques or expensive ingredients. It was about a few simple, almost forgotten tricks. A little patience with your bananas, a specific order of mixing, and a generous hand with the walnuts. This recipe for Best Easy Old-Fashioned Banana Bread with Walnuts is the direct result of that afternoon. It is the recipe I now make for every bake sale, every housewarming, and every time I have a bunch of spotty bananas on the counter. It is the one that finally taught me that the best things in life are often the simplest.
Why You’ll Love This Recipe
This isn’t just another banana bread recipe. After years of testing (and eating a lot of mediocre loaves), I can tell you this one stands out for all the right reasons. It is the kind of recipe you will turn to again and again, and here is exactly why.
- Incredibly Moist & Tender: The secret is using very ripe, almost black bananas and a touch of buttermilk. This creates a crumb that is so soft and moist, it practically melts in your mouth. No dry, crumbly slices here.
- Perfectly Balanced Flavor: The sweetness is just right—enough to satisfy a craving but not so much that it overpowers the natural banana flavor. The toasted walnuts add a savory, nutty depth that makes every bite interesting.
- Simple, Pantry-Friendly Ingredients: You likely have almost everything you need already. No weird extracts, no specialty flours. Just good, honest ingredients that come together beautifully.
- Foolproof for Beginners: I have made this recipe dozens of times, and it works perfectly every single time. The instructions are straightforward, and the technique is forgiving. It is the perfect project for a lazy Sunday afternoon.
- Better the Next Day: Honest to goodness, this banana bread gets even better after a day or two. The flavors meld together, and the texture becomes even more luscious. It is the perfect make-ahead treat.
- Always a Crowd-Pleaser: I have brought this to potlucks, family gatherings, and holiday brunches. It disappears fast. Kids love it, adults love it, and everyone always asks for the recipe.
This recipe is the result of learning from my own mistakes. It is comfort food at its finest—simple, satisfying, and full of heart. It is the kind of bread that makes you close your eyes after the first bite, not because it is fancy, but because it is just so perfectly right.
What Ingredients You Will Need
This recipe uses simple, wholesome ingredients to deliver that classic, nostalgic flavor and satisfying texture. Each one plays a specific role, so it helps to know a little about what they do. Let’s break it down.
- Very Ripe Bananas (3 large, mashed): This is the most important ingredient. Do not use yellow bananas! You want them to be heavily speckled with brown spots, or even completely black. The riper they are, the sweeter and more intensely banana-flavored your bread will be. I often buy bananas a week ahead just to let them get perfectly spotty on my counter.
- Unsalted Butter (1/2 cup, 1 stick, melted and cooled): I prefer unsalted butter so I can control the salt level. Melting the butter (instead of creaming it) is what gives this bread its incredibly tender, dense texture. Let it cool slightly so it doesn’t cook the eggs when you mix them in.
- Granulated Sugar (1 cup): This adds the perfect amount of sweetness. You can reduce it to 3/4 cup if you like a less sweet bread, but I find 1 cup creates the ideal balance with the bananas and walnuts.
- Large Eggs (2, at room temperature): Eggs bind everything together and add richness. Room temperature eggs incorporate into the batter much more smoothly than cold ones, leading to a better texture. Just set them out on the counter for 15 minutes before you start.
- Buttermilk (1/4 cup): This is my secret ingredient for extra moisture and a tender crumb. The acid in the buttermilk reacts with the baking soda, helping the bread rise beautifully. If you don’t have buttermilk, you can make a quick substitute by adding 1 teaspoon of lemon juice or white vinegar to 1/4 cup of regular milk and letting it sit for 5 minutes.
- Vanilla Extract (1 teaspoon): Pure vanilla extract adds a warm, comforting depth of flavor that complements the banana perfectly. I use it in almost all my baking.
- All-Purpose Flour (1 1/2 cups): This is the structure of the bread. Spoon the flour into your measuring cup and level it off with a knife. Scooping directly from the bag can pack the flour, leading to a dry, dense loaf.
- Baking Soda (1 teaspoon): This is our leavening agent. It reacts with the acid from the buttermilk and bananas to create bubbles, making the bread light and fluffy. Make sure your baking soda is fresh for the best rise.
- Salt (1/2 teaspoon): Salt is crucial in baking. It doesn’t make the bread salty; it enhances all the other flavors, especially the banana and vanilla. Don’t skip it.
- Walnuts (1 cup, chopped and toasted): Toasted walnuts are a must. Toasting them in a dry skillet or oven for a few minutes brings out their natural oils and makes them incredibly fragrant and crunchy. It adds a wonderful textural contrast to the soft bread.
Ingredient Substitutions
I’ve tested a few swaps over the years, and here is what works well. For a dairy-free version, you can use melted coconut oil instead of butter and a dairy-free yogurt (like plain coconut or almond) in place of the buttermilk. If you are out of walnuts, pecans are a fantastic substitute. And for a gluten-free option, a good 1-to-1 gluten-free baking flour blend works perfectly in this recipe.
Equipment Needed
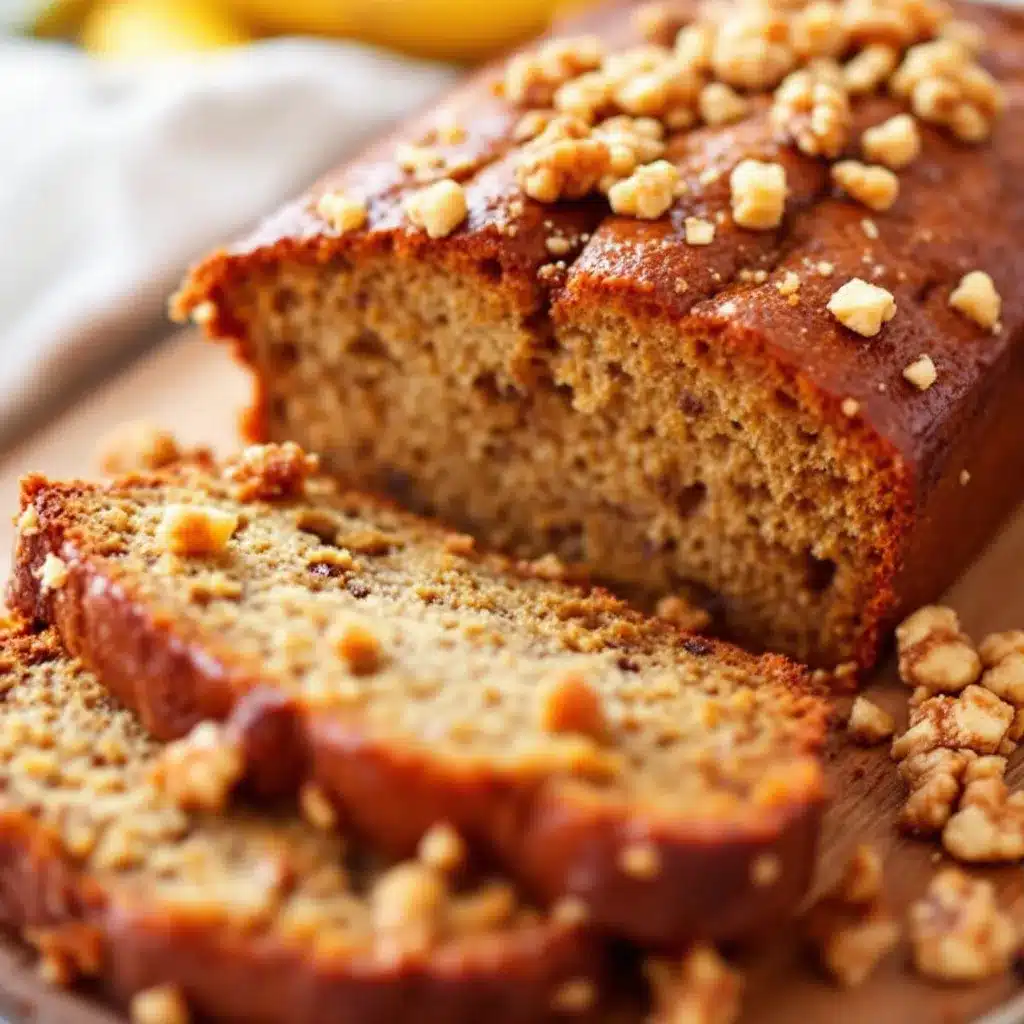
You don’t need any fancy gadgets for this one. A few basic tools are all it takes to get that perfect loaf.
- 9×5-inch Loaf Pan: This is the standard size for a classic banana bread. A metal or glass pan works well. If you use a dark, non-stick pan, you may need to reduce the baking time by 5-10 minutes as it can brown the crust faster.
- Large Mixing Bowls: You will need one for the wet ingredients and one for the dry. I like using a large glass or stainless steel bowl.
- Whisk & Wooden Spoon (or Spatula): A whisk is great for combining the dry ingredients. A wooden spoon or a flexible spatula is perfect for folding the wet and dry ingredients together without overmixing.
- Parchment Paper: This is a game-changer. Lining your loaf pan with parchment paper makes removing the bread incredibly easy. Just lift it out! No sticking, no fuss.
- Cooling Rack: A wire cooling rack allows air to circulate around the loaf, preventing the bottom from getting soggy as it cools.
- Small Skillet (for toasting walnuts): A small skillet is perfect for quickly toasting the walnuts on the stovetop. You can also use a baking sheet in the oven if you prefer.
Preparation Method
Let’s get baking! This process is straightforward, but following the order of steps is key to that perfect texture. I’ll walk you through it.
- Preheat and Prep: First things first, preheat your oven to 350°F (175°C). While the oven is heating, grease your 9×5-inch loaf pan with butter or non-stick spray. Then, line it with a strip of parchment paper, leaving a little overhang on the two long sides. This creates “handles” to lift the bread out later.
- Toast the Walnuts: Place your 1 cup of chopped walnuts in a dry skillet over medium heat. Stir them frequently for about 3-5 minutes, until they become fragrant and just slightly darker. Watch them closely—they can burn quickly! Once toasted, pour them onto a plate to cool completely.
- Mash the Bananas: In a large bowl, mash your 3 very ripe bananas with a fork. You want them to be mostly smooth, with just a few small lumps remaining for texture. It should measure about 1 1/2 cups.
- Mix Wet Ingredients: To the mashed bananas, add the 1/2 cup of melted and cooled unsalted butter, 1 cup of granulated sugar, 2 room-temperature eggs, 1/4 cup of buttermilk, and 1 teaspoon of vanilla extract. Whisk everything together until it is smooth and well combined. It will look a little thin, and that is totally fine.
- Combine Dry Ingredients: In a separate, medium-sized bowl, whisk together 1 1/2 cups of all-purpose flour, 1 teaspoon of baking soda, and 1/2 teaspoon of salt. Whisking ensures the baking soda and salt are evenly distributed throughout the flour.
- Fold Dry into Wet: Pour the dry ingredients into the bowl with the wet ingredients. Using a wooden spoon or a rubber spatula, gently fold the mixture together. Stop as soon as you no longer see streaks of flour. A few small lumps are okay. Do not overmix! Overmixing develops the gluten in the flour, which will make your banana bread tough and dense instead of tender.
- Add the Walnuts: Once the batter is just combined, gently fold in the cooled, toasted walnuts. Reserve about a tablespoon of walnuts to sprinkle on top of the batter for a pretty finish.
- Bake: Pour the batter into your prepared loaf pan and spread it into an even layer. Sprinkle the reserved walnuts on top. Bake for 55 to 65 minutes. The bread is done when a toothpick inserted into the center comes out clean or with just a few moist crumbs attached. If the top is browning too quickly (around the 45-minute mark), you can loosely tent the pan with a piece of aluminum foil.
- Cool: Place the pan on a wire cooling rack and let the bread cool in the pan for about 15 minutes. Then, using the parchment paper handles, lift the loaf out of the pan and transfer it directly to the cooling rack to cool completely. This is important! Slicing it while it is still warm will result in crumbly, messy slices.
Cooking Tips & Techniques
After making this recipe more times than I can count, I have learned a few things the hard way. Here are my best tips to guarantee banana bread success.
The Golden Rule of Bananas: Do not use yellow bananas. I cannot stress this enough. If your bananas are not spotty and soft, your bread will lack that deep, sweet banana flavor. If you are desperate, you can speed up the ripening process by baking the bananas (in their peels) on a baking sheet at 300°F (150°C) for 15-20 minutes. They will turn black and soft, perfect for baking.
The Danger of Overmixing: This was my biggest mistake as a beginner baker. Once you add the flour, mix only until it disappears. Overmixing develops the gluten, which creates a tough, rubbery texture. We want a tender, melt-in-your-mouth crumb. A few lumps in the batter are your friends.
The Toothpick Test: Oven temperatures can vary wildly. Start checking your bread at the 50-minute mark. Insert a toothpick into the very center of the loaf. If it comes out with wet batter, it needs more time. If it comes out clean or with a few moist crumbs, it is done. If the toothpick is dry and clean, you have baked it a little too long, but it will still be delicious.
Room Temperature Ingredients: This is a small step that makes a big difference. Cold eggs and cold buttermilk can seize the melted butter, leading to a lumpy batter. Taking the chill off your ingredients helps everything emulsify smoothly, resulting in a more even and tender crumb.
Variations & Adaptations
One of the best things about this recipe is how easily it adapts. I love playing around with different flavors, and here are a few of my favorite variations.
- Chocolate Chip Banana Bread: This is probably my most requested variation. Simply fold in 1/2 cup of semi-sweet or dark chocolate chips along with the walnuts. The warm, melted chocolate is pure heaven with the banana.
- Spiced Banana Bread: For a warmer, cozier flavor, add 1 teaspoon of ground cinnamon, 1/2 teaspoon of ground nutmeg, and a pinch of ground cloves to the dry ingredients. It smells incredible while it bakes and tastes like a hug on a cool day.
- Gluten-Free Banana Bread: I have made this many times for friends with gluten sensitivities. Simply substitute the all-purpose flour with a high-quality 1-to-1 gluten-free baking flour blend (one that contains xanthan gum). The texture is slightly different—a little more delicate—but it is still incredibly delicious.
- Dairy-Free Banana Bread: As I mentioned earlier, swap the butter for melted coconut oil or a good vegan butter, and replace the buttermilk with a dairy-free yogurt (like plain coconut or almond) thinned with a little water.
- Nut-Free Banana Bread: If you have a nut allergy or just aren’t a fan of walnuts, simply omit them. You can add an extra 1/2 cup of chocolate chips, or try folding in 1/2 cup of dried cranberries or chopped dried apricots for a different texture and sweetness.
Serving & Storage Suggestions
This banana bread is wonderful in so many ways. Here is how I like to serve it and, more importantly, how to keep it fresh for days.
Serving: I love eating a slice of this banana bread slightly warm, with a generous pat of salted butter melting into it. It is also fantastic toasted, which gives the edges a lovely crispness. For a really special treat, serve it alongside a cup of hot coffee or a glass of cold milk. It also makes a fantastic base for a simple dessert—try topping a slice with a scoop of vanilla ice cream and a drizzle of caramel sauce.
Storage: To keep your banana bread moist and fresh, wrap it tightly in plastic wrap or aluminum foil once it is completely cool. You can also store it in an airtight container. It will keep beautifully at room temperature for up to 4 days. Honestly, it often tastes even better on the second or third day as the flavors have time to meld.
Freezing: This banana bread freezes like a dream. I often make two loaves at a time and freeze one for later. To freeze, let the loaf cool completely, then wrap it tightly in a layer of plastic wrap, followed by a layer of aluminum foil. It will keep in the freezer for up to 3 months. To thaw, simply leave it on the counter for a few hours or overnight in the refrigerator. You can also freeze individual slices for a quick grab-and-go breakfast or snack.
Reheating: The best way to reheat a slice is in a toaster or toaster oven. It brings back that wonderful crisp exterior and soft, warm interior. You can also microwave a slice for about 15-20 seconds for a quick warm-up.
Nutritional Information & Benefits
While banana bread is certainly a treat, it does have some redeeming qualities! Here is a rough estimate of the nutritional information per slice (based on 10 slices).
| Nutrient | Amount (per slice) |
|---|---|
| Calories | ~320 |
| Fat | ~16g |
| Carbohydrates | ~42g |
| Protein | ~6g |
| Fiber | ~2g |
| Sugar | ~22g |
Pin This Recipe!
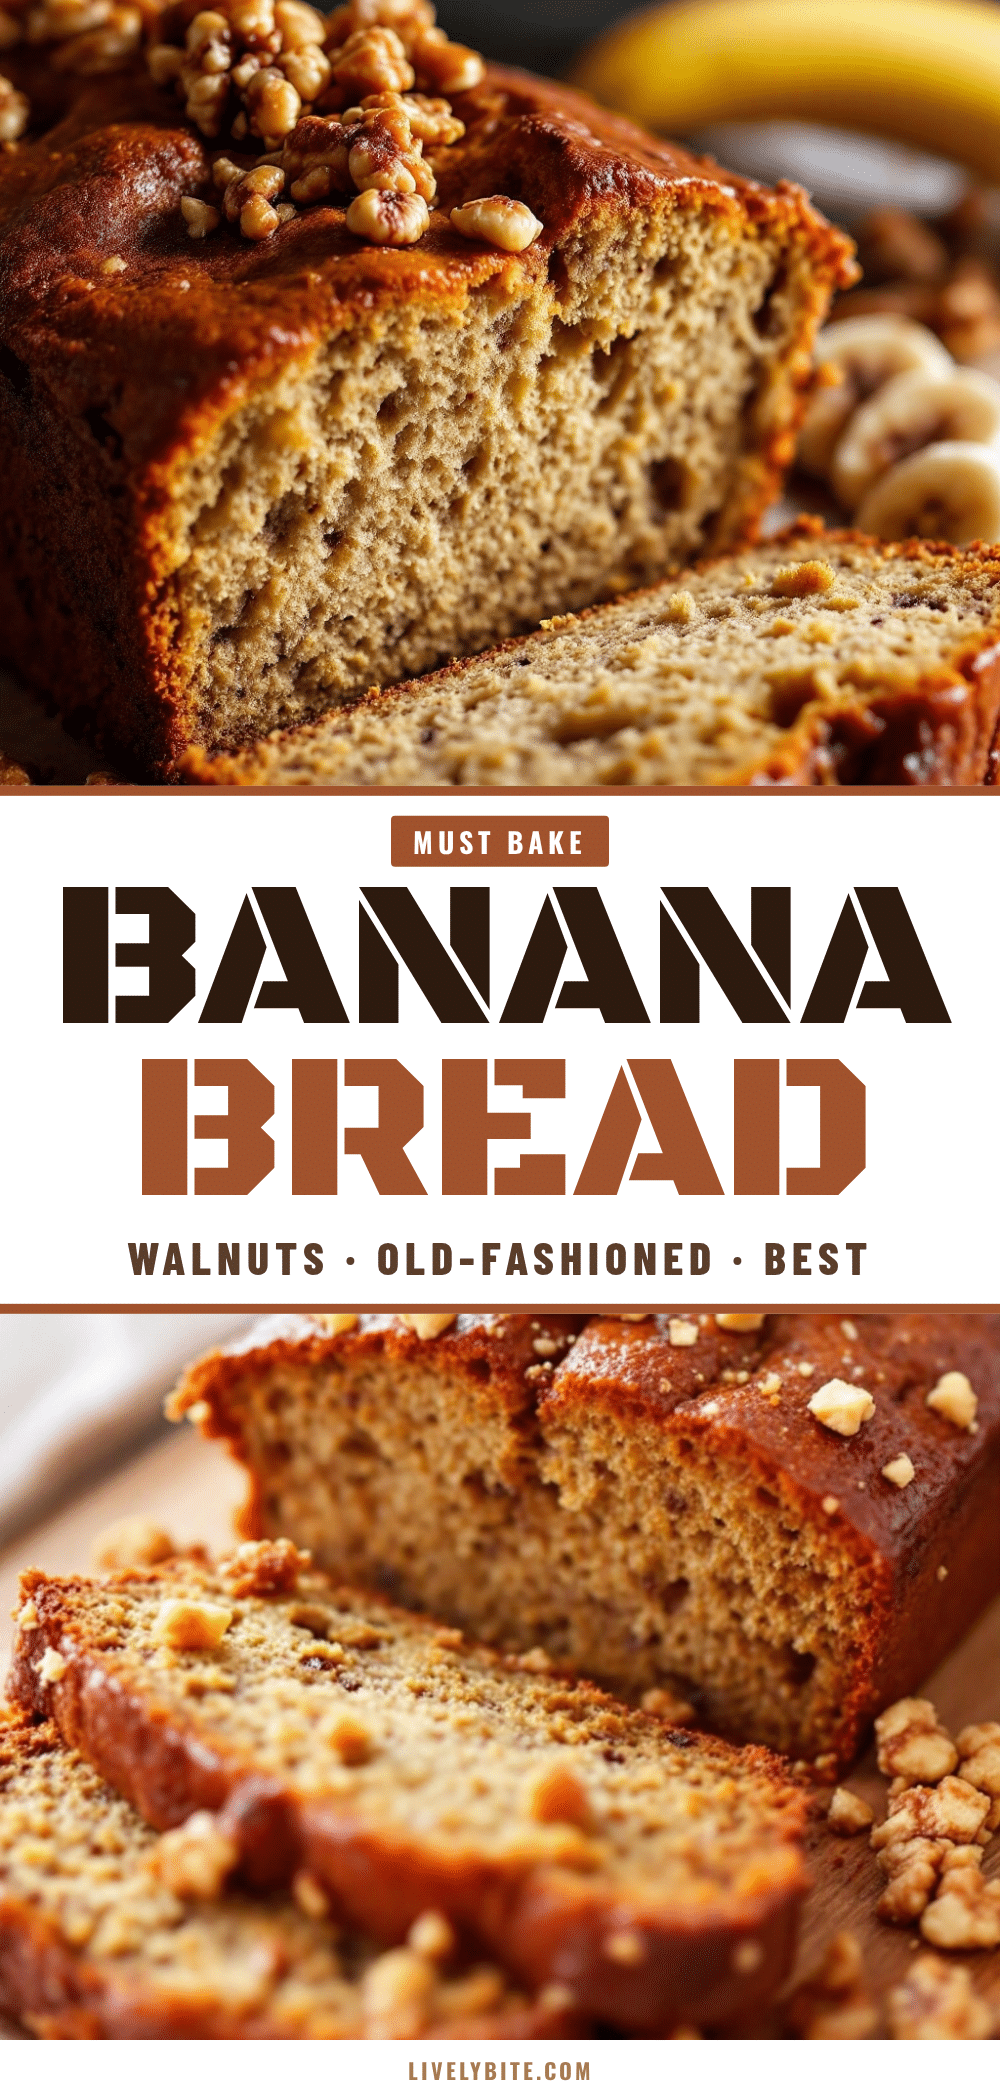
Best Easy Old-Fashioned Banana Bread with Walnuts
This incredibly moist and tender banana bread is studded with toasted walnuts and has a perfectly balanced flavor. It’s a simple, foolproof recipe that uses very ripe bananas and a touch of buttermilk for the best texture.
- Prep Time: 15 minutes
- Cook Time: 55 minutes
- Total Time: 1 hour 10 minutes
- Yield: 10 servings 1x
- Category: Dessert
- Cuisine: American
Ingredients
- 3 large very ripe bananas, mashed (about 1 1/2 cups)
- 1/2 cup (1 stick) unsalted butter, melted and cooled
- 1 cup granulated sugar
- 2 large eggs, at room temperature
- 1/4 cup buttermilk
- 1 teaspoon vanilla extract
- 1 1/2 cups all-purpose flour
- 1 teaspoon baking soda
- 1/2 teaspoon salt
- 1 cup walnuts, chopped and toasted
Instructions
- Preheat oven to 350°F (175°C). Grease a 9×5-inch loaf pan and line with parchment paper, leaving overhang on the long sides.
- Toast walnuts in a dry skillet over medium heat for 3-5 minutes until fragrant. Set aside to cool.
- In a large bowl, mash bananas with a fork until mostly smooth with a few lumps.
- Add melted butter, sugar, eggs, buttermilk, and vanilla to the bananas. Whisk until smooth and well combined.
- In a separate bowl, whisk together flour, baking soda, and salt.
- Pour dry ingredients into wet ingredients. Fold gently with a spatula or wooden spoon until just combined. Do not overmix; a few lumps are okay.
- Fold in toasted walnuts, reserving about 1 tablespoon for topping.
- Pour batter into prepared loaf pan and spread evenly. Sprinkle reserved walnuts on top.
- Bake for 55-65 minutes, until a toothpick inserted in the center comes out clean or with a few moist crumbs. If browning too quickly, tent with foil at 45 minutes.
- Cool in pan on a wire rack for 15 minutes, then lift out using parchment handles and cool completely on the rack before slicing.
Notes
Use very ripe, heavily speckled or black bananas for the best flavor. Do not overmix the batter to avoid a tough texture. The bread tastes even better the next day. For a dairy-free version, use melted coconut oil and dairy-free yogurt. For gluten-free, use a 1-to-1 gluten-free baking flour blend.
Nutrition
- Serving Size: 1 slice
- Calories: 320
- Sugar: 22
- Sodium: 280
- Fat: 16
- Saturated Fat: 6
- Carbohydrates: 42
- Fiber: 2
- Protein: 6
Keywords: banana bread, old-fashioned banana bread, easy banana bread, banana walnut bread, moist banana bread, homemade banana bread


