I need a Halloween cookie that looks like velvet. Not the fabric kind—the cake kind. That deep, dark, almost-black crumb that somehow manages to be tender and dramatic at the same time. And I need it right now, except I don’t have a single drop of black food coloring in my pantry. Classic.
Honestly, this is how most of my recipe ideas start—a craving colliding with a limitation. I wanted a sugar cookie that could hold its own at a Halloween party without looking like a sad, pale ghost. You know those cookies that try to be spooky but end up looking beige? Not happening on my watch.
So I started playing around with black cocoa powder. That stuff is magic—it’s what gives Oreos their signature dark color and deep chocolate flavor. And the best part? No neon food coloring required. The color comes from the cocoa itself, which means these cookies taste as good as they look. This best black velvet Halloween sugar cookie recipe was born from a moment of stubborn creativity, and honestly, it might be my favorite cookie experiment to date.
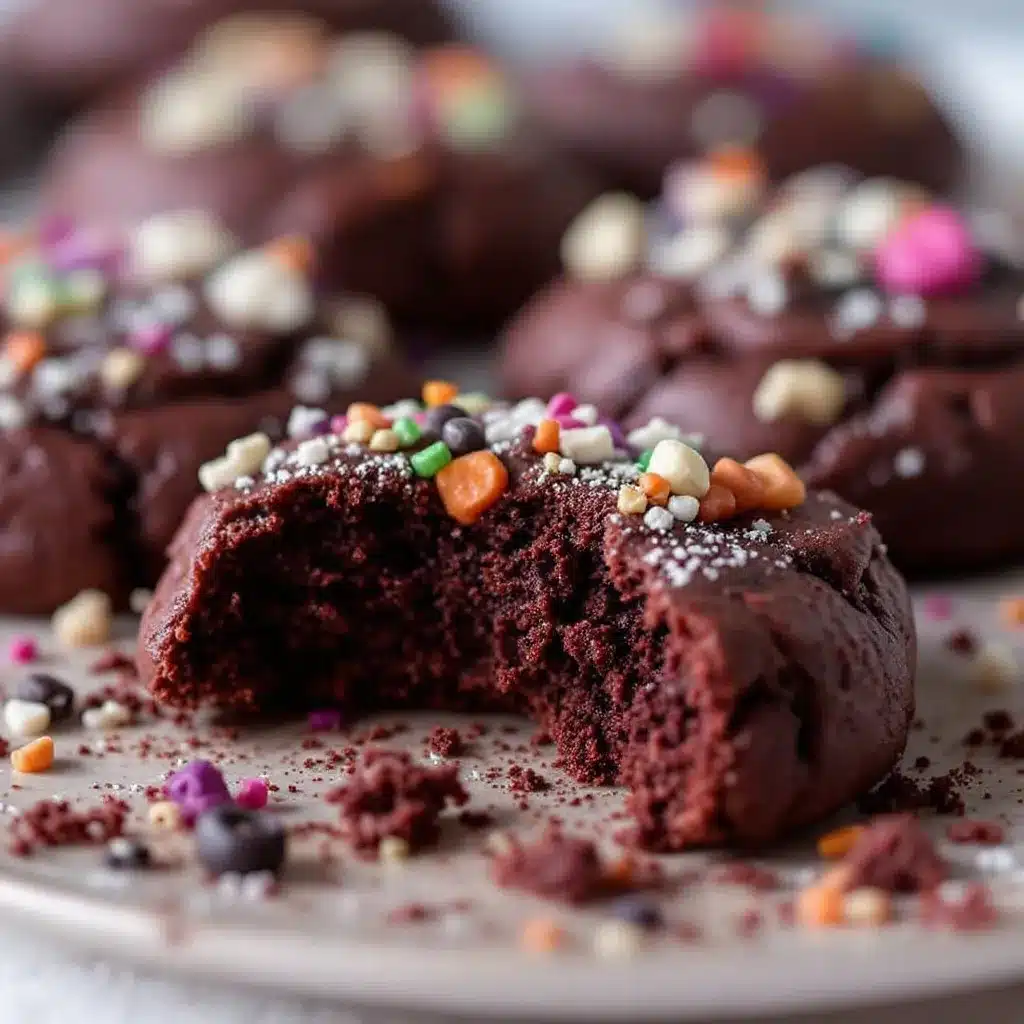
The first batch came out of the oven looking like little black velvet pillows. I stared at them for a solid minute before even tasting one. That first bite? Soft, slightly chewy edges, tender center, with that unmistakable dark cocoa richness that makes you go back for another. And another. By the time I stopped eating them, I knew this was the one.
Why You’ll Love This Recipe
Let me tell you why these cookies have earned a permanent spot in my Halloween rotation. I’ve tested this recipe at least seven times (my neighbors have been very patient), and every single batch disappeared within hours.
- Stunning Visuals : The deep black color is completely natural—no artificial dyes, no stained fingers, no worrying about kids eating food coloring. The black cocoa powder does all the work.
- Perfect Texture : These cookies strike that ideal balance between soft and slightly chewy. They hold their shape beautifully for decorating but remain tender enough to melt in your mouth.
- Simple Ingredients : Everything you need is probably in your pantry right now—flour, butter, sugar, eggs, and that magical black cocoa powder. No specialty stores required.
- Versatile Decorating : You can go simple with a dusting of powdered sugar or go all out with royal icing, sprinkles, or edible glitter. These cookies are a blank canvas for your Halloween creativity.
- Crowd-Pleaser : I brought a batch to a Halloween potluck and watched adults fight over the last ones. The black cocoa flavor is rich without being overwhelming, and kids love the dramatic color.
- Make-Ahead Friendly : The dough freezes beautifully, and baked cookies stay fresh for days. Perfect for when you want to prep ahead for a party.
This isn’t just another sugar cookie recipe. The black cocoa powder creates a texture and flavor profile that’s completely different from standard sugar cookies. It’s richer, more complex, and honestly, more interesting. Every time I make these, someone asks for the recipe. That’s how you know it’s a keeper.
What Ingredients You Will Need
This recipe uses simple, everyday ingredients to create something that looks and tastes completely extraordinary. Here’s everything you’ll need:
For the Cookie Dough
- Unsalted butter, 1 cup (226g), softened to room temperature (I use Kerrygold for the best flavor)
- Granulated sugar, 1 cup (200g)
- Large egg, 1, room temperature
- Vanilla extract, 2 teaspoons (use pure, not imitation, for the richest flavor)
- All-purpose flour, 2 cups (250g)
- Black cocoa powder, ½ cup (45g) (I recommend Rodelle or King Arthur brands for the darkest color)
- Baking powder, 1 teaspoon
- Baking soda, ½ teaspoon
- Salt, ½ teaspoon (fine sea salt works best)
For Decoration (Optional but Fun)
- Powdered sugar, for dusting (creates a ghostly white contrast)
- Royal icing, in Halloween colors (orange, purple, green)
- Edible glitter, in silver or gold (adds a magical sparkle)
- Halloween sprinkles, ghosts, pumpkins, or bats
Ingredient Tips & Substitutions
Black cocoa powder is the star here—it’s what gives these cookies their signature color and deep Oreo-like flavor. Regular Dutch-process cocoa won’t give you the same dramatic black color, but it will work in a pinch (your cookies will be dark brown instead). Look for black cocoa powder in the baking aisle or order it online—it’s becoming much more common these days.
For the butter, make sure it’s truly softened to room temperature. Cold butter won’t cream properly with the sugar, and melted butter will make your cookies spread too much. Leave it on the counter for about an hour before starting.
If you’re vegan, swap the butter for high-quality vegan butter (I like Miyoko’s) and use a flax egg (1 tablespoon ground flaxseed mixed with 3 tablespoons water, let sit for 5 minutes). The texture will be slightly different but still delicious.
Equipment Needed
Nothing fancy required here—just standard baking tools you probably already own. Here’s what you’ll need:
- Stand mixer or hand mixer (I prefer my KitchenAid for creaming butter and sugar, but a hand mixer works just fine)
- Large mixing bowls (at least two)
- Whisk (for combining dry ingredients)
- Rubber spatula (for scraping down the bowl)
- Baking sheets (I use Nordic Ware—they heat evenly and never warp)
- Parchment paper or silicone baking mat (silicone mats are a game-changer for even baking)
- Wire cooling rack
- Cookie scoop ( #30 scoop gives you perfectly uniform cookies every time)
- Rolling pin (if you want to roll and cut shapes instead of scooping)
- Cookie cutters (Halloween shapes like bats, ghosts, and pumpkins are fun)
If you don’t have a cookie scoop, just use two spoons—one to scoop and one to scrape. It’s not as precise, but it works. And if you’re using a silicone baking mat, wash it gently with warm soapy water and let it air dry completely before storing.
Preparation Method
Let’s get baking! This recipe comes together in about 30 minutes of active time, plus chilling. Here’s exactly how to do it:
- Cream the butter and sugar. In a large mixing bowl (or the bowl of your stand mixer), beat the softened butter and granulated sugar together on medium speed for about 3-4 minutes. You’re looking for a light, fluffy texture—it should look pale and feel airy. Scrape down the sides of the bowl with your rubber spatula at least once.
- Add the egg and vanilla. Crack in the room-temperature egg and add the vanilla extract. Beat on medium speed until fully combined, about 1 minute. The mixture might look slightly curdled at this point—that’s totally normal, don’t panic. Scrape the bowl again.
- Whisk the dry ingredients. In a separate medium bowl, whisk together the all-purpose flour, black cocoa powder, baking powder, baking soda, and salt. Make sure there are no lumps—black cocoa powder can be stubborn, so whisk thoroughly. I usually count to 30 while whisking to make sure everything is evenly distributed.
- Combine wet and dry ingredients. With the mixer on low speed, gradually add the dry ingredients to the wet mixture. Add it in three additions, mixing just until combined after each. Here’s the key : stop mixing as soon as you don’t see any more streaks of flour. Overmixing will make your cookies tough. The dough will be thick and slightly sticky—that’s exactly what you want.
- Chill the dough. This step is non-negotiable. Wrap the dough in plastic wrap and refrigerate for at least 2 hours, or up to 48 hours. Chilling prevents the cookies from spreading too much and deepens the flavor. I’ve tested this both ways, and chilled dough produces significantly better cookies.
- Preheat and prepare. When you’re ready to bake, preheat your oven to 350°F (175°C). Line two baking sheets with parchment paper or silicone baking mats. Take the dough out of the fridge and let it sit at room temperature for about 5 minutes—this makes it easier to scoop.
- Scoop and shape. Using your cookie scoop (or a tablespoon), scoop rounded balls of dough about 1.5 tablespoons each. Place them on the prepared baking sheets about 2 inches apart. If you want perfectly round cookies, roll each ball gently between your palms until smooth. For a more rustic look, leave them as scooped.
- Bake. Bake for 10-12 minutes, rotating the baking sheet halfway through. The cookies will look slightly puffed and the edges will be set. The centers might look slightly underdone—that’s good! They’ll continue cooking on the hot baking sheet. For softer cookies, bake for 10 minutes. For slightly crisper edges, go for 12 minutes.
- Cool properly. Let the cookies cool on the baking sheet for exactly 5 minutes. This allows them to set without overbaking. Then transfer them to a wire cooling rack to cool completely. If you move them too soon, they’ll fall apart. If you wait too long, they’ll stick to the baking sheet.
- Decorate (optional). Once completely cool, dust with powdered sugar, pipe on royal icing, or add sprinkles. The black velvet background makes any decoration pop beautifully.
Pro Tip : If you’re making shaped cookies, roll the dough to about ¼-inch thickness between two sheets of parchment paper before chilling. This saves time and prevents the dough from sticking to your rolling pin.
Cooking Tips & Techniques
After making these cookies more times than I care to admit, I’ve learned a few things the hard way. Let me save you some trouble:
The Temperature Trap : I once tried to rush the chilling step and baked a batch after only 30 minutes in the fridge. The cookies spread into flat, sad puddles that looked nothing like velvet. Learn from my mistake—that 2-hour chill is essential. The butter needs to firm up so the cookies hold their shape.
The Black Cocoa Challenge : Black cocoa powder is more alkaline than regular cocoa, which means it can make baked goods taste slightly bitter if you use too much. The balance in this recipe is carefully calibrated—don’t add extra thinking it’ll make the cookies darker. It won’t, and you’ll ruin the flavor.
Multitasking Strategy : While the dough is chilling, prep your decorating supplies. Make your royal icing, sort your sprinkles, and set up your cooling racks. This way, when the cookies come out of the oven, you can focus on decorating without scrambling.
The Fingerprint Test : To check if your cookies are done without cutting one open, gently press the center with your fingertip. If it springs back, they’re done. If your finger leaves an indent, give them another minute. This works every time.
Consistency Secret : For perfectly uniform cookies every time, weigh your dough balls. Each ball should be about 30g. It takes an extra minute but guarantees that every cookie bakes the same way. I learned this from a pastry chef friend, and it changed my baking game completely.
Don’t Skip the Salt : I know it seems like a small detail, but the salt balances the bitterness of the black cocoa and enhances the overall flavor. I once forgot it, and the cookies tasted flat and one-dimensional. Salt matters.
Variations & Adaptations
One of the best things about this recipe is how easily it adapts. Here are some variations I’ve tried and loved:
Gluten-Free Version : Substitute the all-purpose flour with a 1:1 gluten-free baking flour blend (I like Bob’s Red Mill). Add ½ teaspoon of xanthan gum if your blend doesn’t already include it. The texture will be slightly more delicate, but the flavor is identical. My gluten-intolerant friend couldn’t tell the difference.
Vegan Version : Use vegan butter (Miyoko’s is my go-to) and a flax egg (1 tablespoon ground flaxseed + 3 tablespoons water, let sit for 5 minutes). The cookies will be slightly less tender but still delicious. I’ve made this version for a vegan Halloween party, and they were gone in 20 minutes.
Spiced Halloween Version : Add 1 teaspoon of pumpkin pie spice to the dry ingredients for a subtle warm spice note that pairs beautifully with the black cocoa. This is my personal favorite variation—it tastes like autumn in cookie form.
Peppermint Twist : Replace the vanilla extract with 1 teaspoon of peppermint extract. Top the cooled cookies with crushed candy canes for a creepy-cute Halloween treat that tastes like a Thin Mint’s darker cousin.
Sandwich Cookie Version : Bake the cookies slightly thinner (flatten each dough ball to about ½ inch before baking) and sandwich them with a cream cheese frosting. The tangy frosting cuts through the rich black cocoa perfectly. I made these for a Halloween party once, and people literally fought over them.
Freeze for Later : The unbaked dough balls freeze beautifully. Scoop them onto a baking sheet, freeze until solid (about 2 hours), then transfer to a freezer bag. Bake straight from frozen, adding 2-3 minutes to the baking time. Fresh cookies on demand—what could be better?
Serving & Storage Suggestions
These cookies are best served at room temperature, which allows the texture to soften perfectly. If you’ve decorated them with royal icing, let the icing set completely (about 2 hours) before serving or stacking.
Presentation Ideas : Arrange the cookies on a black cake stand for maximum drama. Dust with powdered sugar right before serving to create a ghostly effect. For a Halloween party, I like to stack them in a glass jar tied with orange ribbon—it looks adorable and keeps them fresh.
Perfect Pairings : These cookies pair beautifully with a cold glass of milk (obviously), but they’re also amazing with a hot cup of coffee or a spiced chai latte. For an adult Halloween party, try them with a dark stout beer—the roasty notes complement the black cocoa perfectly.
Storage Instructions : Store undecorated cookies in an airtight container at room temperature for up to 5 days. If you’ve decorated them with royal icing, let the icing dry completely before layering them with parchment paper between each layer. Decorated cookies will keep for about 3 days.
Freezing Instructions : Baked and undecorated cookies freeze beautifully for up to 3 months. Wrap them tightly in plastic wrap, then place in a freezer-safe bag. Thaw at room temperature for about 30 minutes before decorating or serving. The flavor actually improves after freezing—the cocoa deepens somehow.
Reheating Tip : If you like your cookies slightly warm (I do!), pop them in a 300°F (150°C) oven for 3-4 minutes. This revives the texture and makes them taste freshly baked. Don’t microwave them—it makes the edges tough.
Flavor Development : Here’s something interesting—these cookies actually taste better on day two. The black cocoa flavor mellows and deepens overnight. So if you’re making them for a party, bake them a day ahead. Your future self will thank you.
Nutritional Information & Benefits
Let’s be real—these are cookies, not health food. But I believe in knowing what you’re eating so you can enjoy them mindfully. Here’s the breakdown per cookie (based on 24 cookies, undecorated):
- Calories : Approximately 145
- Total Fat : 8g
- Saturated Fat : 5g
- Carbohydrates : 18g
- Sugar : 9g
- Protein : 2g
- Fiber : 1g
- Sodium : 95mg
Health Highlights : Black cocoa powder is rich in antioxidants called flavonoids, which have been linked to heart health and reduced inflammation. It also contains iron, magnesium, and zinc. Of course, the butter and sugar balance things out, but it’s nice to know there’s some nutritional value hiding in that dark, delicious crumb.
Dietary Considerations : This recipe contains dairy (butter) and gluten (flour). For dairy-free and gluten-free options, check the variations section above. The cookies are egg-free if you use the flax egg substitution mentioned earlier.
Allergen Note : If you’re serving these at a party, be aware that they contain common allergens including wheat, dairy, and eggs. Always label them clearly if you’re bringing them to a shared event.
Personal Perspective : I believe in balance—enjoying treats like these cookies as part of a varied diet. I don’t stress about the sugar content because I’m eating them for joy, not nutrition. One cookie satisfies my sweet tooth completely, and that’s the kind of mindful indulgence I can get behind.
Conclusion
These black velvet Halloween sugar cookies are everything I want in a Halloween treat—dramatic, delicious, and surprisingly easy to make. No artificial colors, no complicated techniques, just honest baking that delivers on every level.
What I love most about this recipe is how customizable it is. You can keep them simple with a dusting of powdered sugar, or go all out with elaborate royal icing designs. They’re equally at home at a kid-friendly Halloween party or an adult costume gathering. And honestly? They’re delicious enough to make year-round, not just in October.
I’d love to hear how yours turn out! Did you try any of the variations? Did you create a decorating masterpiece? Drop a comment below and share your photos—I read every single one and love seeing your creations. And if you have questions, ask away. I’m here to help.
Go make some magic in your kitchen. Your Halloween spread is about to get a serious upgrade.
Frequently Asked Questions
Can I use regular cocoa powder instead of black cocoa?
You can, but your cookies will be dark brown instead of black. Regular Dutch-process cocoa will give you a rich chocolate color, but it won’t have that dramatic black velvet effect. If you’re okay with that, go for it—the cookies will still taste great.
Why did my cookies spread too much?
This usually happens for one of three reasons: the dough wasn’t chilled long enough, the butter was too soft, or the baking sheet was too warm. Make sure you chill the dough for at least 2 hours, use room-temperature butter (not melted), and let your baking sheets cool completely between batches.
Can I make the dough ahead of time?
Absolutely! The dough can be refrigerated for up to 48 hours before baking. In fact, the flavor improves with time. You can also freeze the dough balls for up to 3 months—just bake straight from frozen, adding 2-3 minutes to the baking time.
How do I get the cookies perfectly round?
After scooping the dough, roll each ball gently between your palms until smooth. This creates a uniform shape that bakes into perfectly round cookies. For an even more precise shape, use a round cookie cutter to gently scoot the edges of the warm cookies as soon as they come out of the oven.
What’s the best way to decorate these cookies?
That depends on your style! For a simple look, dust with powdered sugar right before serving. For more elaborate designs, use royal icing in Halloween colors. Edible glitter or metallic lustre dust adds a magical sparkle that looks stunning against the black background. If you’re feeling creative, try our other Halloween baking recipes for more inspiration.
Pin This Recipe!
Best Black Velvet Halloween Sugar Cookie Recipe

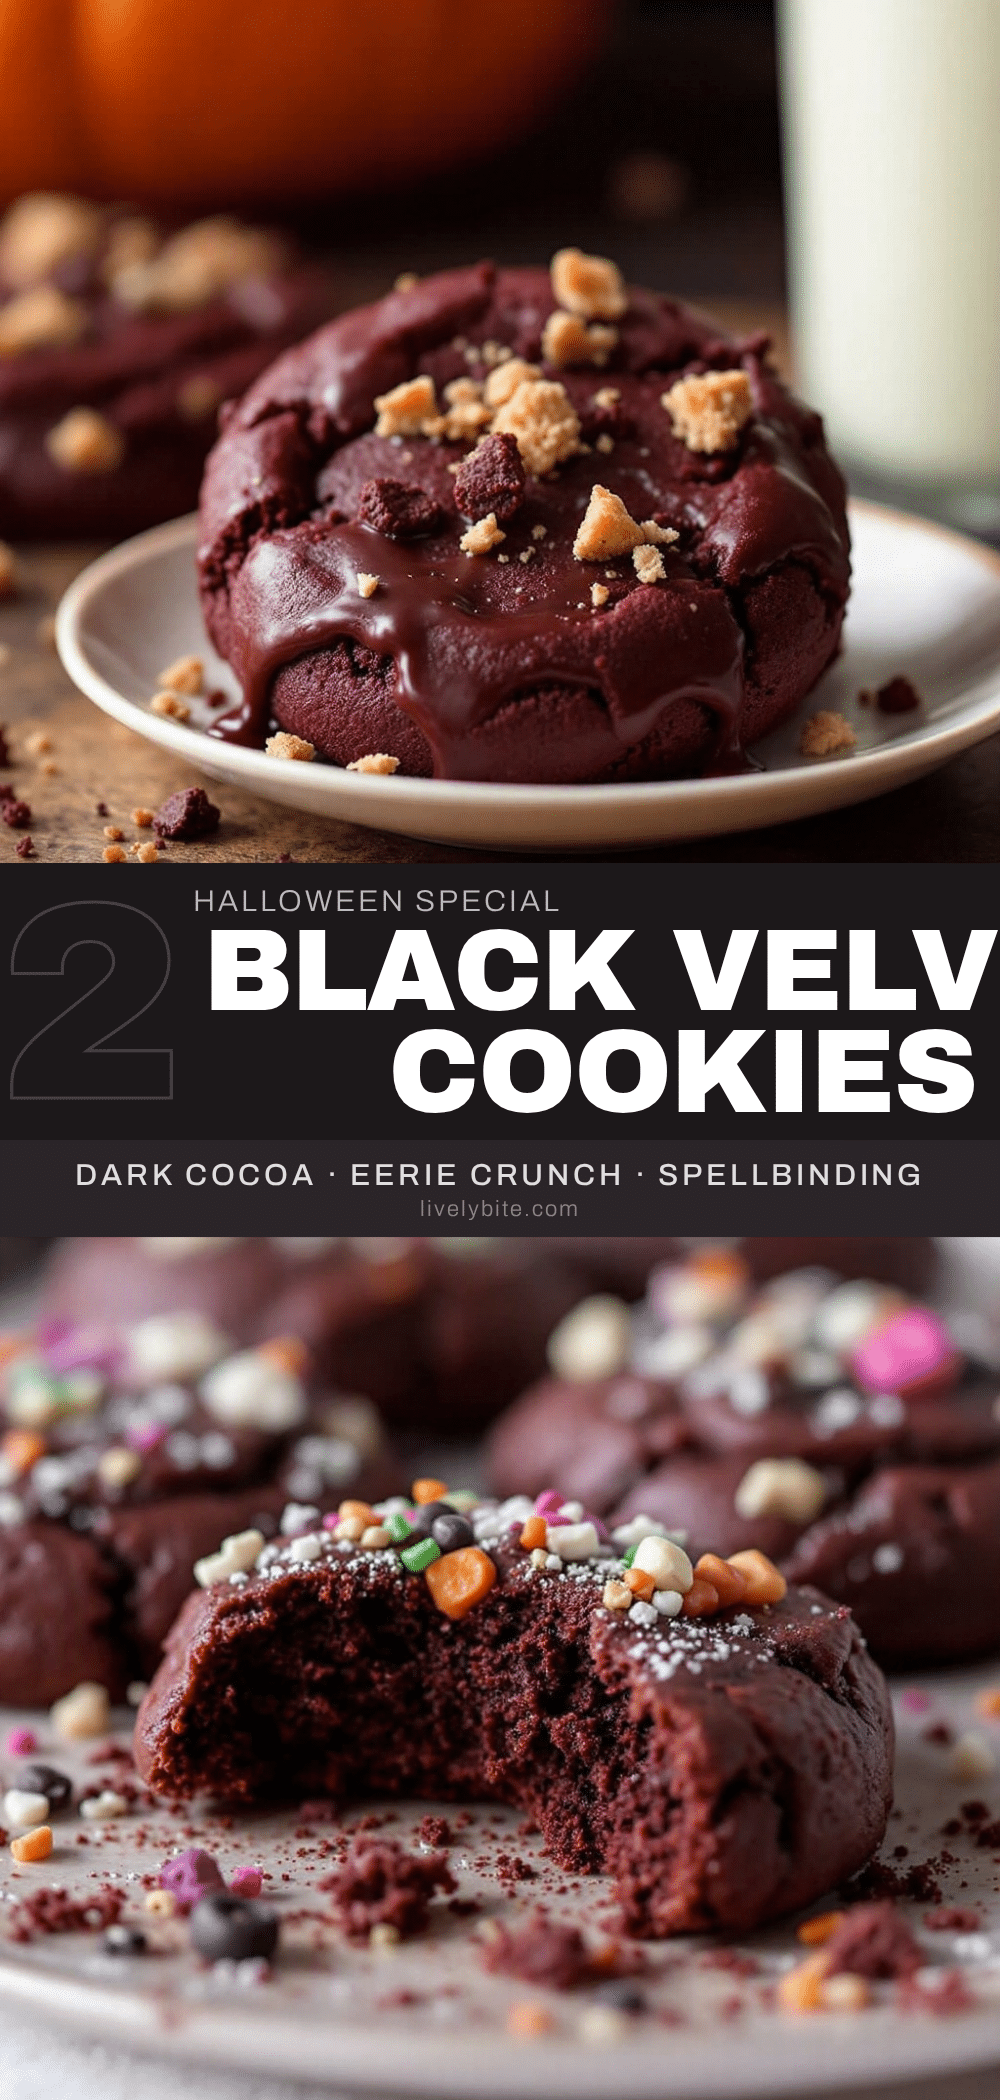
These black velvet Halloween sugar cookies are naturally dark from black cocoa powder, with a soft and slightly chewy texture. They are perfect for decorating and are a crowd-pleaser at any Halloween party.
- Prep Time: 30 minutes
- Cook Time: 10-12 minutes
- Total Time: 2 hours 42 minutes
- Yield: 24 cookies 1x
- Category: Dessert
- Cuisine: American
Ingredients
- 1 cup (226g) unsalted butter, softened to room temperature
- 1 cup (200g) granulated sugar
- 1 large egg, room temperature
- 2 teaspoons vanilla extract (pure)
- 2 cups (250g) all-purpose flour
- ½ cup (45g) black cocoa powder
- 1 teaspoon baking powder
- ½ teaspoon baking soda
- ½ teaspoon fine sea salt
- Powdered sugar, for dusting (optional)
- Royal icing in Halloween colors (optional)
- Edible glitter in silver or gold (optional)
- Halloween sprinkles (optional)
Instructions
- Cream the butter and sugar: In a large mixing bowl, beat the softened butter and granulated sugar together on medium speed for 3-4 minutes until light and fluffy. Scrape down the sides of the bowl at least once.
- Add the egg and vanilla: Add the room-temperature egg and vanilla extract. Beat on medium speed until fully combined, about 1 minute. The mixture may look slightly curdled; that’s normal. Scrape the bowl again.
- Whisk the dry ingredients: In a separate medium bowl, whisk together the all-purpose flour, black cocoa powder, baking powder, baking soda, and salt until no lumps remain.
- Combine wet and dry ingredients: With the mixer on low speed, gradually add the dry ingredients to the wet mixture in three additions, mixing just until combined after each. Stop mixing as soon as no streaks of flour remain. The dough will be thick and slightly sticky.
- Chill the dough: Wrap the dough in plastic wrap and refrigerate for at least 2 hours, or up to 48 hours.
- Preheat and prepare: When ready to bake, preheat oven to 350°F (175°C). Line two baking sheets with parchment paper or silicone baking mats. Let the dough sit at room temperature for about 5 minutes.
- Scoop and shape: Using a cookie scoop or tablespoon, scoop rounded balls of dough about 1.5 tablespoons each. Place them on the prepared baking sheets about 2 inches apart. For perfectly round cookies, roll each ball gently between your palms until smooth.
- Bake: Bake for 10-12 minutes, rotating the baking sheet halfway through. The cookies will look slightly puffed and the edges will be set. For softer cookies, bake for 10 minutes; for slightly crisper edges, bake for 12 minutes.
- Cool properly: Let the cookies cool on the baking sheet for exactly 5 minutes, then transfer to a wire cooling rack to cool completely.
- Decorate (optional): Once completely cool, dust with powdered sugar, pipe on royal icing, or add sprinkles.
Notes
Chilling the dough for at least 2 hours is essential to prevent spreading. Black cocoa powder is more alkaline; do not add extra as it may cause bitterness. For perfectly uniform cookies, weigh each dough ball to about 30g. The cookies taste even better on day two as the flavor deepens.
Nutrition
- Serving Size: 1 cookie
- Calories: 145
- Sugar: 9
- Sodium: 95
- Fat: 8
- Saturated Fat: 5
- Carbohydrates: 18
- Fiber: 1
- Protein: 2
Keywords: Halloween cookies, black velvet, sugar cookies, black cocoa, Halloween dessert, no food coloring, soft sugar cookies


