My kitchen smells like burnt sugar and panic right now and I am completely fine with that.
I want something sweet that crunches before it melts and has that specific orange-yellow-white gradient that screams October without trying too hard.
The pantry is mostly empty except for a bag of semi-sweet chips and three boxes of candy corn that someone left there from last year.
It turns out that stale candy corn is actually the secret weapon for texture if you crush it fine enough.
I realized while staring at the oven timer that I have been making Halloween treats the hard way for a decade.
Most recipes require melting white chocolate and piping tiny triangles which is a nightmare when you have kids running around.
This version is just a bar. A thick, chewy, crispy-edged bar that holds its shape.
The first time I pulled these out of the oven they looked like a mess of colorful blobs.
But once they cooled for twenty minutes they set up into these perfect little squares.
My kids took one bite and immediately asked if I could make them every day.
That is the moment I knew this recipe had legs.
It is not complicated. It is just smart.
You get the chewiness of a brownie with the snap of a shortbread cookie.
And the candy corn bits add this unexpected salty-sweet crunch that keeps you coming back.
I honestly think this is the only Halloween treat that will survive until Thursday night.
Because unlike homemade truffles or fancy cake pops, these don’t need a fridge.
They just need to sit on the counter and look festive.
That quiet realization hit me while I was scraping the last bit of dough off the spoon.
Simple ingredients. Big flavor. Zero stress.
That is why I keep making them.
Why You’ll Love This Recipe
Let’s be real for a second. Most Halloween baking feels like a chore.
You spend hours decorating and then the kids just want to eat the frosting.
These Crispy Chewy Halloween Candy Corn Cookie Bars solve that problem completely.
I have tested this recipe at least six times over the last two years.
Each time I tweaked the butter ratio or the baking time to get that perfect edge.
Here is why this recipe actually works and why you should stop looking for other options.
- Quick & Easy: You can have these in the oven in under fifteen minutes of prep.
- Simple Ingredients: You likely already have butter, sugar, flour, and candy corn in your house.
- Perfect for Parties: They are finger food. No plates needed. Great for trick-or-treaters.
- Crowd-Pleaser: Even the pickiest eaters love the familiar taste of candy corn.
- Unbelievably Delicious: The contrast between the soft center and crispy edge is addictive.
What makes this different from a standard sugar cookie is the inclusion of the crushed candy corn.
Most people just mix in whole kernels and they sink to the bottom.
By crushing them slightly and folding them in gently, you get pockets of flavor throughout.
It is not just another cookie bar.
It is the kind of treat that makes you close your eyes after the first bite.
It feels like comfort food reimagined for the spookiest night of the year.
Perfect for impressing guests without stress or turning a simple Tuesday dinner into something memorable.
I honestly believe these are better than anything you can buy at the grocery store.
Because they are made with real butter and a bit of love.
And maybe a little bit of panic from the oven timer.
But mostly love.
Trust me on this one.
What Ingredients You Will Need
This recipe relies on pantry staples to deliver bold flavor and satisfying texture without the fuss.
You do not need any exotic spices or hard-to-find ingredients.
Just good quality basics and the star of the show: candy corn.
Here is what you need to gather before you start mixing.
- Unsalted Butter: One cup, softened. I prefer Kerrygold for the best flavor.
- Granulated Sugar: One cup. This helps create the crispy edges.
- Brown Sugar: One cup, packed. This is what gives you the chewiness.
- Eggs: Two large eggs, room temperature. Don’t skip this step.
- Vanilla Extract: Two teaspoons. Pure vanilla makes a huge difference.
- All-Purpose Flour: Three cups. Sift it if you want it light.
- Baking Powder: One teaspoon. Fresh is better.
- Salt: Half a teaspoon. To balance the sweetness.
- Candy Corn: Two bags. One for the mix, one for the top.
- White Chocolate Chips: One cup. Optional but recommended.
For the butter, make sure it is soft but not melted.
If it is melted, your cookies will spread too much.
The flour should be spooned into the cup and leveled off.
Do not scoop directly from the bag or you will pack it too tight.
For the candy corn, I use the standard brands like Jolly Rancher or Hershey’s.
They hold up well in the oven without turning into liquid.
If you want a gluten-free option, you can swap the flour for a 1:1 gluten-free blend.
Just make sure the blend contains xanthan gum.
For a dairy-free version, use plant-based butter and dairy-free chocolate chips.
The texture will be slightly different but still delicious.
I personally recommend sticking to real butter if you can.
It just tastes better.
Also, buy extra candy corn.
You will want to sprinkle more on top for that festive look.
It really makes the bars pop in photos.
And we all know photos are half the fun of baking.
So grab those bags and let’s get started.
Equipment Needed
You don’t need much to make these bars.
A 9×13 inch baking pan is essential.
Grease it well with butter or non-stick spray.
I use a glass Pyrex pan because it bakes evenly.
A metal pan might cause the bottom to burn.
You will need a large mixing bowl.
Something sturdy that won’t tip over when you are beating the butter.
An electric mixer is helpful but not required.
I usually use a hand mixer for speed.
A rubber spatula is your best friend here.
Use it to scrape the sides of the bowl.
And to fold in the candy corn gently.
A sharp knife or pizza cutter is good for slicing.
Clean cuts look much better on social media.
Keep your equipment simple.
You don’t need any special gadgets.
Just the basics you already have.
If you don’t have a mixer, use a wooden spoon.
It will take more effort but it works.
I have made this recipe by hand before.
It was a workout but the results were worth it.
So gather your tools and let’s cook.
Preparation Method
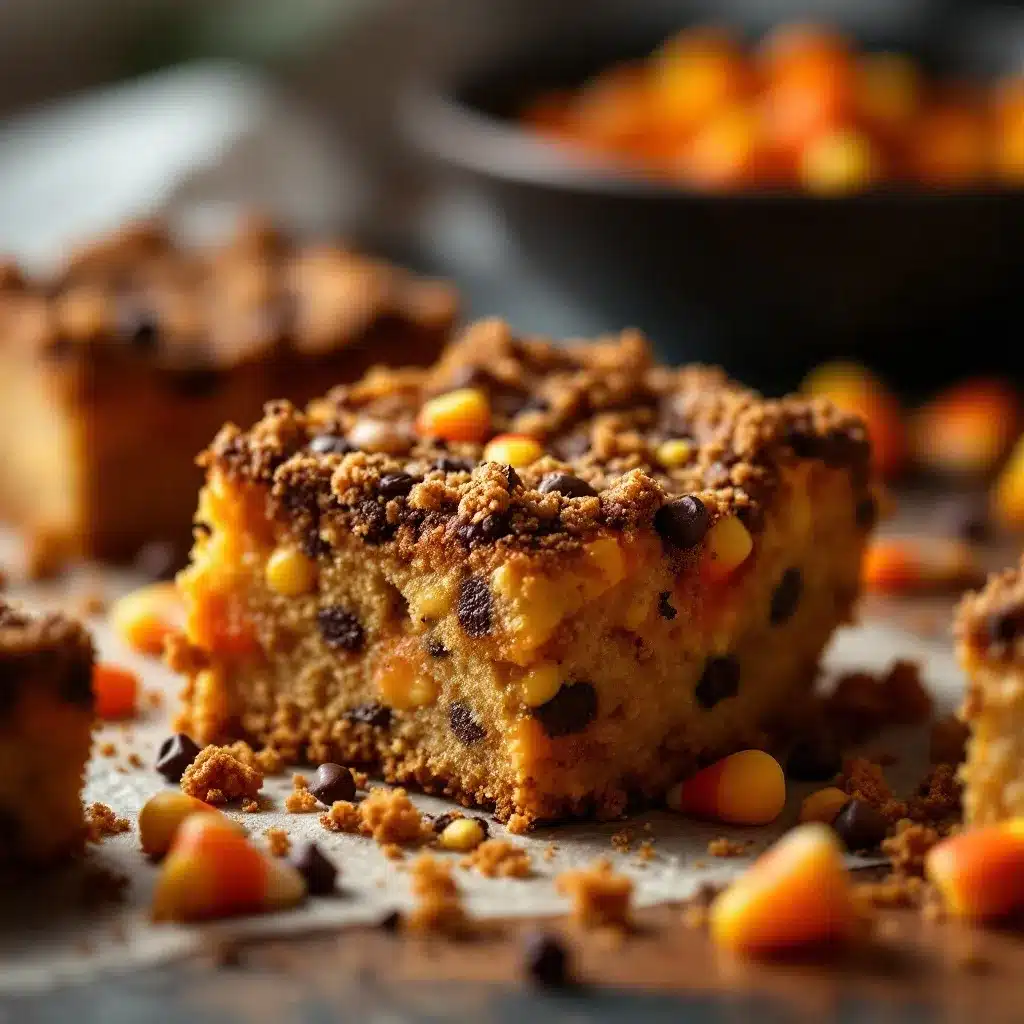
- Prep the Oven and Pan: Heat your oven to 350°F (175°C). Grease a 9×13 inch baking pan.
- Cream the Butter and Sugars: In a large bowl, beat the softened butter, granulated sugar, and brown sugar together. Do this for about two minutes until it is light and fluffy.
- Add Wet Ingredients: Crack in the two eggs and pour in the vanilla extract. Mix until combined. The mixture should look smooth.
- Mix Dry Ingredients: In a separate bowl, whisk together the flour, baking powder, and salt.
- Combine Wet and Dry: Gradually add the dry ingredients to the wet mixture. Mix on low speed until just combined. Do not overmix.
- Fold in Candy Corn: Pour in one bag of candy corn and the white chocolate chips. Fold them in gently with a spatula. Save the rest for the top.
- Spread the Dough: Pour the dough into the prepared pan. Spread it out evenly with the spatula.
- Add Topping: Sprinkle the remaining candy corn evenly over the top of the dough.
- Bake: Place the pan in the oven and bake for 20-25 minutes.
- Check for Doneness: The edges should be golden brown. The center should still look slightly soft.
- Cool Completely: Let the bars cool in the pan for at least 20 minutes. This is crucial for them to set.
- Cut and Serve: Once cool, cut into squares and serve.
Watch the oven closely after 20 minutes.
Ovens vary in temperature.
You want them chewy, not dry.
If the edges are browning too fast, cover them with foil.
Patience is key here.
Do not cut them while they are hot.
They will fall apart.
Wait until they are room temperature.
Then you will see the magic.
The bars will hold their shape perfectly.
And the candy corn will be slightly toasted.
It adds a nice depth of flavor.
So trust the process.
It is worth the wait.
Cooking Tips & Techniques
Here are some pro tips to make sure your bars turn out perfect.
First, do not overbake.
This is the most common mistake.
Take them out when they look slightly underdone.
They will continue to cook in the hot pan.
Second, use room temperature ingredients.
Cold eggs can cause the butter to seize up.
It ruins the emulsion.
Third, fold the candy corn gently.
If you mix too vigorously, you will crush the kernels.
You want distinct pieces in every bite.
Fourth, line your pan with parchment paper.
This makes cleanup a breeze.
And it helps the bars release easily.
Fifth, let them cool completely.
I know it is hard to wait.
But cutting them hot is a disaster.
They need time to set.
Also, taste the dough.
If you like extra sweet, add a bit more sugar.
If you prefer less sweet, reduce the brown sugar.
Experiment to find your balance.
Finally, store them in an airtight container.
They stay fresh for up to a week.
But they rarely last that long.
These are that good.
So enjoy every bite.
And share them with friends.
They are a great gift too.
Wrapped in cellophane with a bow.
Simple and sweet.
Just like these bars.
Variations & Adaptations
You can tweak this recipe to suit your tastes.
Here are a few ideas to try.
For a chocolate version, swap half the flour for cocoa powder.
Add chocolate chips instead of white chocolate.
It creates a fun marbled effect.
For a nutty twist, add chopped pecans or walnuts.
They pair well with the caramel notes of the candy corn.
If you want a healthier option, use oat flour.
It adds a nice chewiness.
And it is gluten-free if you use certified oats.
For a fall spice version, add cinnamon and nutmeg.
It makes the bars taste like pumpkin pie.
Just be careful not to add too much spice.
You want the candy corn to shine.
Another variation is to use butterscotch chips.
They complement the orange color perfectly.
I have also tried adding dried cranberries.
The tartness cuts through the sweetness.
It is a surprising but delicious combo.
Feel free to experiment.
Baking is about having fun.
There are no rules.
Just taste and adjust.
That is how you find your signature style.
So go wild.
Make it your own.
And share your creations.
I would love to see what you come up with.
Tag me in your photos.
I always look for inspiration.
And maybe feature your version.
Who knows?
It could be the next big thing.
So get creative.
And have fun.
Serving & Storage Suggestions
These bars are best served at room temperature.
They are too soft when warm and too hard when cold.
Room temp is the sweet spot.
Pair them with a glass of cold milk.
Or a cup of hot coffee.
They go well with both.
For a party, arrange them on a platter.
Group the orange ones together.
Then the yellow and white.
It creates a nice visual effect.
For storage, keep them in an airtight container.
Layer them with parchment paper.
This prevents them from sticking together.
They will last in the pantry for up to five days.
In the fridge, they last up to two weeks.
But they might lose some chewiness.
So pantry is best.
For freezing, wrap them tightly in plastic wrap.
Then put them in a freezer bag.
They will keep for up to three months.
Thaw them at room temperature before eating.
They taste just as good fresh.
So make a double batch.
You will thank me later.
And enjoy the leftovers.
Because let’s face it, there are always leftovers.
Unless you hide them well.
Then you might have to make more.
Which is fine by me.
More baking means more joy.
So keep baking.
And keep eating.
It is the only way to live.
Nutritional Information & Benefits
These bars are a treat, so enjoy them in moderation.
Each bar contains approximately 250 calories.
They are high in sugar and carbohydrates.
But they also provide some energy.
The butter adds healthy fats.
And the candy corn adds a bit of fun.
There are no major health benefits.
But they do bring joy.
And that is important too.
If you have allergies, check the candy corn label.
Some brands contain corn syrup.
Others might have gluten.
Always read the ingredients.
For a lighter version, reduce the sugar by a quarter cup.
It will still be sweet enough.
But less cloying.
Try it and see what you think.
I find that a little less sugar allows the butter flavor to shine.
It is a nice balance.
So adjust to your preference.
There is no right or wrong.
Just what tastes good to you.
And these bars taste great.
So don’t worry too much about the numbers.
Just enjoy the moment.
And share the love.
That is the real benefit.
Connection through food.
And it is worth every calorie.
Conclusion
These Crispy Chewy Halloween Candy Corn Cookie Bars are a must-try.
They are easy, delicious, and festive.
Perfect for any Halloween celebration.
I hope you enjoy making them as much as I do.
Feel free to customize them to your liking.
Add nuts, change the chips, or swap the candy.
The possibilities are endless.
I love this recipe because it brings back childhood memories.
And creates new ones with my family.
Please leave a comment below.
Let me know how they turned out.
And share your photos.
I love seeing your creations.
Happy baking!
And happy Halloween!
Stay sweet!
FAQs
Can I use mini marshmallows instead of candy corn?
Yes, you can. They will melt and create a gooey texture. It is a different but still delicious option.
How do I store leftover bars?
Store them in an airtight container at room temperature for up to five days. You can also refrigerate them for longer storage.
Can I freeze the dough before baking?
Yes, you can freeze the dough in the pan. Let it thaw in the fridge overnight before baking. Add a few minutes to the bake time.
Are these bars gluten-free?
Not traditionally. But you can use a 1:1 gluten-free flour blend to make them gluten-free. Just ensure your candy corn is certified gluten-free.
Why did my bars spread too much?
This usually happens if the butter was too soft or melted. Make sure your butter is softened but still holds its shape before creaming.
Pin This Recipe!
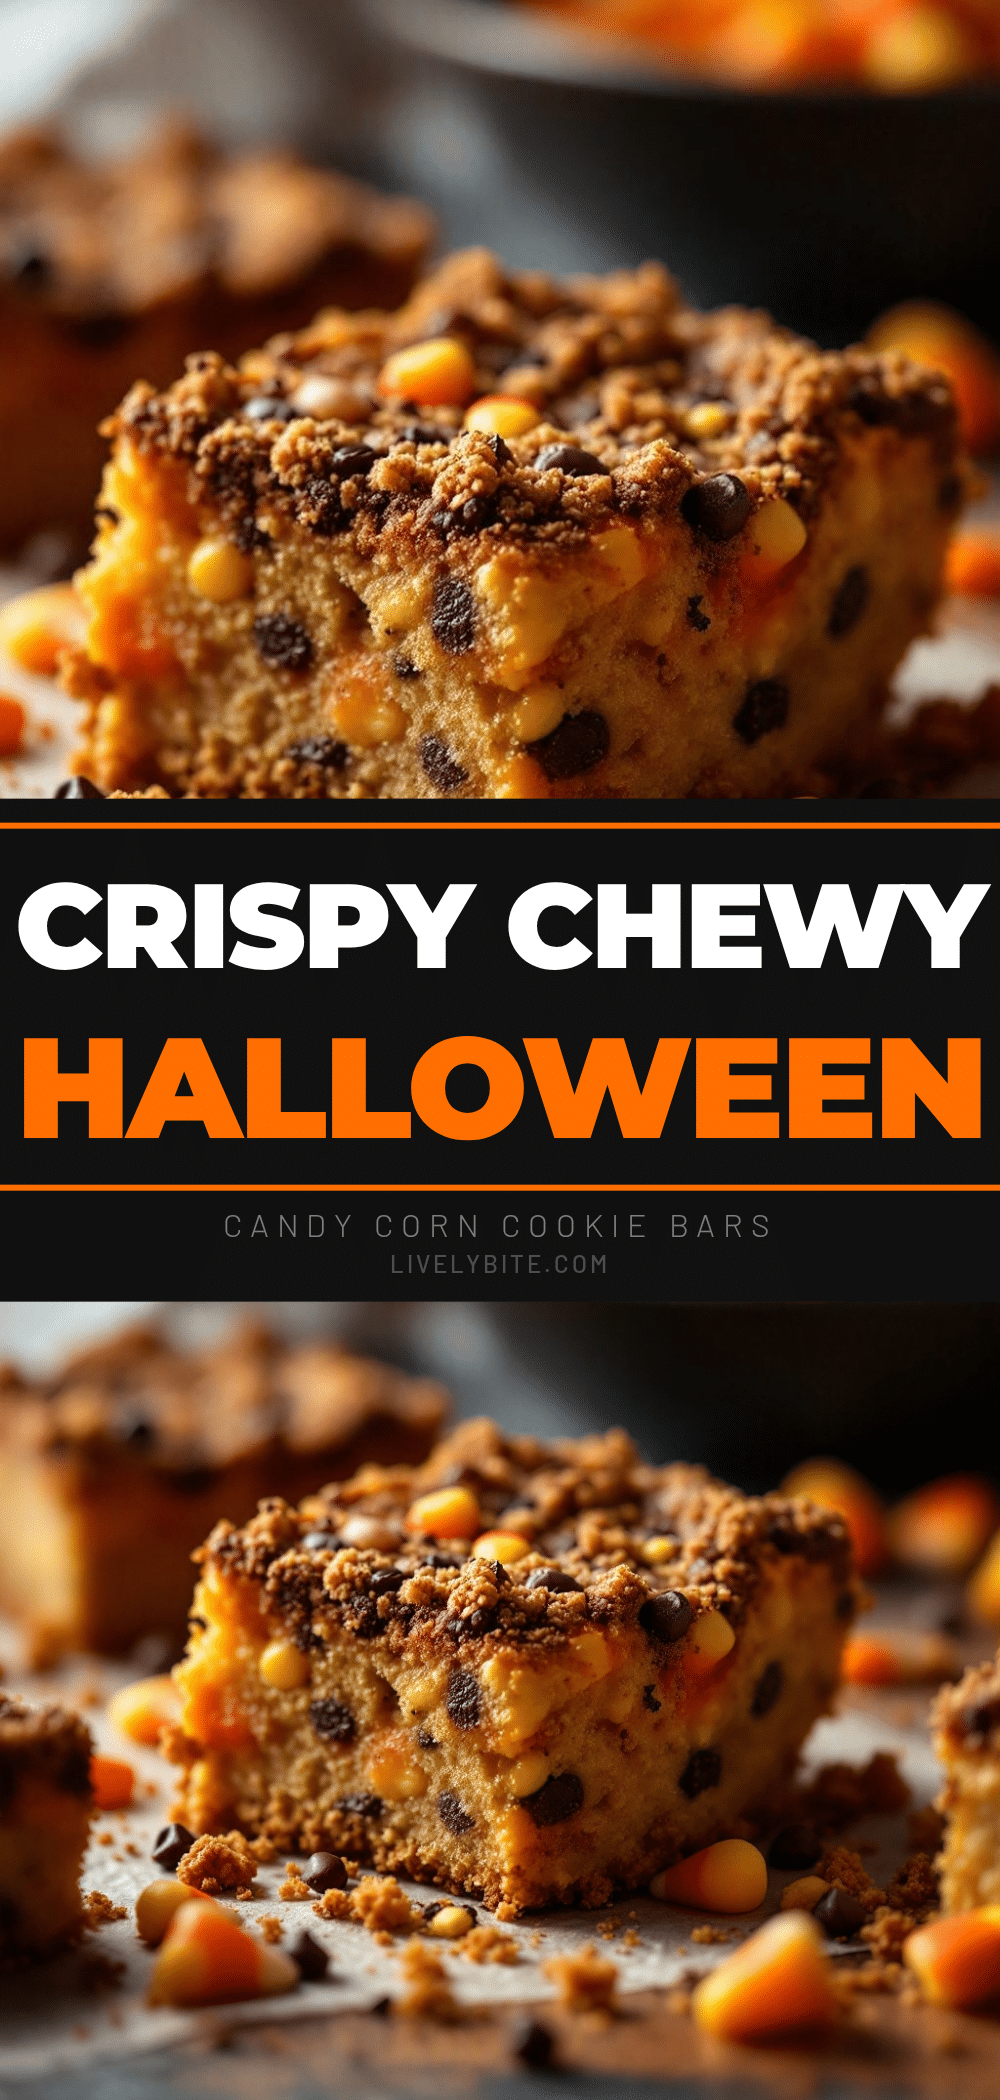
Crispy Chewy Halloween Candy Corn Cookie Bars
A simple, festive Halloween treat featuring thick, chewy bars with crispy edges and pockets of salty-sweet candy corn. These bars are easy to make, require no fridge, and are perfect for parties.
- Prep Time: 15 minutes
- Cook Time: 25 minutes
- Total Time: 40 minutes
- Yield: 12 servings 1x
- Category: Dessert
- Cuisine: American
Ingredients
- 1 cup unsalted butter, softened
- 1 cup granulated sugar
- 1 cup packed brown sugar
- 2 large eggs, room temperature
- 2 teaspoons vanilla extract
- 3 cups all-purpose flour
- 1 teaspoon baking powder
- 0.5 teaspoon salt
- 2 bags candy corn (divided)
- 1 cup white chocolate chips (optional)
Instructions
- Preheat oven to 350°F (175°C) and grease a 9×13 inch baking pan.
- In a large bowl, beat the softened butter, granulated sugar, and brown sugar together for about two minutes until light and fluffy.
- Add the eggs and vanilla extract, mixing until combined and smooth.
- In a separate bowl, whisk together the flour, baking powder, and salt.
- Gradually add the dry ingredients to the wet mixture, mixing on low speed until just combined. Do not overmix.
- Fold in one bag of candy corn and the white chocolate chips gently with a spatula. Reserve the rest of the candy corn for the topping.
- Pour the dough into the prepared pan and spread it out evenly.
- Sprinkle the remaining candy corn evenly over the top of the dough.
- Bake for 20-25 minutes, or until the edges are golden brown and the center looks slightly soft.
- Let the bars cool in the pan for at least 20 minutes to set completely.
- Cut into squares and serve at room temperature.
Notes
Ensure butter is softened but not melted to prevent spreading. Do not overbake; the bars should look slightly underdone in the center as they will continue to cook in the hot pan. Cool completely before cutting to ensure they hold their shape. For gluten-free, use a 1:1 gluten-free flour blend with xanthan gum. For dairy-free, use plant-based butter and chocolate chips.
Nutrition
- Serving Size: 1 bar
- Calories: 250
- Sugar: 24
- Sodium: 150
- Fat: 12
- Saturated Fat: 7
- Carbohydrates: 35
- Fiber: 1
- Protein: 3
Keywords: Halloween, candy corn, cookie bars, easy dessert, fall baking, party treats, chewy cookies


