That was the plea, shouted over the clatter of a toddler’s plastic spoon and the general chaos of a Tuesday evening. My husband wasn’t asking for a gourmet meal. He wasn’t even asking for a proper dinner, really. He just wanted cookies. But he wanted them without the usual thirty-minute ritual of washing bowls, measuring cups, and the inevitable mess that comes with baking from scratch. He looked at me with those hopeful, slightly desperate eyes and said, “Just use the one bowl, please.” And that was it.
I honestly didn’t think I could make good chocolate chip cookies in a single vessel. I’ve always been a creature of habit, relying on my stand mixer and a mountain of dirty dishes to get the job done. But let’s face it, life doesn’t always wait for you to find the right mixing bowl. Sometimes, you just need sugar, butter, and chocolate in a hurry. So, I grabbed the largest bowl I could find and started throwing things in. Flour, sugar, eggs, the works. I mixed it all with a wooden spoon, my arm aching slightly, but the result was unexpected. They were chewy, crisp-edged, and absolutely delicious.
That moment changed how I view baking on busy nights. It wasn’t about the technique or the perfect aeration of butter. It was about the simplicity of getting something sweet into the hands of my family without the stress. These Easy One-Bowl Chocolate Chip Cookies have become my go-to rescue recipe. They don’t require fancy equipment or a clean kitchen. They just require a bowl, a spoon, and the willingness to embrace a little mess for a lot of reward. If you’re looking for a way to satisfy a craving without the cleanup, this is your answer.
Why You’ll Love This Recipe
There is a specific kind of magic in baking that requires zero prep work. I tested this recipe more times than I care to admit, trying to find the sweet spot between “raw dough” and “charcoal briquette.” What I found is a cookie that is genuinely better when you don’t overthink it. Most cookie recipes demand that you cream butter and sugar for three full minutes. This one skips that step entirely, saving you time while still delivering a rich, buttery flavor profile that feels like it came from a high-end bakery.
- Quick & Easy: This recipe comes together in under 15 minutes of active time. You can have dough ready for the oven before you’ve even finished your morning coffee, making it perfect for busy weeknights or last-minute cravings.
- Simple Ingredients: No fancy grocery trips needed. You likely already have everything in your kitchen right now. Flour, sugar, butter, eggs, and chocolate chips. That’s it. No obscure flours or exotic spices.
- Perfect for Family Dinners: Great for potlucks, cozy dinners, or just keeping the kids happy while you cook the main meal. They are sturdy enough to pack in lunchboxes and soft enough to melt in your mouth.
- Crowd-Pleaser: Always gets rave reviews from kids and adults alike. Even the pickiest eaters who usually reject homemade treats will ask for seconds.
- Unbelievably Delicious: The texture and flavor combo is next-level comfort food. The edges get crisp while the center stays soft and chewy, creating a perfect contrast in every bite.
What makes this recipe different from the rest is the lack of fuss. Whether it is the specific ratio of brown to white sugar that creates that deep caramel note, or the fact that you don’t need to soften the butter in advance, this isn’t just another version—it’s your best version. It’s the kind of recipe that makes you close your eyes after the first bite. It’s comfort food reimagined—healthier, faster, but with the same soul-soothing satisfaction. Perfect for impressing guests without stress, or turning a simple meal into something memorable.
What Ingredients You Will Need
This recipe uses simple, wholesome ingredients to deliver bold flavor and satisfying texture without the fuss. You don’t need to run to the store for specialty items. Everything here is a pantry staple that you probably already have hiding in your cabinets. The key to success here is quality over quantity. Since there are so few ingredients, each one plays a massive role in the final outcome.
For the Dough Base
- All-purpose flour (2 ¼ cups / 280g): The foundation of the cookie. Don’t substitute with cake flour, or they’ll be too fragile.
- Baking soda (1 tsp): Essential for spreading and browning. Check the expiration date for best results.
- Salt (1 tsp): Flavors the sweetness. Use kosher salt if you have it.
- Unsalted butter (1 cup / 226g): Softened to room temperature. You can microwave it, but don’t melt it.
- Granulated sugar (¾ cup / 150g): Adds crispness to the edges.
- Brown sugar (1 ½ cups / 300g): Packed. This is what gives them their chewiness and moisture.
- Large eggs (2): Room temperature. Helps bind everything together.
- Vanilla extract (1 tbsp / 15ml): Use pure vanilla, not imitation, for that authentic flavor.
For the Mix-Ins
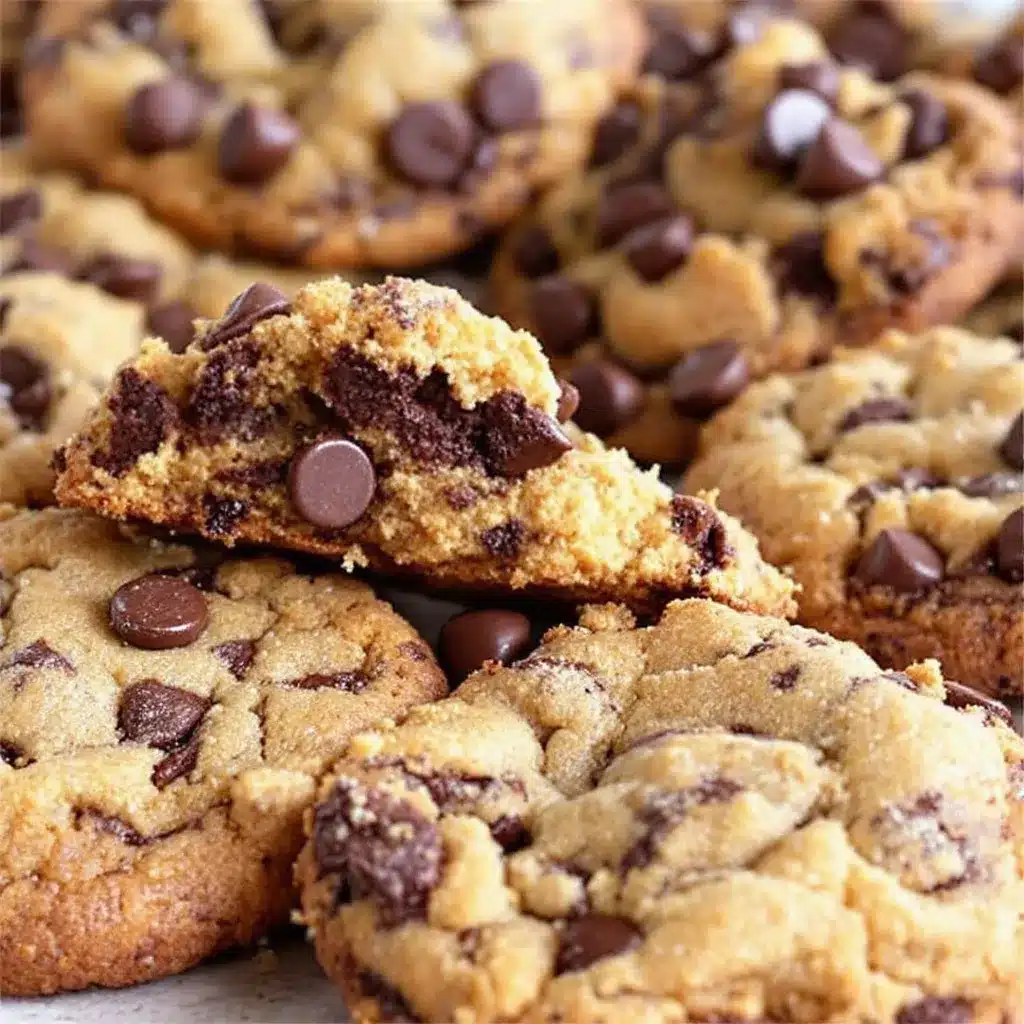
- Chocolate chips (2 cups / 340g): Semi-sweet or dark chocolate works best. I recommend Ghirardelli for consistent melting.
- Optional: Flaky sea salt: Sprinkle on top after baking for a gourmet touch.
I personally prefer using a mix of semi-sweet and dark chocolate chips for a slightly more sophisticated taste. If you need to substitute, you can chop up a chocolate bar for larger, gooier chunks. For a gluten-free option, you can swap the all-purpose flour for a 1:1 gluten-free baking blend, though the texture might be slightly denser.
Equipment Needed
You really only need a few basic tools to pull this off. The highlight is, of course, the large mixing bowl. I use a 5-quart ceramic bowl because it’s heavy enough not to tip over when I’m mixing vigorously. A simple wooden spoon or a sturdy silicone spatula works perfectly for stirring. You don’t need an electric mixer, which is the whole point.
You will also need a baking sheet. A light-colored aluminum sheet pan is best because it promotes even browning. Dark non-stick pans can sometimes burn the bottoms if you aren’t careful. Line it with parchment paper or a silicone baking mat. This is non-negotiable for easy cleanup and preventing sticking. I’ve learned the hard way that greasing the pan alone is never enough for sticky cookie dough.
For scooping, a standard ice cream scoop or a #40 cookie scoop ensures uniform size. This helps them bake evenly. If you don’t have a scoop, just use two spoons to drop mounds. Finally, a wire cooling rack is helpful, though you can let them cool directly on the pan if you’re in a hurry. Just be careful not to break them while they’re still warm.
Preparation Method
- Prep the oven and pan (2 minutes): Preheat your oven to 375°F (190°C). This temperature is crucial for getting those crispy edges without burning the centers. Line your baking sheet with parchment paper. Ensure the paper is flat and doesn’t have any curled edges that could catch fire.
- Combine dry ingredients (1 minute): In your large bowl, whisk together the flour, baking soda, and salt. Even though it’s a one-bowl recipe, whisking these together first ensures the leavening agent is distributed evenly. This prevents any bitter, soapy-tasting spots in the final cookie.
- Cream the butter and sugars (2 minutes): Add the softened butter, granulated sugar, and packed brown sugar to the dry ingredients. Using your wooden spoon or spatula, mix vigorously. You want to combine everything until it looks like wet sand. Don’t worry about it being perfectly smooth; just make sure there are no dry pockets of flour left.
- Add wet ingredients (1 minute): Crack the eggs into the bowl and pour in the vanilla extract. Mix again until fully incorporated. The dough will start to look glossy and cohesive. This is where you can smell the vanilla starting to bloom.
- Fold in the chocolate (1 minute): Pour in the chocolate chips. Fold them in gently. If you overmix here, you might crush some chips, leading to uneven chocolate distribution. Stop as soon as the chips are spread throughout the dough.
- Scoop the dough (5 minutes): Use your scoop to drop mounds of dough onto the prepared baking sheet. Leave about 2 inches of space between each cookie. They will spread significantly. If you prefer thinner cookies, press them down slightly with the bottom of a glass. For thicker cookies, leave them as mounds.
- Bake (10-12 minutes): Place the tray in the center of the oven. Bake for 10 to 12 minutes. You are looking for edges that are golden brown and a center that still looks slightly underbaked. They will continue to cook on the hot pan after you remove them. Do not overbake, or they will be crisp all the way through.
- Cool and serve (10 minutes): Let the cookies sit on the baking sheet for 5 minutes. This allows them to set. Then, transfer them to a wire rack to cool completely. Or, eat them warm while the chocolate is still gooey.
Cooking Tips & Techniques
The biggest mistake people make with one-bowl recipes is rushing the mixing step. You need to ensure the butter and sugar are well combined. If the butter is too cold, the dough will be stiff and hard to mix. If it’s melted, the cookies will spread too much and become greasy. Room temperature is the sweet spot.
Another common error is measuring flour incorrectly. If you scoop the flour directly with the measuring cup, you might pack it down, leading to dry, crumbly cookies. Instead, spoon the flour into the cup and level it off with a knife. This aerates the flour and gives you the correct amount.
Don’t skip the chilling step if you have time. While not strictly necessary for this recipe, chilling the dough for 30 minutes can deepen the flavors and prevent excessive spreading. However, if you are baking at 8 PM and want cookies now, the fresh dough works just fine. Just keep an eye on them in the oven.
Use a kitchen timer. Ovens vary wildly. One minute can mean the difference between soft and crunchy. Take them out when they look slightly pale in the center. They will firm up as they cool. This residual cooking is key to achieving that perfect chewy texture.
Variations & Adaptations
While the classic chocolate chip version is timeless, there are plenty of ways to twist this recipe. If you want a nutty flavor, add ½ cup of chopped walnuts or pecans along with the chocolate chips. Toasting the nuts first in a dry pan will intensify their flavor.
For a festive twist, swap the chocolate chips for red and green M&Ms during the holidays. Or, add a tablespoon of orange zest to the dough for a bright, citrusy note that pairs surprisingly well with chocolate. You can also make them gluten-free by using a 1:1 gluten-free flour blend. Just note that gluten-free cookies often dry out faster, so check them a minute early.
If you want a healthier option, you can substitute half the butter with unsweetened applesauce, though this will change the texture to be more cake-like. I personally tried adding a pinch of espresso powder to the dry ingredients. It doesn’t make the cookies taste like coffee, but it deepens the chocolate flavor significantly. It’s a game-changer for serious chocolate lovers.
Serving & Storage Suggestions
These cookies are best served warm, right out of the oven. A glass of cold milk is the traditional pairing, but I also enjoy them with a hot cup of coffee or tea. The bitterness of the coffee complements the sweetness of the cookies perfectly. For a more elegant presentation, serve them on a slate board with a dusting of powdered sugar.
To store leftovers, keep them in an airtight container at room temperature for up to 5 days. Place a slice of bread in the container with the cookies; the bread will release moisture to keep the cookies soft. If you want to freeze them, bake them first and let them cool completely. Then, place them in a freezer-safe bag. They will last for up to 3 months. Thaw them at room temperature before eating.
You can also freeze the dough. Scoop the dough onto a baking sheet and freeze until solid. Then transfer the dough balls to a bag. Bake directly from frozen, adding 1-2 minutes to the baking time. This is perfect for having fresh cookies on demand without the prep work.
Nutritional Information & Benefits
While these are definitely a treat, they are made with simple ingredients. Each cookie contains approximately 180 calories, with a balance of carbohydrates from the flour and sugars, fats from the butter and chocolate, and a small amount of protein from the eggs and flour. They are not suitable for vegans or those with egg allergies without significant substitution.
The use of dark chocolate chips can offer some antioxidant benefits, though the high sugar content means these should be enjoyed in moderation. For those watching their sugar intake, you can reduce the granulated sugar by ¼ cup without compromising the texture too much. Just be aware that the cookies will be less crisp. They are naturally gluten-free only if you use gluten-free flour, as standard flour contains gluten. Always check labels if you have celiac disease or severe allergies.
Conclusion
These Easy One-Bowl Chocolate Chip Cookies are more than just a recipe; they are a reminder that baking doesn’t have to be complicated to be wonderful. They are reliable, delicious, and incredibly forgiving. Whether you are a seasoned baker or a complete beginner, this recipe will give you confidence in the kitchen. I love that I can throw these together in minutes and still end up with something that tastes homemade and special.
I encourage you to try this recipe and make it your own. Add your favorite mix-ins, tweak the sugar levels, or just enjoy them as they are. Share them with friends, family, or just keep them all to yourself—I won’t judge. If you make them, please leave a comment below and let me know how they turned out. I love hearing about your baking adventures. Happy baking!
Frequently Asked Questions
Can I use margarine instead of butter?
It’s not recommended. Butter provides the necessary fat content and water ratio for the proper texture. Margarine often has a higher water content, which can lead to flat, greasy cookies. Stick to real butter for the best results.
Why did my cookies spread too much?
This usually happens if the butter was too warm or melted before mixing. It can also occur if the oven temperature is too high. Make sure your butter is just softened, not liquid, and check your oven calibration with a thermometer.
Can I double the recipe?
Yes, you can double the recipe. Just make sure you use a bowl large enough to mix everything comfortably. You may need to mix for a slightly longer time to ensure the flour is fully incorporated.
How do I know when the cookies are done?
Look for golden brown edges and a set center that still looks slightly soft. They will firm up as they cool. If the center looks fully set in the oven, they will be overbaked and crispy.
Can I freeze the cookie dough?
Absolutely. Scoop the dough onto a tray, freeze until solid, then transfer to a bag. Bake from frozen, adding a minute or two to the baking time. This is great for meal prep.
Pin This Recipe!
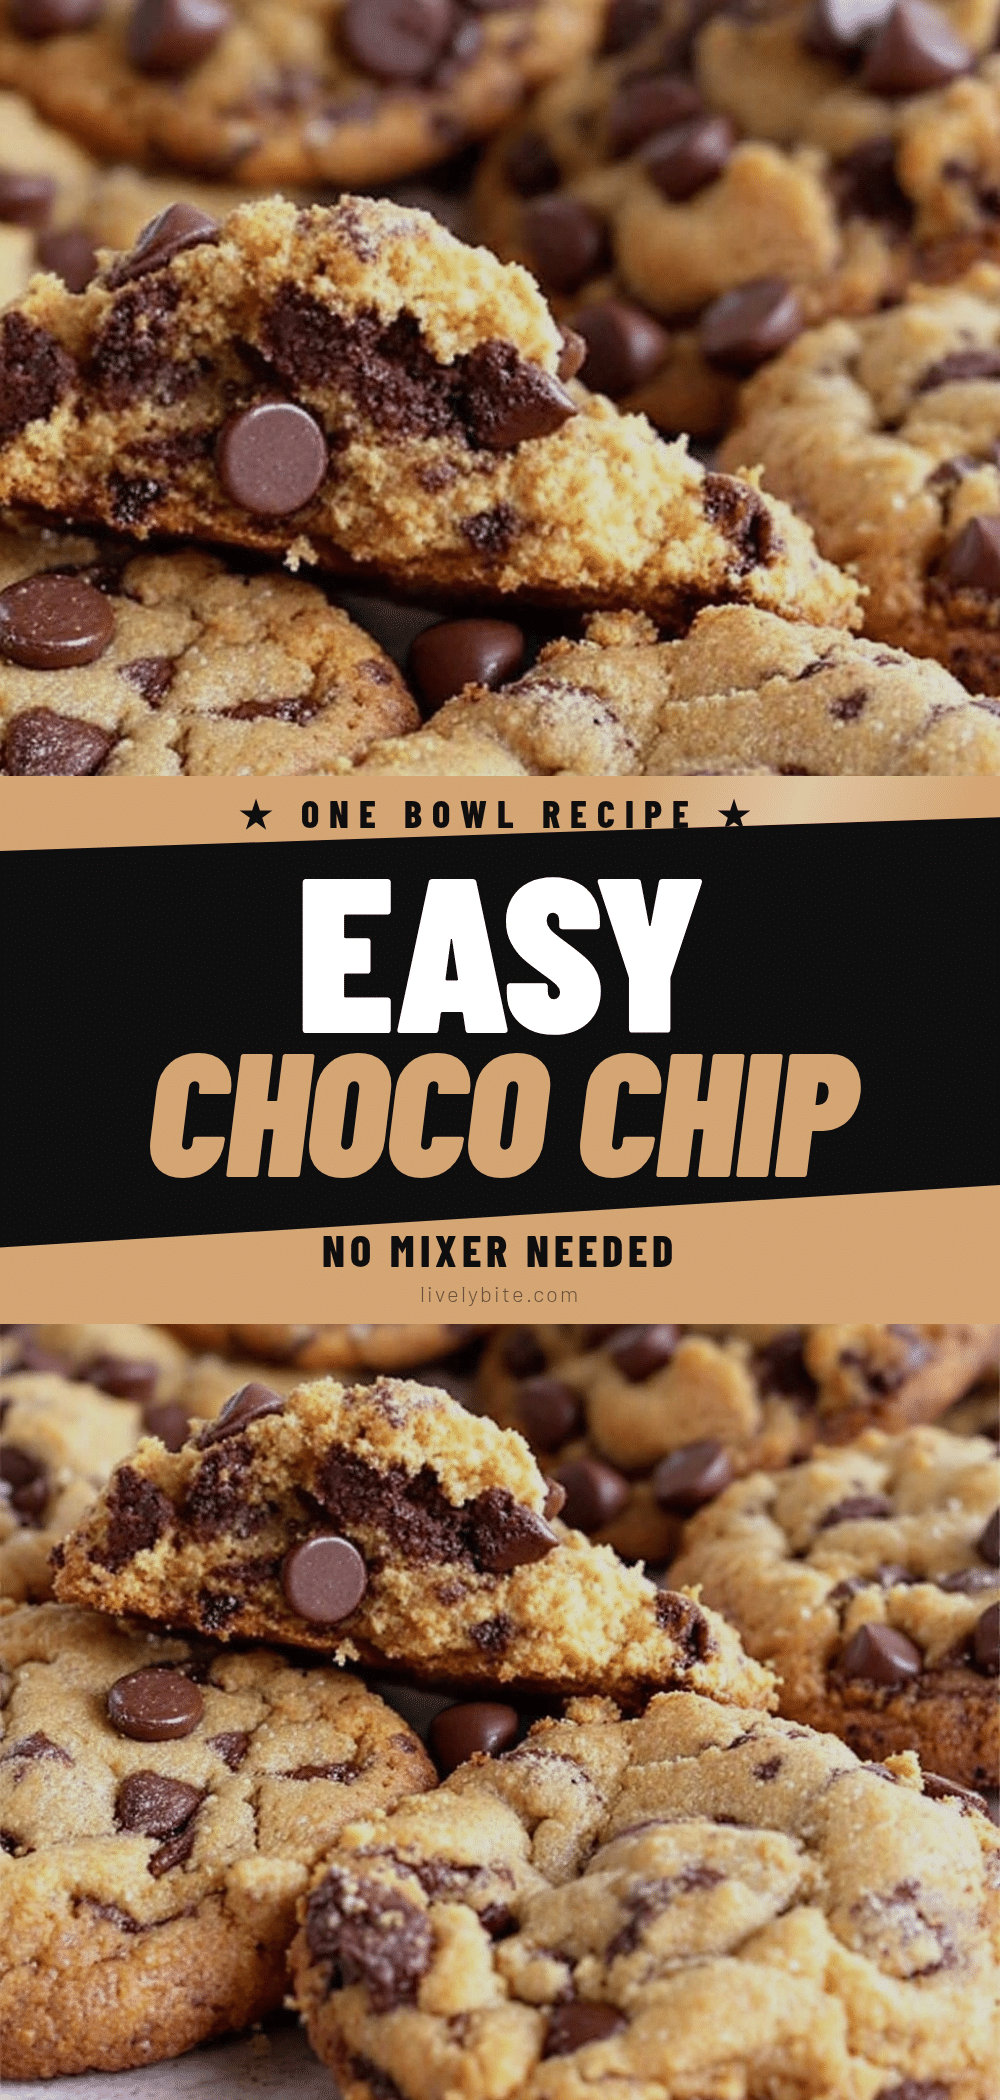
Easy One-Bowl Chocolate Chip Cookies: Best Homemade Recipe

A simple, quick chocolate chip cookie recipe that requires only one bowl and basic pantry ingredients. These cookies are chewy with crisp edges, perfect for busy weeknights or last-minute cravings.
- Prep Time: 15 minutes
- Cook Time: 10-12 minutes
- Total Time: 25 minutes
- Yield: 24 servings 1x
- Category: Dessert
- Cuisine: American
Ingredients
- 2 ¼ cups all-purpose flour
- 1 tsp baking soda
- 1 tsp salt
- 1 cup unsalted butter, softened to room temperature
- ¾ cup granulated sugar
- 1 ½ cups packed brown sugar
- 2 large eggs, room temperature
- 1 tbsp vanilla extract
- 2 cups chocolate chips (semi-sweet or dark)
Instructions
- Preheat oven to 375°F (190°C) and line a baking sheet with parchment paper.
- In a large bowl, whisk together the flour, baking soda, and salt.
- Add the softened butter, granulated sugar, and packed brown sugar to the dry ingredients. Mix vigorously with a wooden spoon or spatula until the mixture resembles wet sand and there are no dry pockets.
- Crack the eggs into the bowl and pour in the vanilla extract. Mix until fully incorporated and the dough looks glossy.
- Fold in the chocolate chips gently until evenly distributed.
- Scoop mounds of dough onto the prepared baking sheet, leaving 2 inches of space between each cookie.
- Bake for 10-12 minutes, or until edges are golden brown and centers look slightly underbaked.
- Let cookies sit on the baking sheet for 5 minutes to set, then transfer to a wire rack to cool completely or serve warm.
Notes
Ensure butter is softened but not melted to prevent greasy cookies. Spoon flour into measuring cups rather than scooping to avoid dense cookies. For chewier cookies, do not overbake; they will firm up as they cool. Store in an airtight container with a slice of bread to maintain softness.
Nutrition
- Serving Size: 1 cookie
- Calories: 180
- Sugar: 16
- Sodium: 150
- Fat: 9
- Saturated Fat: 5
- Carbohydrates: 24
- Fiber: 1
- Protein: 2
Keywords: chocolate chip cookies, one bowl recipe, easy baking, homemade cookies, quick dessert, family friendly


