I figured making meringue was this finicky, stressful thing reserved for pastry chefs with fancy piping bags. It took about one batch of these ghost meringue cookies for that idea to fall apart completely. Honestly, the first time I made them, I was just looking for something to do with leftover egg whites from a creamy chocolate avocado pudding experiment, and I figured why not try something spooky and fun. What came out of the oven wasn’t just edible—it was adorable. They had these perfect little peaks and a light, airy crunch that made me feel like I had accidentally stumbled onto something great.
The best part? They were way easier than I expected. No complicated techniques, no special equipment you don’t already own. Just simple ingredients and a little patience. The chocolate chip eyes melt just enough to look like tiny, mischievous faces staring back at you. I honestly stood in my kitchen for a solid five minutes just admiring them. That’s when I knew this recipe was going to become a yearly tradition in our house. It’s the kind of treat that feels special without the stress, and honestly, that’s my favorite kind of recipe.
Why You’ll Love This Recipe
These ghost meringue cookies are the perfect Halloween treat, and here’s why they work so well:
- Quick & Easy: Comes together in under 30 minutes of active time. The oven does most of the work.
- Simple Ingredients: You probably already have everything in your kitchen right now. No special Halloween candy required.
- Perfect for Halloween Parties: These little ghosts are the star of any spooky spread. Kids and adults both go crazy for them.
- Naturally Gluten-Free: No flour needed, so they’re safe for guests with gluten sensitivities.
- Unbelievably Adorable: The chocolate chip eyes give them so much personality. I’ve made faces that look happy, surprised, and even a little grumpy.
What makes these different from other meringue recipes? It’s the texture. They’re crisp on the outside with a slightly chewy center, and the chocolate chips add just the right amount of richness. I’ve tested this recipe at least five times to get the baking time just right. You want them dry enough to hold their shape but not so dry that they crack. Trust me, I’ve learned the hard way what happens when you rush the cooling process.
This is one of those recipes that makes you feel like a kitchen wizard. It’s simple enough for a beginner but impressive enough to show off at a party. Plus, there’s something deeply satisfying about watching a bowl of egg whites transform into these light, ghostly shapes. It’s comfort food for the Halloween season—sweet, fun, and full of personality.
What Ingredients You Will Need
This recipe uses simple, pantry-friendly ingredients to create something magical. I love that I can decide to make these on a whim without a special trip to the store. Here’s what you’ll need:
- 3 large egg whites, room temperature (this is important for maximum volume)
- 3/4 cup granulated sugar (superfine sugar works best, but regular is fine)
- 1/4 teaspoon cream of tartar (helps stabilize the meringue)
- 1/2 teaspoon vanilla extract (pure vanilla, not imitation, for the best flavor)
- 1/4 cup mini chocolate chips (for the eyes, I prefer Ghirardelli or Enjoy Life for allergy-friendly)
Ingredient Tips & Notes:
- Egg whites: Make sure no yolk gets in the bowl. Even a tiny bit of fat will prevent the whites from whipping properly. I separate my eggs while they’re cold, then let the whites come to room temperature.
- Sugar: If you have a food processor, you can pulse regular granulated sugar for 30 seconds to make it superfine. It dissolves faster and gives you a smoother meringue.
- Cream of tartar: Don’t skip this. It’s the secret to stable, glossy meringue that holds its shape. If you don’t have it, you can substitute 1 teaspoon of lemon juice or white vinegar.
- Chocolate chips: Mini chips work best because they’re proportional to the ghost size. Regular chips will look too big and might sink. I’ve tried both, and mini chips are definitely the way to go.
Equipment Needed
You don’t need much for this recipe, which is part of its charm. Here’s what you’ll need:
- Electric hand mixer or stand mixer: A stand mixer is easiest, but a hand mixer works perfectly fine. You can technically whisk by hand, but your arm will get a serious workout.
- Large mixing bowl: Make sure it’s completely clean and dry. Any grease will ruin your meringue.
- Baking sheet: Line it with parchment paper or a silicone baking mat. Do not use wax paper—the meringues will stick.
- Piping bag or zip-top bag: A piping bag gives you more control, but a zip-top bag with the corner snipped off works great in a pinch.
- Cooling rack: Essential for letting the ghosts cool completely without trapping moisture.
Budget-Friendly Alternatives: If you don’t have a piping bag, just use a sturdy zip-top bag. I’ve done it many times, and the ghosts still look fantastic. Also, a silicone baking mat is nice but not necessary—parchment paper works just as well and is cheaper.
Preparation Method
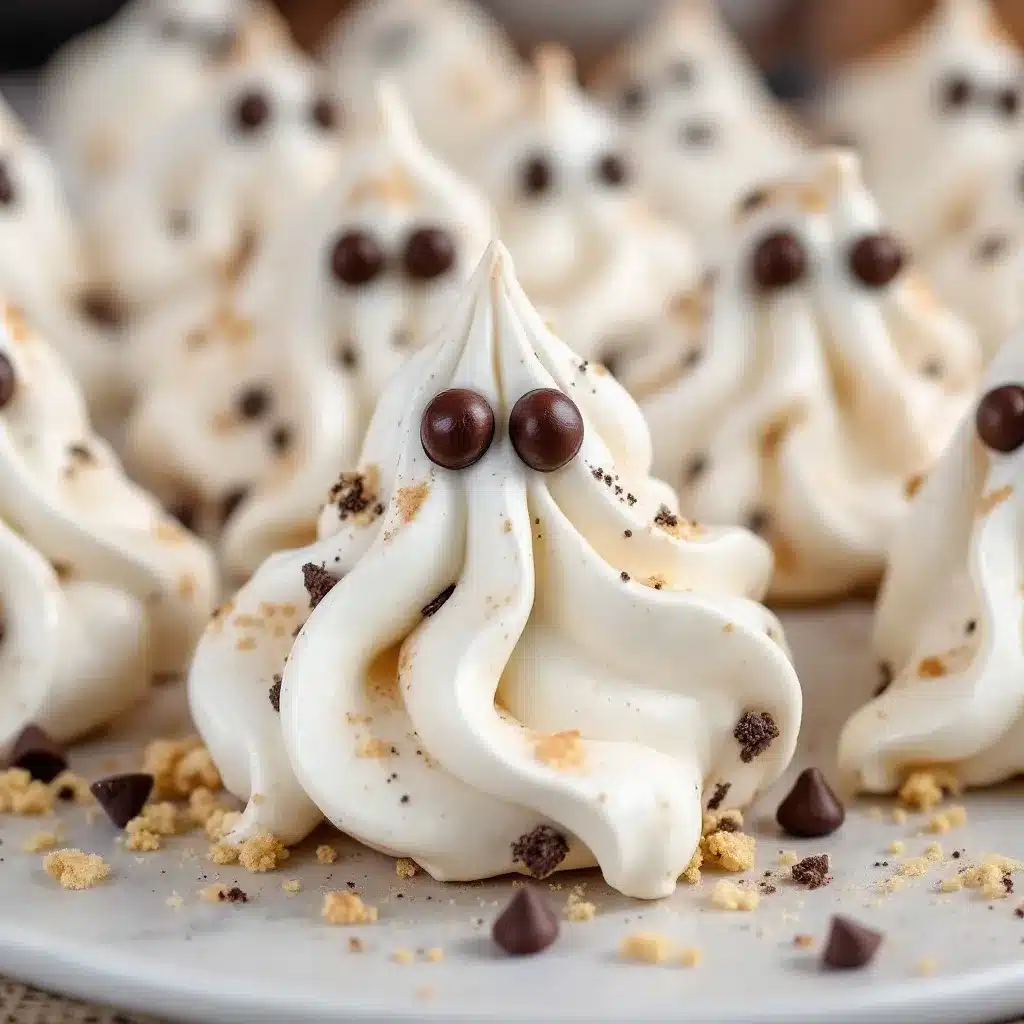
Follow these steps carefully, and you’ll have perfect ghost meringue cookies every time. I’ve broken it down so even a first-time meringue maker can succeed.
- Preheat your oven to 200°F (93°C). Line a large baking sheet with parchment paper. The low temperature is key—we’re drying the meringues, not baking them.
- Prepare your egg whites. Make sure your bowl and beaters are completely clean and dry. Add the egg whites and cream of tartar to the bowl. Beat on medium speed until foamy, about 1-2 minutes. You’ll see lots of tiny bubbles forming.
- Gradually add the sugar. With the mixer running on medium-high, add the sugar one tablespoon at a time. This takes patience, but it’s crucial for a stable meringue. Keep beating until all the sugar is dissolved. To test, rub a tiny bit of the mixture between your fingers—if it feels gritty, keep beating. If it’s smooth, you’re good.
- Add the vanilla. Once the meringue is thick, glossy, and holds stiff peaks (when you lift the beaters, the meringue stands up without drooping), add the vanilla extract. Beat for another 30 seconds until combined.
- Transfer to piping bag. Spoon the meringue into your piping bag fitted with a round tip (or just snip the corner of a zip-top bag). Work quickly—meringue can start to deflate if it sits too long.
- Pipe the ghosts. Hold the bag straight up and pipe small mounds about 1.5 inches wide. To make the ghost shape, pipe a round base, then pull the bag straight up to create a little peak. Don’t worry if they’re not perfect—imperfect ghosts have more personality. Leave about 1 inch between each one.
- Add the chocolate chip eyes. Gently press two mini chocolate chips into each ghost for eyes. Place them close together toward the top of the ghost shape. Don’t push too hard or you’ll deflate the meringue.
- Bake low and slow. Place the baking sheet in the preheated oven and bake for 1 hour and 15 minutes. The meringues should be dry to the touch and easily lift off the parchment paper. They shouldn’t be brown at all—just pale and ghostly.
- Cool completely. Turn off the oven and leave the ghosts inside with the door slightly ajar for 30 minutes. This gradual cooling prevents cracking. Then transfer them to a wire rack to cool completely.
Important Note: Don’t open the oven door during the first hour of baking. The temperature fluctuation can cause the meringues to crack or collapse. I learned this the hard way when I checked on them too early and ended up with a sheet of flat, sad ghosts.
Cooking Tips & Techniques
After making these ghost meringue cookies more times than I can count, I’ve picked up a few tricks that make the process smoother and the results more consistent.
Humidity is the enemy. Meringue hates moisture. If it’s a rainy or humid day, your meringue might turn out sticky or chewy instead of crisp. Try to make these on a dry day if possible. If you live in a humid climate, you can add an extra 15 minutes of baking time to help them dry out completely.
Room temperature eggs are non-negotiable. I know it’s tempting to use cold eggs straight from the fridge, but cold egg whites don’t whip up as well. They won’t hold as much air, and your ghosts will be smaller and denser. Let your eggs sit on the counter for 30 minutes before starting.
Don’t overmix at the end. Once you add the vanilla, just mix until it’s incorporated. Overmixing at this stage can deflate the meringue. You want it to stay light and airy.
My biggest failure was the time I tried to speed things up by baking at 250°F instead of 200°F. The ghosts turned brown, cracked, and tasted slightly burnt. Low and slow is the only way to go. Trust the process, even when it feels like nothing is happening in the oven.
Timing strategy: I like to make the meringue mixture first, then pipe the ghosts while the oven preheats. This way, everything is ready to go as soon as the oven reaches temperature. It saves about 10 minutes and keeps the meringue from sitting too long.
Variations & Adaptations
One of the best things about this recipe is how easy it is to customize. Here are some variations I’ve tried and loved:
- Colorful Ghosts: Add a drop of food coloring to the meringue before piping. Pastel colors like pink, blue, or green look adorable. Just fold it in gently with a spatula to avoid deflating the mixture.
- Vegan Option: Use aquafaba (the liquid from a can of chickpeas) instead of egg whites. Three tablespoons of aquafaba equals one egg white. It whips up just like egg whites, though it takes a little longer. The taste is neutral, and the texture is surprisingly similar.
- Flavor Twists: Swap the vanilla extract for peppermint, almond, or lemon extract. Each one gives the ghosts a completely different personality. Peppermint ghosts are perfect for Christmas, while lemon ghosts feel fresh and spring-like.
- Different Eyes: Use mini M&Ms, sprinkles, or even tiny candied eyes for a different look. Just make sure whatever you use is small enough to stay put without sinking.
- Spooky Shapes: Instead of ghosts, pipe the meringue into pumpkins, bats, or witches’ hats. You can use the same recipe and just change the piping technique.
I once made a batch with lavender extract and purple food coloring for a friend’s birthday. They looked like tiny alien ghosts and tasted amazing. It’s fun to experiment, and the base recipe is forgiving enough to handle most changes.
Serving & Storage Suggestions
These ghost meringue cookies are best served at room temperature. They’re light, airy, and practically melt in your mouth. I love arranging them on a platter with other Halloween treats like refreshing cucumber mint green tea coolers for a balanced spread.
Storage Instructions: Store the cooled ghosts in an airtight container at room temperature. They’ll stay fresh for up to 2 weeks. Don’t refrigerate them—the moisture in the fridge will make them sticky and soft. If you live in a humid area, add a piece of bread to the container to absorb excess moisture. Change the bread every couple of days.
Freezer Instructions: You can freeze baked ghosts for up to 3 months. Place them in a single layer in a freezer-safe container with parchment paper between layers. Thaw at room temperature for about 30 minutes before serving. They won’t be quite as crisp as fresh, but they’re still delicious.
Reheating: If your ghosts lose their crispness, place them on a baking sheet in a 200°F oven for 10-15 minutes. Let them cool completely before serving. This trick works wonders for reviving slightly soft meringues.
Flavor Development: These ghosts taste best within the first week. The chocolate chip eyes stay nice and firm, and the meringue retains its perfect crunch. After that, they start to absorb a little moisture from the air and become slightly chewy. Still tasty, just different.
Nutritional Information & Benefits
Here’s the approximate nutritional breakdown for one ghost meringue cookie (based on a batch of 24):
- Calories: 28
- Fat: 0.5g
- Carbohydrates: 6g
- Sugar: 5g
- Protein: 0.5g
- Sodium: 8mg
These cookies are naturally gluten-free and dairy-free, making them a great option for guests with dietary restrictions. The egg whites provide a small amount of protein, and the chocolate chips add a touch of antioxidants. Compared to most Halloween treats, these are relatively low in calories and fat.
Dietary Considerations: If you’re vegan, use the aquafaba substitution mentioned above. If you have a nut allergy, this recipe is naturally nut-free. Just double-check that your chocolate chips are processed in a nut-free facility if that’s a concern.
I love that I can offer these at Halloween parties without worrying about most common allergens. It’s a small thing, but it makes the celebration more inclusive and stress-free.
Conclusion
These ghost meringue cookies are the kind of recipe that makes you look forward to Halloween all year. They’re simple enough to make with kids, impressive enough to serve at parties, and delicious enough to disappear in minutes. The chocolate chip eyes give them personality, and the light, airy texture is a welcome break from heavy, sugar-laden treats.
I hope you give this recipe a try and make it your own. Add different colors, try new flavors, or experiment with different eye shapes. The possibilities are endless, and that’s what makes cooking so fun. If you make these, I’d love to hear how they turned out. Drop a comment below or tag me in your photos. Happy Halloween, and happy baking!
Frequently Asked Questions
Can I make these ghost meringue cookies without a piping bag?
Absolutely. Just use a sturdy zip-top bag with the corner snipped off. You can also use a spoon to drop small mounds of meringue onto the baking sheet. They won’t look as ghost-like, but they’ll still taste great.
Why did my meringue turn out sticky?
Sticky meringue usually means it wasn’t baked long enough or the humidity was too high. Make sure your oven temperature is accurate and bake for the full time. On humid days, add an extra 15 minutes of baking time.
Can I use liquid egg whites from a carton?
I don’t recommend it. Carton egg whites often contain stabilizers that prevent them from whipping up properly. Fresh egg whites from whole eggs give you the best volume and texture.
How do I know when the meringue is fully baked?
The ghosts should be dry to the touch and lift easily off the parchment paper. They shouldn’t be brown or sticky. If you’re unsure, let one cool for a few minutes and test it. If it’s still soft, return the baking sheet to the oven for another 10-15 minutes.
Can I double this recipe?
Yes, you can easily double or triple the recipe. Just make sure your mixer bowl is large enough to handle the volume. You may need to bake in batches or use multiple baking sheets. Rotate the sheets halfway through baking for even results.
Pin This Recipe!
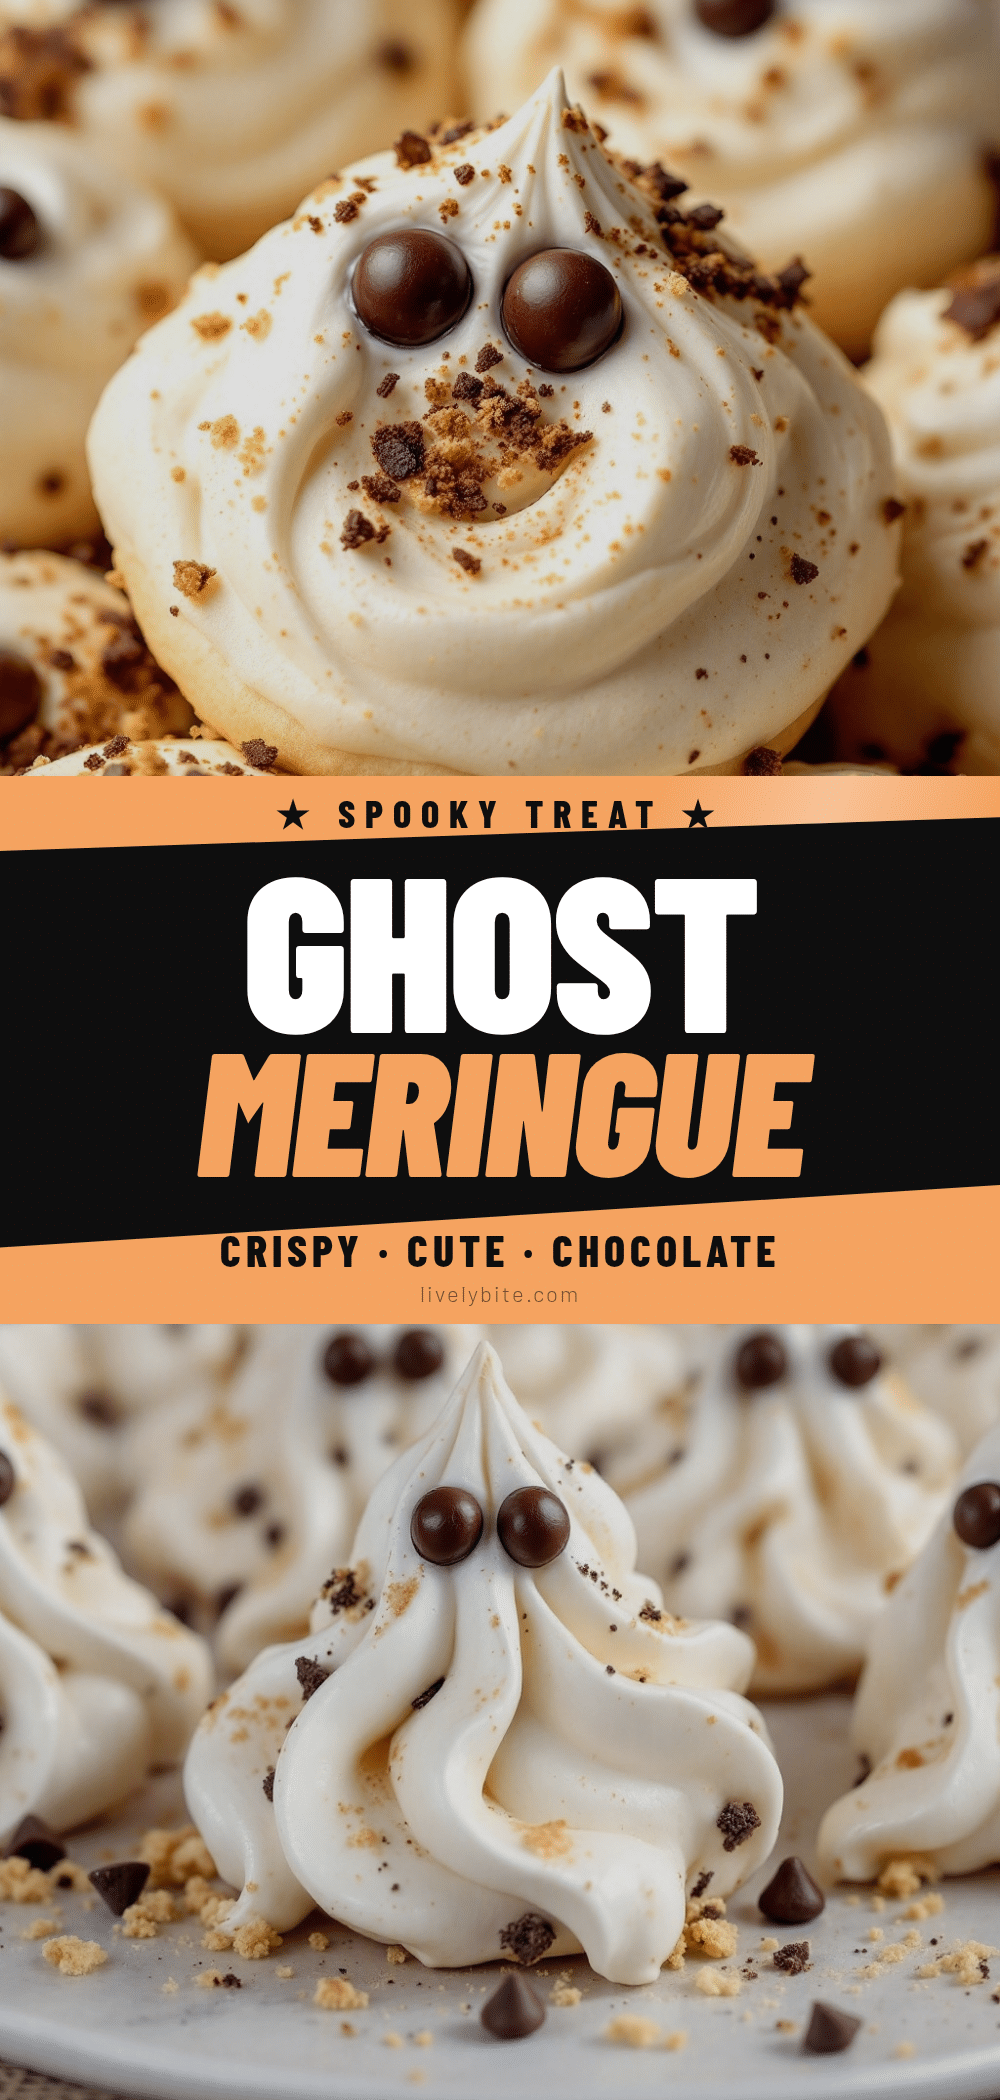
Easy Ghost Meringue Cookies with Chocolate Chip Eyes

These adorable ghost meringue cookies are light, airy, and surprisingly easy to make. With chocolate chip eyes and a crisp exterior, they’re the perfect Halloween treat that comes together in under 30 minutes of active time.
- Prep Time: 20 minutes
- Cook Time: 1 hour 15 minutes
- Total Time: 2 hours 5 minutes (includes cooling time)
- Yield: 24 cookies 1x
- Category: Dessert
- Cuisine: American
Ingredients
- 3 large egg whites, room temperature
- 3/4 cup granulated sugar (superfine preferred)
- 1/4 teaspoon cream of tartar
- 1/2 teaspoon vanilla extract (pure)
- 1/4 cup mini chocolate chips
Instructions
- Preheat your oven to 200°F (93°C). Line a large baking sheet with parchment paper.
- In a clean, dry bowl, add egg whites and cream of tartar. Beat on medium speed until foamy, about 1-2 minutes.
- With the mixer running on medium-high, gradually add sugar one tablespoon at a time. Continue beating until sugar is dissolved and mixture is thick, glossy, and holds stiff peaks.
- Add vanilla extract and beat for another 30 seconds until combined.
- Transfer meringue to a piping bag fitted with a round tip (or a zip-top bag with the corner snipped off).
- Pipe small mounds about 1.5 inches wide onto the prepared baking sheet, pulling straight up to create a peak for the ghost shape. Leave about 1 inch between each.
- Gently press two mini chocolate chips into each ghost for eyes, placing them close together toward the top.
- Bake for 1 hour and 15 minutes, until dry to the touch and easily lifting off the parchment. Do not open the oven door during the first hour.
- Turn off the oven and leave ghosts inside with the door slightly ajar for 30 minutes to cool gradually.
- Transfer to a wire rack to cool completely before serving or storing.
Notes
Humidity is the enemy of meringue; make on a dry day if possible. Room temperature egg whites are essential for maximum volume. Do not open the oven door during the first hour of baking. For vegan option, use aquafaba (3 tablespoons per egg white). Store in an airtight container at room temperature for up to 2 weeks.
Nutrition
- Serving Size: 1 cookie
- Calories: 28
- Sugar: 5
- Sodium: 8
- Fat: 0.5
- Carbohydrates: 6
- Protein: 0.5
Keywords: ghost meringue cookies, Halloween cookies, meringue cookies, gluten-free cookies, easy Halloween treat, ghost cookies, chocolate chip meringue


