The Gap in Holiday Baking
For a while, I just accepted that holiday baking wasn’t going to taste like actual joy. It was always too much work. You know the kind. Flour everywhere, three separate bowls, and a pan that needs to cool for an hour while the kids lose their minds. I had been looking for a dessert that actually felt like Christmas without the stress of a full kitchen takeover.
The problem wasn’t that I didn’t want to bake. It was that I wanted something sweet, something festive, and something that didn’t require a degree in pastry arts to execute. The store-bought options were too waxy. The homemade versions were often too dense or overly sweet in a way that left you feeling guilty an hour later.
I remember standing in the kitchen one December, staring at a pile of dirty dishes from a failed attempt at gingerbread houses. The kids were bored. I was exhausted. We needed something simple. Something that smelled like butter and sugar but looked like a celebration.
Then, I remembered the basics. Rice Krispies. Marshmallows. Butter. It’s the foundation of comfort. But it needed a twist. It needed to feel special. It needed to be red and green, but not in that artificial, chemical way.
That’s when the idea clicked. Not a complex recipe, but a refined one. Using high-quality marshmallows and adding the right kind of sprinkles. The gap wasn’t in the ingredients; it was in the presentation and the intent. We weren’t just making snacks; we were making memories.
The first batch came out of the pan warm. The smell filled the house, cutting through the usual holiday chaos. My son took one bite and stopped talking for a full minute. That silence was better than any praise. It was the quiet satisfaction of knowing we had found the answer to the “what’s for dessert?” question without the headache.
It stuck because it was reliable. It was fast. And honestly, it tasted like the holidays used to feel before everything got so complicated.
Why You’ll Love This Recipe
Real Results from Tested Kitchen Trials
This isn’t just another marshmallow treat recipe you’ll find buried on page five of a search result. This version has been tested, tweaked, and approved by my family’s notoriously picky palates. Here is why these festive Christmas Rice Krispie treats with sprinkles stand out from the crowd:
- Quick & Easy: Comes together in under 15 minutes, perfect for busy weeknights or last-minute holiday party cravings when you need to impress without the effort.
- Simple Ingredients: No fancy grocery trips needed; you likely already have everything in your kitchen. The pantry staples are the backbone of this dish.
- Perfect for Holiday Parties: Great for school exchanges, office parties, or cozy dinners where you need a crowd-pleaser that requires zero heating time.
- Crowd-Pleaser: Always gets rave reviews from kids and adults alike. The texture is universally liked, and the visual appeal stops people in their tracks.
- Unbelievably Delicious: The texture and flavor combo is next-level comfort food. By toasting the cereal slightly or using fresh marshmallows, you change the entire game.
What makes this recipe different from the rest? It’s the attention to the marshmallow-to-cereal ratio. Too much marshmallow makes it gummy and hard to cut. Too little makes it dry. This recipe hits the sweet spot—literally. The addition of holiday sprinkles isn’t just for looks; it adds a tiny crunch and bursts of flavor that keep every bite interesting.
Whether it is a special technique like greasing your hands with butter to prevent sticking, a perfectly balanced seasoning profile, or a creative twist like swapping in red and green jimmies, make it clear this isn’t just another version—it’s your best version.
This recipe isn’t just good—it is the kind that makes you close your eyes after the first bite. It’s comfort food reimagined—healthier, faster, but with the same soul-soothing satisfaction. Perfect for impressing guests without stress, or turning a simple meal into something memorable. It pairs wonderfully if you are also making other easy treats, like our popular dessert collection for other occasions.
What Ingredients You Will Need
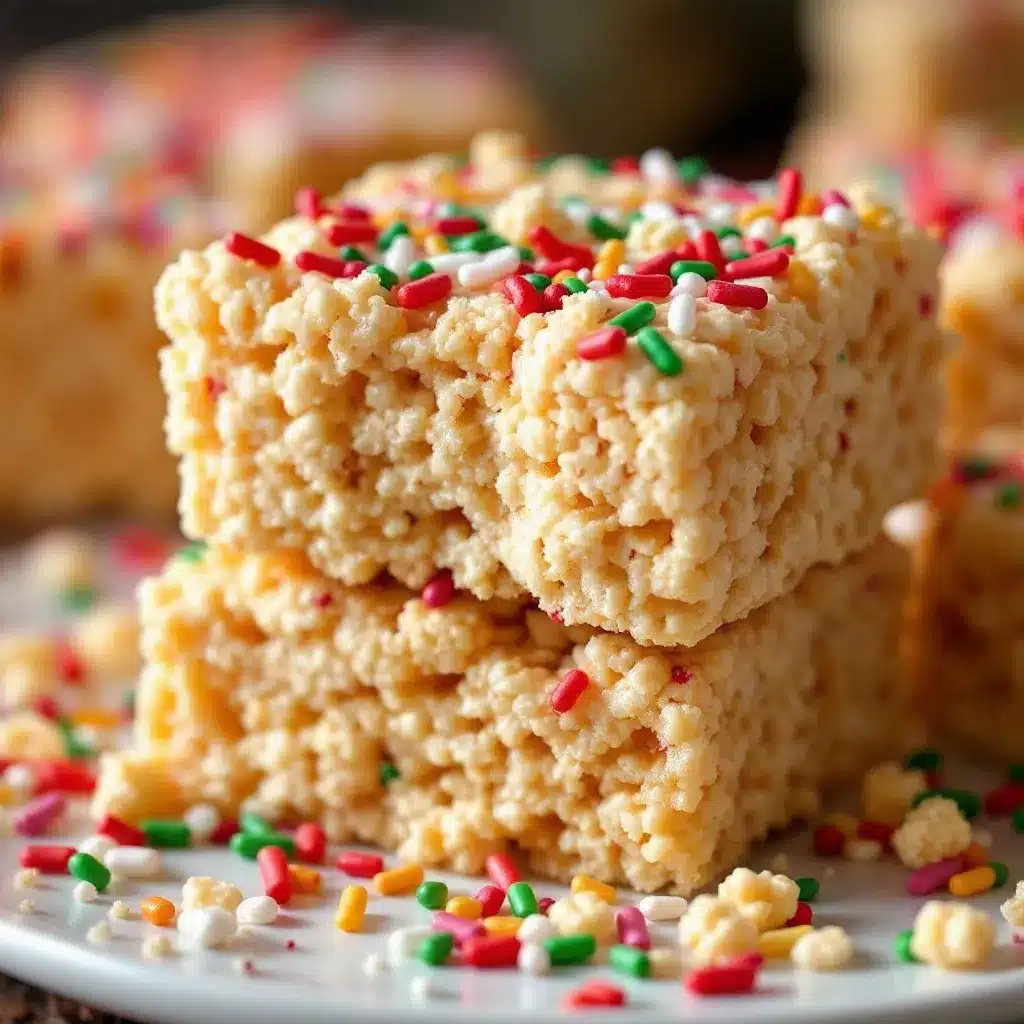
Simple, Wholesome, and Festive
This recipe uses simple, wholesome ingredients to deliver bold flavor and satisfying texture without the fuss. The magic here lies in the quality of the marshmallows and the type of cereal. You don’t need anything exotic, but you do need the right components to get that perfect chew.
Here is what you will need to make these festive Christmas Rice Krispie treats with sprinkles:
- Unsalted Butter: 3 tablespoons. Salted butter can work, but unsalted lets you control the sweetness. I recommend using a high-quality brand like Kerrygold for the best flavor.
- Large Marshmallows: 10 ounces (about 40 large marshmallows). Do not use the mini ones unless you are adjusting the timing. Large marshmallows melt slower and give a better texture. Look for brands without artificial colors if you prefer a cleaner taste.
- Rice Cereal: 6 cups. Classic crispy rice cereal works best. Make sure it is fresh; old cereal loses its crunch and makes the treats soggy.
- Holiday Sprinkles: 1/2 cup. Use red and green jimmies or nonpareils. Jimmies hold their shape better in the warm mixture. Avoid sprinkles that bleed color too easily.
- Extra Sprinkles for Topping: 2-3 tablespoons. For that festive look on top.
- Vanilla Extract (Optional): 1/2 teaspoon. Adds a subtle depth of flavor that balances the sugar.
For the best texture, I personally prefer Dandies or Jet-Puffed marshmallows. They melt smoothly without separating into oil and sugar. If you are looking for a dairy-free option, you can swap the butter for coconut oil and use vegan marshmallows, though the texture will be slightly different.
In summer, you might swap in white chocolate chips for some of the marshmallow for a different twist, but for Christmas, stick to the classic red and green. If you need a gluten-free option, ensure your cereal is certified gluten-free, as standard rice cereal can sometimes contain wheat traces depending on the brand.
Keep this section scannable. You don’t need a lecture on the chemistry of gelatin here. Just grab your ingredients and get started. The simplicity is the point.
Equipment Needed
Tools for Success
You don’t need a fancy kitchen to make these treats. In fact, keeping the equipment simple helps keep the cleanup easy. Here is what you need:
- Large Pot: A 3-4 quart saucepan. Non-stick is helpful but not required. Just make sure it is big enough to hold the melted marshmallows and cereal without overflowing.
- Silicone Spatula: Essential for scraping the pot clean. Silicone handles the heat better than plastic and won’t scratch your pot.
- 9×13 Inch Baking Dish: Standard size. Grease it well with butter or cooking spray.
- Heavy Duty Trash Bags: Cut them open and use as liners for your baking dish. This makes cleanup a breeze. I learned this trick years ago and haven’t looked back.
- Sharp Knife: For cutting the treats into squares. Dipping the knife in hot water between cuts gives you cleaner edges.
If you don’t have a large pot, you can use a microwave-safe bowl, but the stovetop method gives you more control over the melting process. Budget-friendly option: Any basic non-stick pot from a discount store works perfectly. Just avoid thin aluminum pans that might burn the marshmallows.
Preparation Method
Step-by-Step Instructions
Step 1: Prep Your Workspace (2 minutes)
Grease your 9×13 inch baking dish generously with butter. Line it with parchment paper or a trash bag liner for easy removal. Have your cereal and sprinkles measured and ready nearby. This is crucial because the mixture moves fast.
Step 2: Melt the Butter (1 minute)
Place your large pot over medium-low heat. Add the 3 tablespoons of butter. Let it melt completely, swirling the pot occasionally. Do not let it brown. You just want it liquid and foamy.
Step 3: Melt the Marshmallows (3-5 minutes)
Add the marshmallows to the melted butter. Stir constantly. This is the most important part. If you walk away, they will burn. Keep stirring until they are completely melted and smooth. This should take about 3-5 minutes. The mixture will look glossy and stretchy. Remove from heat immediately once smooth.
Step 4: Add Flavor (30 seconds)
Stir in the vanilla extract if you are using it. The residual heat will mix it in perfectly.
Step 5: Fold in the Cereal (2 minutes)
Add the 6 cups of rice cereal to the pot. Use your spatula to fold the cereal into the marshmallow mixture. Be gentle but thorough. You want every piece coated. If you have leftover sprinkles, add half of them now and fold them in for speckled color.
Step 6: Press into Pan (3 minutes)
Transfer the mixture to your prepared baking dish. Wet your hands with a little water or butter to prevent sticking. Press the mixture down firmly. Do not over-press, or the treats will be dense. Aim for an even layer.
Step 7: Add Topping and Set (10-15 minutes)
Sprinkle the remaining sprinkles on top. Let the treats cool at room temperature for 10-15 minutes until firm. Do not refrigerate, as this can make the marshmallows too hard.
Step 8: Cut and Serve
Use a sharp knife to cut into squares. Enjoy immediately or store in an airtight container.
Cooking Tips & Techniques
Professional Secrets for the Best Treats
Here are some professional techniques and common mistakes to avoid:
- Low Heat is Key: Marshmallows burn easily. Always use low to medium-low heat. High heat causes the sugars to caramelize too fast and burn.
- Don’t Over-Stir: Once you add the cereal, stop stirring too much. You want to coat, not mash. Over-mixing leads to dense, hard treats.
- Grease Everything: Marshmallow is sticky. Grease your spatula, your hands, and your knife. It saves so much frustration.
- Timing is Everything: The mixture sets quickly. Have your pan ready before you start melting. If you wait, the marshmallows will harden in the pot.
- Personal Failure Lesson: I once tried to microwave the marshmallows. The result was uneven melting and some burnt bits. Stovetop is the only way to go for consistent results.
For consistency, use a kitchen scale for the cereal if you want precision. Volume measurements can vary depending on how packed the cereal is. But honestly, eyeballing it usually works fine for this recipe.
Variations & Adaptations
Customize Your Holiday Treats
This recipe is a blank canvas. Here are some ways to adapt it:
- White Chocolate Version: Stir in 1/2 cup of white chocolate chips after removing from heat. Add red and green sprinkles. This is richer and more decadent.
- Grasshopper Version: Use mint chips or peppermint extract. Add green sprinkles. Great for a winter mint flavor.
- Gluten-Free: Use certified gluten-free crispy rice cereal. Most major brands offer this now.
- Vegan: Use vegan marshmallows and coconut oil. The texture will be slightly chewier, but the flavor is still great.
- Personal Twist: I sometimes add a handful of crushed peppermint candies for extra crunch and holiday spirit.
For different cooking methods, you can bake these in a pan for a slightly firmer texture, but the no-bake method is standard for a reason. It preserves the airy texture.
Serving & Storage Suggestions
Keep Them Fresh and Festive
Serve these treats at room temperature. They pair well with hot cocoa or coffee. For presentation, arrange them on a platter with other holiday cookies.
Storage
Store in an airtight container at room temperature for up to 3 days. They do not freeze well, as the marshmallows can become too hard and lose their chew. If you must freeze, wrap tightly and thaw at room temperature, but the texture may change.
Reheating
If they get a bit stale, you can microwave a piece for 10 seconds to soften it. But honestly, they are best fresh.
Flavor Development
The flavors meld together over the first few hours. Letting them sit for a few hours before cutting can help the sprinkles set and the texture firm up evenly.
Nutritional Information & Benefits
Know What You’re Eating
These treats are high in sugar and carbohydrates. They are not a health food, but they are a fun indulgence.
- Calories: Approximately 150-180 per square, depending on size.
- Allergens: Contains dairy (butter) and potentially gluten (check cereal).
- Dietary Considerations: Not suitable for low-carb or keto diets. Vegan and gluten-free adaptations are possible.
From a wellness perspective, these are best enjoyed in moderation. They are a treat for the soul, not the body. Use them to bring joy to holiday gatherings, not as a daily snack.
Conclusion
Why This Recipe Sticks
These festive Christmas Rice Krispie treats with sprinkles are worth trying because they are simple, fast, and delicious. They capture the spirit of the holidays without the stress. Customize them to fit your taste. Add extra sprinkles, change the colors, or mix in chocolate.
I love this recipe because it brings my family together in the kitchen. It’s a memory maker. It’s easy, it’s fun, and it tastes like Christmas.
Please try this recipe and let me know how it turns out. Share your photos on social media and tag us. I love seeing your variations. Happy holidays!
FAQs
Common Questions About Holiday Rice Krispie Treats
Can I use mini marshmallows?
Yes, but you will need more volume. Use about 10 cups of mini marshmallows for the same amount of cereal. They melt faster, so watch the heat closely.
Why are my treats hard?
This usually happens if you press them down too hard or cook the marshmallows for too long. Keep the heat low and press gently.
Can I make these ahead of time?
Yes, they can be made 1-2 days in advance. Store in an airtight container at room temperature.
Do I need to refrigerate them?
No, refrigeration makes them hard. Store at room temperature for the best texture.
What kind of sprinkles work best?
Jimmies hold their shape better than nonpareils or sanding sugar. They won’t bleed color as much and add a nice crunch.
Pin This Recipe!
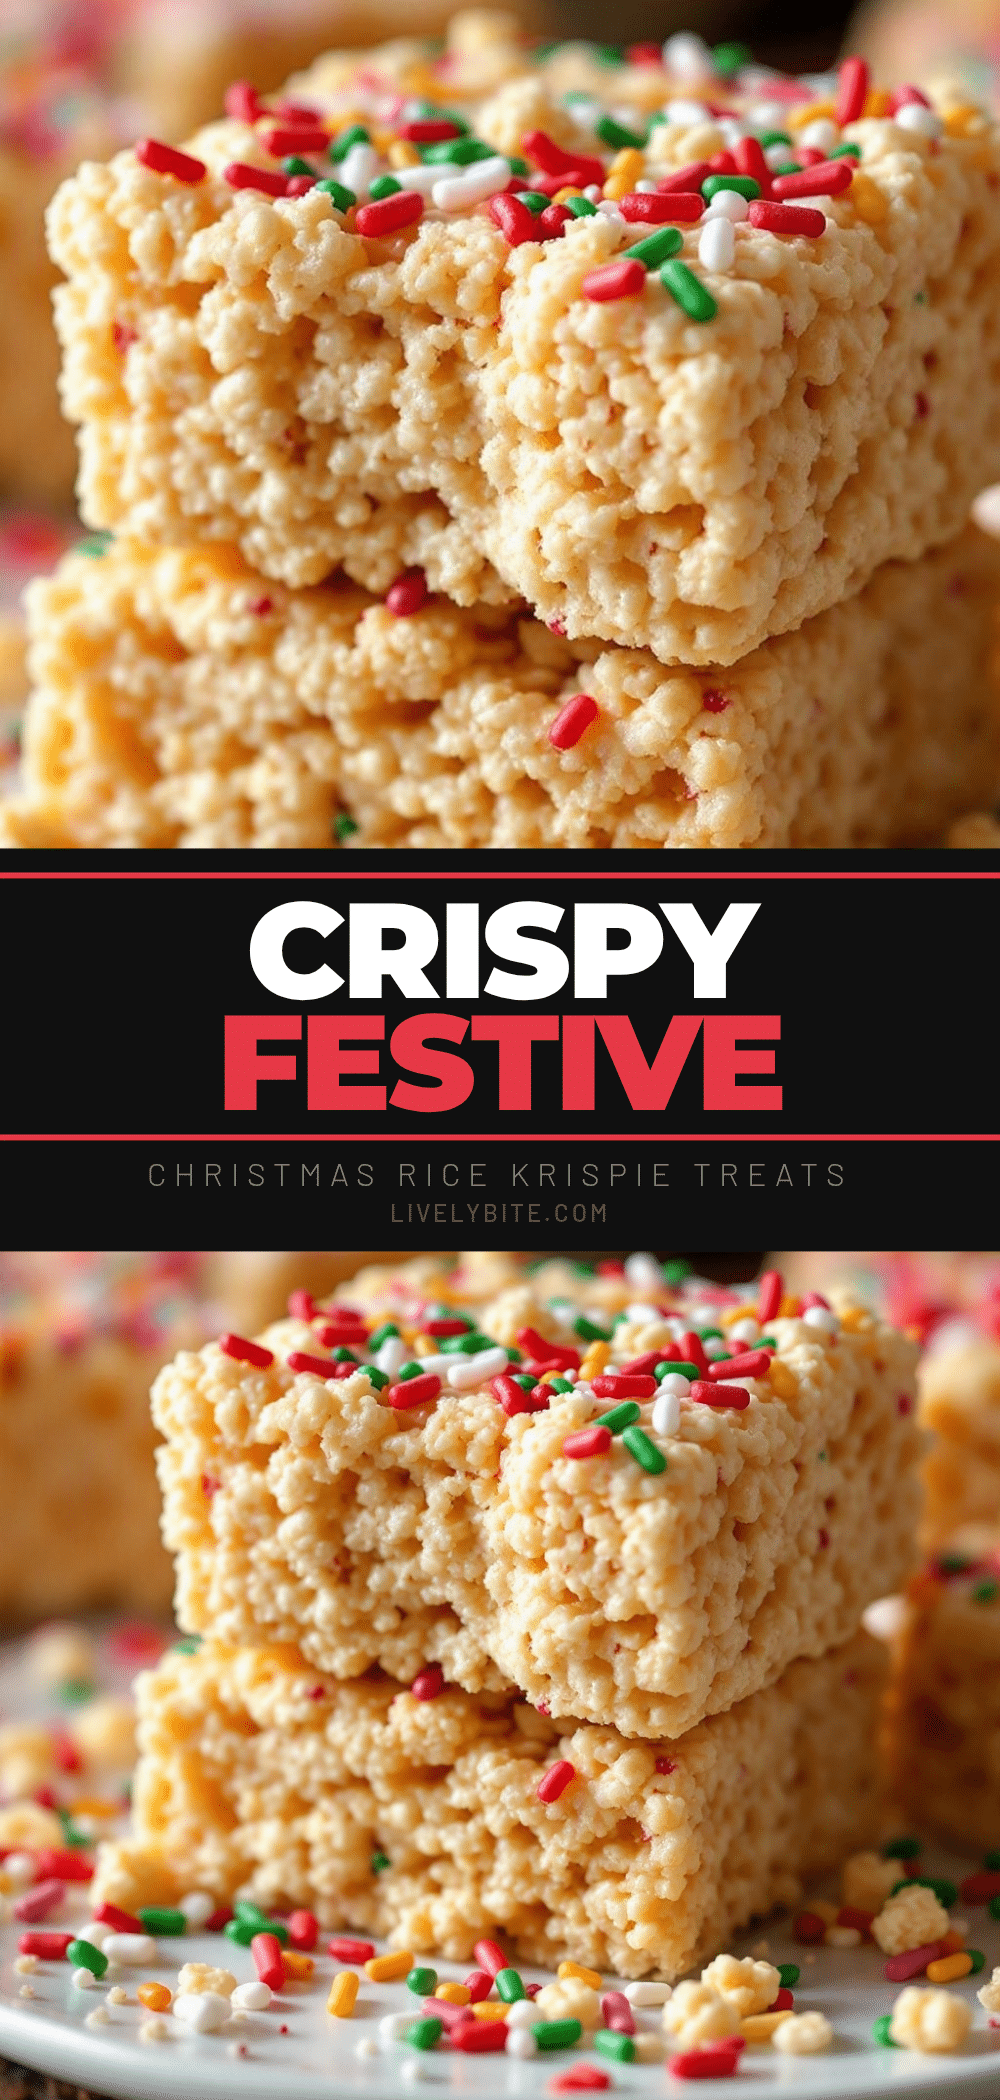
Festive Christmas Rice Krispie Treats with Sprinkles
A quick, stress-free holiday dessert that combines high-quality marshmallows and butter with crispy rice cereal and festive red and green sprinkles for a crowd-pleasing treat.
- Prep Time: 5 minutes
- Cook Time: 10 minutes
- Total Time: 15 minutes
- Yield: 16 servings 1x
- Category: Dessert
- Cuisine: American
Ingredients
- 3 tablespoons unsalted butter
- 10 ounces large marshmallows (about 40)
- 6 cups crispy rice cereal
- 1/2 cup holiday sprinkles (red and green jimmies)
- 2–3 tablespoons extra sprinkles for topping
- 1/2 teaspoon vanilla extract (optional)
Instructions
- Grease a 9×13 inch baking dish generously with butter and line with parchment paper or a trash bag liner for easy removal.
- Place a large pot over medium-low heat and melt the 3 tablespoons of butter until liquid and foamy, but not browned.
- Add the marshmallows to the melted butter and stir constantly for 3-5 minutes until completely melted and smooth. Remove from heat immediately.
- Stir in the vanilla extract if using.
- Add the 6 cups of rice cereal to the pot and gently fold until every piece is coated. Fold in half of the holiday sprinkles if desired.
- Transfer the mixture to the prepared baking dish. Wet your hands with water or butter and press the mixture down firmly but gently to avoid density.
- Sprinkle the remaining sprinkles on top.
- Let the treats cool at room temperature for 10-15 minutes until firm.
- Cut into squares using a sharp knife (dip knife in hot water for cleaner cuts) and serve.
Notes
Use low heat to prevent burning the marshmallows. Do not refrigerate as this makes the treats too hard. For gluten-free options, use certified gluten-free cereal. For vegan options, use vegan marshmallows and coconut oil.
Nutrition
- Serving Size: 1 square
- Calories: 165
- Sugar: 22
- Sodium: 80
- Fat: 6
- Saturated Fat: 3
- Carbohydrates: 28
- Protein: 2
Keywords: Christmas treats, Rice Krispie treats, holiday baking, no-bake dessert, easy party snacks, festive sweets, marshmallow treats


