Dave kicked the door open at 4:30 PM, not 7:00 PM like we planned. He brought three friends. Then Sarah called to say she was bringing her sister. Suddenly, I was looking at eight hungry people and an empty fridge. Honestly, I was panicking. My oven was full for the main course, so no hot dishes were coming out. I had zero time to cook anything real.
The only thing that looked edible was a bag of pears, some sharp cheddar, and a block of goat cheese. I also had a half-empty jar of honey and some walnuts. I grabbed the biggest platter I owned. It was a disaster waiting to happen, but I started stacking. I sliced the pears thin. I crumbled the cheese. I poured the honey over everything.
It wasn’t fancy. It wasn’t planned. But when they walked in, the board was the first thing they touched. Nobody asked about the roast. They just ate. The contrast of the salty cheese and sweet fruit saved the night. I realized that sometimes the best meals are the ones you improvise. That’s when I decided to make this my go-to for any last-minute crowd.
Now, every time I have a sudden influx of friends, I don’t stress about the main dish. I just build a board. It’s reliable, it’s beautiful, and it tastes like autumn. I’ve refined it over years of chaotic hosting. This isn’t just snacks; it’s a survival strategy that actually tastes delicious. You’ll see why this board became my secret weapon.
Why You’ll Love This Recipe
This recipe isn’t just about throwing food on a plate. It’s about creating a centerpiece that looks effortless but actually saves your sanity. I’ve tested this setup with dozens of different guest lists, and it always works. Here is why this charcuterie board has earned its spot in my regular rotation.
- Quick & Easy: You can assemble this entire board in under 20 minutes. It is perfect for busy weeknights or when your guests show up twenty minutes early. You don’t need to turn on the stove or wait for anything to bake. It is ready the moment you are.
- Simple Ingredients: You likely already have half of this in your kitchen right now. I’m talking about pantry staples like crackers, nuts, and dried fruit. You don’t need a fancy grocery trip or expensive specialty items. The beauty is in the simplicity of things you already own.
- Perfect for Friendsgiving: This is the ultimate appetizer for a fall gathering. It fits the seasonal theme perfectly with warm colors and rustic textures. It sets the tone for the meal without competing with the turkey or stuffing.
- Crowd-Pleaser: Everyone loves a grazing board. It appeals to picky eaters and foodies alike. Kids can grab the cheese sticks, while adults can enjoy the aged cheddar and wine pairings. It removes the pressure of serving everyone individually.
- Unbelievably Delicious: The combination of textures and flavors is next-level comfort food. The crunch of the nuts, the creaminess of the cheese, and the pop of fresh fruit create a balance that keeps people coming back for more. It’s savory, sweet, and salty all in one bite.
What makes this recipe different from the rest is the specific focus on fall fruits. Most boards use apples or grapes, but pears, figs, and persimmons add a unique seasonal flair. I also focus on the visual weight of the board. By using height and color contrast, it looks like a professional chef designed it. It’s not just another version of a snack platter; it’s your best version of stress-free hosting.
This recipe isn’t just good—it is the kind that makes you close your eyes after the first bite. It’s comfort food reimagined—healthier, faster, but with the same soul-soothing satisfaction. Perfect for impressing guests without stress, or turning a simple meal into something memorable. You can even pair it with a creamy vegan chocolate avocado pudding for dessert later, keeping the theme consistent.
What Ingredients You Will Need
This recipe uses simple, wholesome ingredients to deliver bold flavor and satisfying texture without the fuss. The key is balancing salty, sweet, crunchy, and creamy elements. You want a mix of textures to keep every bite interesting. Most of these items are seasonal staples you can find at any local market.
- For the Cheeses:
- Sharp Cheddar: Block form, sliced or cubed. The sharpness cuts through the sweetness of the fruit. Look for a block from a local dairy if possible for better flavor.
- Goat Cheese Log: Soft and tangy. Roll it in chopped herbs or leave it plain. It adds a creamy contrast to the hard cheeses.
- Brie or Camembert: A wheel of soft cheese with the rind on. It adds a luxurious, buttery element that feels fancy but is easy to serve.
- For the Cured Meats:
- Prosciutto: Thinly sliced Italian ham. Fold it into rosettes for a pretty presentation. It adds a salty, umami punch.
- Salami: Hard salami, sliced thin. It holds up well at room temperature and doesn’t get soggy.
- For the Fruits:
- Fresh Pears: Bartlett or Bosc pears, sliced thin. They are firm enough to hold up and sweet enough to pair with cheese. Use firm, small-curd cottage cheese if you want a dip, but here we stick to the fruit.
- Figs: Fresh or dried. Fresh figs add a jammy texture, while dried figs offer a chewy sweetness. I recommend fresh if they are in season.
- Grapes: Red or green seedless grapes. They are easy to grab and add a burst of juice.
- For the Crunch:
- Mixed Nuts: Walnuts, pecans, and almonds. Toast them lightly for extra flavor. Walnuts pair especially well with goat cheese.
- Crackers: A mix of water crackers, wheat crackers, and gluten-free options. I recommend Mary’s Gone Crackers for their sturdy texture that holds heavy toppings.
- Pretzels: Small pretzel rods or twists. They add a salty crunch that breaks up the soft cheeses.
- For the Sweet & Savory Extras:
- Honey: A small jar of local honey for drizzling. It elevates the cheese instantly.
- Olives: Marinated olives for a briny bite. They add color and a sharp contrast.
- Mustard: Whole grain mustard in a small bowl. It’s a classic pairing for charcuterie.
You can substitute ingredients based on what is available. If fresh figs are out of season, swap in dried apricots or dates. For a vegetarian option, you can omit the meats and add more roasted vegetables or chickpeas. This flexibility is what makes the recipe so reliable.
Equipment Needed
You don’t need much to pull this off, but having the right tools makes the process smoother. I always start with a large wooden board or a marble slab. Wood adds warmth, while marble keeps the cheese cool for longer. If you don’t have a dedicated board, a large serving platter works just fine.
- Cheese Board or Platter: A large, flat surface to arrange everything. I prefer a live-edge walnut board for its rustic look.
- Cheese Knife Set: A set with different blades for soft and hard cheeses. A wire cutter is essential for brie and goat cheese. It prevents the cheese from squishing.
- Small Bowls: For olives, mustard, and honey. Ceramic or glass bowls look nicer than plastic.
- Sharp Knife: For slicing pears and figs. A paring knife gives you the most control for thin slices.
- Serving Tongs: Small tongs for each type of cheese or meat. This keeps the board hygienic and organized.
If you don’t have a cheese knife set, a regular paring knife works for hard cheeses, and a butter knife or wire can work for soft ones. I’ve ruined good cheese by using the wrong knife, so don’t skip this step. For budget-friendly options, check thrift stores for vintage wooden boards. They often have unique character and are much cheaper than new ones. Just sand them lightly before use.
Preparation Method
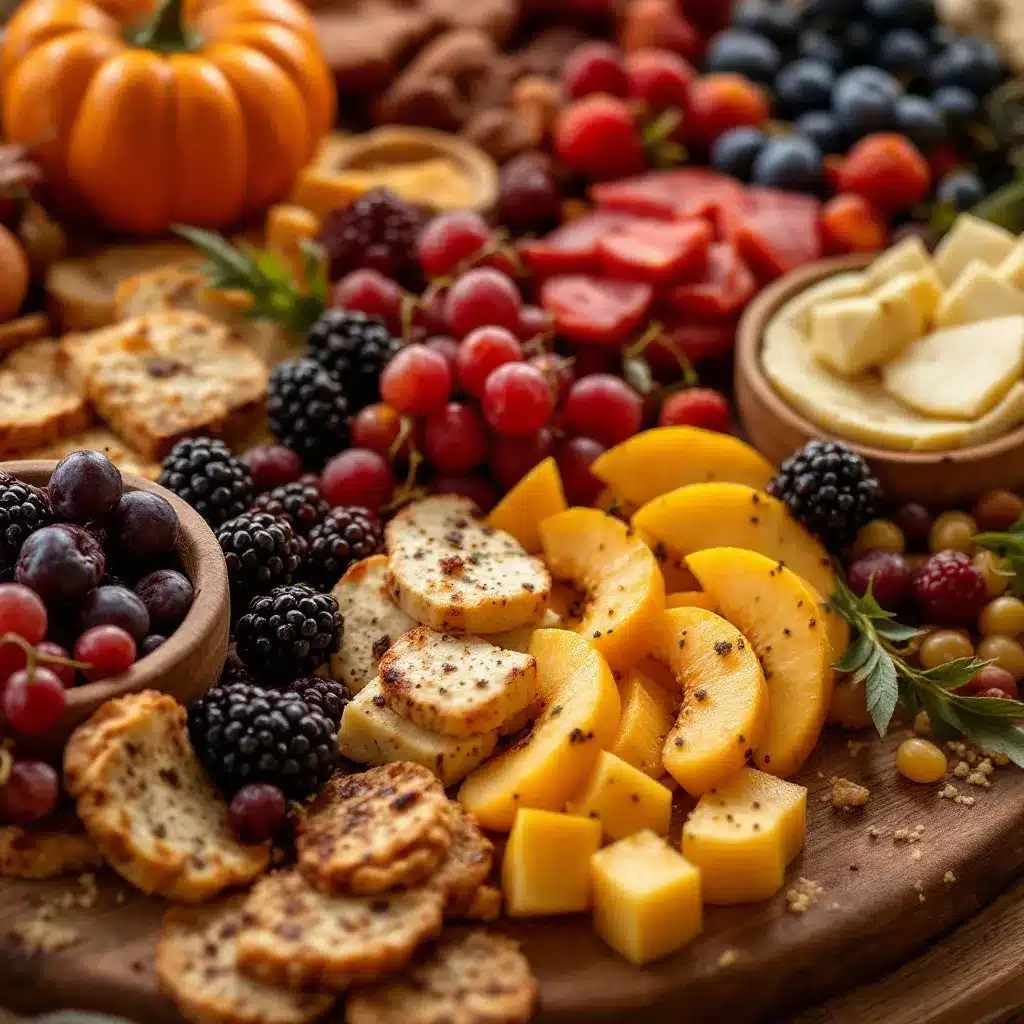
Building the perfect board is like painting. You start with the background and add the details last. Follow these steps to create a balanced and beautiful display.
- Prep Your Station (5 minutes): Clear your workspace. Wash and dry all your fruits. Slice the pears and figs. Keep the pears in a bowl of water with lemon juice to prevent browning until you are ready to plate. This keeps them looking fresh.
- Place the Anchor Items (5 minutes): Start by placing your small bowls on the board. Put the honey, mustard, and olives in different corners. These create visual anchors. Leave space around them for the larger items. This prevents the board from looking cluttered.
- Add the Cheeses (5 minutes): Place your large cheese items next. Put the brie wheel near the center. Slice the cheddar into cubes or triangles. Arrange the goat cheese log near the bowls. Don’t line them up perfectly; scatter them naturally. This makes the board look abundant.
- Arrange the Meats (5 minutes): Fold the prosciutto into loose rosettes and place them near the cheeses. Lay the salami slices flat or folded. Group the meats together but leave room for the fruits. The salty meats should be close to the sweet fruits for easy pairing.
- Fill in the Gaps with Fruit and Nuts (5 minutes): Tuck the pear slices and figs into the empty spaces. Sprinkle the nuts generously over the board. Fill in any remaining holes with grapes. The goal is to have no empty white space. If you see a gap, add more nuts or fruit. This creates a full, inviting look.
- Add the Crackers and Finishing Touches (5 minutes): Lean the crackers against the cheeses or lay them in a fan shape. Drizzle the honey over the goat cheese and figs. Add a few fresh herb sprigs, like rosemary or thyme, for color. Step back and adjust anything that looks off. You are done.
If the cheese gets too soft, put it back in the fridge for 10 minutes. If the pears look dry, wipe them with a damp paper towel. These small tweaks make a big difference in the final presentation.
Cooking Tips & Techniques
I’ve made my share of charcuterie mistakes, so you don’t have to. Here are some pro tips to ensure your board looks professional and tastes great.
- Room Temperature is Key: Take your cheeses out of the fridge 30 minutes before serving. Cold cheese loses its flavor and aroma. Room temperature cheese tastes creamier and more complex.
- Don’t Overcrowd: It’s tempting to pack every inch, but leave some breathing room. This makes it easier for guests to grab items without knocking everything over. It also looks more elegant.
- Use Height: Stack crackers or lean cheese against bowls to create vertical interest. A flat board looks boring. Height adds depth and makes the board look more abundant.
- Color Balance: Aim for a mix of colors. Green from the grapes and herbs, red from the figs and prosciutto, and white/cream from the cheeses. A colorful board is more inviting and appetizing.
- Keep it Clean: Wipe the edges of the board with a damp cloth before serving. Crumbs and fingerprints can ruin the look. A clean edge frames the food beautifully.
I once served a board with wilted herbs, and it looked sad. Never skip the fresh garnish. It adds a pop of color and signals freshness. Also, make sure your nuts are toasted. Raw nuts can taste bland. Toasting them brings out their natural oils and flavor. It’s a small step that makes a huge difference.
Variations & Adaptations
This recipe is highly adaptable. You can tweak it to fit different diets or seasonal changes. Here are a few variations I love.
- Vegetarian Option: Skip the meats and add more cheese and roasted vegetables. Roasted red peppers or artichoke hearts work well. They add a savory element without the meat.
- Gluten-Free Option: Use gluten-free crackers and ensure your nuts and fruits are certified gluten-free. Many brands offer great gluten-free options that taste just as good.
- Dairy-Free Option: Swap the cheeses for dairy-free alternatives. Nut-based cheeses are improving every year. Pair them with plenty of fruit and nuts for satisfaction.
- Winter Variation: Swap pears for apples and add cranberries. Use aged gouda instead of cheddar. The flavors become richer and more robust for colder months.
- Summer Variation: Add fresh strawberries and basil. Use lighter cheeses like fresh mozzarella. It feels lighter and more refreshing for warm weather.
I often add a honey garlic chicken element to my boards by marinating the chicken and serving it cold, but that’s a bit more advanced. For this board, sticking to the classic variations is best. You can also add chocolate-covered pretzels for a sweet twist. It’s all about what you have on hand.
Serving & Storage Suggestions
Serve this board at room temperature. It pairs beautifully with a crisp white wine or a warm apple cider. For a non-alcoholic option, try a refreshing cucumber mint green tea cooler. It’s light and complements the fresh fruits well.
To store leftovers, keep the cheeses in airtight containers. Wrap hard cheeses in wax paper and then plastic wrap to prevent drying out. Soft cheeses should be kept in their original packaging or an airtight container. Fruits should be stored separately to prevent them from getting soggy. Honey and nuts can stay in their jars.
Reheat the crackers if they go stale, but usually, they are gone by then. The flavors develop over time, with the cheese and fruit blending together. This is why a board often tastes even better the next day. Just add a few fresh herbs before serving again.
Nutritional Information & Benefits
This board is a mix of macronutrients. Cheeses provide protein and calcium. Nuts offer healthy fats and fiber. Fruits add vitamins and natural sugars. It’s a balanced snack that keeps you full.
- Protein: High from the cheeses and meats. Good for muscle repair.
- Fats: Healthy fats from nuts and olive oil in the olives. Good for brain health.
- Carbs: Natural sugars from fruits and fiber from crackers. Provides energy.
It is gluten-free if you use GF crackers. It can be dairy-free with substitutions. I love this board because it feels indulgent but is actually quite nutritious. It’s a great way to get your daily fruit and nut intake in a fun way.
Conclusion
This Perfect Friendsgiving Charcuterie Board is more than just snacks. It’s a solution for chaotic hosting. It looks impressive but requires minimal effort. I love it because it lets me enjoy my own party. You can customize it to your taste and dietary needs.
Try it out and see how your guests react. I bet they will ask for the recipe. Leave a comment below with your favorite cheese pairing. Share your photos on social media and tag me. I love seeing your creations. This board has become my favorite way to celebrate with friends. Give it a try and see for yourself.
FAQs
How far in advance can I prepare the charcuterie board?
You can prepare most of the components a day ahead. Slice the fruits and nuts the night before. Assemble the board 2-3 hours before serving to keep the cheese at room temperature. This ensures the best flavor and texture.
Can I use dried fruit instead of fresh fruit?
Yes, dried fruit works well. Figs, apricots, and cranberries are great options. They add a chewy texture and concentrated sweetness. Just be mindful of the portion size, as they are sweeter than fresh fruit.
What kind of crackers go best with this board?
A mix of textures is best. Try water crackers, wheat crackers, and gluten-free options. Crackers with seeds or herbs add extra flavor. Avoid overly salty crackers, as the meats and cheeses are already salty.
How do I keep the cheese from getting too soft?
Keep the cheese in the fridge until 30 minutes before serving. If it gets too soft, put it back for a bit. Use a marble board, which stays cool longer. This helps maintain the texture of soft cheeses like brie.
Can I make this board vegetarian?
Absolutely. Simply omit the meats and add more cheese, roasted vegetables, or chickpeas. You can also add more nuts and fruits to fill the space. The board will still be delicious and satisfying.
Pin This Recipe!
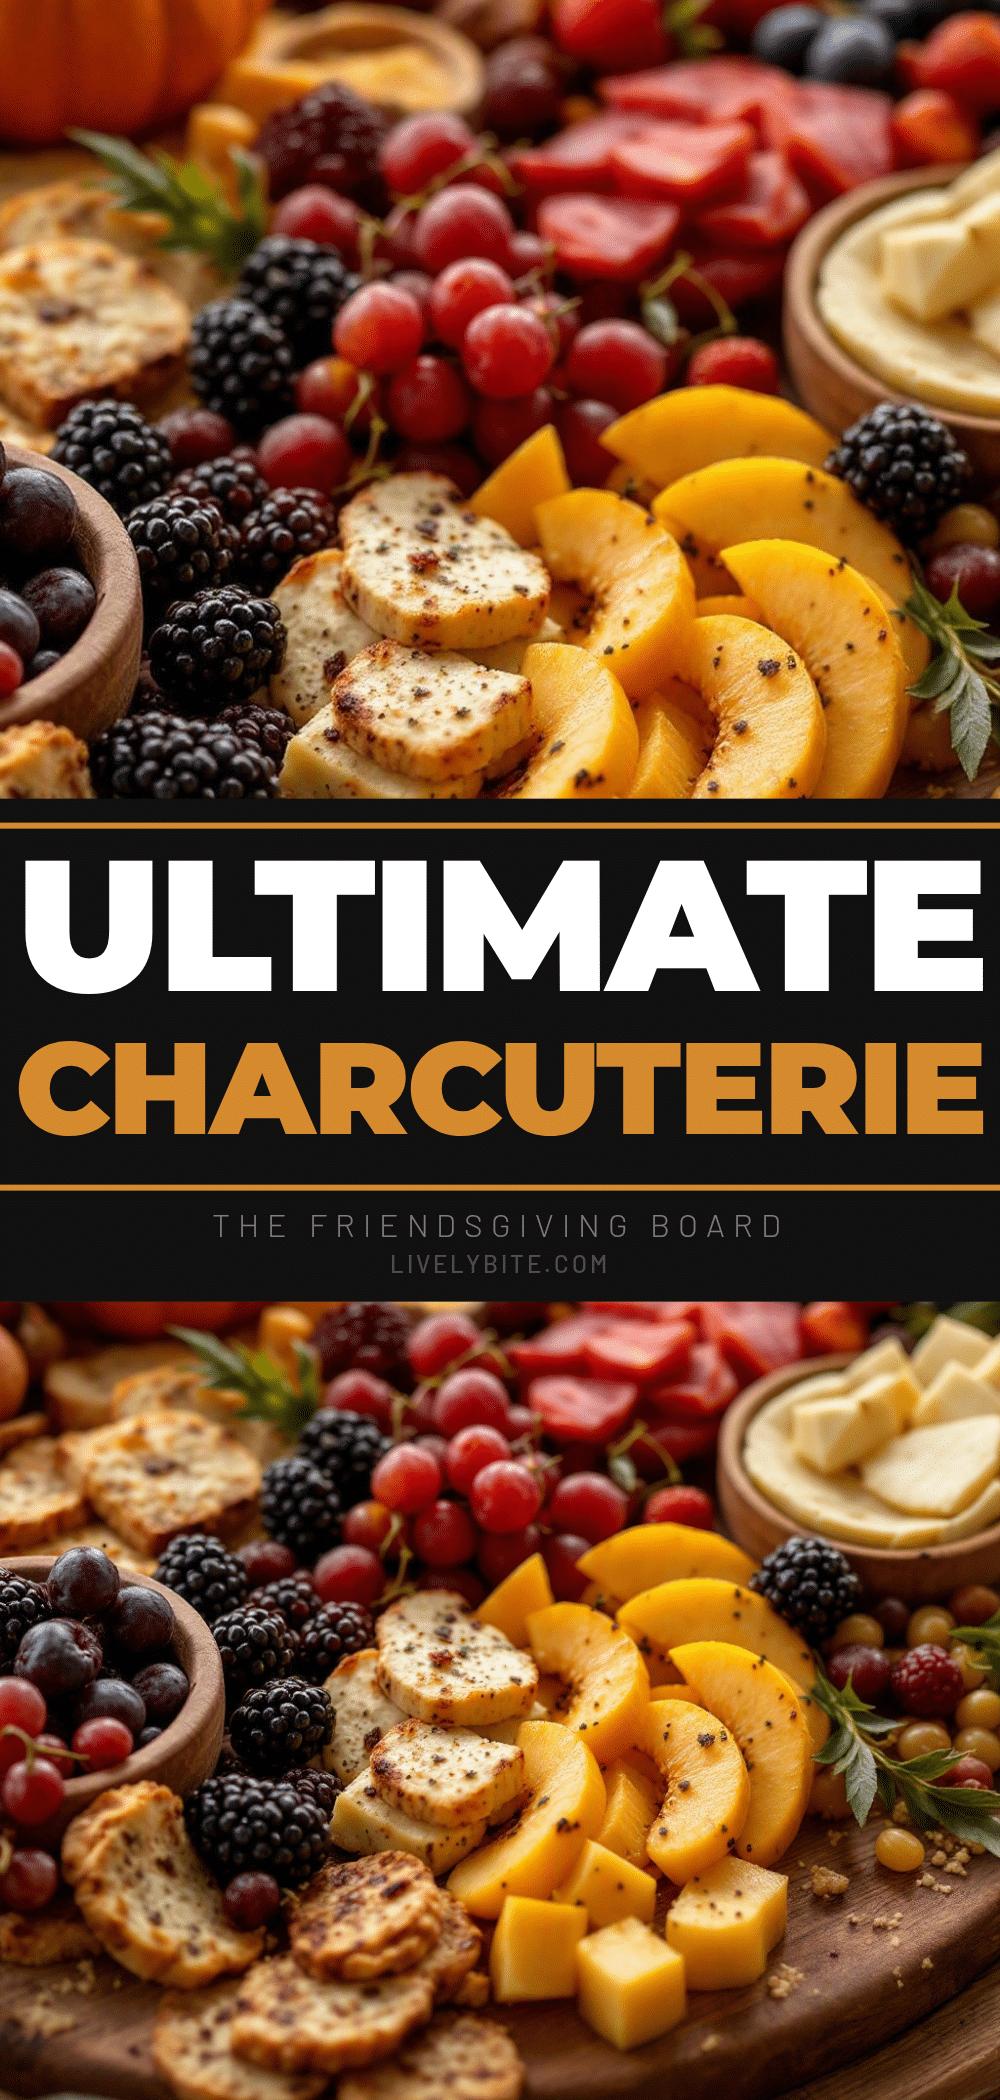
Perfect Friendsgiving Charcuterie Board with Fall Fruit
A stress-free, no-cook charcuterie board featuring sharp cheddar, goat cheese, fresh fall fruits like pears and figs, and crunchy nuts. Perfect for last-minute hosting or Friendsgiving gatherings.
- Prep Time: 30 minutes
- Cook Time: 0 minutes
- Total Time: 30 minutes
- Yield: 8 servings
- Category: Appetizer
- Cuisine: American
Ingredients
- Sharp Cheddar (block form, sliced or cubed)
- Goat Cheese Log (soft and tangy)
- Brie or Camembert (wheel with rind)
- Prosciutto (thinly sliced)
- Salami (hard salami, sliced thin)
- Fresh Pears (Bartlett or Bosc, sliced thin)
- Fresh Figs (or dried figs)
- Red or Green Seedless Grapes
- Mixed Nuts (walnuts, pecans, almonds, toasted)
- Crackers (water crackers, wheat crackers, or gluten-free options)
- Pretzels (small rods or twists)
- Honey (local honey for drizzling)
- Marinated Olives
- Whole Grain Mustard
- Fresh herbs (rosemary or thyme for garnish)
Instructions
- Prep your station by washing and drying fruits. Slice pears and figs. Keep pears in water with lemon juice to prevent browning until plating.
- Place small bowls containing honey, mustard, and olives in different corners of the board to create visual anchors.
- Place large cheese items on the board: put the brie wheel near the center, arrange cheddar cubes/triangles, and place the goat cheese log near the bowls. Scatter them naturally.
- Fold prosciutto into loose rosettes and place near cheeses. Lay salami slices flat or folded. Group meats together near sweet fruits.
- Tuck pear slices and figs into empty spaces. Sprinkle nuts generously over the board. Fill remaining holes with grapes to ensure no white space is visible.
- Lean crackers against cheeses or lay them in a fan shape. Drizzle honey over goat cheese and figs. Add fresh herb sprigs for color and adjust as needed.
Notes
Take cheeses out of the fridge 30 minutes before serving to allow them to reach room temperature for better flavor. If cheese gets too soft, refrigerate for 10 minutes. Use a marble board to keep soft cheeses cool. Toast nuts lightly for enhanced flavor. Store leftovers separately: cheeses in airtight containers (hard cheeses in wax/plastic wrap), fruits separately to prevent sogginess.
Nutrition
- Serving Size: Varies by guest pref
- Calories: 450
- Sugar: 15
- Sodium: 650
- Fat: 32
- Saturated Fat: 12
- Carbohydrates: 25
- Fiber: 3
- Protein: 18
Keywords: charcuterie board, friendsgiving, fall appetizer, no-cook recipe, cheese board, fall fruit, party snacks, easy entertaining


