That was the verdict from my ten-year-old, standing in the kitchen doorway with arms crossed and a look of pure judgment. He was staring at the bowl of candy corn I had just dumped onto the counter for a project. The bright yellow, orange, and white kernels looked like tiny plastic bricks. To him, they were basically colored sugar. To me, they were the only thing that screamed “Halloween” in a way that didn’t involve spooky decorations or complicated costumes.
I didn’t argue. I just shrugged and said, “Well, you’re not eating it, so I guess I’m making bars with it.” That was it. The challenge was issued, not out of malice, but out of sheer boredom and a pantry full of leftover holiday treats. We needed something crispy, something sweet, and something that would use up that mountain of candy before it went stale in the cupboard.
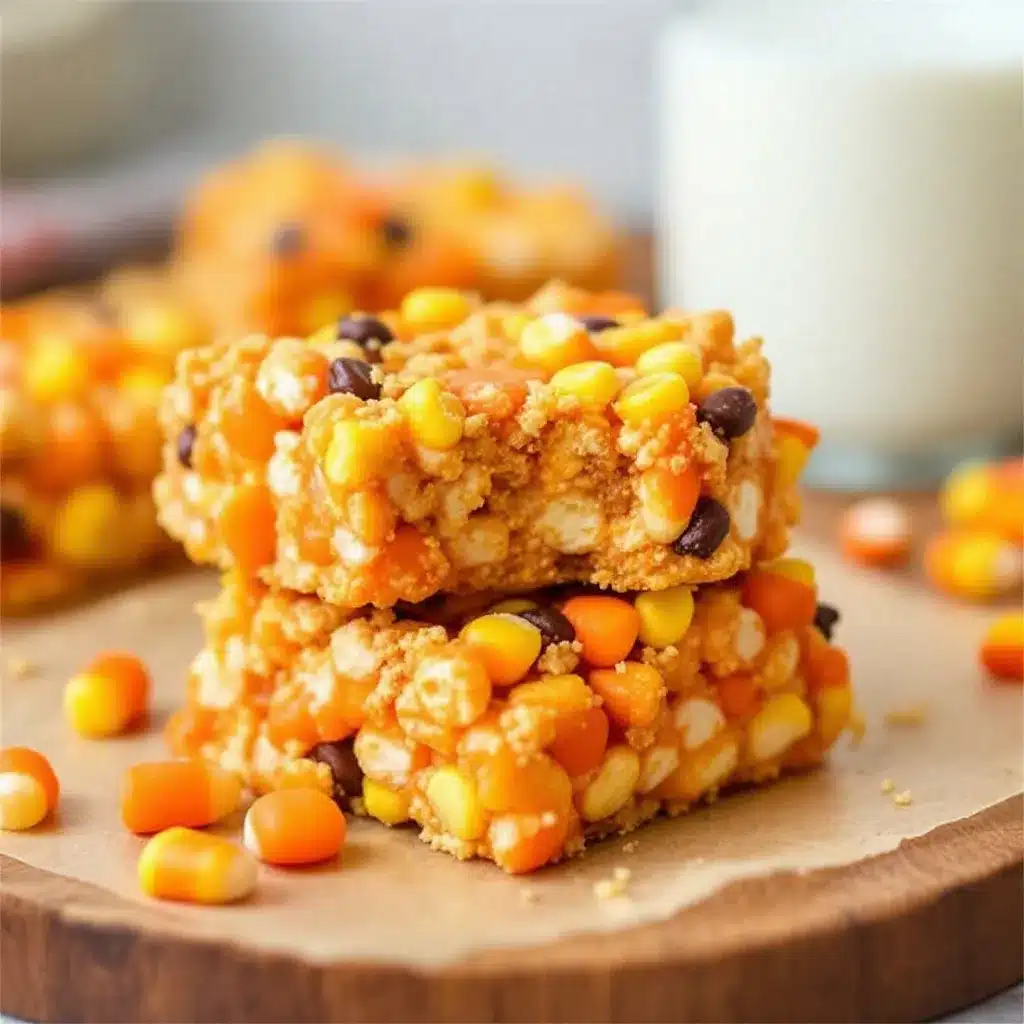
What happened next was less about cooking and more about experimentation. We melted marshmallows. We stirred in the candy corn. We pressed it into a pan. And honestly? It worked. The texture was unlike anything I’d ever seen—crunchy on the outside, chewy on the inside, with bursts of that distinct candy corn flavor. My son took one bite, looked at me, and said, “Okay, this is actually good.” It stuck with me because it turned a “no” into a “yes” with three ingredients and five minutes of effort.
These Crispy Halloween Candy Corn Snack Mix Bars aren’t just a treat; they’re a memory. They represent that sweet spot between a craft project and a dessert, perfect for parties or just a Tuesday night craving. You know, sometimes the best recipes aren’t planned. They’re just what you do with what you have left over. This one has stuck around because it’s simple, it’s fun, and it tastes like Halloween without the sugar crash of eating a whole bag of candy straight from the bowl.
Why You’ll Love This Recipe
Let’s be honest for a second. Most Halloween treats are either too complicated for a busy parent or too artificial-tasting for anyone with a refined palate. This recipe sits in that perfect middle ground. I’ve tested this version multiple times, tweaking the marshmallow ratio and the pressing technique, and I’m confident this is the best way to get that signature crunch without the mess. It’s not just another marshmallow bar; it’s a textural masterpiece.
- Quick & Easy: You can go from empty pantry to finished bar in under 20 minutes. This is perfect for last-minute party requests or when the kids need a snack before dinner.
- Simple Ingredients: You likely have everything in your kitchen right now. Marshmallows, butter, and candy corn. No fancy grocery trips needed. It’s the ultimate pantry staple recipe.
- Perfect for Parties: These are great for Halloween gatherings, classroom exchanges, or spooky movie nights. They hold their shape well, making them easy to serve.
- Crowd-Pleaser: They get rave reviews from kids and adults alike. The kids love the candy corn flavor, and adults appreciate that it’s not overly heavy like a dense brownie.
- Unbelievably Delicious: The texture is next-level. The candy corn adds a surprising crunch that contrasts with the sticky marshmallow. It’s comfort food reimagined—sweet, crunchy, and satisfying.
What makes this different from the rest? It’s the ratio. Most recipes drown the candy corn in marshmallow, making it soggy. By toasting the mix slightly and pressing it firmly, we keep that crisp texture. It’s not just good; it’s the kind of treat that makes you close your eyes after the first bite. It’s simple, but it feels special.
What Ingredients You Will Need
This recipe relies on the power of simplicity. The magic here isn’t in complex spices or rare flours; it’s in how these three basic ingredients interact when heated. The marshmallows provide the sticky binder, the butter adds richness and helps everything come together, and the candy corn provides the structural crunch and that iconic Halloween flavor. It’s a study in contrast: soft versus hard, sweet versus buttery.
- Butter: Unsalted butter is best so you can control the saltiness, but salted works too if that’s all you have. You’ll need about 1/4 cup (56 grams). I prefer using real butter over margarine for the flavor—it just tastes richer and melts more evenly.
- Mini Marshmallows: This is non-negotiable. Regular marshmallows won’t melt as smoothly or coat the candy corn evenly. You’ll need a 10-ounce bag (about 280 grams). Look for brands like Jet-Puffed or Marshmallow Fluff for consistent size. Mini marshmallows are smaller, yes, but they melt faster and create a more uniform texture.
- Candy Corn: The star of the show. You’ll need about 12 to 14 ounces (340-400 grams). This is usually one or two large bags. I recommend buying the standard yellow, orange, and white kernels. Avoid the “premium” varieties with different flavors unless you want a weird taste combo. The classic flavor is what makes this nostalgic.
If you want to get fancy, you can add a handful of mini pretzels for a salty crunch, or a few white chocolate chips for extra sweetness. But honestly, the classic trio is the best. If you’re looking for a gluten-free option, just ensure your marshmallows are certified gluten-free, as some brands use wheat starch. For a dairy-free version, swap the butter for a high-quality coconut oil or vegan butter stick.
Do I need to use real butter?
While you can use oil, butter provides the necessary fat content to help the marshmallows melt properly without becoming greasy. Coconut oil works, but it can impart a coconut flavor that might clash with the candy corn.
Can I use large marshmallows?
You can, but it will take much longer to melt them, and you risk burning the butter before the marshmallows are smooth. Mini marshmallows are the key to speed and texture.
Equipment Needed
You don’t need a lot of fancy gear for this. A large saucepan or a Dutch oven is essential. I prefer a Dutch oven because it’s heavy and distributes heat evenly, preventing the marshmallows from scorching on the bottom. If you don’t have one, a large non-stick skillet works too.
You’ll also need an 8×8 inch baking pan. Line it with parchment paper or grease it well with butter or non-stick spray. The mixture is sticky, so don’t skip the lining, or you’ll be scraping candy corn out of the pan for days. A rubber spatula is your best friend here. Get one that’s flexible and heat-resistant. I’ve ruined a few spatulas over the years by trying to use wooden spoons for this part—it’s just too sticky.
A measuring cup and a knife for cutting are all you really need. If you want clean cuts, dip your knife in hot water between slices. This is a pro tip that saves the bars from looking like a mess. Budget-friendly? You probably already have all of this in your kitchen drawer.
Preparation Method
Let’s get into the nitty-gritty. This part is easy, but timing is everything. If you rush, you’ll get clumps. If you wait too long, the marshmallows burn. Here is exactly how to do it.
Step 1: Prep the Pan (2 minutes)
Line an 8×8 inch baking pan with parchment paper, leaving an overhang on the sides. This acts as a sling so you can lift the bars out later. If you don’t have parchment, grease the pan generously with butter. Set aside.
Step 2: Melt the Butter (3 minutes)
Place a large saucepan or Dutch oven over medium-low heat. Add the 1/4 cup of butter. Let it melt slowly. Do not let it brown. You just want it liquid and foamy. Stir occasionally. This should take about 2-3 minutes. If the heat is too high, the butter will burn, and your bars will taste bitter.
Step 3: Add the Marshmallows (5 minutes)
Once the butter is melted, add the entire bag of mini marshmallows. Stir constantly. This is the most important step. Keep stirring until the marshmallows are completely melted and smooth. It should look like a white, glossy sauce. This usually takes 5 minutes. If you see any unmelted marshmallows, keep stirring. Do not walk away. The heat from the pan is enough to melt them; you don’t need high heat.
Step 4: Incorporate the Candy Corn (2 minutes)
Remove the pan from the heat. This is crucial. If you keep it on the heat, the candy corn will melt and turn into a gooey mess. Add the candy corn to the marshmallow mixture. Stir gently but thoroughly. You want to coat every piece of candy corn in marshmallow. It will look like a mountain of sticky clouds. Use your spatula to fold it in.
Step 5: Press into the Pan (3 minutes)
Immediately transfer the mixture to your prepared pan. Use a greased spatula or your hands (grease your hands with butter to prevent sticking) to press the mixture down firmly. Pack it in tight. If it’s loose, the bars won’t hold together. Press it evenly to the edges. Let it cool at room temperature for about 30 minutes. Do not refrigerate, as the marshmallows can become too hard and chewy.
Step 6: Cut and Serve
Once cooled, lift the slab out of the pan using the parchment sling. Place it on a cutting board. Use a sharp knife dipped in hot water to cut into squares. Wipe the knife clean between cuts for neat edges.
Cooking Tips & Techniques
Here are some lessons I’ve learned the hard way. First, heat management is key. Medium-low heat is your friend. High heat is the enemy. I once tried to speed this up by cranking the heat, and the bottom of the pan burned. The marshmallows turned amber and tasted like caramelized sugar, which ruined the balance. Low and slow wins the race.
Second, don’t skimp on the stirring. Marshmallows have a tendency to stick to the bottom of the pan if you aren’t attentive. Keep that spatula moving. If you see little brown bits forming, stop immediately. Those are burnt marshmallows, and they will make the whole batch taste bitter.
Third, packing is essential. When you press the mixture into the pan, be aggressive. If you leave air pockets, the bars will fall apart when you cut them. I’ve had friends make this and complain it’s too crumbly. Usually, the issue is loose packing. Press it down like you’re trying to crush it.
Finally, timing. The candy corn should never touch the heat source directly. Once you remove the pan from the stove, add the candy corn. If you add it while the pan is still on the burner, even on low, the candy corn will start to melt and lose its shape. You want distinct pieces of candy corn, not a melted puddle.
What if the mixture is too sticky to handle?
Wet your hands with cold water. The water creates a barrier between the marshmallow and your skin. Alternatively, wear disposable plastic gloves. It’s messy, so be prepared.
Can I make this in the microwave?
Yes, but it’s riskier. Heat the butter and marshmallows in 30-second intervals, stirring in between. It’s harder to control the temperature, and you might end up with hot spots. The stovetop method is more reliable for even melting.
Variations & Adaptations
While the classic version is my favorite, there are plenty of ways to tweak this recipe. Here are a few ideas that have worked well in my kitchen.
Salty Crunch Variation: Add 1 cup of mini pretzels to the mixture. The saltiness of the pretzels cuts through the sweetness of the candy corn and marshmallows. It’s a classic sweet-and-salty combo that adults love. Just fold them in with the candy corn.
Chocolate Chip Twist: Stir in 1/2 cup of white chocolate chips along with the candy corn. The white chocolate melts slightly from the residual heat, creating little pockets of sweetness. It’s like a cookie bar in bar form.
Pumpkin Spice Version: Add 1 teaspoon of pumpkin pie spice to the butter before melting. This gives the bars a warm, autumnal flavor that complements the orange candy corn perfectly. It’s subtle but effective.
Gluten-Free Option: Most candy corn is naturally gluten-free, but always check the label. Some brands may process them in facilities with wheat. Ensure your marshmallows are also certified gluten-free. The rest of the recipe is naturally gluten-free.
Dairy-Free Version: Use vegan butter and dairy-free marshmallows. There are several brands of vegan marshmallows available now that melt just like regular ones. The result is very similar to the original.
Can I use gummy candies instead of candy corn?
You can, but the texture will be different. Gummy bears will melt more and create a chewier bar. Candy corn is unique because it holds its shape and provides crunch. If you use gummies, expect a softer result.
Serving & Storage Suggestions
These bars are best served at room temperature. They have a chewy, slightly crisp texture that changes if you refrigerate them too long. In the fridge, they become hard and chewy, almost like taffy. At room temperature, they are soft and melt-in-your-mouth.
For storage, keep them in an airtight container at room temperature for up to 5 days. Line the layers with parchment paper to prevent sticking. If you need to store them longer, you can freeze them for up to 3 months. Thaw them at room temperature before serving. They don’t freeze perfectly, as the marshmallows can become a bit rubbery, but they are still tasty.
For serving, these are great for Halloween parties. Cut them into small squares for easy handling. They pair well with hot apple cider or pumpkin spice lattes. You can also serve them alongside savory snacks like popcorn or chips to balance the sweetness.
Over time, the flavors meld together. On day two, the marshmallow flavor becomes more pronounced as it sets. It’s a different experience than day one, but still delicious. I usually find they are best consumed within the first three days.
Do they freeze well?
Yes, but thaw them slowly at room temperature. Quick thawing in the microwave can make them soggy.
Can I wrap them for gifts?
Absolutely. Wrap them in cellophane bags and tie with a black or orange ribbon. They make great last-minute party favors.
Nutritional Information & Benefits
Let’s talk about the nutrition. These bars are a treat, so don’t expect them to be a health food. They are high in sugar and carbohydrates. However, they are simple to digest and provide a quick energy boost. The marshmallows are mostly sugar and gelatin, while the candy corn is sugar, corn syrup, and wax.
From a wellness perspective, these are best enjoyed in moderation. They are perfect for a special occasion like Halloween, but not something to eat daily. If you are watching your sugar intake, consider making smaller bars or sharing with friends. The butter adds some fat, which helps slow down the sugar absorption slightly, but it’s still a high-glycemic snack.
For those with dietary restrictions, check the labels on your ingredients. Some candy corn brands contain gelatin, which is not vegan. There are vegan candy corn options available if you need them. The recipe is naturally gluten-free if you choose GF marshmallows and candy corn.
Are they vegan?
Traditional candy corn contains gelatin, so it is not vegan. Look for brands that use corn syrup and sugar only, or use vegan marshmallows and candy corn.
How many calories are in one bar?
Depending on the size of the bar, each square is approximately 150-200 calories. It varies based on how thick you cut them.
Conclusion
These Crispy Halloween Candy Corn Snack Mix Bars are a testament to the beauty of simple ingredients. They are fun, easy to make, and surprisingly delicious. I love this recipe because it turns leftovers into a memorable treat. It’s perfect for busy weekends or when you need a quick snack that feels special.
I encourage you to try it your way. Add pretzels, add chocolate, or keep it classic. The beauty of this recipe is its flexibility. It’s a canvas for your creativity. If you make these, I’d love to hear how you like them. Leave a comment below with your favorite variation. Share your photos on social media and tag me—I love seeing your creations.
Halloween is all about fun and creativity, and these bars are a perfect way to celebrate. So grab your marshmallows, melt some butter, and get ready for a crispy, chewy, sweet adventure. You won’t regret it.
FAQs
Can I use large marshmallows?
It’s not recommended. Large marshmallows take much longer to melt and can result in an uneven texture. Mini marshmallows melt quickly and evenly, ensuring a smooth mixture.
Why are my bars too hard?
This usually happens if you overcook the marshmallows or if you refrigerate the bars. Marshmallows harden when cold. Let them cool at room temperature only for the best texture.
Can I add nuts to the mix?
Yes! Chopped pecans or walnuts add a nice crunch and flavor. Just fold them in with the candy corn. They pair especially well with the pumpkin spice variation.
How do I store these bars?
Store them in an airtight container at room temperature for up to 5 days. Do not refrigerate, as this will make them too hard and chewy.
Is candy corn gluten-free?
Most candy corn is naturally gluten-free, but always check the label. Some brands may have cross-contamination warnings. Ensure your marshmallows are also certified gluten-free if needed.
Pin This Recipe!
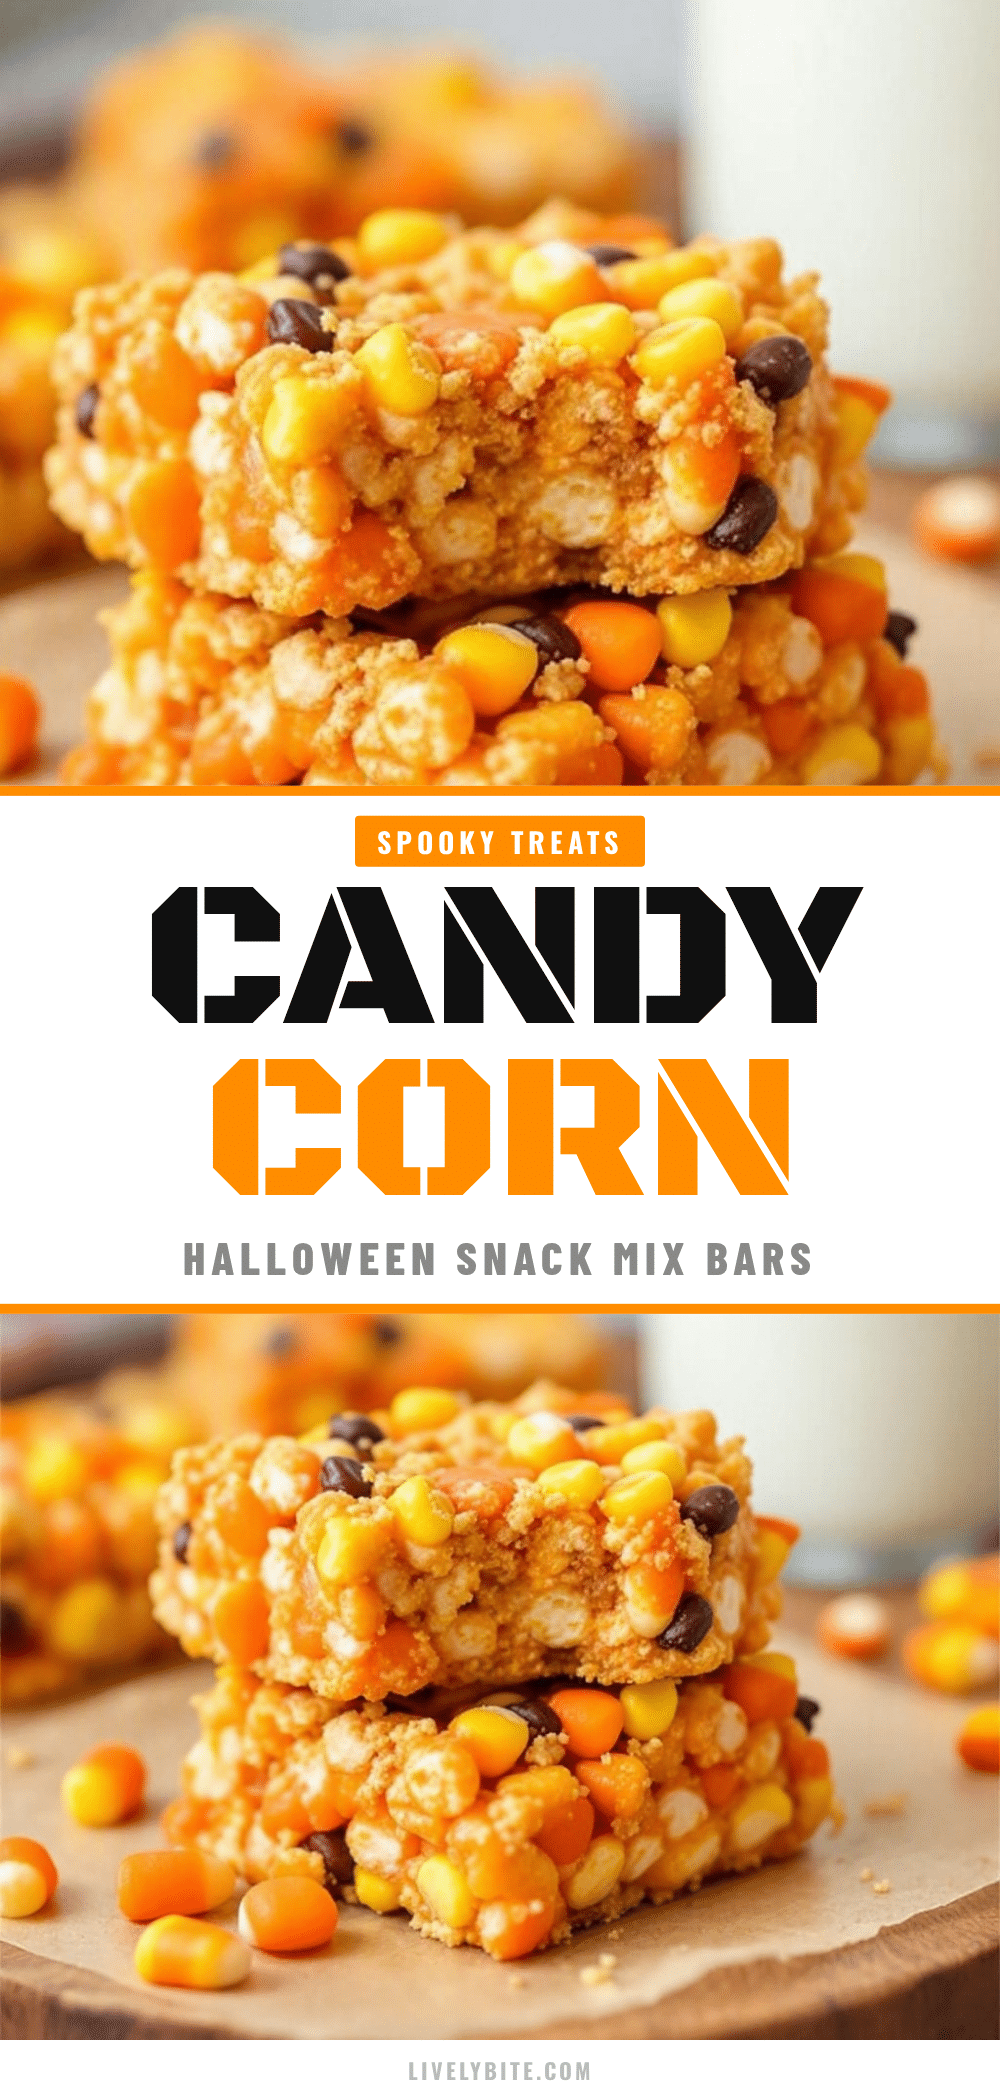
Crispy Halloween Candy Corn Snack Mix Bars
A simple, 3-ingredient Halloween treat made with butter, mini marshmallows, and candy corn. These bars offer a unique texture that is crunchy on the outside and chewy on the inside, perfect for parties or quick snacks.
- Prep Time: 5 minutes
- Cook Time: 15 minutes
- Total Time: 20 minutes
- Yield: 16 servings 1x
- Category: Dessert
- Cuisine: American
Ingredients
- 1/4 cup (56 grams) unsalted butter
- 10-ounce bag (280 grams) mini marshmallows
- 12 to 14 ounces (340–400 grams) candy corn
Instructions
- Line an 8×8 inch baking pan with parchment paper, leaving an overhang on the sides for easy removal, or grease generously with butter.
- Place a large saucepan or Dutch oven over medium-low heat and add the butter. Melt slowly until liquid and foamy, stirring occasionally. Do not let it brown.
- Add the entire bag of mini marshmallows to the melted butter. Stir constantly until the marshmallows are completely melted and smooth, forming a glossy white sauce (about 5 minutes).
- Remove the pan from the heat. Immediately add the candy corn to the marshmallow mixture.
- Stir gently but thoroughly with a rubber spatula to coat every piece of candy corn in the marshmallow mixture.
- Transfer the mixture to the prepared pan. Use a greased spatula or buttered hands to press the mixture down firmly and evenly into the pan.
- Let the bars cool at room temperature for about 30 minutes. Do not refrigerate.
- Lift the slab out of the pan using the parchment sling. Cut into squares using a sharp knife dipped in hot water for clean edges.
Notes
Use mini marshmallows for faster, more even melting. Do not refrigerate the bars as they become too hard and chewy; store at room temperature. For clean cuts, dip the knife in hot water between slices. If the mixture is too sticky to handle, wet your hands with cold water or wear disposable gloves.
Nutrition
- Serving Size: 1 square
- Calories: 175
- Sugar: 28
- Sodium: 45
- Fat: 6
- Saturated Fat: 3.5
- Carbohydrates: 30
- Protein: 2
Keywords: Halloween, candy corn, marshmallow bars, 3-ingredient recipe, easy dessert, party snack, gluten-free option, vegan option


