That sharp, golden crackle — the kind that hits your ears before you even realize the oven timer has gone off — still takes me straight to my grandmother’s kitchen in late October. The air was always thick with the scent of roasting nuts and simmering cider, a warm haze that clung to the curtains and settled into the wood grain of the dining table. I remember standing on a step stool, watching her stir a large cast-iron skillet over the flame, her hands moving with a rhythm that felt like a lullaby. She wasn’t measuring anything, not really. Just a pinch here, a splash there, trusting her instincts more than any recipe card ever kept.
Back then, I thought it was magic how she could turn simple pumpkin guts into something so savory and addictive. I didn’t understand the chemistry of browning butter or the patience required to dry the seeds properly. I just knew that when those seeds came out of the oven, hot and fragrant, they were the best part of the carving session. They were the reward for all that messy scraping and cutting. I’d sit on the counter, legs swinging, picking at the warm pile until my fingers were stained orange and my palms were coated in salt.
It wasn’t about health or nutrition back then. It was about texture and warmth. It was about that specific moment when the kitchen smells like comfort and the house feels full, even if no one else is there. I lost track of that recipe for years, letting it fade into the background noise of busy weeknights and takeout menus. But lately, I’ve been craving that crunch. Not the soggy, sad kind you get from a cheap bag of snacks, but the deep, nutty, buttery crunch that sticks to your teeth in the best way possible.
Making these Crispy Brown Butter Baked Pumpkin Seeds has become my own little ritual. It’s a way to slow down, to smell the kitchen filling up with that rich, toasted aroma that makes everyone wonder what’s cooking. It’s a small thing, really. Just seeds and butter. But it tastes like memory. And honestly, it tastes like the best snack I’ve ever had.
Why You’ll Love This Recipe
There is a specific kind of satisfaction that comes from making something from scratch, especially when it’s as simple as roasted pumpkin seeds. I’ve tested dozens of methods over the years, from boiling them to roasting them plain, and I can tell you that brown butter is the game-changer. It adds a layer of complexity that regular melted butter just can’t match. The milk solids toast in the pan, creating tiny bits of nutty flavor that cling to every single seed.
- Quick & Easy: Once you’ve scooped the seeds, the oven does all the work. You’re looking at about 20 minutes of hands-on time, which is perfect for those moments when you need a snack fix but don’t want to leave the house.
- Simple Ingredients: You likely already have everything you need. Pumpkin seeds, butter, salt, and maybe a little spice if you’re feeling fancy. No obscure grocery runs required.
- Perfect for Game Day: Whether it’s a big football match or just a quiet night in, these seeds are the ultimate finger food. They’re messy in a good way, the kind that makes you eat slowly and savor every bite.
- Crowd-Pleaser: Kids love the crunch, and adults appreciate the sophisticated flavor. It’s a snack that bridges the gap between healthy and indulgent.
- Unbelievably Delicious: The combination of salty, nutty, and buttery creates a flavor profile that is hard to resist. It’s comfort food in its purest form.
What makes this recipe different isn’t just the technique; it’s the attention to detail. Most people skip the drying step, and that’s why their seeds turn out chewy instead of crispy. By taking the time to pat them dry and then roasting them low and slow, you ensure that crunch. It’s a small effort that pays off in every single bite. It’s the kind of recipe that makes you close your eyes after the first bite and just smile. It’s not just a snack; it’s a moment of peace in a busy day.
What Ingredients You Will Need
This recipe relies on the quality of its few components. Since there isn’t much going on, each ingredient needs to do heavy lifting. The pumpkin seeds are the star, obviously, but the butter acts as both a flavor enhancer and a binding agent for the seasonings. Using good quality butter makes a noticeable difference in the final taste.
- Raw Pumpkin Seeds (Pepitas): About 2 cups. You can use fresh seeds from a pumpkin or dried ones from the store. If using fresh, they need to be cleaned and dried thoroughly. I prefer fresh seeds for their superior texture, but dried work in a pinch.
- Unsalted Butter: 3 tablespoons. I recommend using a high-fat butter like Kerrygold or Plugrá. The higher fat content means more flavor and better browning. Melted butter coats the seeds evenly, ensuring they crisp up uniformly.
- Sea Salt: 1 teaspoon. Flaky sea salt is ideal for finishing, but kosher salt works well too. It adds that essential savory note that balances the richness of the butter.
- Garlic Powder: 1/2 teaspoon. This adds a subtle depth without overwhelming the natural nuttiness of the seeds. Make sure it’s fresh; old garlic powder can taste dusty and bland.
- Smoked Paprika: 1/2 teaspoon. This gives a hint of smokiness and a beautiful color. It’s optional but highly recommended for that extra kick.
- Black Pepper: 1/4 teaspoon. Freshly cracked pepper adds a bit of heat and complexity. It wakes up the palate and keeps the flavor from feeling flat.
If you want to switch things up, you can add a pinch of cayenne for heat or some dried rosemary for an herbal note. The beauty of this recipe is its flexibility. You can make it as plain or as spiced as you like. Just remember, less is often more when it comes to seasoning seeds. You want to taste the pumpkin, not the spices.
Equipment Needed
You don’t need a fancy kitchen to make these seeds. A few basic tools will get you the best results. The most important piece of equipment is a large baking sheet. I prefer a rimmed baking sheet because it prevents the seeds from sliding off when you’re tossing them. Line it with parchment paper for easy cleanup, though a well-seasoned sheet pan works fine too.
A large mixing bowl is essential for coating the seeds evenly. Make sure it’s big enough to give the seeds room to move around. If the bowl is too small, you’ll end up with clumps of seeds covered in butter and bare seeds left dry. A wooden spoon or a silicone spatula is perfect for stirring. Metal utensils can scratch non-stick surfaces, so stick to wood or silicone.
For drying the seeds, you’ll need clean kitchen towels or paper towels. This step is crucial for achieving that crispy texture. If you skip the drying, you’re essentially steaming the seeds, which leads to a chewy result. A fine-mesh strainer is also helpful for rinsing the seeds if you’re using fresh ones. It helps remove the stringy pulp without losing the seeds themselves.
If you don’t have a large baking sheet, you can use two smaller ones, but you’ll need to rotate them halfway through baking to ensure even cooking. Budget-friendly options include using a cast-iron skillet for roasting, which retains heat well and promotes even browning. Just be careful not to overcrowd the pan, as steam needs to escape for the seeds to crisp up properly.
Preparation Method
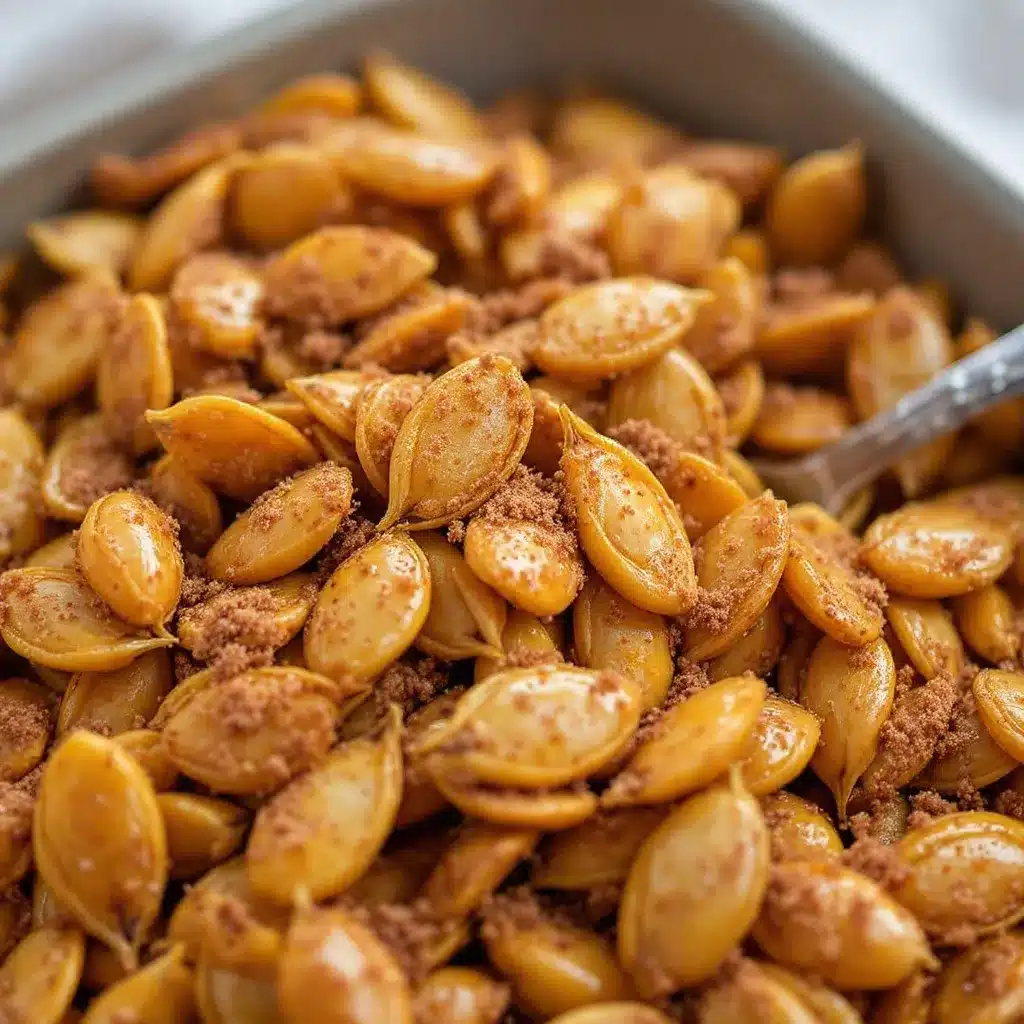
- Preheat the Oven: Start by setting your oven to 325°F (165°C). This moderate temperature is key. High heat can burn the butter solids before the seeds are fully cooked, resulting in a bitter taste. Let the oven come to full temperature while you prep the seeds. This ensures consistent cooking from the moment they go in.
- Clean the Seeds: If you are using fresh pumpkin seeds, scoop them out of the pumpkin and place them in a large bowl. Cover them with water and use your hands to rub the seeds together. This helps separate the seeds from the fibrous pulp. The pulp will float to the top, while the seeds sink to the bottom. Skim off the pulp and discard it. Repeat this process until the water runs relatively clear. If using dried seeds, you can skip this step and move straight to drying.
- Dry the Seeds: This is the most important step for crispiness. Spread the cleaned seeds out on clean kitchen towels or paper towels. Pat them dry thoroughly. You want to remove as much surface moisture as possible. Let them sit for about 15-20 minutes to air dry. If you can, spread them out on a rack to allow air circulation. This step might feel tedious, but it is non-negotiable for the perfect texture. Wet seeds will steam instead of roast.
- Melt the Butter: In a small saucepan over medium heat, melt the butter. Watch it closely. Once melted, continue to cook it, swirling the pan occasionally. You will see the butter foaming and then starting to quiet down. Small brown specks will form at the bottom, and the smell will change from milky to nutty and toasted. This is brown butter. Remove it from the heat immediately to prevent burning. It should be a golden amber color.
- Coat the Seeds: Place the dried seeds in your large mixing bowl. Pour the warm brown butter over the seeds. Add the sea salt, garlic powder, smoked paprika, and black pepper. Toss everything together until every single seed is coated. You want a thin, even layer of butter and spices. If the seeds look dry, add a little more butter. If they look soggy, add a few more seeds.
- Spread on Baking Sheet: Pour the coated seeds onto your prepared baking sheet. Spread them out in a single layer. Do not let them pile up. Crowding will cause them to steam and become chewy. Use a spatula to ensure they are flat and not touching each other. This allows hot air to circulate around each seed.
- Roast: Place the baking sheet in the preheated oven. Roast for 15-20 minutes. Stir the seeds every 5 minutes to ensure even browning. You will know they are done when they are golden brown and fragrant. They will continue to crisp up as they cool, so don’t pull them out too early. They should look slightly darker than you think they need to be.
- Cool and Store: Remove the baking sheet from the oven and let the seeds cool completely on the pan. They will crisp up further as they cool. Once cool, taste and adjust seasoning if needed. Store in an airtight container at room temperature for up to two weeks.
How do I prevent the seeds from burning?
Browning butter is tricky, and it can burn quickly. Keep a close eye on the butter while it melts. As soon as you smell that nutty aroma, take it off the heat. Also, stir the seeds frequently in the oven. The bottom layer can burn faster than the top. Rotating the pan and stirring helps distribute the heat evenly.
Cooking Tips & Techniques
I’ve made my fair share of burnt seeds over the years, so I’ve learned a few hard-earned lessons. The biggest mistake people make is rushing the drying process. I once tried to speed it up by putting the wet seeds in a low oven to dry them first. It didn’t work well; they ended up steaming in their own moisture. Patience is key. If you can, let them air dry overnight in a cool place. It makes a world of difference.
Another tip is to use a digital thermometer for the butter. Brown butter is done when it reaches about 350°F (175°C). If you don’t have a thermometer, rely on your senses. The smell is the best indicator. It should smell like toasted hazelnuts. If it smells acrid or bitter, it’s burned. Start over with fresh butter; you can’t fix burnt butter.
When spreading the seeds on the baking sheet, use a light hand. You want a single layer. If you have too many seeds, roast them in batches. It’s better to have two perfectly roasted batches than one mediocre one. Also, consider using a silicone baking mat instead of parchment paper. Silicone mats provide better heat conduction, which can help with even browning. They are also reusable, which is a nice bonus for eco-conscious cooks.
Don’t be afraid to taste as you go. After the first batch, taste a seed. Is it salty enough? Does it need more garlic? Adjust the seasoning for the next batch accordingly. Cooking is about adjusting to your own palate. What works for me might not work for you, and that’s okay. The goal is to find what you love.
Variations & Adaptations
Once you master the basic recipe, you can get creative with flavors. Here are a few variations I’ve tried and loved. The base method remains the same; you just swap out the seasonings.
- Spicy Chipotle: Swap the smoked paprika for chipotle powder and add a pinch of cayenne. This gives the seeds a smoky heat that is perfect for taco night or as a topping for soups.
- Herb & Lemon: Add dried thyme, rosemary, and lemon zest to the butter mixture. This is a more sophisticated flavor profile that pairs well with cheese boards or white wine.
- Sweet Cinnamon Sugar: Skip the savory spices and add cinnamon, nutmeg, and a tablespoon of brown sugar to the butter. Roast them until they are golden and caramelized. These are great for snacking with coffee or as a topping for oatmeal.
- Everything Bagel: Sprinkle everything bagel seasoning over the seeds after they come out of the oven. The residual heat will help the seasoning stick. This is a quick and easy way to add a pop of flavor.
You can also adapt this recipe for different dietary needs. Use coconut oil instead of butter for a dairy-free option. It won’t have the same nutty flavor, but it will still be crispy and delicious. For a lower-fat version, you can lightly spray the seeds with olive oil instead of using melted butter. It’s not as rich, but it’s lighter. Experiment until you find your favorite combination.
Serving & Storage Suggestions
These seeds are best served at room temperature. Heat makes them soft, so if you’re serving them at a party, let them cool completely before plating. They look beautiful on a rustic wooden board with some cheese and crackers. They also make a great topping for salads, adding a crunchy contrast to leafy greens. I love sprinkling them over avocado toast or creamy soups for added texture.
For storage, let the seeds cool completely to room temperature. Then, transfer them to an airtight container. Glass jars with tight-fitting lids work best. Keep them in a cool, dry place away from direct sunlight. They will stay crispy for up to two weeks. If they start to lose their crunch, you can re-crisp them in a 300°F (150°C) oven for 5 minutes. Avoid storing them in the refrigerator, as the humidity can make them soft.
If you want to make a large batch, you can freeze the seeds. Spread them on a baking sheet and freeze until solid. Then transfer them to a freezer bag. They can be stored in the freezer for up to three months. To serve, simply let them come to room temperature or warm them up in a dry skillet. Freezing is a great option for meal prepping or having a healthy snack on hand for busy weeks.
Nutritional Information & Benefits
Pumpkin seeds are a nutritional powerhouse. They are packed with protein, fiber, and healthy fats. They are also a great source of magnesium, zinc, and iron. Magnesium is important for muscle function and energy production, while zinc supports immune health. Eating a handful of these seeds can provide a significant portion of your daily recommended intake of these minerals.
Compared to processed snacks like chips or crackers, these seeds are a much healthier option. They are low in carbohydrates and high in satiating nutrients, which helps keep you full longer. They are also gluten-free and vegan-friendly, making them accessible to a wide range of dietary preferences. I love that I can enjoy a crunchy snack without feeling guilty afterward. It’s a small way to nourish my body while satisfying my cravings.
Of course, the brown butter adds some saturated fat, so moderation is key. But when eaten as part of a balanced diet, these seeds are a nutritious and delicious treat. They are a far cry from the empty calories of many commercial snacks. You can feel good about sharing them with family and friends.
Conclusion
Making Crispy Brown Butter Baked Pumpkin Seeds is more than just a snack; it’s a return to simple pleasures. It’s about taking the time to appreciate the process, from cleaning the seeds to watching the butter brown. It’s a reminder that some of the best things in life are the ones we make with our own hands. I hope this recipe brings you as much joy and satisfaction as it has brought me. It’s a versatile, delicious, and healthy snack that is perfect for any occasion.
I encourage you to try different flavor combinations and make this recipe your own. Don’t be afraid to experiment and find what works best for your palate. And if you do try this recipe, I’d love to hear about it. Leave a comment below with your favorite variation or any tips you’ve discovered. Sharing our cooking experiences is what makes this community so special. Happy snacking, and enjoy every crunchy bite!
Frequently Asked Questions
Can I use store-bought dried pumpkin seeds?
Yes, absolutely. Store-bought dried pumpkin seeds work perfectly fine. Just make sure they are raw, not roasted or salted. If they are already salted, reduce the amount of salt in the recipe to avoid over-salting.
Why are my seeds chewy instead of crispy?
Chewy seeds are usually the result of insufficient drying. Make sure to pat the seeds dry thoroughly before roasting. Also, ensure they are spread in a single layer on the baking sheet. Crowding the pan traps steam, which prevents crisping.
How do I know when the butter is browned?
Watch the butter closely as it melts. It will foam up and then settle. Small brown specks will form at the bottom, and the smell will become nutty. Remove it from the heat immediately when you smell this aroma. It should be a golden amber color.
Can I make these seeds spicy?
Yes, you can add cayenne pepper, chili powder, or hot sauce to the butter mixture. Start with a small amount and adjust to your taste. Spicy seeds are a great addition to game day snacks or as a topping for chili.
How long do these seeds last?
Stored in an airtight container at room temperature, these seeds will stay crispy for up to two weeks. For longer storage, you can freeze them for up to three months. Avoid refrigerating them, as humidity can make them soft.
Pin This Recipe!
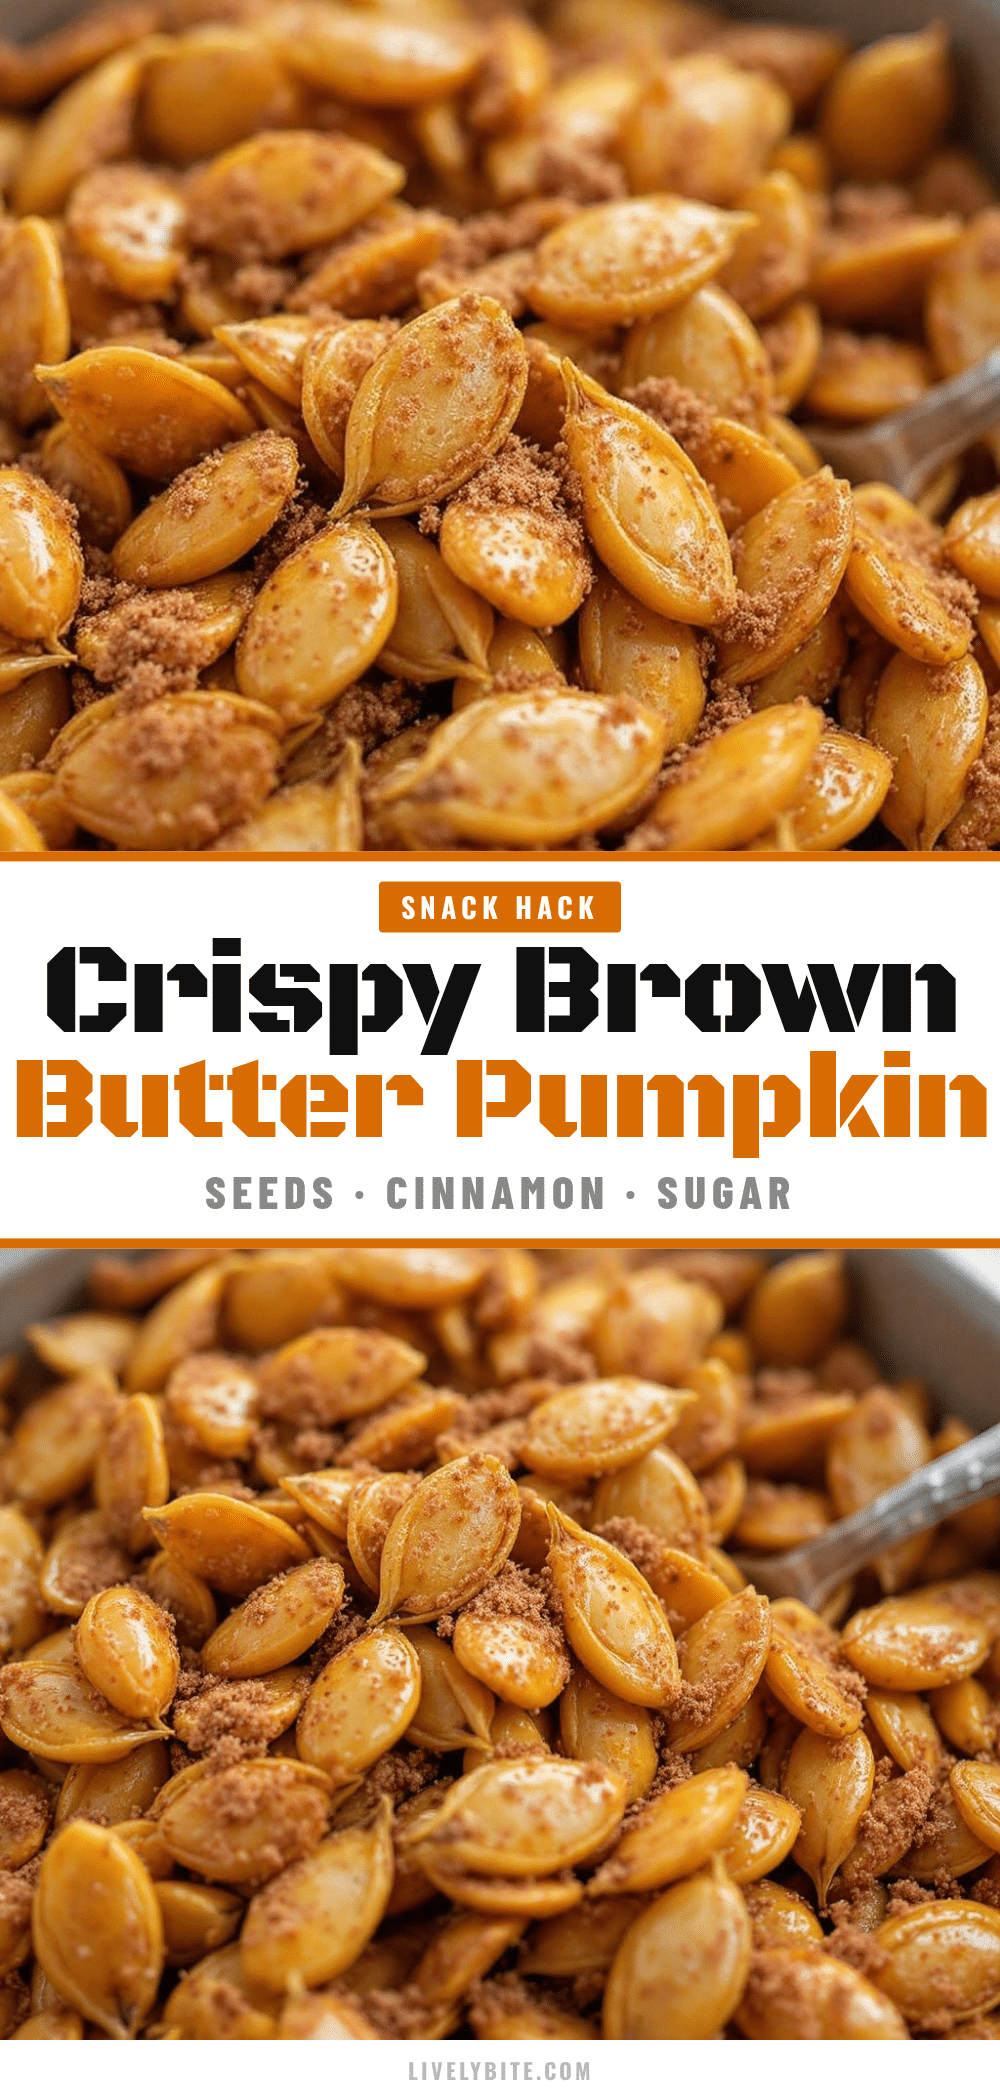
Crispy Brown Butter Baked Pumpkin Seeds: Best Roasted Snack
A nostalgic and addictive snack featuring raw pumpkin seeds roasted with nutty brown butter, sea salt, and aromatic spices until perfectly crispy.
- Prep Time: 20 minutes
- Cook Time: 20 minutes
- Total Time: 40 minutes
- Yield: 4 servings 1x
- Category: Snack
- Cuisine: American
Ingredients
- 2 cups raw pumpkin seeds (pepitas)
- 3 tablespoons unsalted butter
- 1 teaspoon sea salt
- 1/2 teaspoon garlic powder
- 1/2 teaspoon smoked paprika
- 1/4 teaspoon black pepper
Instructions
- Preheat the oven to 325°F (165°C).
- If using fresh seeds, scoop them from the pumpkin and rub them in water to separate from pulp. Skim off pulp and rinse until water runs clear. If using dried seeds, skip to drying.
- Spread cleaned seeds on kitchen towels or paper towels and pat dry thoroughly. Let them air dry for 15-20 minutes to remove surface moisture.
- In a small saucepan over medium heat, melt the butter. Cook until it foams, then quiet down, forming brown specks and smelling nutty. Remove from heat immediately.
- Place dried seeds in a large mixing bowl. Pour warm brown butter over seeds and add salt, garlic powder, smoked paprika, and black pepper. Toss until evenly coated.
- Spread seeds in a single layer on a parchment-lined baking sheet. Ensure they are not touching to allow air circulation.
- Roast for 15-20 minutes, stirring every 5 minutes, until golden brown and fragrant.
- Remove from oven and let cool completely on the pan to crisp up further. Store in an airtight container.
Notes
The key to crispy seeds is thorough drying before roasting. Do not crowd the baking sheet; roast in batches if necessary. Brown butter should be removed from heat immediately when it smells nutty to prevent burning. Seeds continue to crisp as they cool.
Nutrition
- Serving Size: 1/2 cup
- Calories: 180
- Sodium: 250
- Fat: 14
- Saturated Fat: 7
- Carbohydrates: 5
- Fiber: 2
- Protein: 8
Keywords: pumpkin seeds, roasted pumpkin seeds, brown butter, healthy snack, game day snack, gluten-free, vegan, pepitas, crispy seeds


