I figured making a flaky all-butter crust was just about mixing flour and fat until it looked like coarse sand. It took about ten minutes for that assumption to fall apart completely when my dough turned into a shaggy mess that wouldn’t hold together. I remember standing over my kitchen counter, staring at a bowl of grayish, wet dough, wondering if I had just ruined Thanksgiving for myself. The butter had melted too much from my warm hands, and the gluten had developed too quickly because I was trying to rush it. Honestly, it looked less like pie crust and more like wet cement.
That was three years ago. Since then, I’ve scraped dozens of ruined batches into the trash and learned that patience is the secret ingredient you can’t buy at the store. The difference between a tough, chewy crust and one that shatters into golden flakes isn’t magic—it’s temperature and restraint. You have to treat the butter like a fragile guest, not an ingredient to be obliterated. When I finally got it right, the first bite was a revelation. The crust didn’t just surround the filling; it framed it with a buttery, tender snap that made the spiced pumpkin custard taste even richer.
Now, when I make this best homemade pumpkin pie, I don’t stress about perfection. I just focus on keeping everything cold and letting the dough rest. It’s not about following a rigid set of rules. It’s about understanding how the ingredients behave. The result is a pie that feels like a hug from the inside out, with a crust so good people usually save the edges for themselves. You know how it is with holidays—everyone wants the crispy bits. This recipe ensures there’s enough left for everyone, and maybe even some for tomorrow’s breakfast with a little coffee on the side.
Why You’ll Love This Recipe
There is a specific kind of joy that comes from baking from scratch, especially when it involves pumpkin pie. This isn’t just another version of the canned stuff you buy at the grocery store. It’s the kind of pie that makes you close your eyes after the first bite and remember simpler times. The combination of a tender, flaky all-butter crust and the smooth, spiced custard creates a texture contrast that is next-level comfort food. It’s the kind of dessert that turns a regular weeknight dinner into a special occasion, or makes a holiday gathering feel truly festive.
Here is why this recipe stands out in a crowded field of pumpkin desserts:
* **Quick & Easy**: While the dough needs to chill, the actual prep time is straightforward. Once you get the hang of it, you can have this pie ready for the table in under two hours, which is perfect for busy weeknights or last-minute dinner parties.
* **Simple Ingredients**: No fancy grocery trips needed. You likely already have butter, flour, pumpkin puree, and spices in your kitchen. The beauty of this pie is its reliance on pantry staples that taste incredible when combined correctly.
* **Perfect for Gatherings**: Whether it’s a cozy autumn dinner, a potluck, or a holiday morning, this pie is the star of the show. It feeds a crowd and always disappears quickly, so you don’t have to worry about leftovers (unless you hide one slice for yourself).
* **Crowd-Pleaser**: It gets rave reviews from kids who love the sweet spice and adults who appreciate the complexity of real pumpkin flavor. It bridges the gap between nostalgic comfort and sophisticated dessert.
* **Unbelievably Delicious**: The texture and flavor combo is soul-soothing. The buttery crust provides a savory balance to the sweet, spiced filling, creating a harmony that canned alternatives just can’t replicate.
What makes this recipe different from the rest is the attention to the crust. Most people rush the dough, leading to a tough base. I use a specific technique of keeping the butter in large, pea-sized chunks. When it bakes, those chunks create steam pockets that lift the layers, resulting in those coveted flakes. It’s not just a crust; it’s the foundation of the entire experience. I’ve tested this method with friends who have never baked before, and even they managed to create a beautiful, golden pie. It’s reliable, forgiving, and deeply satisfying to make.
What Ingredients You Will Need
This recipe uses simple, wholesome ingredients to deliver bold flavor and satisfying texture without the fuss. The magic lies in the quality of the few components you use. Since there are no hidden fillers or artificial additives, each ingredient plays a critical role in the final taste and texture. You don’t need expensive, hard-to-find items. In fact, some of the best results come from standard grocery store brands that you trust.
Here is what you need to gather for both the crust and the filling:
**For the Flaky All-Butter Crust**
* **All-purpose flour**: 2 ½ cups (about 315 grams). I recommend King Arthur Brand for its consistent protein content, which helps with structure.
* **Unsalted butter**: 1 cup (2 sticks, 226 grams), very cold and cubed. This is non-negotiable for flakiness. Salted butter can work, but you’ll need to adjust the added salt.
* **Granulated sugar**: 1 tablespoon. This helps with browning and adds a tiny bit of sweetness to balance the savory crust.
* **Fine sea salt**: 1 teaspoon. Essential for bringing out the flavor of the butter and flour.
* **Ice water**: 6 to 8 tablespoons. You may not need all of it, so add it gradually. The water hydrates the flour without melting the butter.
**For the Pumpkin Pie Filling**
* **Pure pumpkin puree**: 1 can (15 ounces, about 425 grams). Do not use pumpkin pie filling, which is already sweetened and spiced. Look for 100% pure pumpkin.
* **Evaporated milk**: 1 can (12 ounces, about 354 ml). This provides a richer texture than regular milk without being too heavy. It adds a slight caramel note.
* **Large eggs**: 3 whole eggs plus 1 egg yolk. The extra yolk adds richness and helps set the custard for a creamier consistency.
* **Granulated sugar**: ¾ cup (150 grams). Adjust to taste if you prefer less sweetness.
* **Light brown sugar**: ¼ cup (50 grams). This adds a molasses depth that complements the pumpkin perfectly.
* **Ground cinnamon**: 1 teaspoon. Freshly ground is best if you have a grinder.
* **Ground ginger**: ½ teaspoon. Adds a warm, spicy kick.
* **Ground nutmeg**: ¼ teaspoon. Use freshly grated for the best aroma.
* **Ground cloves**: ¼ teaspoon. A little goes a long way; don’t overdo it or it will taste medicinal.
* **Salt**: ½ teaspoon. To balance the sweetness.
If you are making substitutions, you can use coconut milk for a dairy-free option, though the texture will be slightly different. For the crust, you can use lard or shortening, but butter offers the best flavor. In summer, you might swap the pumpkin for roasted sweet potato for a different seasonal twist.
Do I need a food processor for the crust?
You don’t strictly need one, but it makes the process faster and helps keep the butter cold. If you use a food processor, pulse the flour, salt, and sugar first, then add the butter in chunks. Pulse until the mixture looks like coarse meal with some pea-sized butter pieces remaining. If you prefer using your hands, use a pastry cutter or two forks. Just work quickly so your body heat doesn’t melt the butter. Either method works if you are careful with the temperature.
Can I make the crust ahead of time?
Yes, absolutely. In fact, it’s better if you do. You can wrap the dough discs in plastic wrap and refrigerate them for up to three days. Even better, you can freeze them for up to three months. Just let them thaw in the fridge overnight before rolling them out. This takes the stress out of baking day and ensures the dough is well-hydrated and easy to handle.
Equipment Needed
Making this pie doesn’t require a professional kitchen, but having the right tools makes the difference between a struggle and a smooth experience. You don’t need to buy anything fancy, but a few key items will help you achieve that perfect flaky crust.
* **Mixing Bowl**: A large bowl, preferably glass or stainless steel, for mixing the dough. Cold bowls help keep the butter chilled.
* **Pastry Cutter or Food Processor**: A pastry cutter is traditional and gives you control over the butter size. A food processor is faster but can easily overwork the dough if you’re not careful.
* **Rolling Pin**: A smooth, straight rolling pin is best. Avoid textured ones that might stick to the dough. A marble rolling pin is excellent because it stays cool.
* **9-Inch Pie Dish**: Glass or ceramic is ideal because it heats evenly and allows you to see the bottom crust browning. Metal pans heat up too fast and can burn the bottom.
* **Pastry Brush**: For brushing the crust with egg wash or milk to help it brown.
* **Kitchen Scale**: While you can use cups, a scale is more accurate for flour. It prevents adding too much flour, which leads to a tough crust.
If you don’t have a pastry cutter, a fork works in a pinch. For the pie dish, if you only have metal, keep an eye on it in the oven and maybe cover the edges with foil if they brown too quickly. A marble rolling pin is a splurge, but a regular wooden one works fine if you chill it occasionally.
Preparation Method
Making this pie involves two main parts: the crust and the filling. The key to success is keeping everything cold until the last possible moment. Here is how to do it step by step.
**Step 1: Make the Dough (15 minutes)**
In a large bowl, whisk together the flour, sugar, and salt. Add the cold, cubed butter. If using a food processor, pulse 10-15 times until the mixture resembles coarse meal with some pea-sized butter pieces. If using a pastry cutter, cut the butter into the flour until you see similar textures. Be careful not to overwork it. The butter chunks are what create the flakes.
**Step 2: Add Water (2 minutes)**
Sprinkle 6 tablespoons of ice water over the mixture. Gently mix with a spatula or your hands until the dough just starts to come together. If it looks too dry, add more water, one tablespoon at a time. The dough should hold together when pinched but not be sticky.
**Step 3: Chill the Dough (30 minutes)**
Divide the dough into two discs (one slightly larger for the bottom crust). Wrap them tightly in plastic wrap. Refrigerate for at least 30 minutes, or up to 2 days. This relaxes the gluten and re-chills the butter, which is crucial for flakiness.
**Step 4: Prepare the Filling (10 minutes)**
While the dough chills, make the filling. In a large bowl, whisk together the pumpkin puree, evaporated milk, eggs, and egg yolk until smooth. Add the sugars, cinnamon, ginger, nutmeg, cloves, and salt. Whisk until well combined. The mixture should be smooth and uniform.
**Step 5: Roll Out the Crust (10 minutes)**
Preheat your oven to 425°F (220°C). On a floured surface, roll out the larger dough disc into a 12-inch circle. Carefully transfer it to the pie dish, trimming the edges to about ½ inch overhang. Do not stretch the dough; lift and ease it into place to avoid shrinking.
**Step 6: Add Filling and Bake (55 minutes)**
Pour the filling into the crust. Place the pie on a baking sheet to catch any drips. Bake at 425°F for 15 minutes, then reduce the heat to 350°F (175°C) and bake for another 40-45 minutes. The pie is done when the edges are set and the center jiggles slightly like Jell-O.
**Step 7: Cool Completely (2 hours)**
Let the pie cool on a wire rack for at least 2 hours. This allows the custard to set properly. If you cut it too soon, it will be runny.
How do I know when the pie is done?
Look for a slight jiggle in the center, not a wave. The edges should be firm. If you insert a knife near the center and it comes out clean, it’s done. However, the residual heat will continue to cook the center, so it’s better to take it out slightly underdone than overbaked.
Why does my crust shrink?
Shrinking usually happens if the dough is stretched when placed in the pan or if it wasn’t chilled enough before rolling. Always lift and ease the dough into the pan. If it shrinks, don’t worry; you can patch it with scraps. Chilling the dough again before baking can also help prevent shrinkage.
Cooking Tips & Techniques
There are a few tricks I’ve learned over the years that make this pie consistently great. The biggest mistake people make is rushing the process. Pie baking is a slow game.
* **Keep it Cold**: The most important rule is temperature. If your butter starts to melt before it hits the oven, you lose the flaky layers. Keep your butter in the freezer for 10 minutes before using it. If your kitchen is warm, chill your mixing bowl first.
* **Don’t Overmix**: Once you add the water, mix just until the dough comes together. Overworking the gluten makes the crust tough. It’s okay if the dough looks a bit shaggy.
* **Use an Egg Wash**: Brushing the crust with a beaten egg or milk before baking helps it turn golden brown. This is especially important if you’re blind baking, though this recipe doesn’t require it.
* **Protect the Edges**: If the crust edges brown too quickly, cover them with a ring of foil or a pie shield after the first 15 minutes. This ensures the filling cooks through without burning the crust.
* **Cool Completely**: This is hard, but necessary. Cutting into a warm pie results in a mess. The custard needs time to set. Patience pays off with cleaner slices and better texture.
I once tried to speed up the cooling process by putting the pie in the fridge while it was still hot. The thermal shock cracked the crust. Now I always let it cool on the counter first. It’s a small lesson, but one that saved a lot of dessert disasters.
Variations & Adaptations
While this classic recipe is perfect as is, there are ways to adapt it to your tastes or dietary needs.
* **Gluten-Free Option**: Swap the all-purpose flour for a 1-to-1 gluten-free flour blend that includes xanthan gum. The texture might be slightly more crumbly, but it will still be delicious.
* **Dairy-Free**: Use coconut milk instead of evaporated milk and use dairy-free butter for the crust. The flavor will be slightly different, with a hint of coconut, but it works well.
* **Less Sweet**: Reduce the granulated sugar to ½ cup and the brown sugar to 2 tablespoons. This lets the pumpkin flavor shine more.
* **Spice It Up**: Add a pinch of cardamom or allspice for a warmer, more complex spice profile. Or, add a tablespoon of bourbon to the filling for an adult twist.
* **Mini Pies**: Divide the dough and filling into mini pie tins. Bake for 25-30 minutes at 350°F. These are great for parties and portion control.
I tried adding a layer of caramel sauce under the pumpkin filling once. It was rich, but it made the bottom crust soggy. Stick to the classic filling for the best texture, but feel free to serve it with a drizzle of caramel on the plate.
Serving & Storage Suggestions
This pie is best served at room temperature or slightly chilled. It pairs wonderfully with a cup of black coffee or a glass of cold milk. For a fancy touch, serve it with a dollop of freshly whipped cream or a scoop of vanilla ice cream. The contrast of hot pie and cold cream is a classic for a reason.
**Storage**
* **Refrigerator**: Store leftovers in the refrigerator, covered with plastic wrap or in an airtight container, for up to 4 days.
* **Freezer**: You can freeze the baked pie for up to 2 months. Wrap it tightly in plastic and then foil. Thaw it in the refrigerator overnight before serving.
* **Reheating**: To reheat, warm individual slices in the microwave for 30 seconds or in the oven at 350°F for 10 minutes.
The flavors actually develop over the first day, making it even better on day two. Just make sure to let it come to room temperature before serving for the best texture.
Nutritional Information & Benefits
This pie is a moderate treat, rich in vitamins and spices. Pumpkin is high in vitamin A, which is great for eye health, and contains antioxidants. The spices like cinnamon and ginger have anti-inflammatory properties. However, it is also high in sugar and saturated fat from the butter and cream. Enjoy it in moderation as part of a balanced diet. For those with dietary restrictions, the gluten-free and dairy-free adaptations make it accessible to more people. It’s a comforting dessert that feels indulgent but also offers some nutritional benefits from the pumpkin itself.
Conclusion
Making the best homemade pumpkin pie with a flaky all-butter crust is a rewarding experience that pays off with every bite. It’s not just about the taste; it’s about the process and the care you put into it. I hope you try this recipe and find your own rhythm in the kitchen. Feel free to customize the spices or sweetness to suit your palate. If you make it, I’d love to hear how it turned out. Leave a comment below with your tips or questions. Sharing these moments is what makes cooking so special. Enjoy your pie, and don’t forget to save a slice for yourself.
FAQs
Can I use fresh pumpkin instead of canned puree?
Yes, you can roast a sugar pumpkin, scoop out the flesh, and blend it until smooth. Just make sure to drain any excess water from the fresh puree, or the pie will be watery. Canned puree is more consistent, but fresh works if you prepare it correctly.
Why is my pumpkin pie runny?
This usually happens if the pie is underbaked or if the filling ratio is off. Make sure to bake it until the center jiggles slightly but is not liquid. Also, ensure you are using the correct amount of eggs, which act as the setting agent.
Can I make the pie ahead of time?
Absolutely. You can make the crust and filling a day in advance. Assemble the pie the night before and bake it the next day. This is great for reducing stress on the day of your event.
What is the best way to store leftover pie?
Store it in the refrigerator, covered tightly with plastic wrap or in a pie carrier. It will stay fresh for up to 4 days. Avoid leaving it out at room temperature for more than 2 hours.
Can I freeze the unbaked pie?
It’s better to freeze the unbaked crust separately. If you freeze the assembled pie, the filling may separate or become watery upon thawing. Bake the pie fresh for the best texture.
Pin This Recipe!
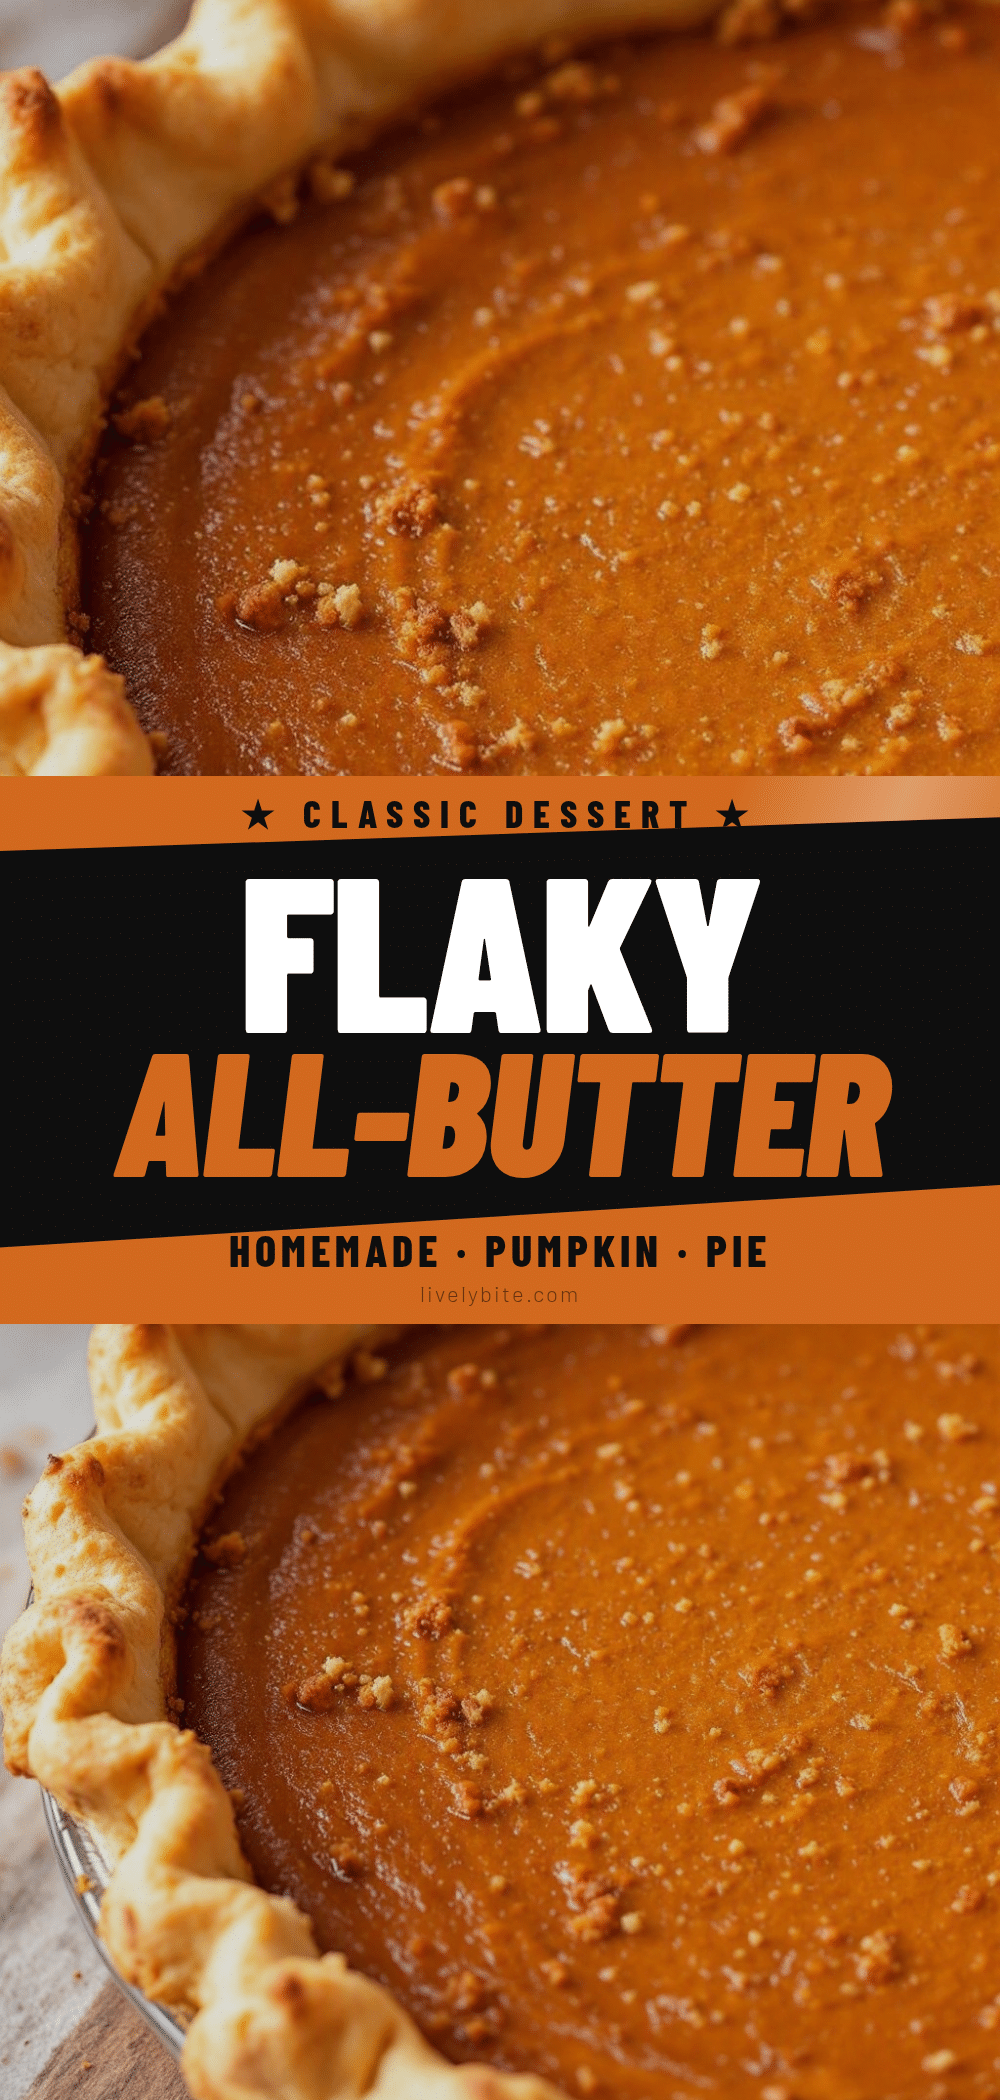
Best Homemade Pumpkin Pie: Easy Flaky All-Butter Crust
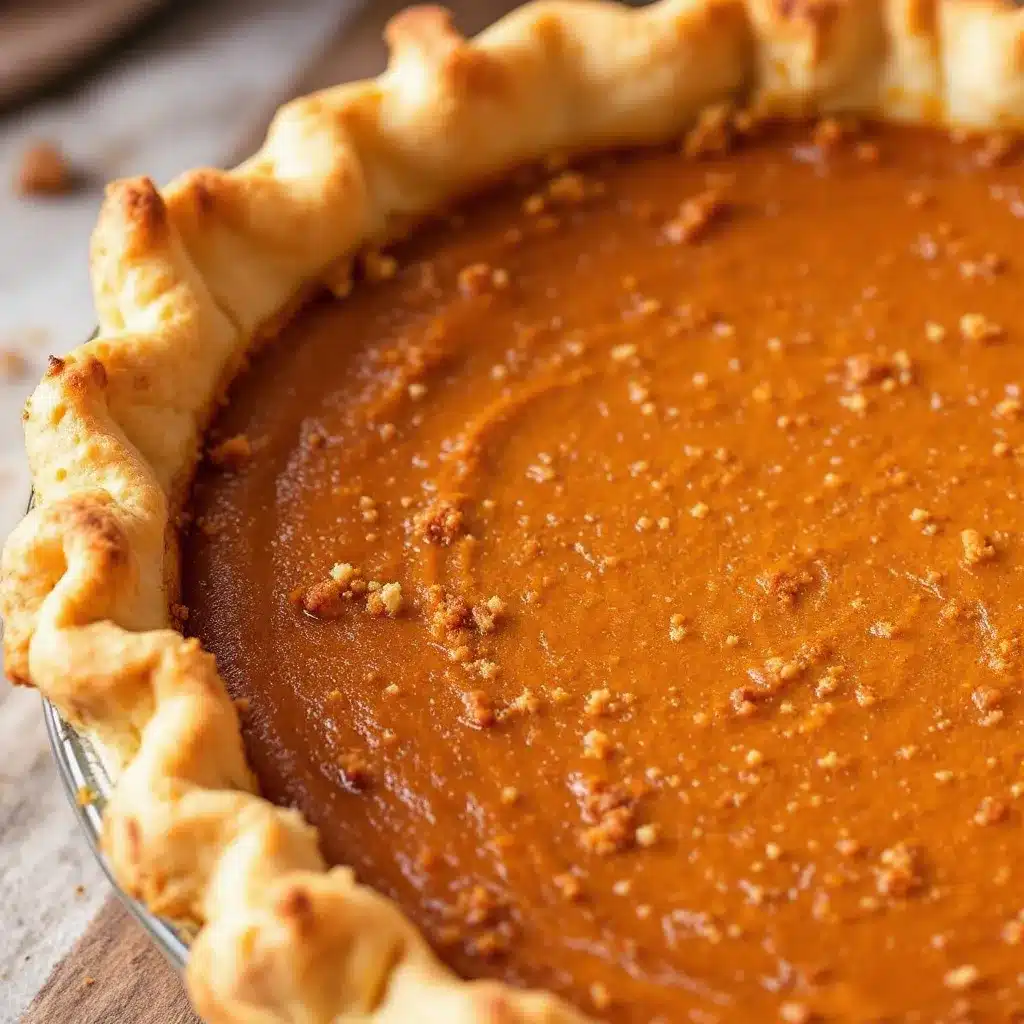
A classic homemade pumpkin pie featuring a tender, flaky all-butter crust and a smooth, spiced custard filling. This recipe emphasizes keeping ingredients cold for maximum flakiness and uses simple pantry staples for a crowd-pleasing dessert.
- Prep Time: 45 minutes
- Cook Time: 55 minutes
- Total Time: 2 hours 40 minutes
- Yield: 8 servings 1x
- Category: Dessert
- Cuisine: American
Ingredients
- 2 ½ cups all-purpose flour
- 1 cup unsalted butter, very cold and cubed
- 1 tablespoon granulated sugar
- 1 teaspoon fine sea salt
- 6 to 8 tablespoons ice water
- 1 can (15 ounces) pure pumpkin puree
- 1 can (12 ounces) evaporated milk
- 3 large eggs plus 1 egg yolk
- ¾ cup granulated sugar
- ¼ cup light brown sugar
- 1 teaspoon ground cinnamon
- ½ teaspoon ground ginger
- ¼ teaspoon ground nutmeg
- ¼ teaspoon ground cloves
- ½ teaspoon salt
Instructions
- In a large bowl, whisk together the flour, 1 tablespoon sugar, and 1 teaspoon salt.
- Add the cold, cubed butter. Pulse in a food processor or cut in with a pastry cutter until the mixture resembles coarse meal with pea-sized butter pieces.
- Sprinkle 6 tablespoons of ice water over the mixture. Gently mix until the dough just starts to come together. Add more water one tablespoon at a time if too dry.
- Divide dough into two discs (one slightly larger), wrap in plastic, and refrigerate for at least 30 minutes.
- Preheat oven to 425°F (220°C).
- While dough chills, whisk together pumpkin puree, evaporated milk, eggs, and egg yolk in a separate bowl.
- Add ¾ cup granulated sugar, ¼ cup brown sugar, cinnamon, ginger, nutmeg, cloves, and ½ teaspoon salt to the pumpkin mixture. Whisk until smooth.
- Roll out the larger dough disc into a 12-inch circle on a floured surface. Transfer to a 9-inch pie dish, trimming edges to ½ inch overhang.
- Pour the filling into the crust.
- Bake at 425°F for 15 minutes, then reduce heat to 350°F (175°C) and bake for another 40-45 minutes until edges are set and center jiggles slightly.
- Cool completely on a wire rack for at least 2 hours before slicing.
Notes
Keep all ingredients cold to ensure a flaky crust. Do not stretch the dough when placing it in the pie dish; lift and ease it in to prevent shrinking. The pie must cool completely to allow the custard to set. For a gluten-free option, use a 1-to-1 gluten-free flour blend. For dairy-free, use coconut milk and dairy-free butter.
Nutrition
- Serving Size: 1 slice
- Calories: 380
- Sugar: 28
- Sodium: 320
- Fat: 22
- Saturated Fat: 11
- Carbohydrates: 42
- Fiber: 3
- Protein: 6
Keywords: pumpkin pie, homemade pie, flaky crust, all-butter crust, Thanksgiving dessert, fall baking, pumpkin custard


