It wasn’t about the turkey or the stuffing, honestly. It was about that moment when the main cooking was done, the dishes were piled high in the sink, and we all just needed to graze. The table was a disaster of napkins, wine glasses, and laughter. I remember looking at the spread and realizing that the most memorable part of the meal wasn’t plated or served with a fork. It was the board. A chaotic, beautiful arrangement of cheeses, dried fruits, nuts, and breads that we picked at while waiting for the oven timer to ding.
We were broke college grads turned young professionals, trying to make Thanksgiving feel less like a obligation and more like a celebration. We called it Friendsgiving, but really, it was just us trying to keep each other sane during the holiday rush. That board was the centerpiece. It didn’t require heat. It didn’t require timing. It just required good food and better company.
I’ve made hundreds of charcuterie boards since then. Some are elegant, some are themed, some are for weddings. But this one? This cozy Friendsgiving charcuterie board with fall fruits is different. It’s the one that brings me back to that kitchen. It’s about texture and comfort, about the crunch of a pear and the salt of a aged cheddar. It’s about creating a vibe that says, “Stay a while, eat something, and let’s just be together.”
There’s a specific kind of magic in pulling together a spread that looks like you spent hours, but actually takes twenty minutes. It’s the kind of hosting that lets you actually enjoy your own party. And honestly, once you taste the combination of spiced nuts and fig jam, you’ll understand why this became my annual tradition. It’s not just food. It’s a feeling. A warm, fuzzy, slightly messy feeling that you carry with you long after the last cracker is gone.
Why You’ll Love This Recipe
Let’s be real for a second. Planning a Friendsgiving can feel overwhelming. You’re balancing main courses, sides, drinks, and the general chaos of coordinating schedules with friends who have jobs and lives. This recipe exists to take one huge thing off your plate. It’s designed to be the visual anchor of your table without demanding your attention in the kitchen.
I’ve tested this board over three different years and with various dietary restrictions, and here is what makes it work so well:
- Quick & Easy: This comes together in under 20 minutes. You don’t need to cook anything. You just need to buy good ingredients and arrange them. It’s perfect for busy weeknights or last-minute cravings when you want to impress but don’t have hours to spare.
- Simple Ingredients: No fancy grocery trips needed. You likely already have some of these items in your pantry, like crackers or nuts. The rest are standard fall finds at any local market. It’s not about buying the most expensive truffle honey; it’s about balance.
- Perfect for Friendsgiving: This is great for brunch, potlucks, cozy dinners, or that specific pre-Thanksgiving gathering where everyone is slightly hangry and needs carbs immediately.
- Crowd-Pleaser: Always gets rave reviews from kids and adults alike. Kids love the fruit and cheese; adults love the wine pairings and the artisanal crackers. It bridges the gap.
- Unbelievably Delicious: The texture and flavor combo is next-level comfort food. The contrast between the creamy brie, the sharp cheddar, the crunchy walnuts, and the sweet, sticky figs creates a sensory experience that keeps people coming back to the board.
What makes this recipe different from the rest? Most charcuterie guides focus on meat-heavy spreads or overly complex gourmet items. This one leans into the season. It uses the natural sweetness of fall fruits to balance the saltiness of the cheeses. It’s a creative twist on the traditional board, swapping out summer melons for autumn pears and apples. It’s not just another version—it’s your best version for a cozy gathering.
This recipe isn’t just good—it’s the kind that makes you close your eyes after the first bite. It’s comfort food reimagined—healthier, faster, but with the same soul-soothing satisfaction. It’s perfect for impressing guests without stress, or turning a simple meal into something memorable. You’re not just feeding people; you’re creating a moment they’ll talk about.
What Ingredients You Will Need
This recipe uses simple, wholesome ingredients to deliver bold flavor and satisfying texture without the fuss. The key here is variety in color and texture. You want something crunchy, something creamy, something salty, and something sweet. This ensures that every bite is interesting. Most of these items are pantry staples or easy-to-find seasonal produce.
Here is what you’ll need to build the perfect board:
For the Cheeses
- Brie or Camembert: Soft, creamy, and mild. This is the base of the board. I recommend looking for a wheel that is at room temperature for the best flavor. If you can’t find a good wheel, a high-quality soft-ripened cheese works too.
- Aged Cheddar: Sharp and crumbly. This provides a strong contrast to the soft cheeses. Look for a block that is at least two years aged for that crystalline crunch.
- Goat Cheese: Tangy and fresh. This adds a bright note to the board. You can buy it in logs or crumbles. I prefer logs because they look nicer on the board.
For the Fruits
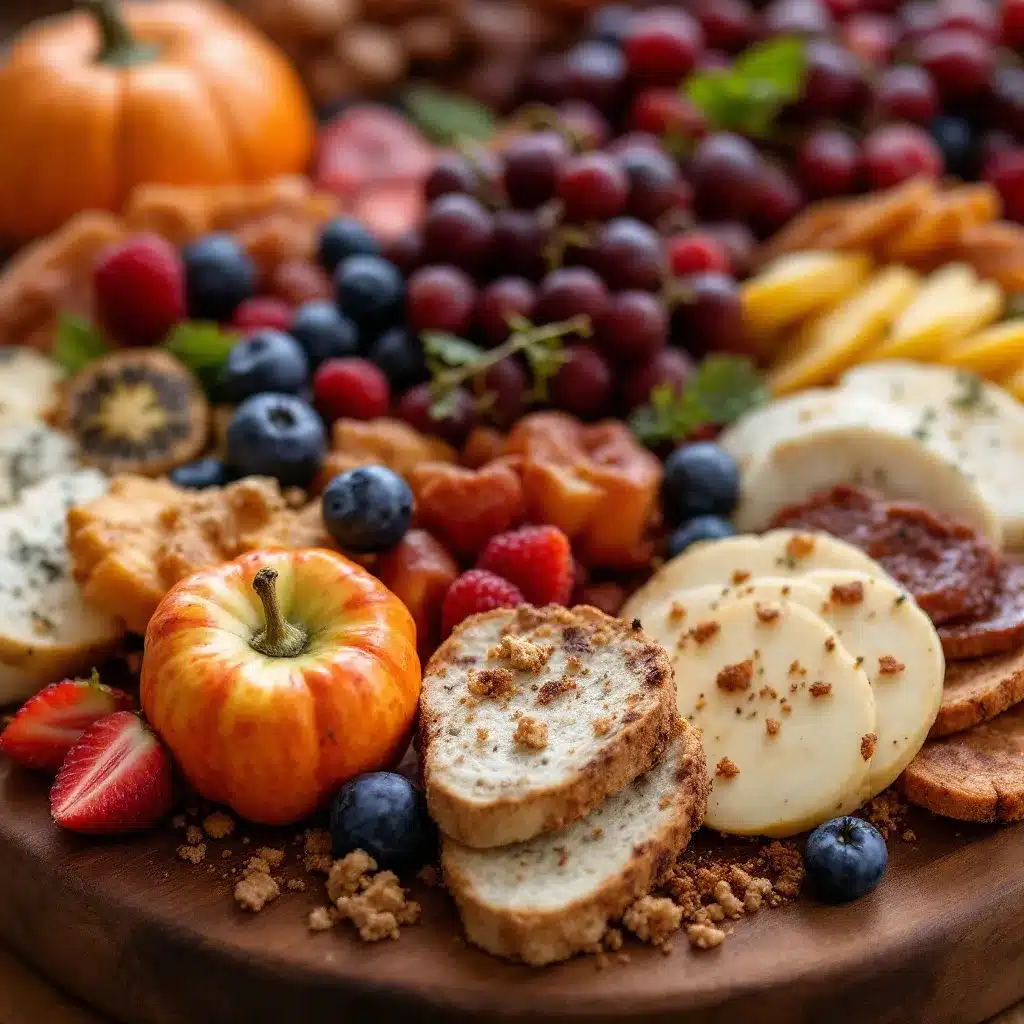
- Fresh Pears: Sliced thinly. Pears are the quintessential fall fruit. They hold up well and add a nice crunch. Bosc pears are my go-to because they don’t get mushy.
- Figs: Fresh or dried. Fresh figs are beautiful but seasonal. Dried figs are available year-round and offer a chewier texture. Both work beautifully.
- Apple Slices: Gala or Honeycrisp. These add a pop of color and a sweet-tart flavor. Toss them in a little lemon juice to prevent browning if you’re prepping early.
- Cranberries: Fresh or dried. Fresh cranberries add a pop of red and a tart bite. Dried cranberries are sweeter and chewier. Using both gives you great visual contrast.
For the Crunch and Savory Elements
- Mixed Nuts: Walnuts and pecans are classic fall nuts. Toast them lightly for extra flavor. I like to buy them raw and toast them myself to control the salt level.
- Salami or Prosciutto: Folded or rolled. If you want a meat option, these are elegant and easy to arrange. For a vegetarian board, skip this or use roasted chickpeas.
- Crackers: Water crackers, almond crackers, or seeded crispbreads. You need a neutral base to hold the cheese and fruit. Look for sturdy crackers that won’t break under the weight of the toppings.
For the Sweet and Spreadable
- Honey: Drizzled over the cheese. Raw honey adds floral notes. You can also use fig jam or apricot jam for a different flavor profile.
- Marcona Almonds: These are richer and more buttery than standard almonds. They feel luxurious and pair well with the cheese.
For sourcing, I always recommend checking your local farmer’s market for the fruits if possible. The flavor difference between a grocery store apple and a farm-fresh one is night and day. Also, don’t be afraid to substitute based on what’s on sale. The beauty of a charcuterie board is its flexibility. If figs are too expensive, use dried apricots. If goat cheese is out of stock, swap it for feta. The board will still be delicious.
Equipment Needed
You don’t need much to pull this off, which is part of the appeal. The main piece of equipment is your serving surface. A large wooden board is traditional and adds warmth to the presentation. A marble slab is also nice, especially for hot weather, but wood feels cozier for fall. If you don’t have a dedicated board, a large platter or even a clean slate tile works perfectly.
You’ll also need a small cheese knife or a dull butter knife for serving. The soft cheeses can be spread directly from the board, so you don’t necessarily need to move them to a plate. A small honey dipper or spoon is helpful for the drizzle, though a fork works in a pinch.
For the nuts, if you decide to toast them, you’ll need a baking sheet and an oven. This step is optional but recommended. It brings out the oils in the nuts and makes them more flavorful. A small skillet works too if you’re toasting on the stovetop.
For knife work, a sharp chef’s knife is best for slicing the pears and apples. A paring knife is useful for removing stems from the figs. Keep your tools close and organized so you can move quickly. There’s nothing worse than hunting for a knife in the middle of hosting.
If you’re on a budget, skip the expensive marble board. A large, clean piece of plywood sanded smooth and sealed with food-safe mineral oil is a great DIY alternative. It’s rustic and charming. For knives, any sharp kitchen knife will do. You don’t need a fancy cheese knife set to make a beautiful board. The focus is on the food, not the tools.
Preparation Method
Building this board is an exercise in intuition, but having a loose plan helps. We’re aiming for a total prep time of about 20 minutes. Let’s break it down step by step so you can execute this with confidence.
Step 1: Prep the Fruits and Nuts (5 minutes)
Start by washing and drying your fresh fruits. Slice the pears and apples into thin wedges or half-moons. Keep the slices relatively uniform so they look neat on the board. If you’re using fresh figs, just trim off the stem end. If you’re using dried figs, you can leave them whole or slice them in half. Next, if you’re toasting the nuts, spread them on a baking sheet and toast at 350°F for 5-7 minutes. Watch them closely, as they can burn quickly. Let them cool completely before adding them to the board. This prevents them from getting soggy.
Step 2: Arrange the Cheeses (5 minutes)
Take your large board and place your cheeses on it first. This anchors the board. Place the wheel of Brie in one corner or the center. Crumble the goat cheese into a small pile nearby. Place the block of cheddar in another area. If you’re using a knife to cut the cheddar, score it into cubes or slices beforehand. Leave a little space between the cheeses so they don’t touch and bleed flavors. If you have salami or prosciutto, fold the slices into loose rosettes and place them near the cheeses.
Step 3: Fill in the Gaps with Fruits (5 minutes)
Now, add the fruits. Tuck the pear and apple slices around the cheeses. Don’t just lay them flat; stand some of them up for height and interest. Place the figs in the empty spaces. The goal is to distribute the colors evenly. You want reds, greens, and yellows scattered throughout. If you’re using dried cranberries, sprinkle them in the gaps. They add a nice pop of color and a chewy texture.
Step 4: Add the Crunch (3 minutes)
Pour the toasted nuts into the remaining spaces. You can pile them up for a rustic look or spread them out for a cleaner look. I prefer a slight pile because it looks abundant. If you’re using Marcona almonds, scatter them generously. This is where you add the salty and crunchy elements that balance the soft cheeses and sweet fruits.
Step 5: Finish with Crackers and Drizzle (2 minutes)
Finally, add the crackers. Stack them in a fan shape or pile them in a corner. Leave enough space for guests to grab a handful without disturbing the rest of the board. Drizzle the honey over the Brie and the goat cheese. If you’re using jam, add a small dollop in a tiny bowl or directly on the board. Add a few sprigs of rosemary or thyme for a final touch of greenery. This adds aroma and visual appeal.
As you build, trust your eye. If something looks too crowded, move a piece. If a section looks empty, add more nuts or fruit. The board should look abundant and inviting. Take a step back and check the balance of colors and textures. Adjust as needed. Once you’re happy, bring it to the table and let the good times roll.
Cooking Tips & Techniques
Building a charcuterie board might seem simple, but there are techniques that can take it from good to great. First, temperature matters. Cheese tastes best at room temperature. If you take your cheese out of the fridge 30 minutes before serving, the flavors will be more pronounced and the texture softer. Cold cheese can be waxy and less flavorful.
Another common mistake is overcrowding the board. It’s tempting to pack every inch with food, but leave some negative space. This makes the board look more elegant and gives guests room to maneuver their plates. It also highlights each individual item. Think of it like a painting; you need space for the eye to rest.
When slicing fruits, use a sharp knife. A dull knife will crush the fruit and make it look messy. For apples and pears, slicing them thinly allows you to use more of the fruit on the board without it looking like a solid block. It also makes it easier for guests to pick up a piece.
For the nuts, toasting is a game-changer. It adds depth and complexity to the flavor. But be careful not to burn them. If they start smoking, take them out immediately. Burnt nuts taste bitter and will ruin the board. Let them cool completely before adding them to the board to maintain their crunch.
Finally, don’t overthink the arrangement. It’s supposed to look rustic and abundant. If it looks too perfect, it might look stiff. Embrace the chaos. Let the fruits spill out a bit. Let the nuts scatter. The goal is to make it look easy and inviting. If you stress about every millimeter, you’ll miss the point of the gathering. The food is just a vehicle for connection.
Variations & Adaptations
One of the best things about this recipe is how adaptable it is. You can tweak it based on your dietary needs, seasonal availability, or personal taste preferences. Here are a few variations I’ve tried that work wonderfully.
Vegetarian/Vegan Option: Skip the salami and prosciutto. Replace them with roasted chickpeas or marinated artichoke hearts. For the cheeses, use high-quality vegan alternatives. Many brands now make excellent vegan brie and cheddar that melt and crumble just like the dairy versions. Add extra nuts and seeds for protein.
Gluten-Free Option: Swap the regular crackers for gluten-free alternatives. There are many rice-based or almond-flour crackers that are sturdy and flavorful. Ensure that any processed meats or jams are certified gluten-free if cross-contamination is a concern.
Low-Carb Option: Reduce the amount of fruit and crackers. Focus on the cheeses, nuts, and cured meats. Add celery sticks, cucumber slices, or bell pepper strips for crunch. This makes the board more suitable for keto or low-carb dieters.
Flavor Variation: Instead of fig jam, try a spicy honey or a balsamic glaze. For the nuts, try candied pecans or rosemary salted almonds. You can also add some pickled onions or olives for a tangy kick. These small changes can completely alter the vibe of the board.
I once made this board for a summer gathering and swapped the fall fruits for strawberries, melon, and grapes. It was a hit. The key is to keep the balance of sweet, salty, and crunchy. If you add something sweeter, make sure to add something saltier to balance it out. Don’t be afraid to experiment. The board is your canvas.
Serving & Storage Suggestions
This board is best served at room temperature. If you’re making it ahead, cover it loosely with plastic wrap and refrigerate for up to 2 hours. Take it out 30 minutes before serving to let the cheeses warm up. This enhances the flavor and texture. Avoid leaving the board out for more than 2 hours, especially if it contains meat or soft cheeses.
For storage, any leftover cheese can be wrapped in wax paper or parchment paper and stored in the fridge. This helps them breathe and prevents them from drying out. Nuts and crackers should be stored in airtight containers to maintain their crunch. Fruits should be eaten fresh or stored separately to prevent browning.
When serving, place the board on a table where guests can gather around. It encourages mingling and casual eating. Pair it with a crisp white wine, a light red, or even a spiced cider. The flavors of the board complement a variety of beverages. For a non-alcoholic option, a sparkling water with lemon is refreshing and cleanses the palate.
Flavors develop over time. The honey soaks into the cheese, and the nuts absorb the ambient humidity. If you’re serving it later in the evening, you might want to refresh the board with a few more nuts or crackers. It’s a living spread, and it’s okay to keep adding to it.
Nutritional Information & Benefits
This charcuterie board offers a balanced mix of macronutrients. The cheeses provide protein and calcium, while the nuts offer healthy fats and fiber. The fruits add vitamins and natural sugars for energy. It’s a nutrient-dense snack that can help sustain energy levels during a long gathering.
The fats in the nuts and cheese are mostly unsaturated, which are heart-healthy. The fiber in the fruits and nuts supports digestive health. However, be mindful of portion sizes, especially with the cheeses and cured meats, as they can be high in sodium and calories.
For those with dietary restrictions, this board is easily adaptable. It can be made gluten-free, dairy-free, or low-carb with simple substitutions. It’s a flexible option that can accommodate a wide range of needs. Personally, I find that having this kind of spread available helps me eat more mindfully. I graze throughout the evening, which prevents overeating at the main meal. It’s a wellness perspective that prioritizes enjoyment and balance.
Conclusion
Creating a cozy Friendsgiving charcuterie board with fall fruits is more than just putting food on a table. It’s about setting the stage for connection. It’s about taking the pressure off cooking and putting it on sharing. This recipe is worth trying because it’s simple, delicious, and deeply satisfying. It allows you to be present with your friends instead of being stuck in the kitchen.
I encourage you to customize this board based on your preferences. Use the fruits you love, the cheeses you crave, and the nuts you enjoy. Make it your own. I love this recipe because it brings people together. It’s a symbol of abundance and hospitality. It says, “I’m glad you’re here, and I want you to enjoy yourself.”
So, go ahead and build that board. Don’t worry about perfection. Worry about connection. And when you’re done, I’d love to hear how it went. Share your variations, your tips, and your favorite combinations in the comments below. Let’s inspire each other to create more cozy, memorable gatherings. Thanks for reading, and happy hosting!
Frequently Asked Questions
How far in advance can I prepare the charcuterie board?
You can assemble the board up to 2 hours in advance. Cover it loosely with plastic wrap and refrigerate. Take it out 30 minutes before serving to let the cheeses reach room temperature for the best flavor. Avoid preparing it too early, as the fruits may brown and the crackers may lose their crunch.
Can I make this board vegan?
Yes, absolutely. Simply omit the meat and dairy cheeses. Use vegan cheese alternatives, which are widely available now. Replace the meat with roasted chickpeas, marinated tofu, or artichoke hearts. The fruits, nuts, and crackers can remain the same.
What type of crackers work best for this board?
Water crackers, almond crackers, and seeded crispbreads are excellent choices. They are sturdy enough to hold the weight of the cheese and fruit without breaking. Avoid overly salty or flavored crackers, as they can overpower the subtle flavors of the cheese and fruit.
How do I keep the cheese from drying out?
Cheese dries out when exposed to air. If you’re making the board ahead, cover it loosely with plastic wrap or wax paper. For individual pieces of cheese, wrap them in wax paper or parchment paper before refrigerating. This allows the cheese to breathe while preventing it from drying out.
What drinks pair well with a fall fruit charcuterie board?
Crisp white wines like Sauvignon Blanc or Pinot Grigio pair well with the cheeses and fruits. A light red wine like Pinot Noir is also a great choice. For non-alcoholic options, try a spiced apple cider, sparkling water with lemon, or a herbal tea like chamomile or mint.
Can I use dried fruit instead of fresh fruit?
Yes, dried fruit is a great option, especially if fresh fruit is out of season. Dried figs, apricots, and cranberries add a chewy texture and concentrated sweetness. They also have a longer shelf life. Just be mindful of the sugar content, as dried fruit is more calorie-dense than fresh fruit.
While you’re building your perfect spread, you might want to consider the rest of your menu. If you’re looking for a main dish to complement this board, check out our easy lemon herb salmon sheet pan dinner for a light and healthy option. For a dessert that’s just as easy, try our creamy vegan chocolate avocado pudding for a rich and satisfying finish. And if you need a refreshing drink to go with it, our refreshing cucumber mint green tea cooler is a great choice, even in the fall.
Pin This Recipe!
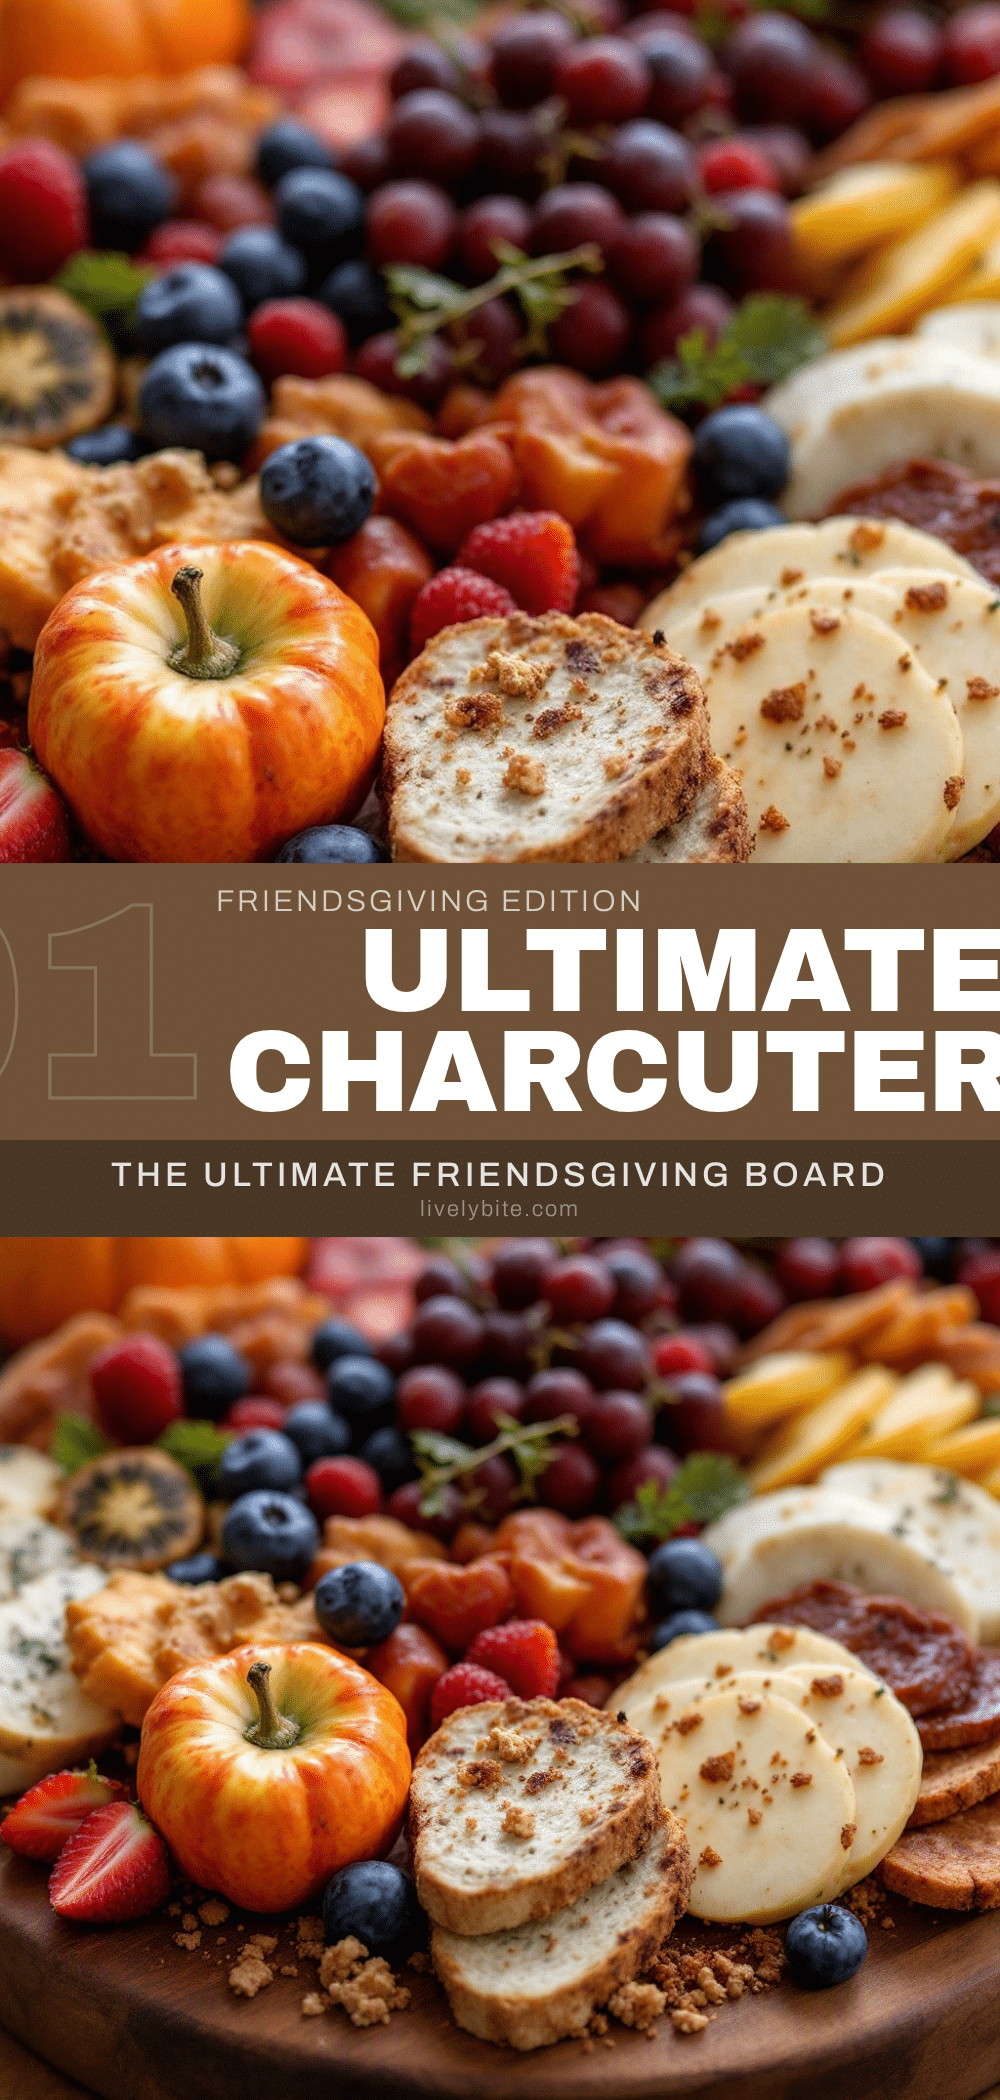
Cozy Friendsgiving Charcuterie Board with Fall Fruits

A quick, no-cook charcuterie board featuring fall fruits, artisanal cheeses, toasted nuts, and crackers, designed for easy hosting and cozy gatherings.
- Prep Time: 20 minutes
- Cook Time: 0 minutes
- Total Time: 20 minutes
- Yield: 8-10 servings
- Category: Appetizer
- Cuisine: American
Ingredients
- Brie or Camembert cheese
- Aged Cheddar cheese
- Goat cheese
- Fresh Pears (sliced)
- Fresh or dried Figs
- Apple Slices (Gala or Honeycrisp)
- Fresh or dried Cranberries
- Mixed Nuts (Walnuts and Pecans)
- Salami or Prosciutto (optional)
- Crackers (Water, almond, or seeded crispbreads)
- Honey or Fig Jam
- Marcona Almonds
- Rosemary or Thyme sprigs (for garnish)
Instructions
- Wash and dry fresh fruits. Slice pears and apples into thin wedges or half-moons. Trim stems from fresh figs or leave dried figs whole/halved.
- If toasting nuts, spread them on a baking sheet and toast at 350°F for 5-7 minutes until fragrant. Let cool completely.
- Place cheeses on the serving board first to anchor the arrangement. Position the Brie wheel, crumble goat cheese, and place cheddar blocks with space between them.
- Tuck pear and apple slices around the cheeses, standing some up for height. Place figs in empty spaces to distribute colors evenly.
- Pour toasted nuts into remaining spaces, piling them slightly for a rustic look. Scatter Marcona almonds generously.
- Stack crackers in a fan shape or pile in a corner. Drizzle honey over the Brie and goat cheese, or add dollops of jam.
- Garnish with rosemary or thyme sprigs for visual appeal and aroma.
Notes
Serve at room temperature for best flavor. Take cheese out of the fridge 30 minutes before serving. The board can be assembled up to 2 hours in advance and covered loosely with plastic wrap. Avoid overcrowding the board to maintain an elegant look.
Nutrition
- Serving Size: Varies by guest cons
- Calories: 350
- Sugar: 15
- Sodium: 450
- Fat: 22
- Saturated Fat: 8
- Carbohydrates: 25
- Fiber: 3
- Protein: 12
Keywords: charcuterie board, friendsgiving, fall recipes, no-cook appetizer, cheese board, fall fruits, easy hosting, vegetarian appetizer


