I did not trust brown butter in stuffing. Honestly, I thought it sounded like a mistake until that rainy Tuesday in November when my usual recipe fell flat. For years, I stuck to the old guard. You know the type: plenty of butter, sure, but keep it pale, keep it simple, and definitely don’t burn it. The rule was always “golden, not chocolate.” I followed it religiously because my grandmother swore by it, and her stuffing was always soft, moist, and utterly forgettable. It was reliable, sure, but it lacked soul. It was just bread and butter.
Then, my friend Mark challenged me. He made this crispy brown butter sage stuffing for a potluck, claiming the nutty depth would change everything. I rolled my eyes. Burnt butter? In bread? It seemed like culinary suicide. I took a tiny bite, expecting a charred disaster. Instead, I got a flavor explosion that hit me right in the nostalgia centers of my brain. It tasted like autumn wrapped in a warm blanket. The butter wasn’t just fat; it was a sauce, rich and complex, coating every crumb in a savory hug.
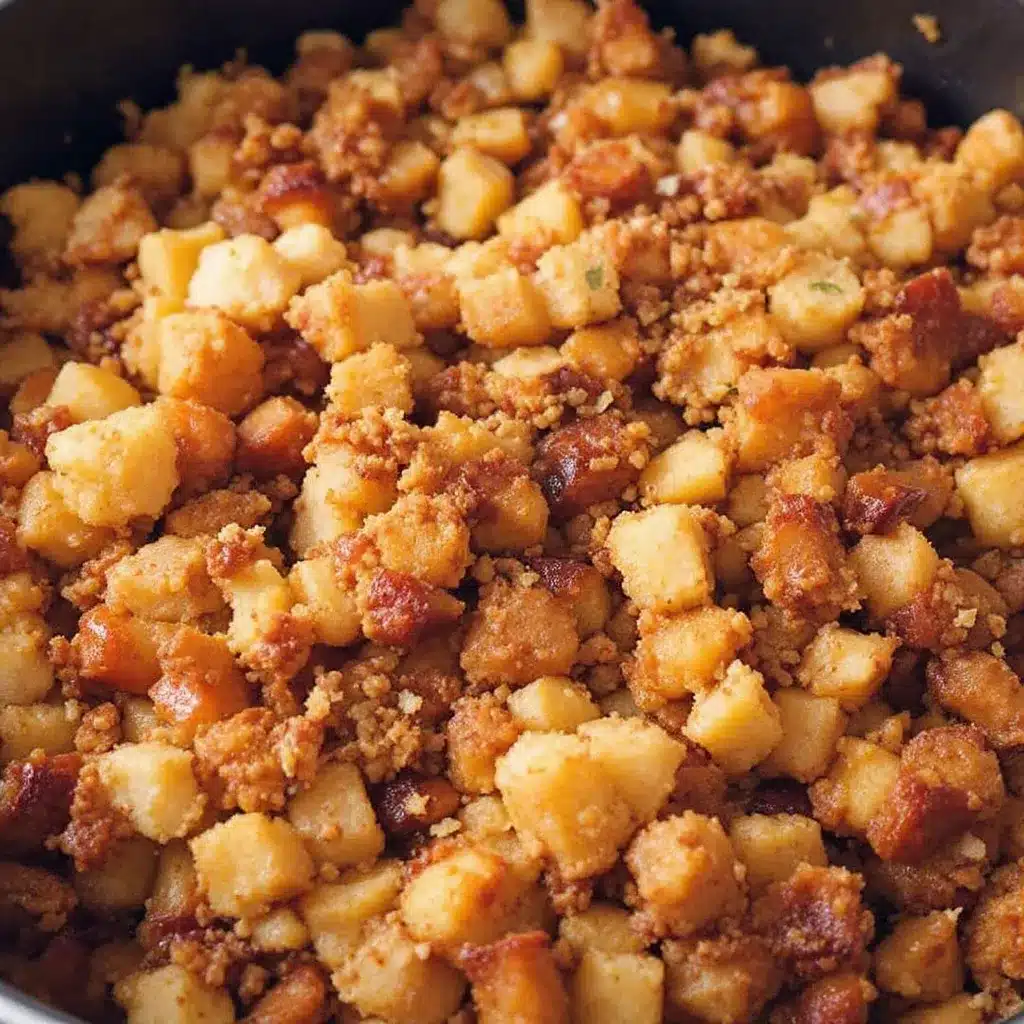
I went home and tried it myself, half-expecting failure. I watched the butter foam and darken, listening for the specific nutty aroma that signals the Maillard reaction is working its magic. When I tossed the stale bread into that golden-brown liquid, the kitchen smelled like a fancy French bistro, not a home kitchen. The result was crunchy on top, custardy in the middle, and impossibly aromatic.
Now, I can’t make stuffing any other way. The skepticism is gone, replaced by a firm belief that brown butter is the secret weapon for stuffing that actually gets requested by guests. It transforms a side dish into the main event. If you’ve been playing it safe with plain butter, you’re missing out on the best part of the meal. This version is quick, forgiving, and deeply satisfying.
Why You’ll Love This Crispy Brown Butter Sage Stuffing
This recipe isn’t just about following instructions; it’s about understanding why certain flavors work together so well. After years of testing different breads, broths, and butter levels, I’ve landed on a method that guarantees texture and flavor in every single bite. Here is why this specific approach to crispy brown butter sage stuffing stands out from the rest:
- Quick & Easy: You can have this on the table in under 20 minutes of active prep time. The browning happens fast, and the baking is mostly hands-off, making it perfect for busy weeknights or when you’re hosting a large group and need to multitask.
- Simple Ingredients: You don’t need a fancy grocery run for this. Most of these items, like sage, butter, and bread, are likely already in your pantry or fridge. It relies on quality basics rather than exotic spices.
- Perfect for Holidays: While great any time of year, this stuffing shines during Thanksgiving or Christmas dinners. It adds a sophisticated touch to the spread without adding stress to your timeline.
- Crowd-Pleaser: Kids usually love the crispy bits, and adults appreciate the nutty depth. It bridges the gap between traditional comfort food and gourmet flair, getting rave reviews from everyone at the table.
- Unbelievably Delicious: The combination of toasted bread and nutty brown butter creates a texture and flavor profile that is next-level comfort food. It’s savory, aromatic, and deeply satisfying.
What makes this recipe different is the technique of browning the butter first. Most people toss butter into the oven and hope for the best. By browning it on the stove, you unlock those deep, toasted notes that simple melted butter can never achieve. It’s a small step that makes a massive difference. Plus, using fresh sage instead of dried adds a vibrant, pine-like aroma that fills the room.
This stuffing isn’t just good—it is the kind that makes you close your eyes after the first bite. It’s comfort food reimagined—faster, but with the same soul-soothing satisfaction. It’s perfect for impressing guests without stress, or turning a simple meal into something memorable.
What Ingredients You Will Need
This recipe uses simple, wholesome ingredients to deliver bold flavor and satisfying texture without the fuss. The beauty of this crispy brown butter sage stuffing lies in its minimalism. You don’t need a long list of exotic spices or hard-to-find items. Everything here plays a specific role in creating that perfect crunch and savory depth.
- Day-Old Sourdough or Country Bread (1 loaf, cubed): The foundation of the dish. Sourdough is my top recommendation because its tangy flavor cuts through the richness of the butter. You want bread that is dry and stale; fresh bread will turn mushy. If you can’t find sourdough, a sturdy baguette or Italian loaf works well. Look for bread with a thick crust for extra crunch.
- Unsalted Butter (1 stick / 113g): High-quality butter is non-negotiable here. I prefer European-style butter with higher fat content, like Kerrygold, because it browns more evenly and has a richer flavor. Unsalted allows you to control the salt level perfectly.
- Fresh Sage Leaves (1/2 cup, chopped): Fresh sage is crucial for that earthy, aromatic punch. Dried sage can be dusty and less vibrant. If you can’t find fresh, you can use dried, but reduce the amount by half. Look for bright green leaves with no signs of yellowing.
- Chicken or Vegetable Broth (1 cup): This adds moisture and savory depth. Use a low-sodium broth so you can adjust the seasoning to your taste. For a richer flavor, homemade broth is best, but a high-quality store-bought carton works fine.
- Garlic (2 cloves, minced): Garlic adds a subtle pungency that complements the sage. Fresh garlic is preferred over powder for the best flavor profile. Mince it finely so it distributes evenly throughout the bread cubes.
- Salt and Black Pepper (to taste): Seasoning is key. Start with a half-teaspoon of salt and adjust from there. Freshly cracked black pepper adds a nice heat and aroma.
- Optional Add-ins: If you like extra texture, consider adding chopped pecans or walnuts. They add a nice crunch that pairs well with the sage. For a sweeter twist, you could add dried cranberries, but that changes the flavor profile significantly.
Keep this section scannable. The ingredients are straightforward, so there’s no need to overcomplicate the list. Just grab what you need and get started.
Equipment Needed
You don’t need a fancy kitchen to make this crispy brown butter sage stuffing. Here is what you’ll need:
- Large Skillet (12-inch): A heavy-bottomed skillet, like cast iron or stainless steel, is best for browning butter evenly. It prevents hot spots that can burn the butter.
- Baking Dish (9×13 inch): A standard glass or ceramic baking dish works perfectly. Glass allows you to see the browning on the bottom, which helps prevent overcooking.
- Knife and Cutting Board: For cubing the bread and chopping the sage. A serrated knife is best for slicing the bread without crushing it.
- Wooden Spoon or Silicone Spatula: For stirring the butter and tossing the bread. These won’t scratch your skillet.
If you don’t have a large skillet, a saucepan will work, but you might need to brown the butter in batches. Make sure to clean your skillet well after use, as brown butter can leave a sticky residue.
Preparation Method
Let’s get into the nitty-gritty. This process is straightforward, but timing is everything.
- Prep the Bread (5 minutes): Preheat your oven to 375°F (190°C). If your bread isn’t stale, cube it and spread it out on a baking sheet. Bake for 10 minutes to dry it out, then let it cool. This step is crucial for that final crispy texture. Toss the dried bread cubes into a large mixing bowl.
- Brown the Butter (3 minutes): Place your large skillet over medium heat. Add the butter and let it melt. Once melted, it will start to foam. Keep stirring constantly. Watch for the foam to subside slightly and the milk solids to turn golden brown at the bottom. You’ll smell a nutty, toasty aroma. This takes about 3-4 minutes. Don’t walk away!
- Infuse with Sage and Garlic (1 minute): Immediately remove the skillet from heat to stop the cooking. Add the chopped sage and minced garlic. Stir for 30 seconds. The residual heat will release their oils without burning them. Pour this fragrant brown butter mixture over the bread cubes.
- Combine and Season (2 minutes): Toss the bread thoroughly to ensure every cube is coated. Sprinkle with salt and pepper. Add the broth slowly, tossing gently. You want the bread to absorb the liquid but not become soggy. It should look moist but not wet.
- Bake Until Crispy (15 minutes): Transfer the mixture to your baking dish. Spread it out evenly. Bake for 15 minutes. For extra crispiness, switch to broil for the last 2 minutes, watching closely to prevent burning. The top should be golden and crunchy.
Cooking Tips & Techniques
Here are some professional techniques to ensure success:
- Watch the Butter Closely: Brown butter goes from perfect to burnt in seconds. If you see dark brown specks, it’s done. If it turns black, start over.
- Don’t Skip the Drying Step: Wet bread leads to mushy stuffing. Dry bread leads to crispy perfection.
- Use a Heavy Pan: Thin pans heat unevenly, leading to inconsistent browning.
- Let it Rest: Let the stuffing rest for 5 minutes after baking. This allows the flavors to meld and the texture to set.
Variations & Adaptations
You can customize this recipe to suit your tastes:
- Gluten-Free: Use gluten-free bread and ensure your broth is gluten-free.
- Vegan: Use vegan butter and vegetable broth. Add nutritional yeast for a cheesy flavor.
- Spicy: Add red pepper flakes to the butter for a kick.
- Herb Swap: Use thyme or rosemary instead of sage for a different aromatic profile.
I once tried adding chopped apples, and it was surprisingly delicious. The sweetness balanced the savory sage perfectly.
Serving & Storage Suggestions
Serve this stuffing hot, straight from the oven. It pairs well with easy lemon herb salmon sheet pan dinner or roasted chicken. Store leftovers in an airtight container in the fridge for up to 3 days. Reheat in the oven at 350°F to restore crispiness. In the microwave, it will get soft, so avoid that if you can.
Nutritional Information & Benefits
This stuffing is relatively high in calories due to the butter, but it provides a good source of carbohydrates. Sage has anti-inflammatory properties, and sourdough is easier to digest than regular bread. Keep portion sizes in mind if you are watching your calorie intake.
Conclusion
This crispy brown butter sage stuffing is worth the extra effort. It transforms a simple side dish into a memorable experience. I love it because it’s simple yet sophisticated. Try it and see for yourself. Leave a comment below if you try it!
FAQs
Can I use fresh bread?
Yes, but you must dry it out in the oven first. Fresh bread will be too soft.
Can I make this ahead of time?
Yes, you can assemble it and refrigerate it before baking. Add 5-10 minutes to the baking time.
What kind of bread is best?
Sourdough is best, but any sturdy, crusty bread works.
Can I use dried sage?
Yes, but use half the amount of fresh sage.
How do I reheat leftovers?
Reheat in the oven at 350°F to keep it crispy.
Pin This Recipe!
Crispy Brown Butter Sage Stuffing

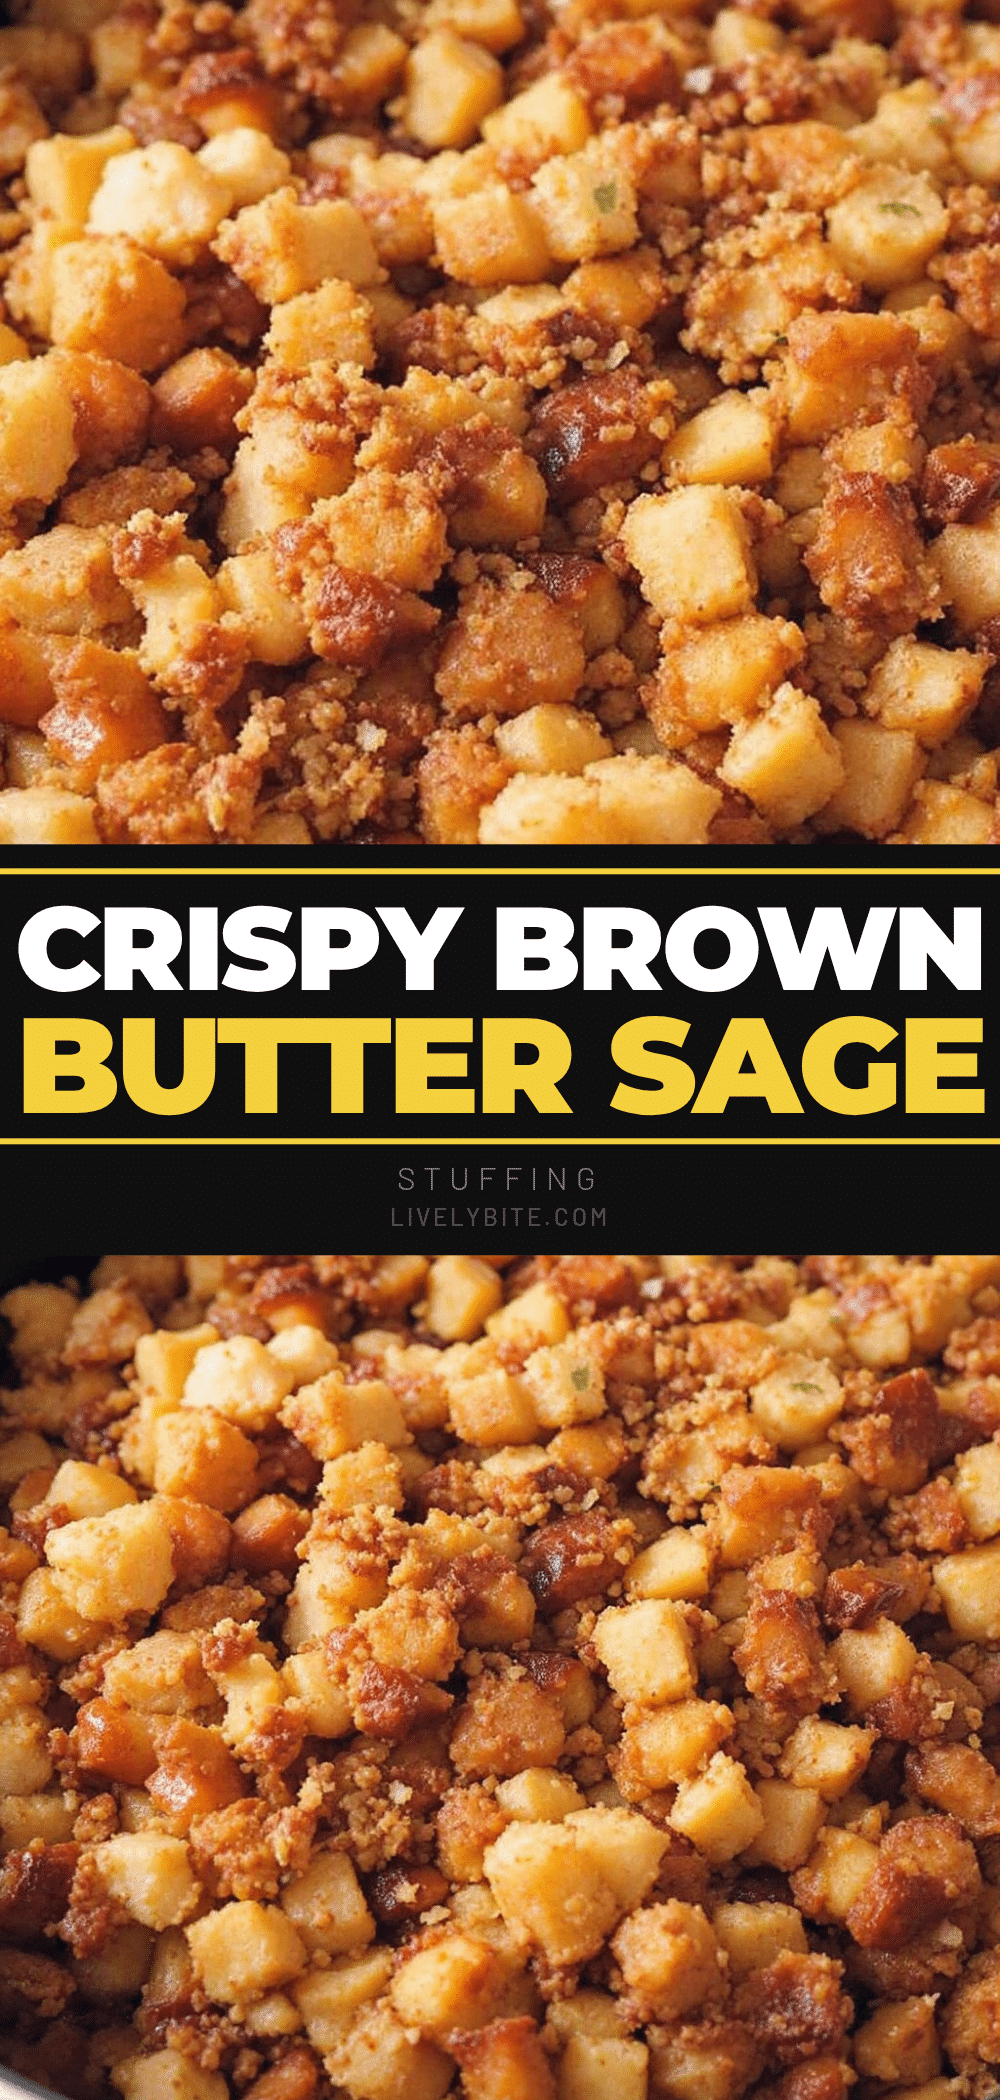
A quick and sophisticated side dish featuring stale bread tossed in nutty brown butter, fresh sage, and garlic, then baked until crispy on top and custardy in the middle.
- Prep Time: 5 minutes
- Cook Time: 15 minutes
- Total Time: 20 minutes
- Yield: 6 servings 1x
- Category: Side Dish
- Cuisine: American
Ingredients
- 1 loaf day-old sourdough or country bread, cubed
- 1 stick (113g) unsalted butter
- 1/2 cup fresh sage leaves, chopped
- 2 cloves garlic, minced
- 1 cup chicken or vegetable broth
- Salt and black pepper to taste
- Optional: chopped pecans or walnuts
Instructions
- Preheat oven to 375°F (190°C). If bread is not stale, cube it and bake on a sheet for 10 minutes to dry out, then cool and place in a large mixing bowl.
- Place a large skillet over medium heat. Add butter and melt. Stir constantly until foam subsides and milk solids turn golden brown with a nutty aroma (3-4 minutes).
- Remove skillet from heat. Immediately add chopped sage and minced garlic, stirring for 30 seconds to release oils.
- Pour the brown butter mixture over the bread cubes. Toss thoroughly to coat.
- Season with salt and pepper. Slowly add broth, tossing gently until bread is moist but not soggy.
- Transfer mixture to a 9×13 inch baking dish and spread evenly.
- Bake for 15 minutes. For extra crispiness, broil for the last 2 minutes, watching closely.
- Let rest for 5 minutes before serving.
Notes
Ensure bread is dry and stale for best texture. Brown butter goes from perfect to burnt quickly, so watch closely. Let stuffing rest for 5 minutes after baking to allow flavors to meld. Reheat leftovers in the oven at 350°F to maintain crispiness.
Nutrition
- Serving Size: 1 cup
- Calories: 320
- Sugar: 1
- Sodium: 450
- Fat: 18
- Saturated Fat: 11
- Carbohydrates: 32
- Fiber: 2
- Protein: 6
Keywords: brown butter stuffing, sage stuffing, crispy stuffing, thanksgiving side dish, quick stuffing recipe, sourdough stuffing


