You know, I didn’t actually set out to make a black cupcake. I was trying to make a red velvet cake for a Halloween party, and I grabbed the wrong gel food coloring in a sleepy, pre-coffee haze. I dumped a whole bottle of black gel into the batter before I realized what I’d done. I almost threw it out. But the batter looked so dramatically dark, so perfectly gothic, that I just had to bake it anyway. And honestly? That happy accident turned into the most popular thing I’ve ever brought to a party. People went absolutely nuts for them. They’re not just black—they’re impossibly moist, deeply chocolatey, and that tangy cream cheese frosting cuts through the richness like a dream. These Perfect Black Velvet Halloween Cupcakes are the kind of recipe that makes you look like a baking genius, even if the whole thing started with a mistake.
Why You’ll Love This Recipe
These aren’t just Halloween cupcakes that look cool. They actually taste incredible. I’ve tested this recipe more times than I care to admit, tweaking the ratio of cocoa to buttermilk until the texture was absolutely flawless. Here’s why these will become your go-to:
- Stunning Visuals: That jet-black crumb against the white cream cheese frosting is pure Halloween magic. No artificial-tasting colors, just a dramatic, photo-worthy look.
- Incredibly Moist: The buttermilk and oil combo keeps these cupcakes soft for days. They don’t dry out, which is a rare thing for a dark-colored cake.
- Perfectly Balanced Flavor: The slight tang of the cream cheese frosting is the ideal partner for the rich, deep chocolate flavor. It’s not overly sweet, which is my pet peeve with most frostings.
- Surprisingly Easy: Despite the dramatic look, this is a straightforward, one-bowl cupcake recipe. No complicated techniques, just simple ingredients you can find at any grocery store.
- Crowd-Pleaser: I’ve brought these to kids’ parties and adult gatherings, and they vanish every single time. Even people who “don’t like Halloween food” go back for seconds.
Honestly, this is the recipe that made me stop trying to be fancy and just focus on what actually works. It’s comfort food with a spooky twist, and it’s the kind of thing that makes you feel proud to share.
What Ingredients You Will Need
This recipe uses simple, pantry-friendly ingredients to create something that looks and tastes far more complicated than it is. Most of these are probably in your kitchen right now, which is part of the beauty of it.
For the Cupcakes
- All-purpose flour (2 ½ cups): The base of the cake. I use unbleached all-purpose for the best texture. Don’t substitute cake flour here—it’s too delicate for the amount of cocoa and color we’re adding.
- Unsweetened cocoa powder (½ cup): Use a good quality Dutch-processed cocoa if you can. It gives a deeper, richer flavor and a darker crumb. I personally love the Rodelle brand for its intense chocolate taste.
- Granulated sugar (1 ½ cups): For sweetness and structure. I don’t recommend reducing the sugar, as it affects the moisture content.
- Baking soda (1 teaspoon): The leavening agent. Make sure it’s fresh—if it’s been open for more than six months, just buy a new box.
- Salt (½ teaspoon): Balances the sweetness and enhances the chocolate flavor. Fine sea salt is my go-to.
- Buttermilk (1 cup, room temperature): The secret to tender, moist cupcakes. The acid in the buttermilk reacts with the baking soda to create a beautiful rise. If you don’t have buttermilk, you can make a quick substitute by adding 1 tablespoon of lemon juice or white vinegar to a cup of milk and letting it sit for 5 minutes.
- Vegetable oil (½ cup): Keeps the cupcakes moist for days. I use a neutral oil like canola or avocado oil. Don’t use olive oil here—the flavor is too strong.
- Large eggs (2, room temperature): For structure and richness. Room temperature eggs emulsify better into the batter.
- Vanilla extract (2 teaspoons): Use pure vanilla extract, not imitation. It makes a real difference in the overall flavor profile.
- Black gel food coloring (1-2 tablespoons): This is the star of the show. I recommend the Americolor Super Black gel—it’s concentrated, so you don’t need much, and it won’t alter the taste of the batter. Liquid food coloring won’t work here; it will thin the batter and give you a muddy gray color instead of true black.
- White vinegar (1 teaspoon): This is my secret ingredient. It reacts with the baking soda to give the cupcakes an extra lift and a super tender crumb. You won’t taste it, I promise.
For the Cream Cheese Frosting
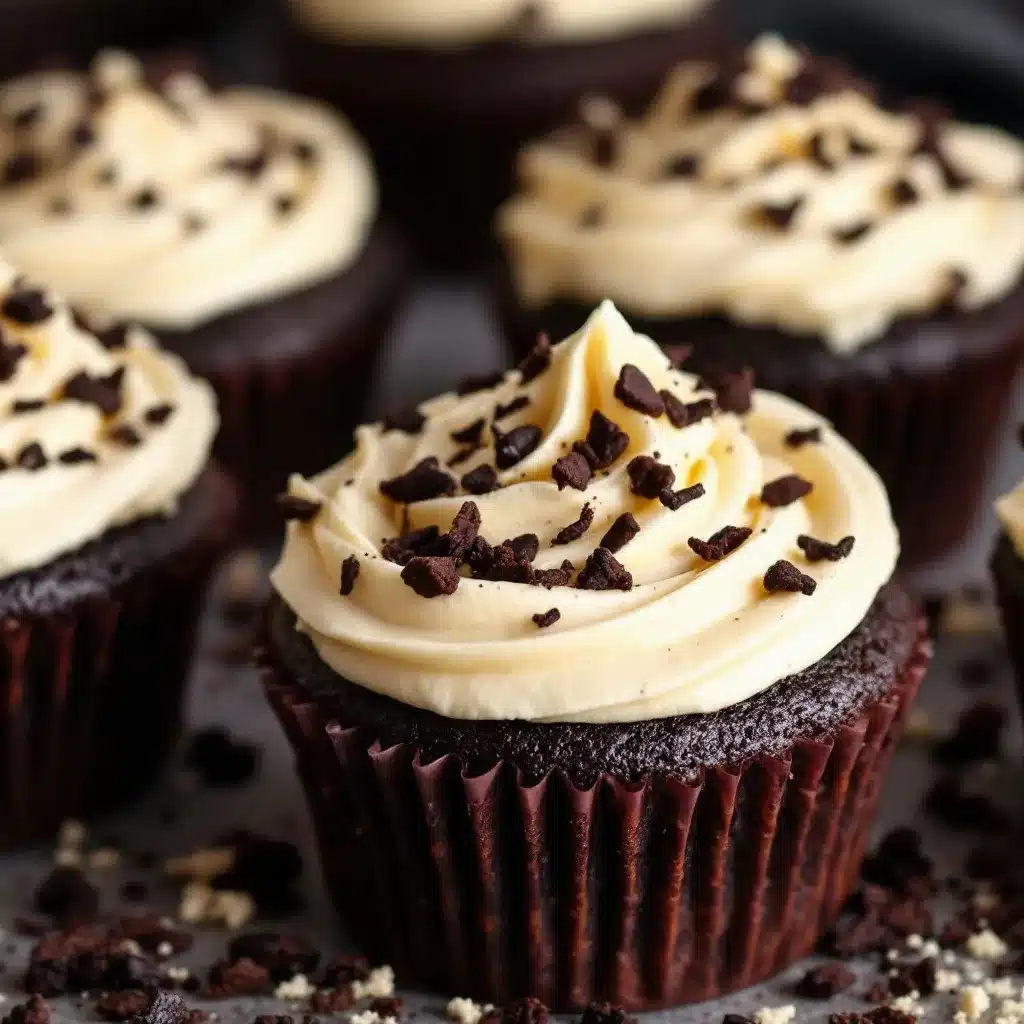
- Cream cheese (8 ounces, softened): Use full-fat, block-style cream cheese. The spreadable kind in a tub has too much water and will make your frosting runny. Let it sit on the counter for about 30 minutes to soften properly.
- Unsalted butter (½ cup, softened): Adds stability and richness to the frosting. Make sure it’s at room temperature but not greasy or melted.
- Powdered sugar (3-4 cups): Sift it first to avoid lumps. I start with 3 cups and add more if I need a stiffer consistency.
- Vanilla extract (1 teaspoon): For flavor.
- Pinch of salt: Balances the sweetness.
Equipment Needed
You don’t need a professional bakery setup for these, but a few key tools make the process much smoother.
- Muffin tin (standard 12-cup): I like a non-stick one, but any will work with paper liners.
- Paper cupcake liners: Go for black or orange ones for a festive look. I’ve also used white ones that I decorated with edible markers—super fun for kids.
- Large mixing bowls: You’ll need one for the dry ingredients and one for the wet.
- Whisk: For combining the dry ingredients and smoothing out the batter.
- Electric hand mixer or stand mixer: Essential for the cream cheese frosting. You could whisk it by hand, but your arm will thank you for using a mixer.
- Rubber spatula: For scraping down the sides of the bowl and folding in the last bits of flour.
- Cookie scoop or measuring cup: For evenly distributing the batter into the liners. A #20 cookie scoop (about 3 tablespoons) works perfectly.
- Piping bag and tip: A large star tip (like a 1M) creates that beautiful swirl on top. If you don’t have a piping bag, a zip-top bag with the corner snipped off works in a pinch.
- Cooling rack: Crucial for letting the cupcakes cool completely before frosting. If you frost them while they’re warm, the frosting will melt into a sad puddle.
Preparation Method
Let’s get baking. This is where the magic happens. Take your time with each step, and you’ll be rewarded with the most gorgeous black velvet cupcakes.
- Preheat and Prep: Preheat your oven to 350°F (175°C). Line your muffin tin with paper liners. This recipe makes exactly 12 cupcakes—no more, no less—so don’t try to stretch it to 14. Trust me, I’ve tried.
- Whisk Dry Ingredients: In a large bowl, whisk together the all-purpose flour, unsweetened cocoa powder, granulated sugar, baking soda, and salt. Make sure everything is evenly distributed. I usually give it a good 30 seconds of whisking to aerate the flour a bit.
- Combine Wet Ingredients: In a separate medium bowl or large liquid measuring cup, whisk together the room temperature buttermilk, vegetable oil, eggs, and vanilla extract. Whisk until the eggs are fully incorporated and the mixture looks smooth and slightly frothy.
- Add the Color: This is the fun part. Add the black gel food coloring to the wet ingredients. Start with 1 tablespoon and whisk it in. It will look a bit streaky at first—that’s okay. I usually end up using about 1 ½ tablespoons for a true, deep black. Add more if you want it absolutely jet-black. Just remember, a little goes a long way with gel colors.
- Combine Wet and Dry: Pour the wet ingredients into the bowl with the dry ingredients. Use a rubber spatula to fold everything together gently. Mix just until you no longer see streaks of flour. Overmixing will make the cupcakes tough, so stop as soon as it comes together. The batter will be thick and glossy, almost like a mousse.
- The Secret Step: Add the white vinegar to the batter and give it one final, quick stir. You’ll see the batter bubble up slightly as the vinegar reacts with the baking soda. This is what gives the cupcakes that extra lift and tender crumb. Work quickly here—you don’t want to lose the reaction.
- Fill the Liners: Use your cookie scoop or a measuring cup to divide the batter evenly among the 12 liners. Fill each one about ⅔ full. Don’t overfill, or they’ll spill over the sides and lose their nice domed top. I tap the muffin tin on the counter a couple of times to release any air bubbles.
- Bake: Place the tin in the preheated oven and bake for 18-22 minutes. Start checking at 18 minutes. The cupcakes are done when a toothpick inserted into the center comes out clean or with a few moist crumbs. The tops should spring back when lightly touched. My personal tip: I rotate the pan halfway through baking to ensure even browning, even though these are black, the edges can get a little dry if you don’t.
- Cool Completely: Let the cupcakes cool in the pan for 5 minutes. Then, transfer them to a wire rack to cool completely. This is non-negotiable. If you try to frost them while they’re even slightly warm, you’ll end up with a runny, sloppy mess. I usually let them cool for at least an hour.
- Make the Frosting: While the cupcakes are cooling, make the cream cheese frosting. In a large bowl (or the bowl of a stand mixer), beat the softened cream cheese and butter together on medium speed until smooth, light, and fluffy—about 2-3 minutes. Scrape down the sides of the bowl. Add the vanilla extract and a pinch of salt, and beat to combine. Gradually add the sifted powdered sugar, 1 cup at a time, beating on low speed to start, then increasing to medium. Beat until the frosting is smooth and spreadable. If it’s too thick, add a teaspoon of milk. If it’s too thin, add a little more powdered sugar. The final consistency should be thick enough to hold its shape when piped.
- Frost and Decorate: Once the cupcakes are completely cool, it’s time for the fun part. Fit your piping bag with a large star tip and fill it with the cream cheese frosting. Starting from the outside edge, pipe a continuous swirl around the cupcake, working your way to the center, then lifting up to create a peak. I like to add a little sprinkle of black sanding sugar or a few orange sprinkles on top for a pop of color.
Cooking Tips & Techniques
I’ve made this recipe about a dozen times, and I’ve learned a few things the hard way. Here are my best tips to make sure your first batch is perfect.
- Room Temperature Ingredients Matter: I can’t stress this enough. Cold buttermilk and eggs will seize the batter and make the cupcakes dense. Take them out of the fridge 30 minutes before you start. It’s a small step that makes a huge difference.
- Don’t Overmix the Batter: I used to be an aggressive mixer, and my cupcakes were always a little tough. The key is to mix until just combined. A few small lumps are totally fine. The batter will smooth out as it bakes.
- The Gel Color is Key: Do not use liquid food coloring. It will thin your batter and give you a sad, grayish cupcake. Gel colors are concentrated, so they color without adding extra liquid. I’ve also used Chefmaster brand with great results.
- Check Your Cocoa Powder: If you use natural cocoa powder instead of Dutch-processed, your cupcakes might turn out a little more brown than black. Dutch-processed is alkalized, which darkens the color and deepens the flavor. It’s worth seeking out for this recipe.
- Frosting Temperature: If your cream cheese frosting seems too soft to pipe, pop it in the fridge for 15 minutes. It will firm up just enough to hold a beautiful swirl. If it’s too cold, let it sit at room temperature for 5 minutes before piping.
- Test for Doneness: Every oven runs a little differently. I rely on the toothpick test, but I also look for the edges of the cupcake to just start pulling away from the liner. That’s my visual cue that they’re done.
Variations & Adaptations
This recipe is a fantastic base for experimentation. Here are a few ways I’ve adapted it over the years.
- Gluten-Free Version: Substitute the all-purpose flour with a 1:1 gluten-free baking blend that contains xanthan gum. I’ve had great success with King Arthur Measure for Measure. The texture will be slightly more delicate, but the flavor is still spot on.
- Dairy-Free Adaptation: Use a plant-based buttermilk (like almond milk with a tablespoon of lemon juice) and a dairy-free cream cheese for the frosting. I’ve used Kite Hill cream cheese style spread with good results. The frosting won’t be quite as firm, but it’s still delicious.
- Spider Web Decoration: For a more intricate look, pipe a white frosting swirl, then pipe a few concentric circles of black frosting on top. Use a toothpick to drag from the center outward, creating a spider web pattern. It’s easier than it sounds and looks incredibly impressive.
- Chocolate Ganache Drip: Instead of a full swirl, I sometimes frost the cupcakes with a thin layer of cream cheese frosting, then drizzle a dark chocolate ganache over the top. The contrast of the black cake, white frosting, and dark chocolate is stunning.
- Mini Cupcakes: This recipe makes about 36 mini cupcakes. Bake them for 10-12 minutes, checking for doneness with a toothpick. They’re perfect for parties where you want people to try a little bit of everything.
Serving & Storage Suggestions
These cupcakes are best served at room temperature, which is when the cream cheese frosting is at its creamiest and the cake is most tender. I like to take them out of the fridge about 30 minutes before serving.
- Presentation: Arrange them on a black cake stand or a dark-colored platter to make the white frosting pop. A few fake spider webs or plastic spiders scattered around the base add a fun, spooky touch.
- Pairings: These cupcakes are rich, so they pair beautifully with a tall glass of cold milk, a hot cup of coffee, or a warm mug of spiced apple cider. For an adult gathering, a dark stout beer or a bourbon cocktail is a fantastic match.
- Storage: Store any leftover cupcakes in an airtight container in the refrigerator for up to 5 days. Because of the cream cheese frosting, they need to be kept cold. Let them sit at room temperature for 15 minutes before eating to soften the frosting.
- Freezing: You can freeze the unfrosted cupcakes for up to 3 months. Wrap each one tightly in plastic wrap, then place them in a freezer-safe bag. Thaw them at room temperature before frosting. The frosting itself can also be frozen in a piping bag for up to a month. Just let it thaw in the fridge overnight and give it a quick whip before using.
- Flavor Development: Honestly, these cupcakes taste even better the day after they’re made. The flavors have time to meld, and the cake becomes even more moist. So don’t stress about baking them a day ahead—it’s actually the best plan.
Nutritional Information & Benefits
Let’s be real—these are a treat, not a health food. But knowing what’s in them can help you enjoy them mindfully.
Each cupcake (with frosting) contains approximately 420-450 calories, 22g of fat, 55g of carbohydrates, and 5g of protein. The cream cheese frosting adds a good amount of calcium and vitamin A from the dairy. The cocoa powder is rich in antioxidants, specifically flavonoids, which are good for heart health. The buttermilk provides probiotics and calcium, which support gut and bone health.
These cupcakes are not gluten-free or dairy-free in their standard form, but as I mentioned above, they can be adapted. They contain wheat, dairy, and eggs. If you have specific dietary needs, please use the substitutions I’ve outlined. I personally love that this recipe uses oil instead of butter, which keeps the cupcakes moist without the saturated fat found in butter. It’s a small, practical choice that makes a big difference in the texture and the nutritional profile.
Conclusion
These Perfect Black Velvet Halloween Cupcakes are more than just a pretty face. They’re a testament to the fact that sometimes the best recipes come from happy accidents. They’re rich, they’re moist, and that tangy cream cheese frosting is the perfect finishing touch. I love that they look incredibly impressive without requiring any special skills or hard-to-find ingredients. They’re the kind of recipe that makes you feel like a baking rockstar, even if you’re just starting out.
I really hope you give these a try. Don’t be afraid to make them your own—add a different sprinkle, try a different piping tip, or experiment with the frosting color. If you do make them, I’d love to hear about it. Leave a comment below and let me know how they turned out, or tag me in your photos on social media. Your feedback and adaptations are what make this community so special. Happy Halloween, and happy baking!
Frequently Asked Questions
Can I use liquid food coloring instead of gel?
I really don’t recommend it. Liquid food coloring will add too much extra liquid to the batter, which can throw off the texture and result in a grayish, muddy color instead of a true black. Gel colors are concentrated, so they color without adding moisture. Stick with gel for the best results.
Why did my cupcakes turn out dry?
Dry cupcakes are usually a sign of overbaking or overmixing. Make sure you’re checking them at the 18-minute mark and pulling them out as soon as a toothpick comes out clean. Also, be gentle when mixing the batter—overmixing develops gluten, which makes the cake tough. Finally, make sure your ingredients are at room temperature, as cold ingredients can cause the batter to seize.
Can I make these cupcakes ahead of time?
Absolutely. In fact, I prefer to make them a day ahead. Bake the cupcakes, let them cool completely, and store them in an airtight container at room temperature. Make the frosting and store it in the fridge. The next day, let the frosting soften slightly, give it a quick whip, and pipe it onto the cupcakes. The flavors meld beautifully overnight.
My cream cheese frosting is too runny. What did I do wrong?
This usually happens for one of two reasons: either your cream cheese was too soft (almost melted) or you used low-fat or spreadable cream cheese. Always use full-fat, block-style cream cheese, and let it soften at room temperature for no more than 30 minutes. If your frosting is still runny, try adding a little more sifted powdered sugar, one tablespoon at a time, until it firms up.
Can I use this batter to make a cake instead of cupcakes?
Yes, you can. Pour the batter into two greased and floured 8-inch round cake pans. Bake at 350°F (175°C) for 25-30 minutes, or until a toothpick inserted into the center comes out clean. Let them cool in the pans for 10 minutes, then turn them out onto a wire rack to cool completely. This makes a stunning two-layer black velvet cake. If you love a good rich cake, you might also enjoy this creamy vegan chocolate avocado pudding for a quick, no-bake chocolate fix.
For a complete Halloween party spread, these cupcakes pair wonderfully with a refreshing cucumber mint green tea cooler to balance the richness. And if you’re looking for a savory option to serve alongside, these easy Mediterranean stuffed mini peppers with feta are a fantastic, colorful addition to any table.
Pin This Recipe!
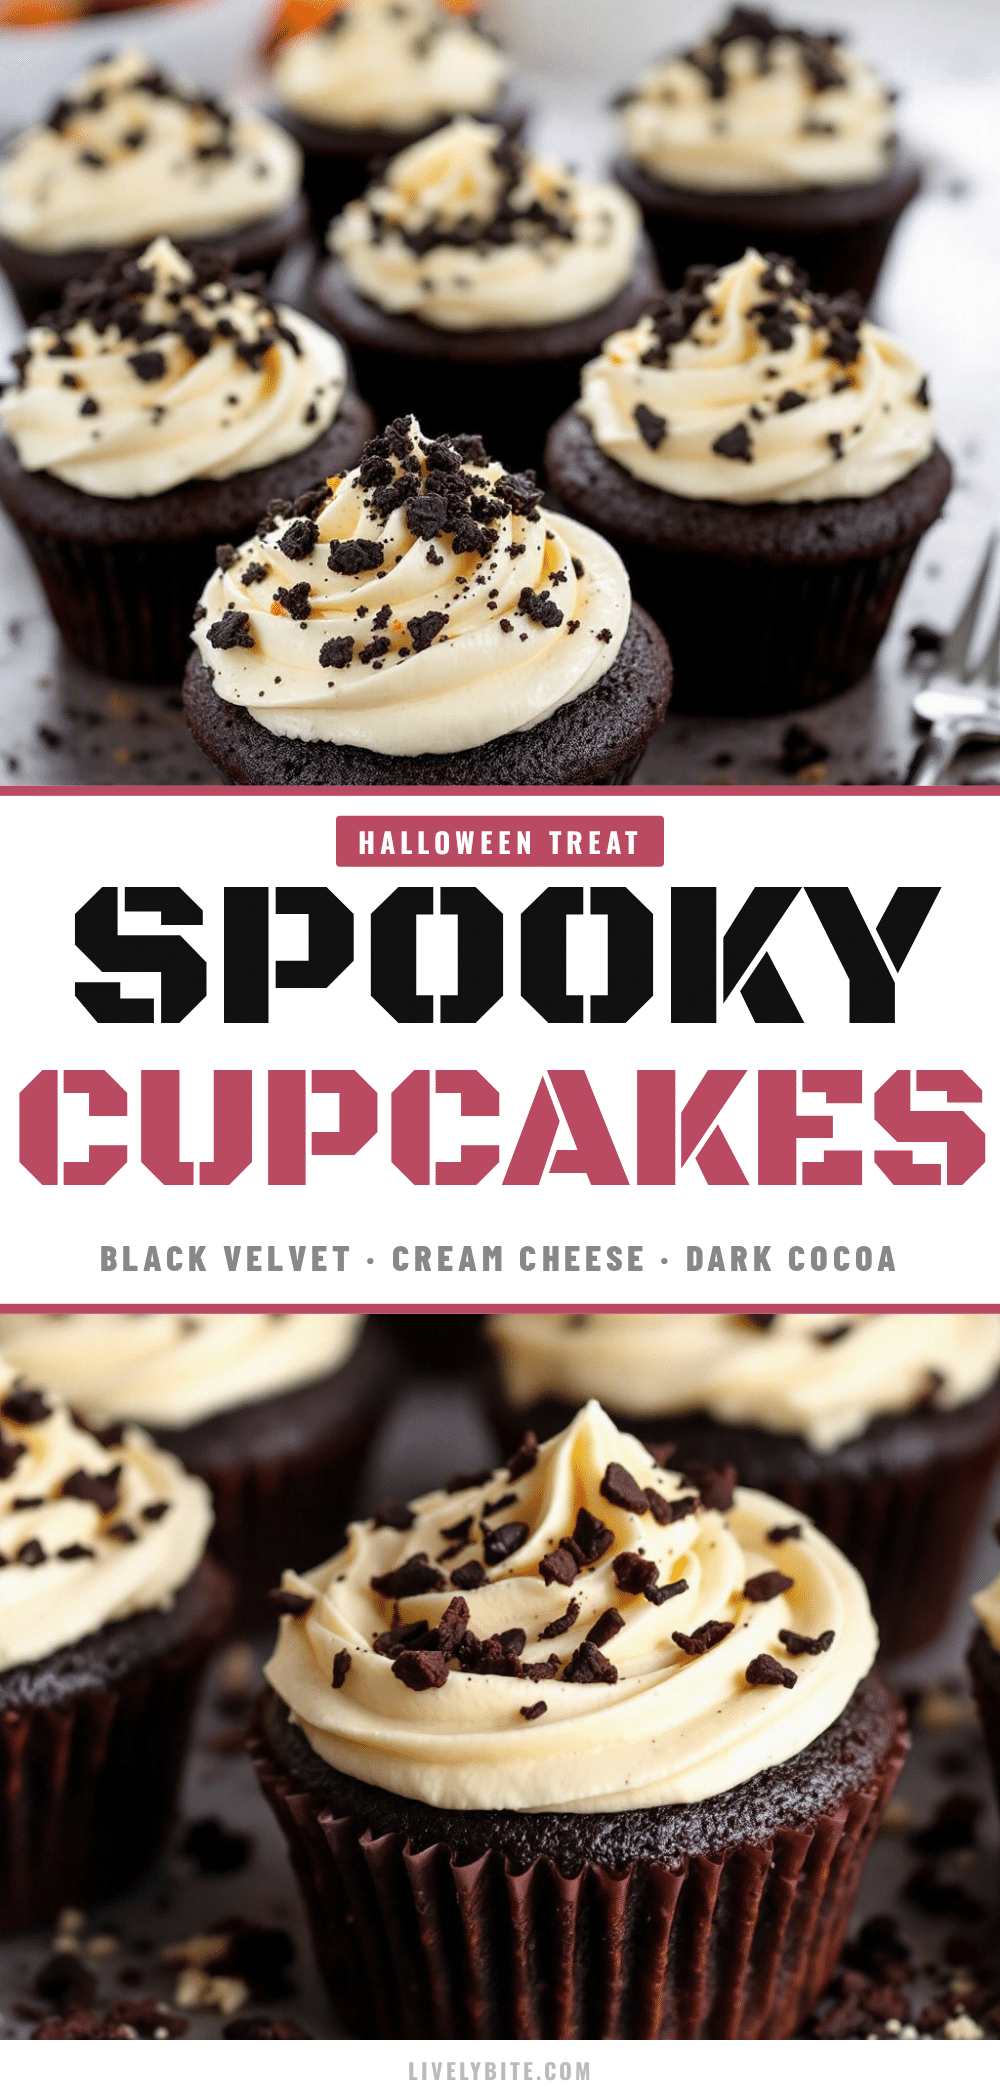
Perfect Black Velvet Halloween Cupcakes
These impossibly moist, deeply chocolatey black velvet cupcakes with tangy cream cheese frosting are a happy accident turned into the most popular Halloween treat. They look stunning and taste incredible.
- Prep Time: 20 minutes
- Cook Time: 20 minutes
- Total Time: 1 hour 40 minutes (includes cooling)
- Yield: 12 cupcakes 1x
- Category: Dessert
- Cuisine: American
Ingredients
- 2 ½ cups all-purpose flour
- ½ cup unsweetened cocoa powder (Dutch-processed preferred)
- 1 ½ cups granulated sugar
- 1 teaspoon baking soda
- ½ teaspoon salt
- 1 cup buttermilk, room temperature
- ½ cup vegetable oil
- 2 large eggs, room temperature
- 2 teaspoons vanilla extract
- 1–2 tablespoons black gel food coloring
- 1 teaspoon white vinegar
- 8 ounces cream cheese, softened
- ½ cup unsalted butter, softened
- 3–4 cups powdered sugar, sifted
- 1 teaspoon vanilla extract
- Pinch of salt
Instructions
- Preheat oven to 350°F (175°C). Line a 12-cup muffin tin with paper liners.
- In a large bowl, whisk together flour, cocoa powder, sugar, baking soda, and salt.
- In a separate bowl, whisk together buttermilk, oil, eggs, and vanilla extract until smooth and slightly frothy.
- Add black gel food coloring to the wet ingredients and whisk until well combined. Start with 1 tablespoon and add more for deeper color.
- Pour wet ingredients into dry ingredients and fold gently with a rubber spatula until just combined. Do not overmix.
- Add white vinegar and stir quickly. The batter will bubble slightly.
- Divide batter evenly among the 12 liners, filling each about ⅔ full. Tap the pan on the counter to release air bubbles.
- Bake for 18-22 minutes, until a toothpick inserted in the center comes out clean or with a few moist crumbs. Rotate pan halfway through.
- Let cupcakes cool in the pan for 5 minutes, then transfer to a wire rack to cool completely (at least 1 hour).
- For the frosting: Beat cream cheese and butter together on medium speed until smooth and fluffy, about 2-3 minutes.
- Add vanilla extract and salt, beat to combine. Gradually add powdered sugar, 1 cup at a time, beating on low then medium until smooth and spreadable.
- Once cupcakes are completely cool, pipe frosting using a large star tip (like 1M) in a continuous swirl. Decorate as desired.
Notes
Use gel food coloring, not liquid. Room temperature ingredients are crucial. Do not overmix batter. Cupcakes taste even better the next day. Store in refrigerator for up to 5 days. Unfrosted cupcakes can be frozen for up to 3 months.
Nutrition
- Serving Size: 1 cupcake
- Calories: 435
- Sugar: 38
- Sodium: 320
- Fat: 22
- Saturated Fat: 9
- Carbohydrates: 55
- Fiber: 2
- Protein: 5
Keywords: black velvet cupcakes, Halloween cupcakes, black cupcakes, cream cheese frosting, chocolate cupcakes, spooky desserts, Halloween baking


