For three autumns straight, I just accepted that fall charcuterie boards were going to look more like an afterthought than a centerpiece. You know the ones—a sad wedge of brie, some crackers that got stale before anyone noticed, and maybe a handful of those pre-sliced apples that brown before the first guest arrives. I kept seeing these gorgeous boards on social media, all golden honey dripping over cheese wheels and clusters of figs, and thinking there had to be a way to make one at home without spending a paycheck or losing my mind. The problem was always the same: either the flavors clashed or the whole thing fell apart visually, like someone just tossed ingredients on a board and hoped for the best.
Then last October, I finally cracked it. Standing in my kitchen with a wedge of aged cheddar in one hand and a jar of local honey in the other, I realized the secret wasn’t about having fancy ingredients. It was about building layers—texture, color, flavor, and a little bit of drama. The best fall charcuterie board with apples and honeycomb I’ve ever made came together in under twenty minutes, and honestly, it looked like something from a magazine spread. My guests didn’t just eat it; they stood around it, pointing and asking questions, taking pictures before they even grabbed a plate.
That moment stuck with me. Not because it was complicated, but because it felt so good to share something that looked as beautiful as it tasted. This board has become my go-to for every fall gathering since, and I keep coming back to it because it never fails. There’s something deeply satisfying about watching people discover a flavor combo they didn’t know they needed—like sharp cheddar with a drizzle of honey, or crisp apple slices dipped in warm honeycomb. It’s the kind of board that makes you slow down and actually taste what you’re eating.
Why You’ll Love This Recipe
This isn’t just another cheese board thrown together at the last minute. This is the best fall charcuterie board with apples and honeycomb that actually delivers on flavor, presentation, and ease. Here is why it works so well:
- Quick & Easy: Comes together in under 20 minutes, perfect for last-minute guests or a cozy night in when you want something special without the stress.
- Simple Ingredients: No fancy grocery trips needed. Most items are pantry staples or easy to find at any grocery store during fall.
- Perfect for Gatherings: Great for Thanksgiving appetizers, football game snacks, book club meetings, or even a quiet evening with a glass of wine.
- Crowd-Pleaser: Always gets rave reviews from guests, and there is always something for everyone—sweet, savory, crunchy, and creamy.
- Unbelievably Delicious: The combination of crisp apples, creamy cheeses, and rich honeycomb is next-level comfort food that feels both elegant and approachable.
What makes this board different from the rest is the balance. I spent years testing cheese and fruit combinations that fell flat—too sweet, too salty, or just plain boring. This version uses a specific layering technique where the honeycomb acts as both a sweetener and a textural anchor, tying everything together without overpowering any single ingredient. It is comfort food reimagined—healthier, faster, but with the same soul-soothing satisfaction that makes you close your eyes after the first bite.
Perfect for impressing guests without stress, or turning a simple Tuesday night into something memorable. This board is the kind that makes people ask for the recipe before they even finish eating.
What Ingredients You Will Need
This recipe uses simple, wholesome ingredients to deliver bold flavor and satisfying texture without the fuss. Most items are seasonal fall staples, and you likely already have several in your kitchen.
For the Cheese Selection
- Aged Cheddar (200g / 7 oz) – Sharp and crumbly, it cuts through the sweetness of the honeycomb beautifully. I prefer Tillamook or a local sharp white cheddar for best texture.
- Brie or Camembert (150g / 5 oz) – Creamy and soft, perfect for spreading on crackers. Look for one that feels slightly springy when pressed.
- Manchego (150g / 5 oz) – Nutty and firm, adds a lovely texture contrast. If unavailable, use a good aged gouda instead.
- Blue Cheese (100g / 3.5 oz) – Optional but highly recommended for bold flavor lovers. A mild gorgonzola works well if you are new to blue cheese.
For the Fruits & Spreads
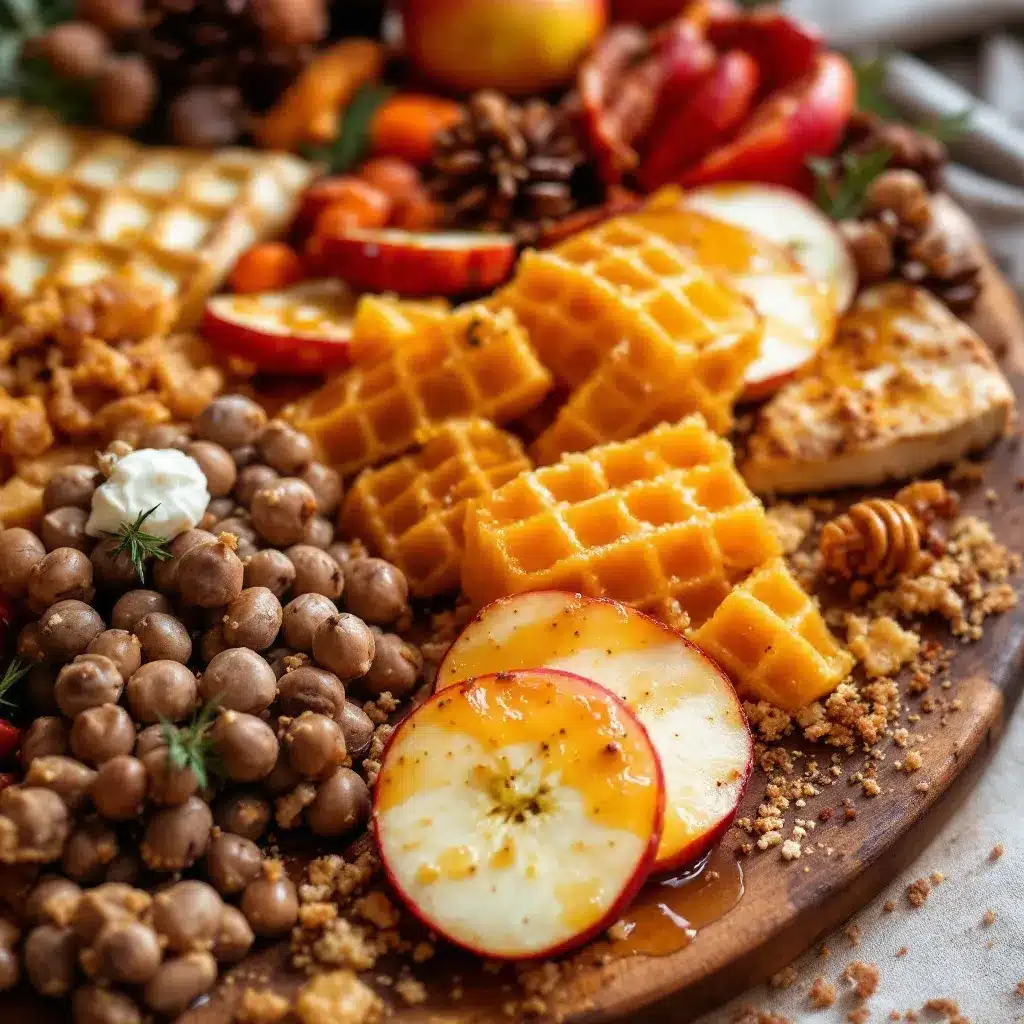
- Honeycomb (100g / 3.5 oz) – The star of the show. Look for a piece with visible honey pockets. It adds natural sweetness and a chewy texture that pairs perfectly with apples.
- Fresh Apples (2 medium) – Honeycrisp or Granny Smith work best. The tartness balances the rich cheeses and honey. Slice just before serving to prevent browning.
- Fresh Figs (4-6) – When in season, they add a beautiful jammy sweetness. Halve them lengthwise for visual appeal.
- Dried Apricots or Dates (100g / 3.5 oz) – Chewy and sweet, they fill in gaps on the board and add texture variety.
- Pomegranate Seeds (optional, 50g / 1.75 oz) – For a pop of color and tart crunch. They look stunning scattered over the board.
For the Savory Elements
- Prosciutto (100g / 3.5 oz) – Thinly sliced and salty, it wraps beautifully around apple slices or cheese chunks.
- Salami (100g / 3.5 oz) – Choose a dry-cured variety like Genoa or soppressata. Slice into thin rounds or fold into ribbons.
- Mixed Nuts (150g / 5 oz) – Toasted almonds, pecans, or walnuts add crunch. I personally love candied pecans for a little extra sweetness.
- Olives (100g / 3.5 oz) – A mix of kalamata and green olives adds briny contrast. Drain well before adding to the board.
For the Accompaniments
- Crackers or Crostini (200g / 7 oz) – Use a mix of plain water crackers and something heartier like rosemary or whole wheat.
- Baguette (1 small) – Sliced and lightly toasted, it provides a sturdy base for heavier toppings.
- Fresh Herbs (optional) – Rosemary sprigs or thyme for garnish. They add a lovely fall aroma and look beautiful.
Equipment Needed
You do not need anything fancy to build a stunning board. Here is what I use every time:
- Large Wooden Board or Slate Platter (40×30 cm / 16×12 inches) – A wooden board adds warmth, but a large ceramic platter works just as well. I found mine at a thrift store for eight dollars.
- Small Bowls (3-4) – For honeycomb, olives, and nuts. Ramekins or small dipping bowls work perfectly.
- Cheese Knives (2-3) – One for soft cheese, one for hard cheese. If you do not have dedicated cheese knives, a butter knife and a paring knife will do.
- Cutting Board and Sharp Knife – For slicing apples, cheese, and bread. A sharp knife makes all the difference for clean cuts.
- Small Spatula or Spreader – For serving the honeycomb and soft cheese.
- Paper Towels or Cheese Cloth – For patting apples dry after washing. Excess moisture can make crackers soggy.
If you are using a slate board, line it with parchment paper first to prevent scratching. A budget-friendly option is a large baking sheet turned upside down—it looks surprisingly elegant.
Preparation Method
Building the best fall charcuterie board with apples and honeycomb is all about layering and balance. Follow these steps, and you will have a board that looks like it took hours.
- Start with the bowls (2 minutes). Place your small bowls on the board first. Fill one with honeycomb, one with olives, and one with nuts. Position them in a triangle pattern—this creates visual structure and prevents the board from looking scattered.
- Arrange the cheeses (3 minutes). Place the brie whole on the board. Cut the aged cheddar into thin wedges and fan them out. Slice the manchego into small triangles and stack them slightly overlapping. If using blue cheese, place it in a small pile away from the other cheeses to prevent flavor transfer. Leave space between each cheese type so guests can easily access them.
- Fold the meats (2 minutes). Take each slice of prosciutto and fold it into loose ribbons. Arrange them in small clusters around the cheeses. For the salami, fold each slice in half, then in half again, and stand them upright in a line. This creates height and texture on the board.
- Add the fruits (3 minutes). Slice the apples just before serving to prevent browning. Fan them out in a curved line along one edge of the board. Halve the figs and place them cut-side up near the brie. Scatter dried apricots or dates in small gaps. If using pomegranate seeds, sprinkle them over the apples and figs for a pop of color.
- Fill in with crackers and bread (2 minutes). Arrange crackers in small clusters around the cheeses. Place the baguette slices in a separate pile. Avoid spreading crackers evenly across the whole board—clusters encourage guests to explore different areas.
- Garnish and finish (2 minutes). Tuck fresh rosemary sprigs or thyme between the cheese and fruit. Drizzle a little honey over the brie if you want extra sweetness. Step back and look at the board—fill any empty gaps with extra nuts or dried fruit.
- Serve immediately. This board is best enjoyed within an hour of assembly. If you need to prep ahead, slice the cheese and arrange the meats, then add fruits and crackers just before serving.
Pro tip: If your honeycomb is too firm to scoop, let it sit at room temperature for 15 minutes before serving. It will soften slightly and become easier to spread.
Cooking Tips & Techniques
After making this board more times than I can count, I have learned a few things the hard way. Here are the tips that make the biggest difference.
Keep apples from browning. Slice them right before serving, and toss them in a little lemon juice if you need to prep ahead. I learned this after watching a beautiful board turn brown in under an hour at a party. A quick spritz of lemon water works wonders.
Let cheeses come to room temperature. Pull your cheeses out of the fridge 30 minutes before assembling. Cold cheese tastes muted and feels hard. At room temperature, brie becomes luscious and cheddar develops its full nutty flavor. I once served a board with fridge-cold brie, and honestly, it was a waste of good cheese.
Balance flavors as you go. Taste as you build. If your honeycomb is very sweet, add more salty prosciutto or sharp cheddar. If your blue cheese is strong, pair it with a mild cracker and a fig half. The best boards have a little bit of everything on each bite.
Don’t overcrowd. It is tempting to pile everything on, but a crowded board looks messy and makes it hard for guests to grab what they want. Leave small gaps between clusters so the board breathes. You can always add more crackers or nuts later.
Use a damp paper towel under bowls. Small bowls can slide around on a wooden board. A damp paper towel underneath keeps them in place and prevents spills. This is one of those tiny tricks that saves a lot of frustration.
Prep ingredients in stages. Slice all your cheeses first, then move to meats, then fruits. This keeps your cutting board clean and prevents flavors from mixing. I learned to do this after accidentally getting blue cheese crumbs all over my apple slices.
Variations & Adaptations
One of the best things about this board is how easy it is to customize. Here are some variations I have tried and loved.
Dietary adaptations. For a dairy-free version, replace all cheeses with plant-based alternatives. Many brands now make excellent cashew-based brie and coconut-based cheddar. For a gluten-free board, use rice crackers and gluten-free baguette. I made this for a friend with celiac disease, and she said it was the best charcuterie board she had ever had.
Seasonal swaps. In early fall, use fresh figs and pears instead of apples. In late fall, add roasted pumpkin seeds and dried cranberries. In winter, swap the apples for sliced persimmons and add pomegranate molasses. Each season brings its own flavor profile, and the board adapts beautifully.
Flavor variations. Try a spicy honey drizzle over the brie for a sweet-heat combo. Add a small bowl of fig jam or apple butter for extra spread options. Swap the prosciutto for smoked salmon if you prefer seafood. I once added a dollop of truffle honey to the board, and it was gone within minutes.
Mini board option. For a smaller gathering, use a quarter of each ingredient and arrange on a small cutting board. This is perfect for a date night or solo treat. I have made mini versions for myself on quiet evenings, and they feel just as special.
Sweet tooth version. Add dark chocolate squares, caramel dip, and candied ginger for a dessert-style board. This works wonderfully after a heavy meal when guests want something light but indulgent.
Serving & Storage Suggestions
This board is best served at room temperature, so let it sit out for 15-20 minutes after assembling before guests dig in. The cheeses will soften, the honeycomb will become more spreadable, and the flavors will meld together beautifully.
What to serve alongside. A crisp white wine like Sauvignon Blanc or a dry Riesling pairs wonderfully with the apples and honeycomb. For non-alcoholic options, a sparkling apple cider or a refreshing cucumber mint green tea cooler works beautifully. I also love serving this board alongside a warm bowl of roasted butternut squash soup for a cozy fall meal.
Storage instructions. If you have leftovers (which is rare in my house), separate the components and store them individually. Cheeses go in airtight containers in the fridge. Meats should be wrapped tightly in parchment paper. Apples will keep for a day if tossed in lemon juice and stored in a sealed bag. Crackers and bread should be stored in a dry, airtight container at room temperature.
Reheating tips. This board is served cold or at room temperature, so no reheating is needed. If you want to warm the honeycomb slightly, place it in a small oven-safe dish at 150°C (300°F) for 2-3 minutes. It becomes wonderfully runny and perfect for drizzling.
How flavors develop. The cheeses actually taste better after a day in the fridge, as the flavors continue to mature. The apples, however, will lose their crunch after 24 hours, so slice fresh ones for leftovers. The honeycomb stays good for weeks if stored in a sealed container at room temperature.
Nutritional Information & Benefits
This board is as nourishing as it is delicious. Here is a rough estimate per serving (assuming 8 servings):
- Calories: Approximately 450-550 per serving
- Protein: 18-22g
- Fat: 30-35g (mostly from cheese and nuts)
- Carbohydrates: 25-30g (from fruit and crackers)
- Fiber: 4-6g
- Sugar: 12-16g (natural from fruit and honey)
Health benefits. Apples are rich in fiber and vitamin C, supporting digestion and immunity. Honeycomb contains natural antioxidants and antibacterial properties. Cheese provides calcium and protein, while nuts offer healthy fats and magnesium. This board is naturally gluten-free if you choose gluten-free crackers, and can easily be made dairy-free with plant-based cheese alternatives.
Dietary considerations. This recipe contains dairy, gluten (from crackers and bread), and nuts. For allergen-friendly versions, see the variations section above. I appreciate that this board feels indulgent while still being packed with real, whole ingredients.
Conclusion
This best fall charcuterie board with apples and honeycomb has become my signature dish for every autumn gathering, and I honestly cannot imagine a fall season without it. It is the kind of board that makes people stop and take a picture before they even grab a plate—and then they keep coming back for more. The combination of crisp apples, creamy brie, sharp cheddar, and that glorious honeycomb is something I look forward to all year.
What I love most about this board is how forgiving it is. You do not need to be a trained chef or have expensive equipment. You just need good ingredients, a little bit of patience, and the willingness to taste as you go. Swap in your favorite cheeses, use whatever fruit looks best at the market, and make it your own. That is the beauty of charcuterie—it is meant to be personal.
I would love to hear how your board turns out. Did you try a variation I did not mention? Did you discover a new cheese combination that blew your mind? Drop a comment below and share your creation. And if you loved this recipe, do not forget to pin it to your fall recipe board on Pinterest and share it with a friend who loves hosting as much as you do. Happy fall, and happy snacking!
Frequently Asked Questions
Can I make this board ahead of time?
Yes, but with some planning. You can slice the cheeses and arrange the meats up to 24 hours in advance. Store the board covered in the fridge, but add the apples, figs, and crackers just before serving to keep everything fresh and crisp.
What if I cannot find honeycomb?
No problem! Use a good quality liquid honey instead. Drizzle it over the brie or serve it in a small bowl. You can also use honeycomb from specialty grocery stores or farmers markets during fall.
How do I prevent the board from looking messy?
Start with the bowls first to create structure, then add cheeses, meats, fruits, and crackers in that order. Leave small gaps between clusters. Less is often more—you can always add more ingredients later if needed.
Can I use different cheeses?
Absolutely. Swap any cheese for your favorites. Gouda, goat cheese, or even a smoked cheddar work beautifully. Just keep a mix of soft, firm, and crumbly textures for variety.
How long can the board sit out?
Charcuterie boards are safe at room temperature for up to 2 hours. If you are serving outdoors in warm weather, keep it in the shade and refresh ice packs underneath if needed. After 2 hours, refrigerate any leftovers.
Pin This Recipe!
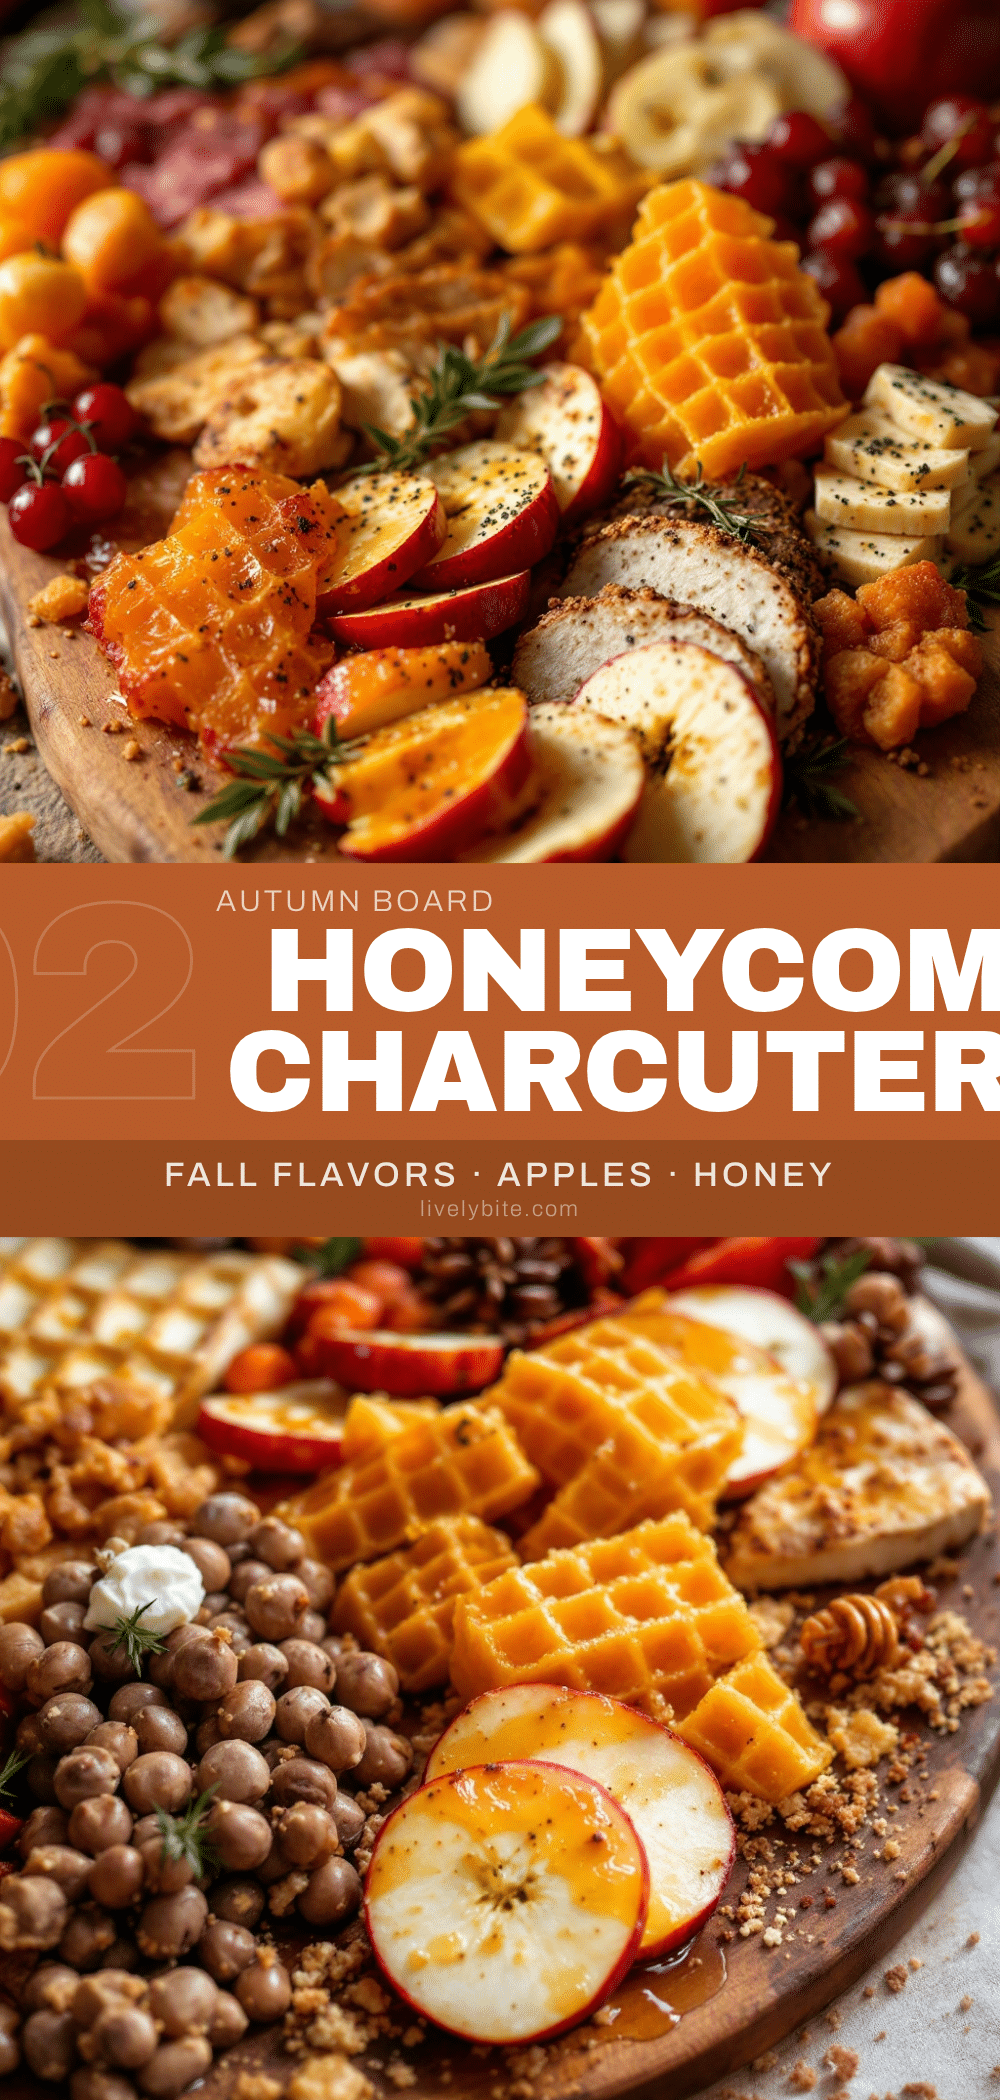
Best Fall Charcuterie Board with Apples and Honeycomb

A stunning fall charcuterie board featuring crisp apples, creamy cheeses, and rich honeycomb that comes together in under 20 minutes. Perfect for gatherings, this board balances sweet, savory, crunchy, and creamy elements for an unforgettable appetizer.
- Prep Time: 20 minutes
- Cook Time: 0 minutes
- Total Time: 20 minutes
- Yield: 8 servings 1x
- Category: Appetizer
- Cuisine: American
Ingredients
- 200g (7 oz) aged cheddar
- 150g (5 oz) brie or camembert
- 150g (5 oz) manchego
- 100g (3.5 oz) blue cheese (optional)
- 100g (3.5 oz) honeycomb
- 2 medium fresh apples (Honeycrisp or Granny Smith)
- 4–6 fresh figs
- 100g (3.5 oz) dried apricots or dates
- 50g (1.75 oz) pomegranate seeds (optional)
- 100g (3.5 oz) prosciutto
- 100g (3.5 oz) salami (Genoa or soppressata)
- 150g (5 oz) mixed nuts (toasted almonds, pecans, or walnuts)
- 100g (3.5 oz) olives (kalamata and green)
- 200g (7 oz) crackers or crostini
- 1 small baguette, sliced and lightly toasted
- Fresh herbs for garnish (rosemary sprigs or thyme, optional)
Instructions
- Start with the bowls (2 minutes). Place small bowls on the board in a triangle pattern. Fill one with honeycomb, one with olives, and one with nuts.
- Arrange the cheeses (3 minutes). Place brie whole on the board. Cut aged cheddar into thin wedges and fan them out. Slice manchego into small triangles and stack slightly overlapping. Place blue cheese in a small pile away from other cheeses. Leave space between each cheese type.
- Fold the meats (2 minutes). Fold each prosciutto slice into loose ribbons and arrange in small clusters around cheeses. Fold salami slices in half, then in half again, and stand upright in a line.
- Add the fruits (3 minutes). Slice apples just before serving and fan them out in a curved line along one edge. Halve figs and place cut-side up near brie. Scatter dried apricots or dates in small gaps. Sprinkle pomegranate seeds over apples and figs if using.
- Fill in with crackers and bread (2 minutes). Arrange crackers in small clusters around cheeses. Place baguette slices in a separate pile. Avoid spreading crackers evenly across the whole board.
- Garnish and finish (2 minutes). Tuck fresh rosemary sprigs or thyme between cheese and fruit. Drizzle a little honey over brie if desired. Fill any empty gaps with extra nuts or dried fruit.
- Serve immediately. Best enjoyed within an hour of assembly. If prepping ahead, slice cheese and arrange meats, then add fruits and crackers just before serving.
Notes
Let cheeses come to room temperature 30 minutes before assembling for best flavor. Slice apples just before serving and toss with lemon juice to prevent browning. If honeycomb is too firm, let it sit at room temperature for 15 minutes before serving. Use a damp paper towel under bowls to prevent sliding. Charcuterie boards are safe at room temperature for up to 2 hours.
Nutrition
- Serving Size: 1 serving (approxima
- Calories: 500
- Sugar: 14
- Sodium: 800
- Fat: 33
- Saturated Fat: 12
- Carbohydrates: 28
- Fiber: 5
- Protein: 20
Keywords: fall charcuterie board, apple charcuterie board, honeycomb charcuterie, fall appetizer, cheese board, Thanksgiving appetizer, easy charcuterie


