My mom did not trust the idea of a small-batch dessert. For years, she’d pull out the giant baking dish, load it with eight apples, and we’d be eating crisp for a week straight. By day three, the topping gets soft, the apples turn to mush, and you start wondering why you made so much. I kept telling her that sometimes you just want two perfect servings—warm, fresh, with that crunchy topping still crackling. She finally let me prove it to her one random Tuesday night.
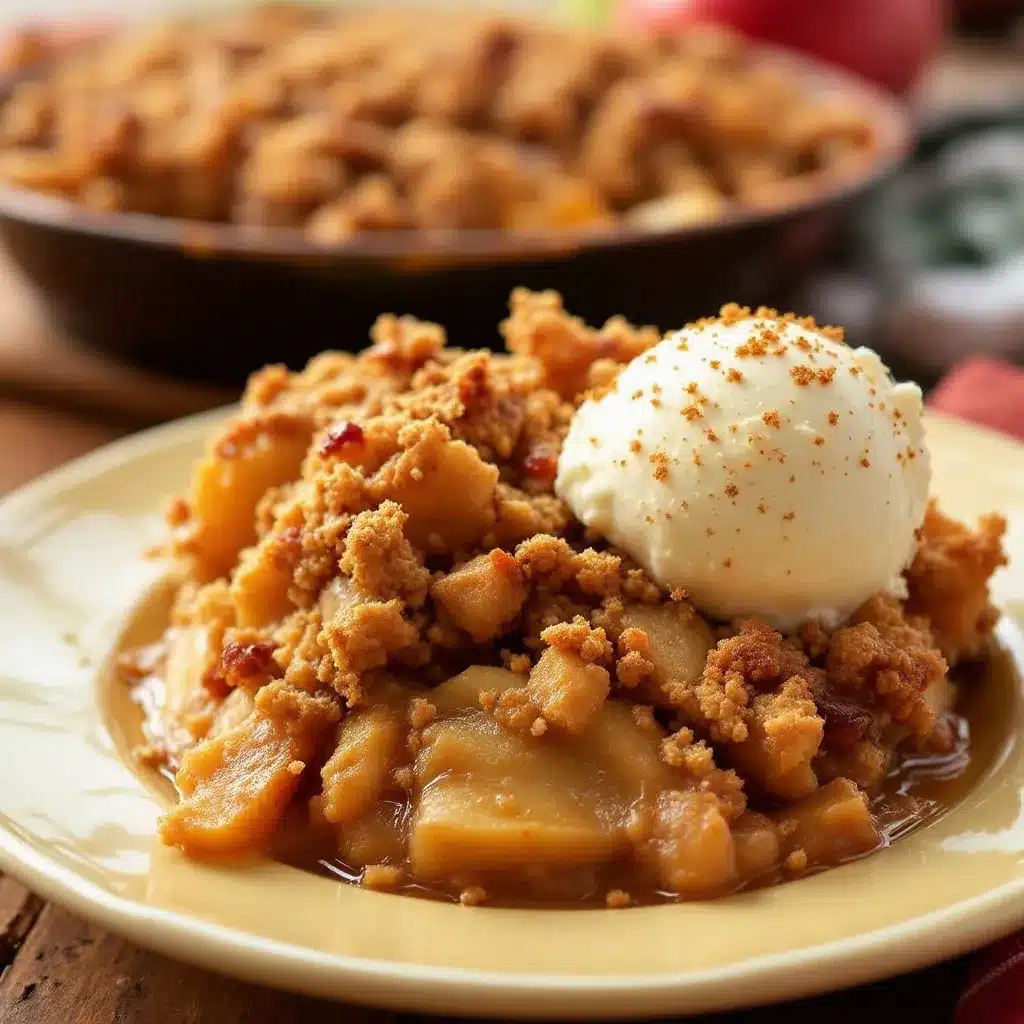
I’d been testing this Easy Brown Sugar Apple Crisp for Two for weeks. The first batch? Too sweet. The second? Not enough crunch. But the third time, I nailed it. I handed her a ramekin with a scoop of vanilla ice cream melting into the brown sugar topping, and she took one bite and just nodded. No words. That’s how you know it’s good. The apples were tender but not falling apart, the topping had that buttery, oat-y crunch, and the brown sugar had caramelized into something almost like a sauce.
This recipe became our little Tuesday night ritual. It’s not a showstopper for a dinner party, and it doesn’t need to be. It’s the kind of dessert you make when you want something that feels special but takes almost no effort. You don’t peel the apples if you don’t want to. You don’t need a mixer. You just need a small baking dish, a few pantry staples, and about 35 minutes. Honestly, I’ve made this on a weeknight when I was too tired to talk, and it still felt like a hug in a bowl.
There’s something about the smell of apples and brown sugar baking that makes everything feel okay for a minute. That’s the whole point.
Why You’ll Love This Recipe
I’ve tested this recipe more times than I care to admit, and here’s what makes it stand out from every other apple crisp you’ve tried:
- Perfectly Portioned: No leftovers means no soggy topping on day three. You get two generous servings, and that’s it. Fresh every time.
- Ready in Under 40 Minutes: From start to warm-out-of-the-oven, you’re looking at about 35 minutes. That’s faster than ordering delivery.
- Simple Pantry Ingredients: You probably have everything already. Apples, brown sugar, oats, butter, flour, cinnamon. No fancy trips to the store.
- No Mixer Required: The topping comes together with your fingertips. Less dishes, less stress, more time for eating.
- Customizable for Any Diet: Swap in gluten-free oats and almond flour, or use coconut oil instead of butter. It still works beautifully.
- Feels Indulgent, Not Heavy: The brown sugar gives it a deep, almost molasses-like sweetness, but the apples keep it light. You won’t feel weighed down.
What really makes this recipe different is the ratio. Most crisps drown the fruit in topping or leave you with a dry, crumbly mess. I spent time figuring out the perfect balance—enough buttery oat topping to cover every bite, but not so much that it overwhelms the apples. The brown sugar gets a little sticky as it bakes, creating this almost syrupy layer between the fruit and the crunch. It’s the kind of dessert that makes you close your eyes after the first bite, not because it’s fancy, but because it just tastes like home.
This is the dessert you make when you want to impress someone without trying too hard. Or when you want to treat yourself on a quiet night. Either way, it works.
What Ingredients You Will Need
This recipe uses simple, everyday ingredients that come together to create something surprisingly complex. Each one plays a specific role, and I’ll tell you exactly what to look for.
For the Apple Filling
- 2 medium apples – I recommend Honeycrisp or Granny Smith. Honeycrisp gives you a natural sweetness and holds its shape well. Granny Smith adds a tart contrast to the brown sugar. You can mix one of each for the best of both worlds. Peel them if you prefer a smoother texture, or leave the skin on for extra fiber and color.
- 3 tablespoons brown sugar – Light or dark works here. Dark brown sugar gives a deeper, almost molasses-like flavor that I personally love. Light brown sugar is milder and lets the apple flavor shine more.
- 1 tablespoon all-purpose flour – This helps thicken the juices as the apples bake. Without it, you’ll end up with a watery filling.
- 1 teaspoon lemon juice – Fresh squeezed is best. It brightens the apples and prevents them from browning too quickly.
- ½ teaspoon cinnamon – The classic warming spice. I prefer Saigon cinnamon for its stronger, slightly spicy flavor.
- Pinch of nutmeg – Optional, but it adds a subtle warmth that pairs beautifully with the brown sugar.
- Pinch of salt – Don’t skip this. Salt balances the sweetness and makes everything taste more like itself.
For the Brown Sugar Topping
- ¼ cup old-fashioned rolled oats – Not quick oats. Old-fashioned oats give you that chewy, crunchy texture that makes crisp topping so satisfying. Quick oats turn into mush.
- ¼ cup all-purpose flour – You can substitute almond flour for a gluten-free version, but the texture will be slightly more delicate.
- ¼ cup brown sugar – Packed. This is what gives the topping its deep caramelized flavor.
- 3 tablespoons cold unsalted butter – Cut into small cubes. Cold butter is key for a crumbly, not greasy, topping. I like Kerrygold for its rich flavor, but any good quality butter works.
- ¼ teaspoon cinnamon – A little extra warmth in the topping.
- Pinch of salt – To balance the sweetness.
Ingredient Tips from My Kitchen: If you only have salted butter on hand, reduce the added salt in the topping to just a tiny pinch. For the apples, avoid Red Delicious—they turn into applesauce when baked. And if you want to make this dairy-free, use cold coconut oil or a plant-based butter stick. I’ve tested both, and they work surprisingly well. The coconut oil adds a subtle tropical note that’s actually lovely with the brown sugar.
Equipment Needed
You don’t need a fancy kitchen to make this recipe. Here’s what you’ll need:
- Two 8-ounce ramekins or one small baking dish – I use ramekins for individual servings, but a 5×7-inch dish works too. If you’re using a larger dish, the baking time might be slightly shorter since the filling spreads out more.
- Mixing bowls – One small bowl for the filling, one medium bowl for the topping.
- Chef’s knife and cutting board – For coring and chopping the apples.
- Measuring cups and spoons – Accuracy matters here, especially with the flour and brown sugar.
- Pastry cutter or two forks – For cutting the butter into the topping. You can also use your fingertips—just work quickly so the butter stays cold.
- Baking sheet – Place your ramekins on a baking sheet to catch any bubbling juices. Trust me, you don’t want to scrub caramelized sugar off your oven floor.
Budget-Friendly Tip: If you don’t have ramekins, use oven-safe coffee mugs or small ceramic bowls. Just make sure they can handle oven heat. I’ve used a set of $3 mugs from a thrift store for years, and they work perfectly.
Preparation Method
- Preheat your oven to 375°F (190°C). Place a baking sheet on the middle rack to catch any drips later.
- Prepare the apples. Wash, core, and chop your apples into ½-inch cubes. You don’t need to be precise, but try to keep them uniform so they cook evenly. Leave the skin on for extra texture, or peel them if you prefer a smoother filling. I usually leave the skin on—it adds a nice color and saves time.
- Make the filling. In a small bowl, combine the chopped apples, 3 tablespoons brown sugar, 1 tablespoon flour, 1 teaspoon lemon juice, ½ teaspoon cinnamon, a pinch of nutmeg, and a pinch of salt. Stir until every apple piece is coated. Let it sit for 5 minutes while you make the topping. This resting time lets the apples release some juice, which will create a light syrup as they bake.
- Make the topping. In a medium bowl, whisk together the oats, flour, brown sugar, cinnamon, and salt. Add the cold butter cubes. Use a pastry cutter, two forks, or your fingertips to work the butter into the dry ingredients until the mixture looks like coarse crumbs with some pea-sized butter pieces still visible. Don’t overwork it—those butter chunks create pockets of flakiness in the topping.
- Assemble the crisps. Divide the apple mixture evenly between your two ramekins or into your small baking dish. Sprinkle the topping evenly over the apples. Don’t press it down—you want it to stay loose and crunchy.
- Bake. Place the ramekins on the prepared baking sheet and bake for 25-30 minutes. The topping should be golden brown and the filling should be bubbling around the edges. If the topping is browning too quickly after 20 minutes, loosely tent with foil for the remaining time.
- Cool slightly. Let the crisps rest for 5-10 minutes before serving. This allows the filling to set up a bit—if you dig in immediately, it will be runny. I know it’s hard to wait, but it’s worth it.
- Serve warm. Top with a scoop of vanilla ice cream, a dollop of whipped cream, or a drizzle of heavy cream. The contrast between the hot apples and cold topping is pure magic.
Sensory Cues: When it’s done, you’ll smell caramelized brown sugar and cinnamon filling your kitchen. The topping should look deep golden brown, and you’ll see the apple juices bubbling up around the edges. If you tap the topping lightly with a spoon, it should feel firm and crunchy, not soft.
Cooking Tips & Techniques
I’ve made this recipe at least a dozen times, and I’ve learned a few things the hard way. Here’s what I wish someone had told me:
- Keep the butter cold. This is the single most important tip for a crunchy topping. If your butter softens while you’re mixing, pop the bowl in the fridge for 5 minutes before assembling. Warm butter creates a dense, greasy topping instead of a light, crumbly one.
- Don’t overmix the topping. You want some butter pieces the size of small peas. Those little pockets of butter melt in the oven and create steam, which makes the topping crisp and flaky. If you mix until it’s completely uniform, you’ll get a dense, sandy texture.
- Use a mix of apple varieties. I learned this from a pastry chef friend. One sweet apple (like Honeycrisp) and one tart apple (like Granny Smith) gives you a more complex flavor. The sweet apple breaks down a bit more and creates a saucier filling, while the tart one holds its shape.
- Let the apples sit in the sugar mixture. Those 5 minutes are not optional. The sugar draws out moisture from the apples, which then combines with the flour to create a natural syrup. Skip this step, and your filling will be dry.
- Bake on a sheet pan. I forgot to do this once, and I spent 20 minutes scrubbing burnt sugar off the bottom of my oven. The filling bubbles over in almost every batch, and the sheet pan saves you from a disaster.
- Test for doneness with a fork. The apples should be tender when pierced, but not falling apart. If they’re still firm after 25 minutes, give them another 5. Every oven runs a little differently.
Variations & Adaptations
One of the best things about this recipe is how flexible it is. Here are some variations I’ve tried and loved:
- Gluten-Free Version: Substitute the all-purpose flour with almond flour or a 1:1 gluten-free baking blend, and use certified gluten-free oats. The texture will be slightly more delicate, but it’s still incredibly good. I’ve made this for a gluten-sensitive friend, and she couldn’t tell the difference.
- Dairy-Free Version: Use cold coconut oil or a plant-based butter stick instead of dairy butter. I recommend coconut oil for the topping—it gives a subtle tropical sweetness that pairs surprisingly well with the apples. Just make sure it’s solid, not melted, when you cut it in.
- Seasonal Twist: In the fall, add ¼ cup fresh cranberries to the apple mixture for a tart pop of color. In the summer, swap half the apples for sliced peaches or nectarines. The brown sugar topping works beautifully with stone fruit.
- Spice It Up: Add ¼ teaspoon cardamom or ginger to the filling for a warmer, more complex flavor. I love cardamom with apples—it feels a little unexpected but totally right.
- Nutty Crunch: Add 2 tablespoons chopped pecans or walnuts to the topping. Toast them lightly first for extra flavor. I’ve done this for holiday dinners, and it feels a little more special.
- Single Serving: Halve all the ingredients and use one ramekin. The baking time stays the same. Perfect for those nights when you don’t want to share.
Serving & Storage Suggestions
Serving: This crisp is best served warm, straight from the oven. Let it cool for 5-10 minutes so the filling sets, then top with a generous scoop of vanilla ice cream. The hot-cold contrast is what makes this dessert unforgettable. If you don’t have ice cream, a drizzle of heavy cream or a dollop of Greek yogurt works beautifully. For a more indulgent twist, add a sprinkle of flaky sea salt on top right before serving—it balances the sweetness and adds a little crunch.
Storage: If you have leftovers (unlikely, but possible), cover the ramekins with plastic wrap or transfer the crisp to an airtight container. Store in the refrigerator for up to 3 days. The topping will soften over time, but it’s still delicious.
Reheating: The best way to reheat is in the oven at 350°F for 10-15 minutes. This helps restore some of the topping’s crunch. You can also use a microwave, but the topping will be soft. If you’re in a hurry, microwave for 45 seconds and then pop it under the broiler for 1-2 minutes to crisp up the top. Watch it closely—broilers work fast.
Make-Ahead Tip: You can prepare the apple filling and the topping separately up to a day in advance. Store the filling in the fridge and the topping in an airtight container at room temperature. When you’re ready to bake, assemble and bake as directed. I’ve done this for dinner parties, and it makes the whole process feel effortless.
Nutritional Information & Benefits
Here’s an estimated nutritional breakdown per serving (one ramekin, without ice cream):
| Nutrient | Amount |
|---|---|
| Calories | 320 |
| Total Fat | 12g |
| Saturated Fat | 7g |
| Cholesterol | 30mg |
| Sodium | 150mg |
| Total Carbohydrates | 54g |
| Dietary Fiber | 5g |
| Sugars | 38g |
| Protein | 3g |
Health Benefits: Apples are packed with fiber and vitamin C, and the oats in the topping provide soluble fiber that supports heart health. The cinnamon isn’t just for flavor—it has anti-inflammatory properties and can help regulate blood sugar. While this is definitely a treat, it’s made with whole ingredients you can feel good about. If you want to cut back on sugar, reduce the brown sugar in the filling by one tablespoon—the natural sweetness of the apples will still shine through.
Dietary Considerations: This recipe is vegetarian. For gluten-free and dairy-free options, see the variations section above. It contains wheat (flour, oats) and dairy (butter).
Conclusion
This Easy Brown Sugar Apple Crisp for Two has become my go-to dessert for quiet nights, cozy dinners, and anytime I want something warm and satisfying without a lot of fuss. It’s simple enough for a Tuesday, but special enough to serve to someone you want to impress. The brown sugar caramelizes into something almost like a sauce, the topping stays crunchy, and the apples are always perfectly tender. It’s the kind of dessert that makes you slow down and actually taste what you’re eating.
I love that this recipe doesn’t demand perfection. If your apple cubes are uneven, it doesn’t matter. If the topping looks a little rustic, that’s part of the charm. It’s forgiving, flexible, and always delicious. That’s the kind of recipe I want in my back pocket, and I think you will too.
Try it this week, and let me know how it turns out. Did you add cranberries? Swap the apples for pears? Use pecans in the topping? I’d love to hear your version. Drop a comment below or tag me in your photos—I read every single one.
And if you’re looking for more easy, comforting recipes, you might enjoy this easy lemon herb salmon sheet pan dinner for a savory option, or these Mediterranean stuffed mini peppers with feta for a quick appetizer. For something sweet, this creamy vegan chocolate avocado pudding is another favorite when I want dessert in a hurry. Happy baking!
Frequently Asked Questions
Can I use quick oats instead of old-fashioned oats?
You can, but the texture won’t be the same. Quick oats are more finely chopped and will absorb moisture faster, resulting in a softer, less crunchy topping. Old-fashioned oats give you that satisfying chewy-crunchy texture that makes crisp topping so good. If you only have quick oats, reduce the flour slightly and expect a denser topping.
What if I don’t have ramekins?
No problem at all. Use a small baking dish, like a 5×7-inch or a 1-quart dish. The baking time will be about the same, but check at 25 minutes. You can also use oven-safe coffee mugs or small ceramic bowls. Just make sure they’re heatproof—check the bottom for an oven-safe symbol.
Can I make this ahead of time for a dinner party?
Absolutely. Assemble the crisps in the ramekins up to 24 hours in advance, cover with plastic wrap, and refrigerate. When you’re ready to bake, add about 5-10 minutes to the baking time since you’re starting from cold. You can also prep the filling and topping separately and assemble just before baking—that’s my preferred method for the freshest result.
How do I prevent the topping from getting soggy?
The key is cold butter and not overmixing. Cold butter creates steam as it melts, which gives you those flaky, crunchy bits. Also, don’t press the topping down into the apples—keep it loose so air can circulate. And let the crisp rest for 5-10 minutes after baking so the steam can escape rather than getting trapped under the topping.
Can I use other fruits instead of apples?
Yes! This recipe works beautifully with pears, peaches, nectarines, or a mix of berries. If using berries, reduce the sugar slightly and add an extra tablespoon of flour to thicken the juices. For pears, use the same amount of sugar and spice. I’ve made a pear-ginger version with a pinch of ground ginger in the topping, and it was incredible.
Pin This Recipe!
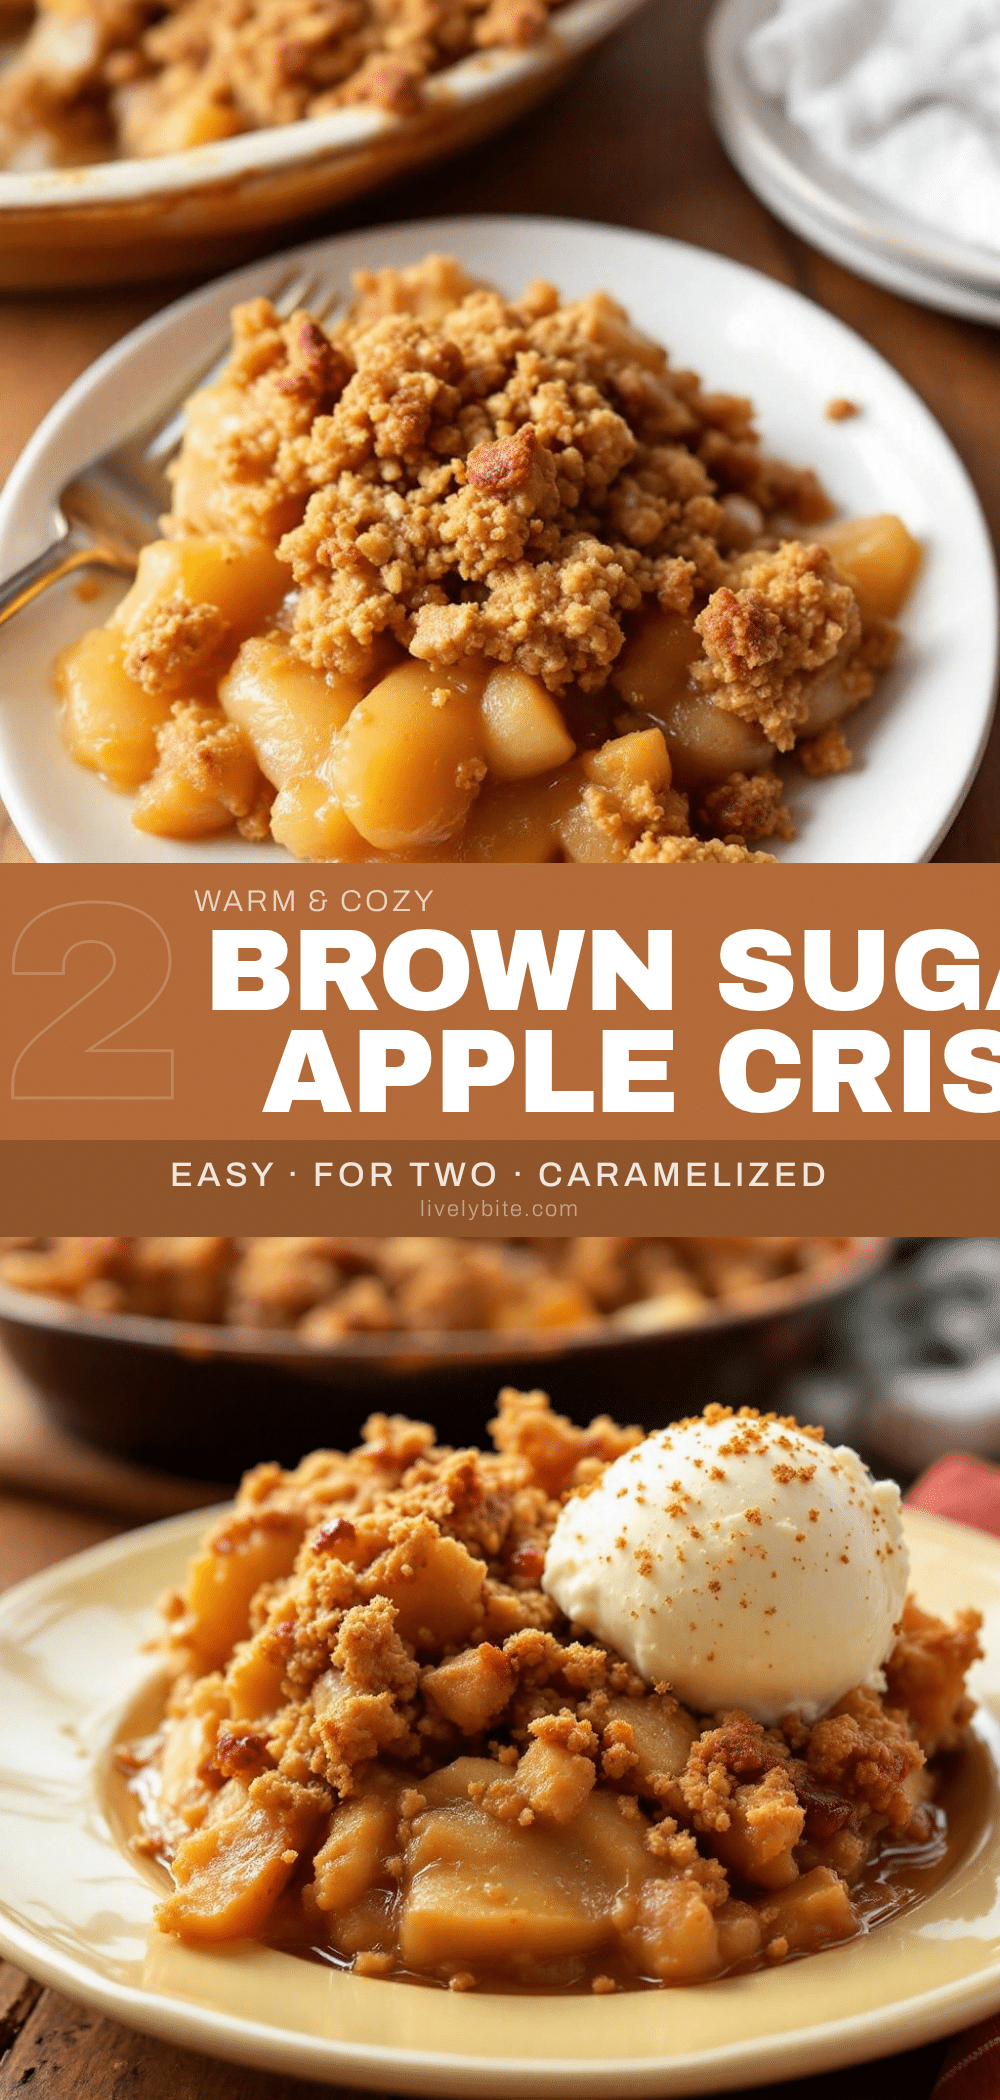
Easy Brown Sugar Apple Crisp for Two

A perfectly portioned apple crisp for two, featuring tender apples and a buttery, crunchy brown sugar oat topping. Ready in under 40 minutes with simple pantry ingredients.
- Prep Time: 10 minutes
- Cook Time: 25-30 minutes
- Total Time: 35-40 minutes
- Yield: 2 servings 1x
- Category: Dessert
- Cuisine: American
Ingredients
- 2 medium apples (Honeycrisp or Granny Smith)
- 3 tablespoons brown sugar (light or dark)
- 1 tablespoon all-purpose flour
- 1 teaspoon lemon juice
- ½ teaspoon cinnamon
- Pinch of nutmeg
- Pinch of salt
- ¼ cup old-fashioned rolled oats
- ¼ cup all-purpose flour
- ¼ cup brown sugar (packed)
- 3 tablespoons cold unsalted butter (cut into small cubes)
- ¼ teaspoon cinnamon
- Pinch of salt
Instructions
- Preheat your oven to 375°F (190°C). Place a baking sheet on the middle rack to catch any drips later.
- Wash, core, and chop your apples into ½-inch cubes. Leave the skin on for extra texture, or peel them if you prefer a smoother filling.
- In a small bowl, combine the chopped apples, 3 tablespoons brown sugar, 1 tablespoon flour, 1 teaspoon lemon juice, ½ teaspoon cinnamon, a pinch of nutmeg, and a pinch of salt. Stir until every apple piece is coated. Let it sit for 5 minutes while you make the topping.
- In a medium bowl, whisk together the oats, flour, brown sugar, cinnamon, and salt. Add the cold butter cubes. Use a pastry cutter, two forks, or your fingertips to work the butter into the dry ingredients until the mixture looks like coarse crumbs with some pea-sized butter pieces still visible.
- Divide the apple mixture evenly between two 8-ounce ramekins or into a small baking dish. Sprinkle the topping evenly over the apples. Don’t press it down.
- Place the ramekins on the prepared baking sheet and bake for 25-30 minutes. The topping should be golden brown and the filling should be bubbling around the edges. If the topping is browning too quickly after 20 minutes, loosely tent with foil for the remaining time.
- Let the crisps rest for 5-10 minutes before serving. This allows the filling to set up.
- Serve warm. Top with a scoop of vanilla ice cream, a dollop of whipped cream, or a drizzle of heavy cream.
Notes
Keep the butter cold for a crunchy topping. Don’t overmix the topping; leave some pea-sized butter pieces. Let the apples sit in the sugar mixture for 5 minutes to create a natural syrup. Bake on a sheet pan to catch bubbling juices. Test for doneness with a fork—apples should be tender but not falling apart.
Nutrition
- Serving Size: 1 ramekin
- Calories: 320
- Sugar: 38
- Sodium: 150
- Fat: 12
- Saturated Fat: 7
- Carbohydrates: 54
- Fiber: 5
- Protein: 3
Keywords: apple crisp, brown sugar, small batch, dessert for two, easy dessert, apple dessert, fall dessert


