I set down the tray of chocolate pudding cups on the picnic table, and for a solid five seconds, nobody moved. Then my seven-year-old nephew let out a screech that could have woken the dead, grabbed the cup with the most gummy worms poking out, and proceeded to eat it with his fingers. His mom texted me that night asking for the recipe, and I knew I had stumbled onto something real.
These Easy Chocolate Dirt Cups with Gummy Worms aren’t fancy, and honestly, that’s the whole point. They’re the kind of dessert that makes kids light up and adults secretly hope nobody is watching so they can grab one for themselves. I made them on a whim for a family barbecue, thinking they’d be a fun throwback treat, and they were gone before the burgers had even finished grilling.
What I love about this recipe is how it brings people back to that simple joy of eating something that looks like dirt but tastes like heaven. No complicated techniques, no hard-to-find ingredients — just creamy chocolate pudding, crushed cookies, and those wiggly little worms that make everyone smile. It’s the kind of dessert that reminds you why cooking for people matters in the first place.
Why You’ll Love This Recipe
Let me tell you why these chocolate dirt cups have earned a permanent spot in my dessert rotation. I’ve tested this recipe more times than I care to admit, tweaking the pudding consistency and the cookie-to-dirt ratio until it was just right. Here’s what makes them special:
- Quick & Easy: These come together in under 15 minutes of active prep time. The hardest part is waiting for the pudding to set in the fridge.
- Simple Ingredients: You probably have most of these in your kitchen right now. No fancy baking chocolate or obscure extracts needed.
- Perfect for Parties: They’re a guaranteed hit at birthdays, Halloween gatherings, summer barbecues, and classroom celebrations.
- Crowd-Pleaser: Kids go absolutely wild for them, and adults always sneak a second one when they think nobody’s looking.
- Unbelievably Customizable: You can switch up the pudding flavor, the cookie type, or the gummy candy to make them your own.
What sets this version apart from other dirt cup recipes is the texture. I use a specific ratio of milk to pudding mix that gives you a silky, almost mousse-like consistency — not too runny, not too thick. And I’ve figured out the perfect way to layer the crushed cookies so they stay crunchy on top but soften just enough underneath. It’s a small detail, but it makes all the difference.
These dirt cups aren’t just a dessert. They’re the kind of treat that makes you feel like a kid again, even if you’re a grown-up pretending to be responsible. One bite, and you’ll understand why this recipe has been passed around playgrounds and PTA meetings for decades.
What Ingredients You Will Need
This recipe uses simple, everyday ingredients to create something that looks impressive but requires almost no effort. Here’s everything you’ll need to make these Easy Chocolate Dirt Cups with Gummy Worms:
For the Chocolate Pudding
- 1 (3.9-ounce) box instant chocolate pudding mix (I prefer Jell-O brand for the smoothest texture)
- 2 cups cold whole milk (2% works fine too, but whole milk gives a creamier result)
- 1/2 cup heavy cream (optional, but it makes the pudding extra luxurious)
For the “Dirt” Topping
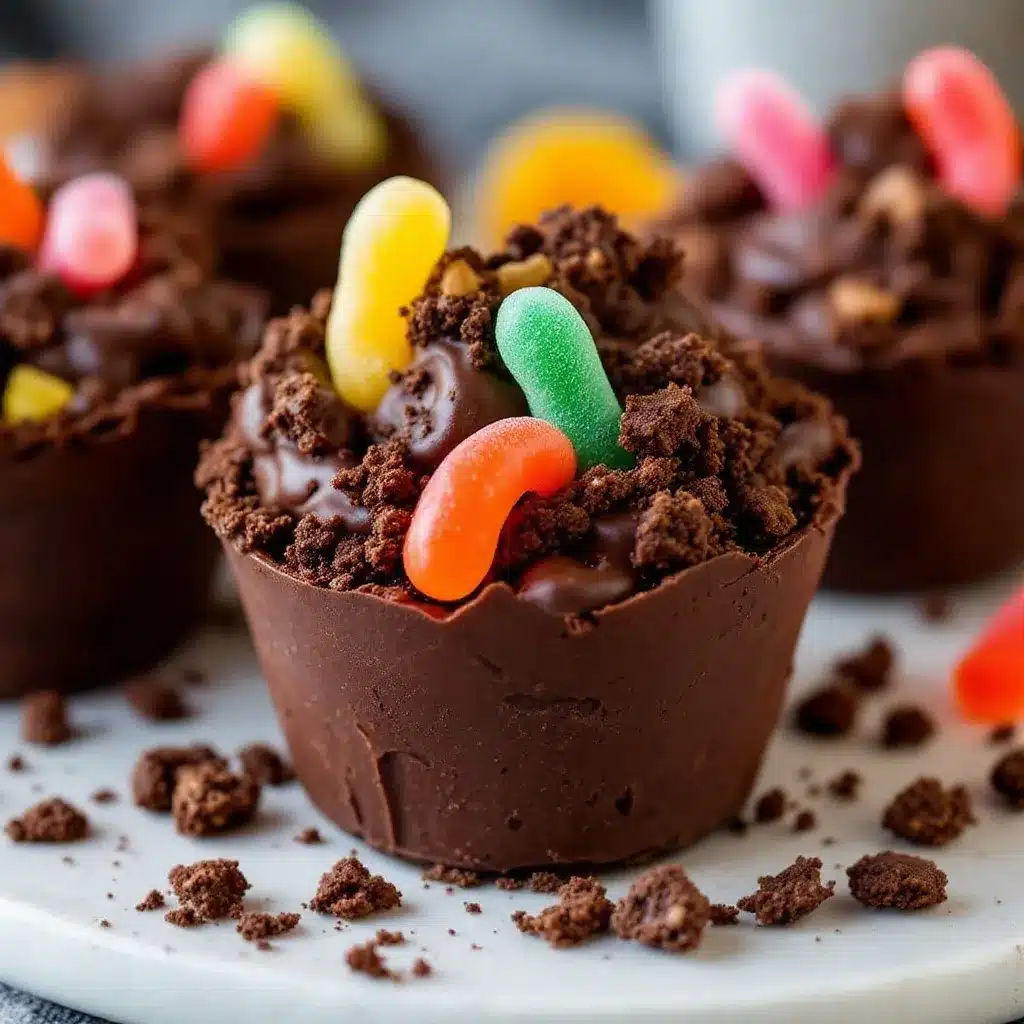
- 1 (14.3-ounce) package chocolate sandwich cookies (Oreos are the classic choice, but any brand works)
- 2 tablespoons melted unsalted butter (helps the crumbs clump together like real dirt)
For the Worms and Decorations
- 1 (4-ounce) bag gummy worms (pick the colorful sour ones for maximum visual appeal)
- Optional: green sprinkles or crushed mint candies (to look like little leaves or pebbles)
- Optional: 8 small clear plastic cups or mason jars (for that classic dirt cup presentation)
A few notes on ingredient selection. For the pudding, I always go with instant mix rather than cook-and-serve. It sets up faster and gives you that silky, no-lump texture that kids love. If you’re dairy-free, you can substitute oat milk or coconut milk — just know the pudding might be slightly less firm. I’ve tried it with almond milk, and it works, but the texture is a bit thinner.
For the cookies, you want something dark and chocolatey. Regular Oreos are perfect because the cream filling adds a touch of sweetness that balances the bitterness of the cookie crumbs. If you’re feeling adventurous, try using chocolate wafer cookies or even gluten-free chocolate cookies for a dietary-friendly version.
The gummy worms are non-negotiable, obviously. But here’s a pro tip I learned the hard way: buy the sour gummy worms instead of the regular ones. The tanginess cuts through the sweetness of the pudding and cookies, creating a flavor contrast that makes every bite more interesting. Plus, the bright colors look amazing against the dark chocolate “dirt.”
Equipment Needed
You don’t need a professional kitchen to make these dirt cups. Here’s what you’ll need:
- 8 small clear cups or mason jars (4-ounce to 6-ounce size works best)
- Medium mixing bowl (for the pudding)
- Whisk or electric hand mixer (hand mixer makes it faster, but a whisk works fine)
- Food processor or zip-top bag and rolling pin (for crushing the cookies)
- Measuring cups and spoons
- Rubber spatula (for scraping every last bit of pudding)
- Small saucepan or microwave-safe bowl (for melting butter if needed)
If you don’t have a food processor, don’t worry. I’ve crushed cookies with a rolling pin over a zip-top bag more times than I can count. It’s a little messy, but it works perfectly. And if you’re using mason jars, make sure they’re completely dry before you start layering — moisture will make the cookie crumbs soggy.
I picked up a set of clear plastic cups at the dollar store for this recipe, and they’ve held up through multiple batches. No need to spend money on fancy serving dishes when the whole point is that these look like little cups of dirt.
Preparation Method
Let me walk you through this step by step. I’ve made these dirt cups so many times that I could do it in my sleep, but I want to make sure you get every detail right.
- Make the pudding: In your medium mixing bowl, combine the instant chocolate pudding mix with 2 cups of cold milk. Whisk vigorously for about 2 minutes, or until the mixture starts to thicken. If you’re using the heavy cream, add it after the pudding has started to set — this gives you that extra-rich texture. The pudding should be thick enough to coat the back of a spoon but still pourable.
- Chill the pudding: Cover the bowl with plastic wrap and pop it in the fridge for at least 5 minutes. I know it’s tempting to skip this step, but trust me — you want the pudding to be partially set before you start layering. Otherwise, it will mix with the cookie crumbs and you’ll end up with chocolate soup instead of dirt cups.
- Crush the cookies: While the pudding is chilling, crush your chocolate sandwich cookies. If you’re using a food processor, pulse them in short bursts until you get fine crumbs that look like potting soil. If you’re using the zip-top bag method, put the cookies in the bag, seal it, and go to town with a rolling pin. You want a mix of fine crumbs and slightly larger pieces for that realistic dirt texture.
- Add the butter: Melt your 2 tablespoons of butter and drizzle it over the cookie crumbs. Toss everything together with a fork until the butter is evenly distributed. This step is optional, but it helps the crumbs clump together slightly, making them look more like actual dirt. Plus, it adds a hint of richness.
- Layer the cups: Grab your cups or mason jars. Start with a layer of crushed cookies at the bottom — about 2 tablespoons per cup. Then spoon in a layer of pudding — about 3 tablespoons per cup. Repeat with another layer of cookies and another layer of pudding. You want to end with a cookie layer on top, because that’s what makes them look like little cups of dirt.
- Add the worms: Here’s the fun part. Gently poke 2-3 gummy worms into each cup, letting some of them dangle over the edge like they’re crawling out of the dirt. Don’t push them all the way in — the visual of worms escaping is what makes these so fun.
- Chill and set: Place the assembled dirt cups in the fridge for at least 30 minutes, or up to 2 hours. This allows the pudding to fully set and the flavors to meld together. The longer they sit, the better they taste.
- Garnish and serve: Right before serving, you can sprinkle a few extra cookie crumbs on top and add a couple more gummy worms for that “freshly crawled out” look. If you’re feeling fancy, add a few green sprinkles to look like tiny leaves.
One thing I learned the hard way: don’t overmix the pudding. If you whisk it too vigorously or for too long, it can become grainy. Stop as soon as it starts to thicken. And when you’re layering, use a gentle hand — you want distinct layers, not a muddy mess.
Cooking Tips & Techniques
After making these dirt cups at least two dozen times, I’ve picked up a few tricks that make a real difference. Here’s what I wish someone had told me when I first started:
Use cold milk straight from the fridge. Instant pudding relies on cold liquid to activate the thickeners. If your milk is even slightly warm, the pudding won’t set properly. I keep a carton of milk in the fridge specifically for this recipe.
Don’t skip the chilling step. I know it’s hard to wait when you’ve got a tray of adorable dirt cups staring at you. But if you serve them too soon, the pudding will be runny and the cookie crumbs will turn to mush. Give them at least 30 minutes in the fridge, and you’ll be rewarded with perfectly set layers.
Make extra cookie crumbs. I always crush more cookies than I think I’ll need. The extra crumbs are perfect for sprinkling on top right before serving, and they add that fresh, crunchy contrast to the creamy pudding underneath.
Watch your portion sizes. These dirt cups are rich. I use 4-ounce cups, and they’re the perfect single-serving size. If you use larger cups, people might not finish them — and trust me, nobody wants leftover dirt cups sitting in the fridge.
Keep the worms dry. If you add the gummy worms too early, they’ll absorb moisture from the pudding and become sticky and soft. I add mine about 10 minutes before serving, or I tuck them in right at the end. The texture difference is noticeable.
I once made a batch where I forgot to chill the pudding before layering. The result was a sad, soupy mess that looked more like chocolate swamp than dirt cups. Learn from my mistakes — patience is your friend here.
Variations & Adaptations
One of the best things about this recipe is how easy it is to customize. Here are some variations I’ve tried and loved:
Peanut Butter Dirt Cups: Add 1/4 cup of creamy peanut butter to the pudding mix before whisking. The peanut butter adds a savory depth that pairs beautifully with the chocolate. Just make sure to whisk thoroughly to avoid lumps.
Vegan Chocolate Dirt Cups: Use a vegan chocolate pudding mix and substitute the milk with oat milk or coconut milk. For the cookies, look for vegan chocolate sandwich cookies — they’re easier to find than you’d think. I’ve also made a version using my creamy vegan chocolate avocado pudding as the base, and it was absolutely divine — rich, silky, and completely plant-based.
Halloween Spider Dirt Cups: Swap the gummy worms for gummy spiders or add a few candy eyeballs on top. The black and orange color scheme is perfect for Halloween parties, and kids lose their minds over the creepy factor.
Gluten-Free Option: Use gluten-free chocolate sandwich cookies and a gluten-free pudding mix. Most instant pudding mixes are naturally gluten-free, but always check the label. The texture is identical to the original version.
Mint Chocolate Dirt Cups: Add 1/2 teaspoon of peppermint extract to the pudding mixture. The mint and chocolate combination is refreshing and unexpected. Top with crushed mint candies instead of green sprinkles for an extra pop of flavor.
I once made a batch with crushed pretzels mixed into the cookie crumbs for a salty-sweet twist. It was a risky move, but honestly, it worked. The saltiness cut through the sweetness and made the whole thing taste more balanced.
Serving & Storage Suggestions
These dirt cups are best served cold, straight from the fridge. The contrast between the chilled pudding and the crunchy cookie crumbs is what makes them so satisfying. I like to let them sit at room temperature for about 5 minutes before serving — just enough to take the chill off without losing the texture.
For presentation, I arrange them on a tray with a few extra gummy worms scattered around. It makes the whole thing look like a mini garden scene, and people always grab their phones to take pictures before they dig in.
These pair beautifully with a cold glass of milk or a warm cup of coffee. If you’re serving them at a party, consider making a batch of my refreshing cucumber mint green tea cooler for a light, refreshing contrast to the rich chocolate.
Storage: Keep the dirt cups covered in the fridge for up to 3 days. The pudding will stay creamy, but the cookie crumbs will gradually soften. If you’re making them ahead of time, I recommend storing the cookie crumbs separately and adding them just before serving. This keeps the “dirt” crunchy and fresh.
Freezing: I don’t recommend freezing these. The pudding will become watery when thawed, and the texture will be off. These are best enjoyed fresh or within a few days of making.
Reheating: Don’t even think about it. These are meant to be served cold. If you want a warm chocolate dessert, make a batch of my easy slow cooker honey garlic chicken meal prep bowls instead — completely different, but equally satisfying.
One thing I’ve noticed is that the flavors actually improve after a day in the fridge. The pudding gets richer, and the cookie crumbs meld into the chocolate in a way that’s hard to describe but delicious to experience. So don’t be afraid to make these a day ahead.
Nutritional Information & Benefits
Let’s be real — these are a treat, not a health food. But here’s the estimated nutritional breakdown for one serving (using whole milk and regular Oreos):
- Calories: 280-320
- Fat: 14g
- Carbohydrates: 42g
- Protein: 5g
- Sugar: 30g
- Fiber: 2g
That said, there are a few redeeming qualities. The chocolate pudding contains a small amount of calcium from the milk, and the cookies provide a bit of iron. Plus, there’s something to be said for the mental health benefits of eating something that makes you smile. I’m a firm believer that food should be enjoyed, not just analyzed.
If you’re watching your sugar intake, you can use sugar-free pudding mix and sugar-free cookies. The taste is slightly different, but still satisfying. For a lower-fat version, use skim milk and reduced-fat cookies — just know the texture won’t be as creamy.
These dirt cups are not suitable for anyone with celiac disease unless you use certified gluten-free ingredients. They also contain dairy and soy (from the cookies), so keep that in mind if you’re cooking for someone with allergies.
Conclusion
These Easy Chocolate Dirt Cups with Gummy Worms are more than just a dessert — they’re a little moment of joy in a cup. They remind me of summer afternoons, family gatherings, and the simple pleasure of watching someone’s face light up when they see something fun on the table.
I’ve made these for birthday parties, Halloween celebrations, and lazy Sunday afternoons when I just wanted to make something that would make people smile. Every single time, they disappear faster than I expect. And every single time, someone asks for the recipe.
So go ahead — make a batch. Customize them however you like. Add extra worms, swap the cookies, or experiment with different pudding flavors. The beauty of this recipe is that it’s forgiving and flexible. It’s hard to mess up, and even if you do, it’ll probably still taste amazing.
If you try these dirt cups, I’d love to hear about it. Leave a comment below and tell me how they turned out, or share your own twist on the recipe. And if you’re looking for more easy, fun desserts, check out my full recipe collection for more inspiration. Happy cooking, friend!
Frequently Asked Questions
Can I make these dirt cups ahead of time?
Absolutely. You can assemble them up to 2 days in advance. Just keep them covered in the fridge and add the gummy worms right before serving to keep them from getting sticky.
Can I use homemade chocolate pudding instead of instant?
Yes, but the texture will be different. Homemade pudding is usually thinner than instant, so you’ll need to cook it longer and let it chill for at least 4 hours to set properly. Instant pudding is definitely the easier option here.
What if I don’t have clear cups?
You can use any small cups or bowls you have on hand. The presentation won’t be as dramatic since you won’t see the layers, but the taste will be the same. Mason jars work beautifully if you have them.
How do I keep the cookie crumbs from getting soggy?
The key is to let the pudding set before layering. If the pudding is still runny, it will soak into the cookies. Also, don’t overdo the butter in the crumbs — just enough to bind them slightly.
Can I use a different type of gummy candy?
Of course! Gummy frogs, spiders, or even gummy bears work great. I’ve also used sour gummy strips cut into small pieces for a different look. The possibilities are endless.
Pin This Recipe!
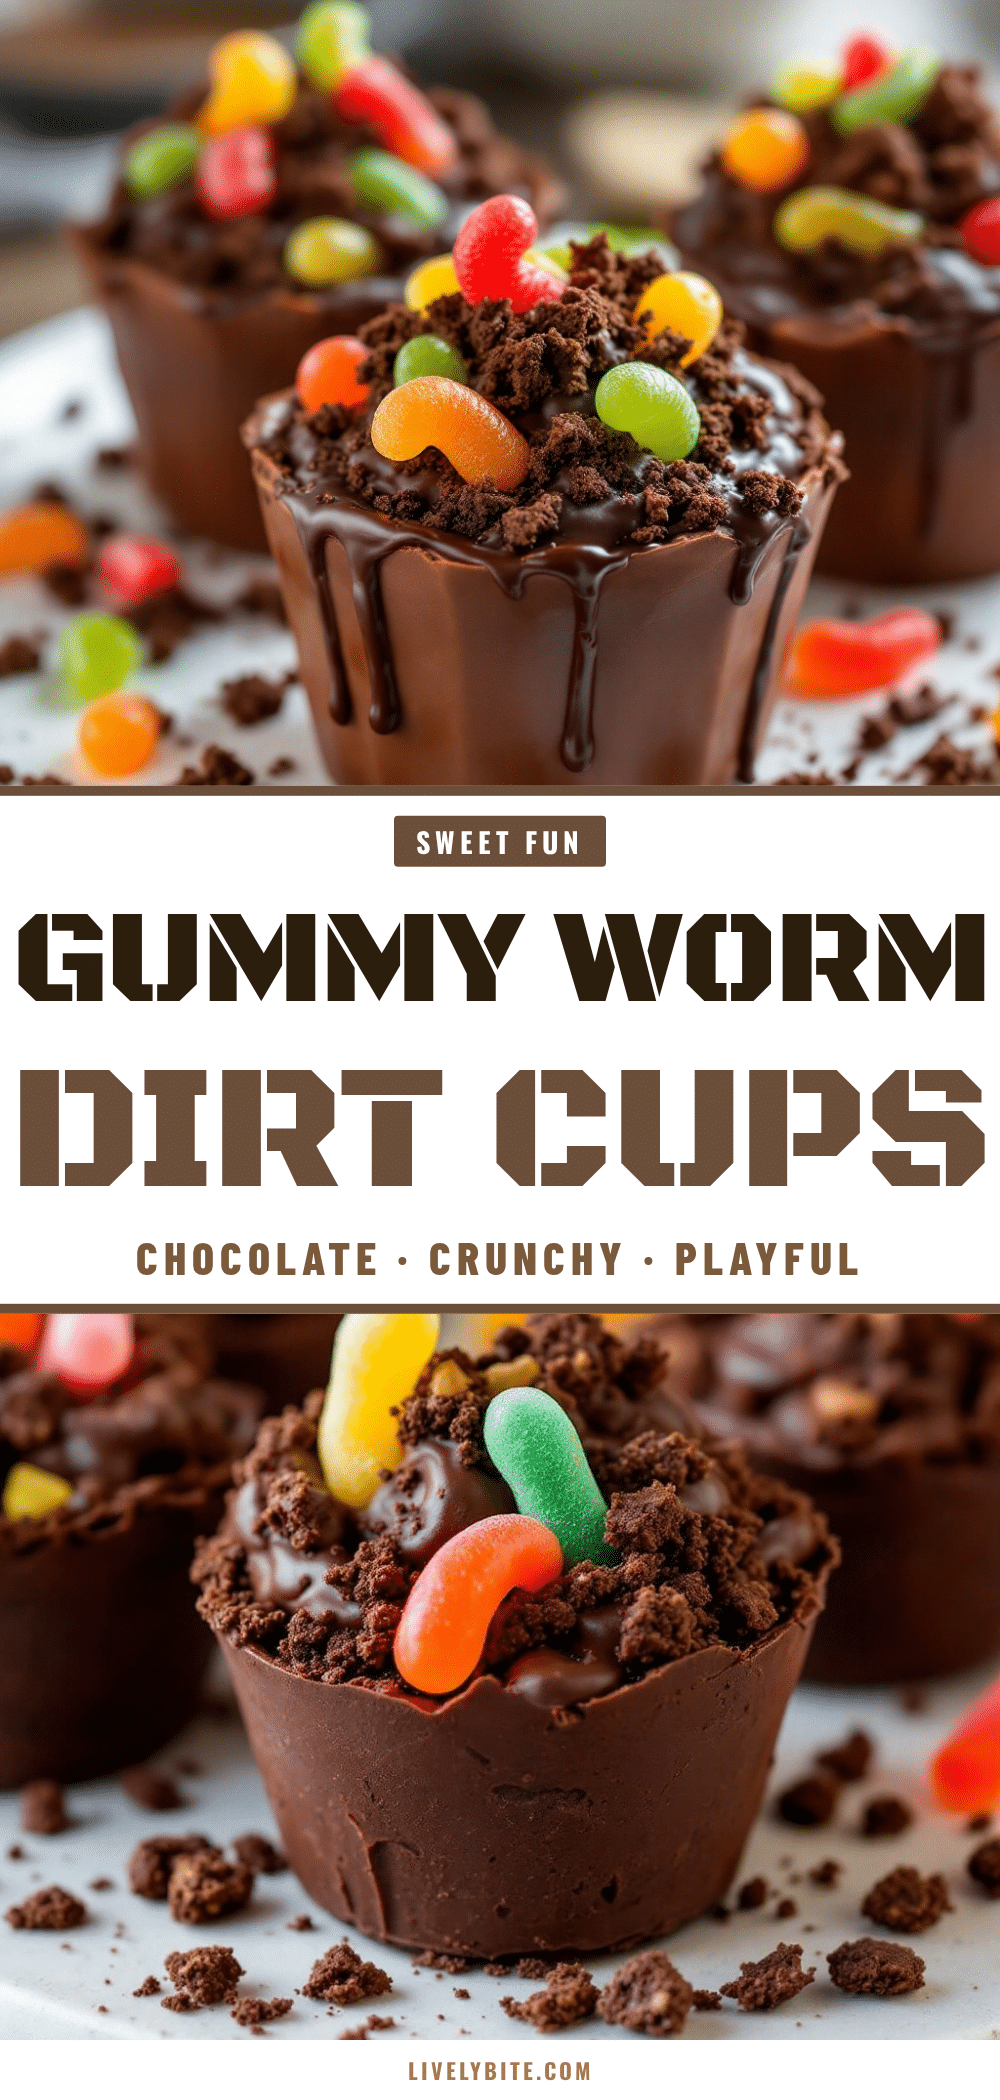
Best Easy Chocolate Dirt Cups with Gummy Worms Recipe

These Easy Chocolate Dirt Cups with Gummy Worms are a fun, no-bake dessert that kids and adults love. Made with creamy chocolate pudding, crushed cookies, and gummy worms, they come together in under 15 minutes of active prep time.
- Prep Time: 15 minutes
- Cook Time: 0 minutes
- Total Time: 45 minutes
- Yield: 8 servings 1x
- Category: Dessert
- Cuisine: American
Ingredients
- 1 (3.9-ounce) box instant chocolate pudding mix
- 2 cups cold whole milk
- 1/2 cup heavy cream (optional)
- 1 (14.3-ounce) package chocolate sandwich cookies (e.g., Oreos)
- 2 tablespoons unsalted butter, melted
- 1 (4-ounce) bag gummy worms
- Optional: green sprinkles or crushed mint candies
- Optional: 8 small clear plastic cups or mason jars
Instructions
- In a medium mixing bowl, combine the instant chocolate pudding mix with 2 cups of cold milk. Whisk vigorously for about 2 minutes, or until the mixture starts to thicken. If using heavy cream, add it after the pudding has started to set.
- Cover the bowl with plastic wrap and chill in the fridge for at least 5 minutes, until partially set.
- While the pudding chills, crush the chocolate sandwich cookies into fine crumbs using a food processor or a zip-top bag and rolling pin.
- Melt the butter and drizzle it over the cookie crumbs. Toss with a fork until evenly distributed.
- Layer the cups: Start with about 2 tablespoons of cookie crumbs at the bottom of each cup. Add about 3 tablespoons of pudding. Repeat with another layer of crumbs and pudding, ending with a cookie layer on top.
- Gently poke 2-3 gummy worms into each cup, letting some dangle over the edge.
- Refrigerate the assembled dirt cups for at least 30 minutes, or up to 2 hours, to allow the pudding to set.
- Before serving, garnish with extra cookie crumbs and additional gummy worms if desired.
Notes
Use cold milk straight from the fridge for best pudding texture. Don’t overmix the pudding to avoid graininess. For crunchier cookie crumbs, store them separately and add just before serving. Gummy worms should be added close to serving time to prevent them from becoming sticky.
Nutrition
- Serving Size: 1 dirt cup
- Calories: 300
- Sugar: 30
- Sodium: 380
- Fat: 14
- Saturated Fat: 7
- Carbohydrates: 42
- Fiber: 2
- Protein: 5
Keywords: chocolate dirt cups, gummy worms, no-bake dessert, easy dessert, kids dessert, Halloween dessert, pudding cups


